Clothes Sewing Projects
22 Boho Clothes and Jewelry Ideas to Make
Boho clothes and jewelry to make: a no sew slip dress, crochet crop tops, hippie pants, dip dyed maxi skirts, tassel earrings and a macrame bracelet.
Boho clothes and jewelry are the easiest style in the world to make yourself, because the whole look is built on things that are meant to be a bit undone. Nothing has to match, nothing has to fit closely, and a wobbly hem reads as intentional. There are twenty two projects here and the range runs from a maxi skirt that becomes a slip dress with nothing but scissors, through crocheted crop tops and lace dresses, hippie pants cut from two rectangles of batik, dip dyed skirts, patchwork shorts, and a pile of tassel earrings, fringed necklaces and braided bracelets. Several need no sewing machine at all. A few are an afternoon; the crochet ones are a proper project. Every one links back to the person who worked it out.
1. No Sew DIY Slip Dress
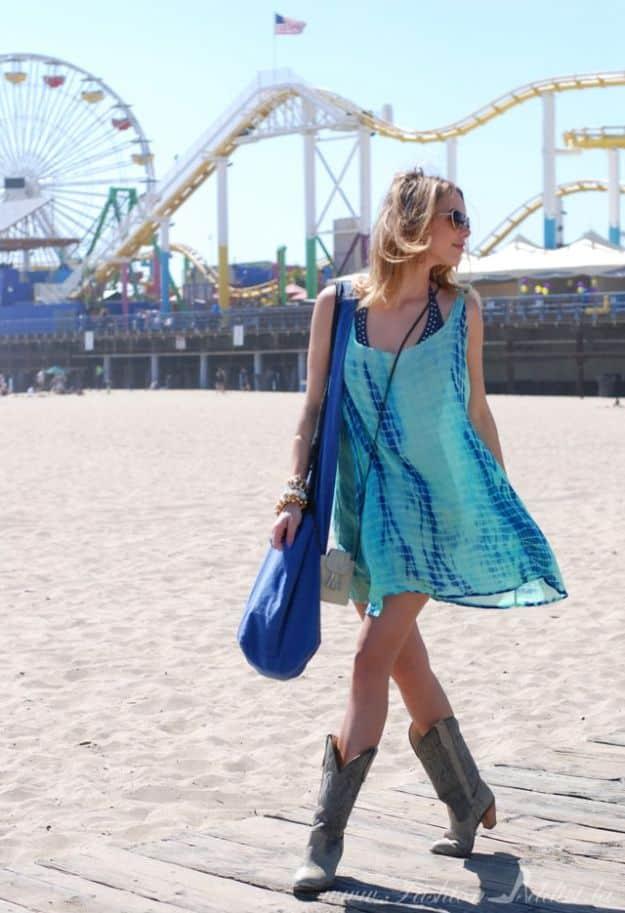
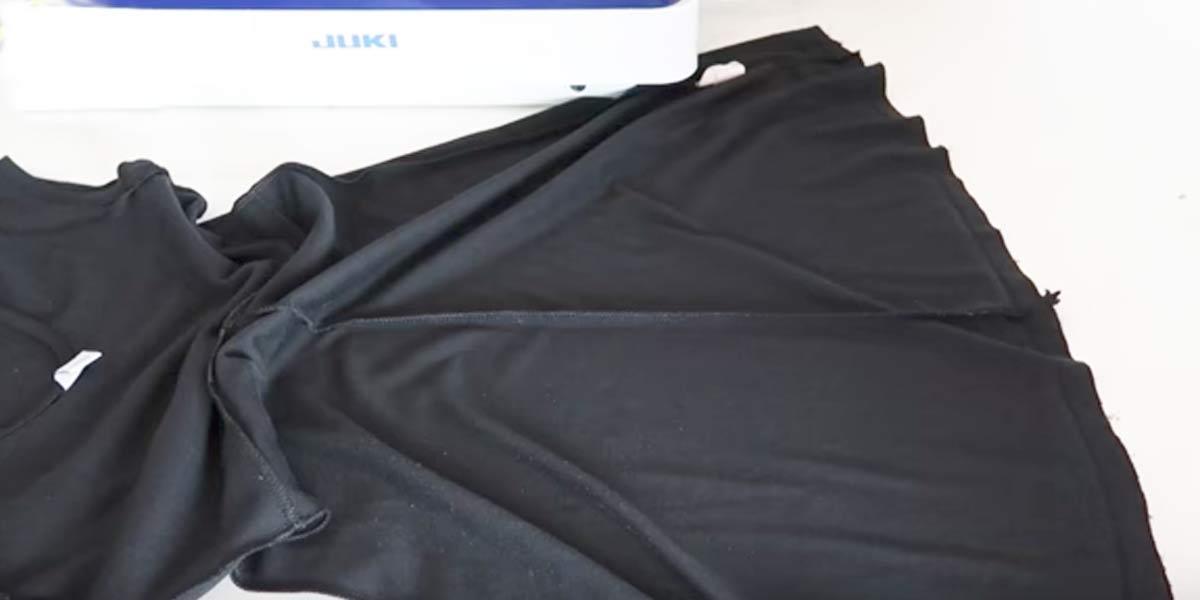
A ten dollar patterned maxi skirt turned into a slip dress with scissors and two knots, no glue, no fusible tape and no machine. Kier Couture removes the waistband, cuts triangular armholes rather than the usual half moon shape, opens out the neckline and back, then ties the resulting fabric straps together in a double knot at each shoulder. Triangles are the detail worth copying, because half moons leave you with wings under the arms; the trade off is a deeper armhole that wants a bikini top underneath. Keep the straps long enough to knot properly, and wear the old elastic waistband as a belt.
Get the full tutorial at Kier Couture.
2. Easy Macramé Bracelet
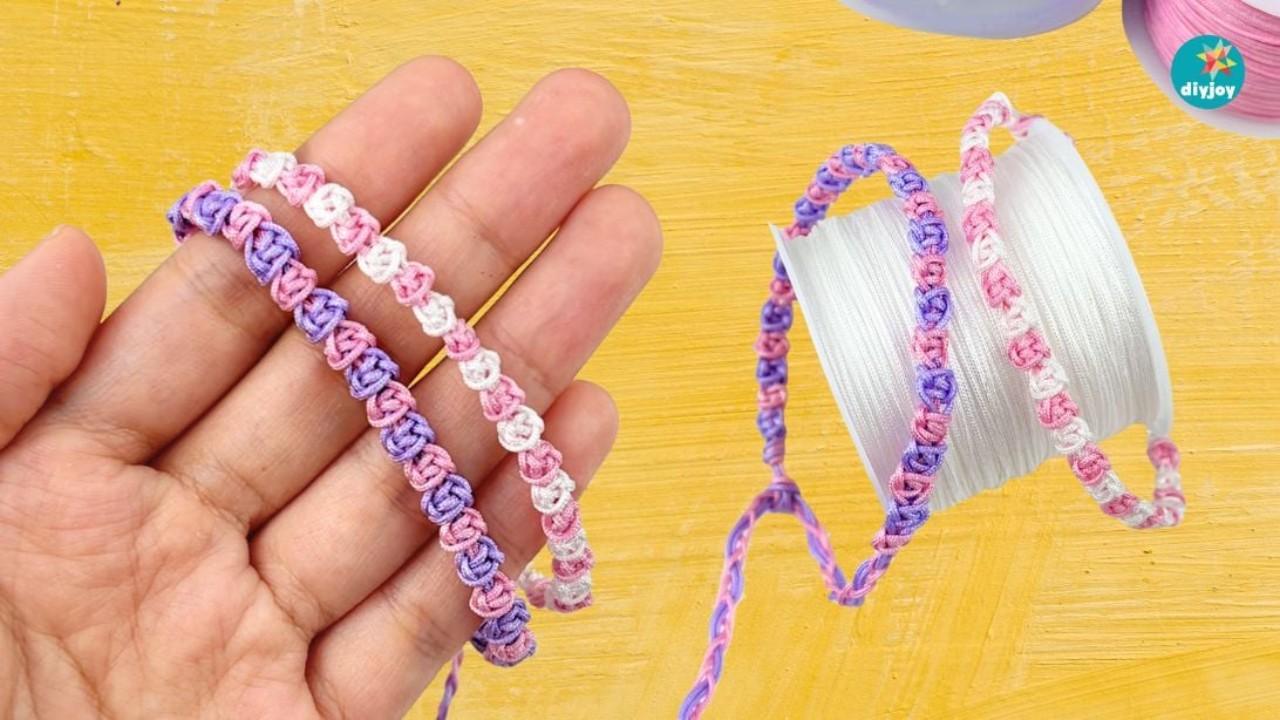
Two lengths of cord knotted into a band of square knots that twist into a repeating rose shape, and it uses one knot the whole way through. Cut two cords at about four point nine feet each and fold them in half before you start, because square knots eat length far faster than anyone expects. Tie the ends together and anchor them to a clipboard, which holds much better than tape. Then work square knots alternating direction until the band wraps your wrist, braid what is left and knot it off. Two colors make the pattern far easier to see while you learn it.
Get the full tutorial at Sueeye.
3. Boho Crochet Crop Top DIY
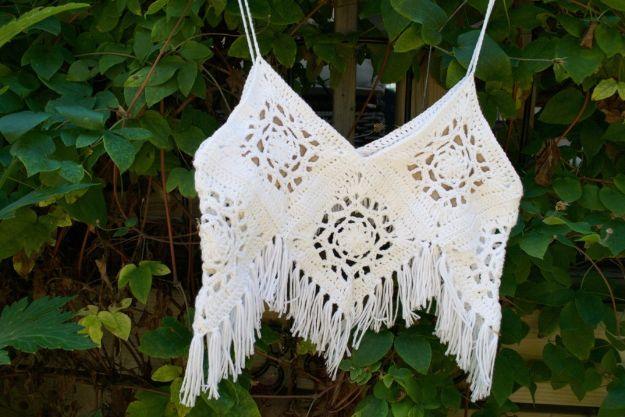
Seven mandala style granny squares assembled into a cropped top with a fringe along the hem, worked in cotton. Pop Shop America uses about a hundred grams of lightweight cotton yarn, a size three, on a 2.5 mm hook, with three squares forming a V across the front, two at the sides and two at the back. Sizing is done by the squares rather than a pattern: one square should cover roughly one side of your chest, so go up in rounds or in yarn weight if it does not. The fringe is three four inch strands every three chains.
Get the full tutorial at Pop Shop America.
4. White Hippie Boho Mini Dress
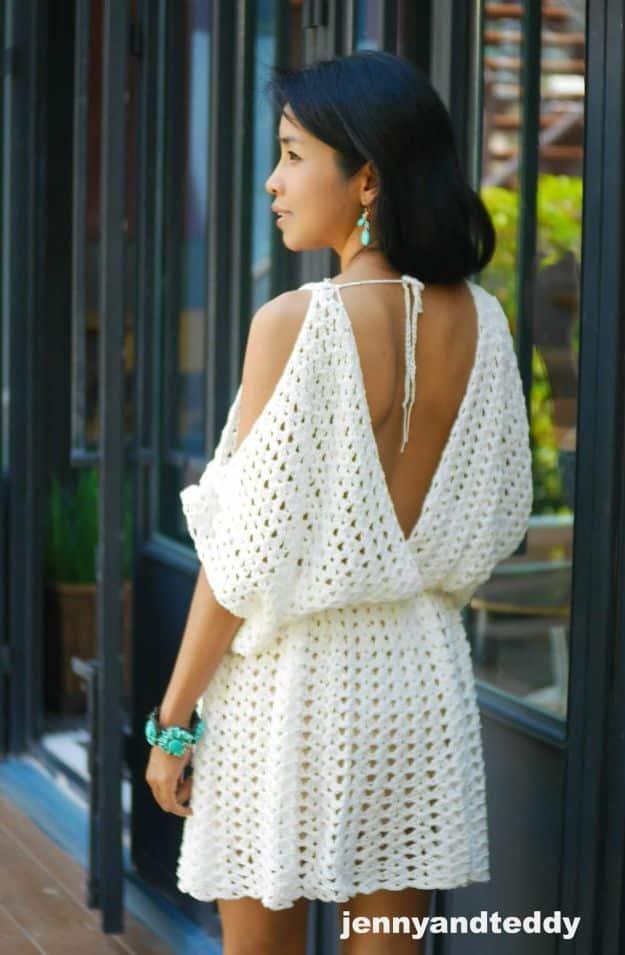
An open lace crochet mini dress with a cold shoulder neckline and a tie back, worked in cotton DK. Jenny & Teddy’s pattern builds the bodice from four identical rectangles of roughly thirteen inches square, joined into a circle, then works the skirt in rounds in a one row repeat fancy lace stitch. A 4 mm hook and around seventeen hundred yards covers small to medium, and the foundation chain changes by size: fifty four for small to medium, seventy two for large, ninety two for extra large, a hundred and twelve for 2XL. Three wooden buttons and three stitch markers finish it.
Get the full tutorial at Jenny & Teddy.
5. Boho Kimono Dress
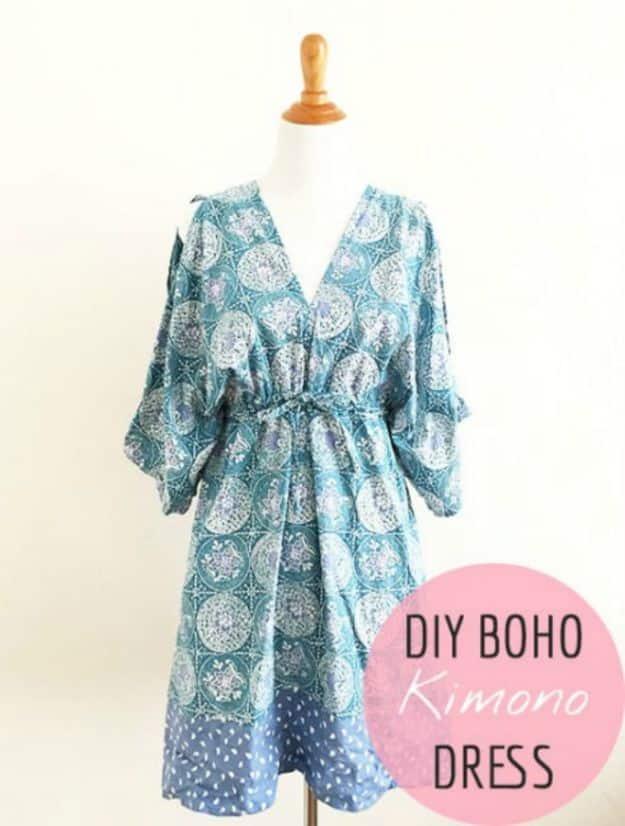
A short kimono style dress in a blue and white medallion print, wide sleeved with a drawstring gathering the waist, shown on a dress form. The kimono shape is a gift for a beginner because the body and the sleeves are cut as one, so there is no armhole to set and no sleeve cap to ease, and the drawstring does all the fitting. Tip Junkie gives two yards as the minimum and asks for something with a slight drape such as rayon, with five millimetre elastic, and rates the whole thing easy and one to two hours. Worth knowing before you click: it is a project card rather than a step by step.
Get the full tutorial at Tip Junkie.
6. Crochet Boho Fringe Cowl
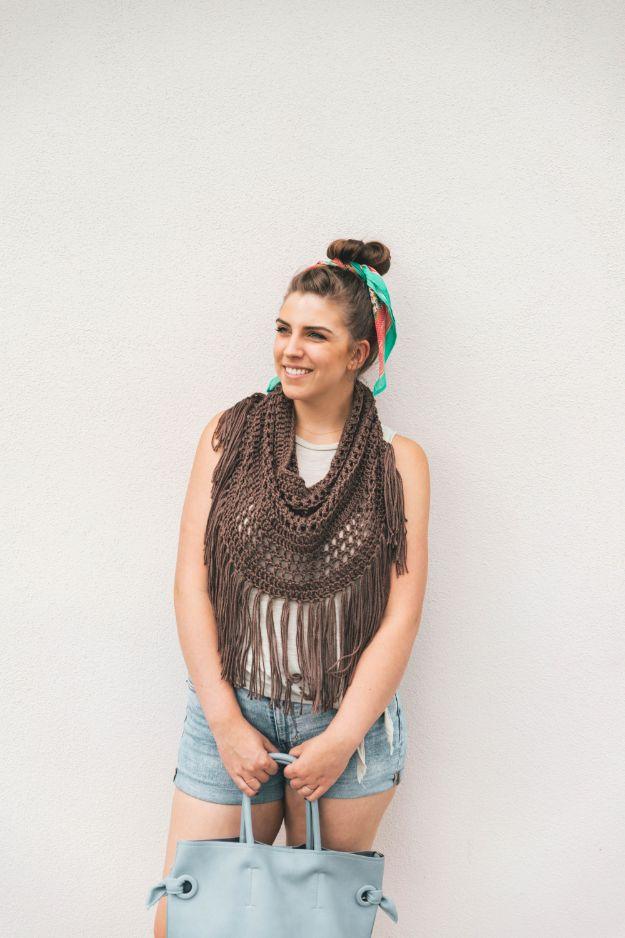
An open worked cowl in worsted taupe with a long fringe, wider at the bottom than the top so it sits like a little capelet over the shoulders. Sewrella uses one skein of Caron Simply Soft on a 6 mm J hook, working double crochet with chain spaces across nineteen rounds, finishing at fourteen inches long excluding fringe, thirteen inches wide at the top and nineteen at the bottom. The fringe is three twelve inch strands on every other double crochet in the last round, and it is optional. Steaming or light blocking relaxes the finished piece and improves the drape considerably.
Get the full tutorial at Sewrella.
7. DIY Dip-Dye Side Split Maxi Skirt
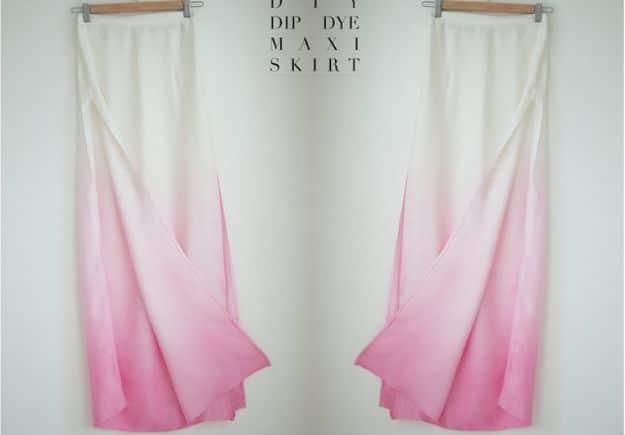
A long white silk skirt with a deep split up each side, dipped so the hem grades from cream through to strong pink. Geneva Vanderzeil uses around two metres of white silk, pink dye, salt and a bucket, folds the fabric in half and hangs it on a clip hanger, then dips it through several concentrations of dye, the lightest first and the strongest at the hem, which is what builds the ombre. Dry it, then machine wash to set the dye. The skirt itself is a front and a back panel on an elasticated waistband with the side seams simply left open for the splits.
Get the full tutorial at Geneva Vanderzeil.
8. Easy Flower Embroidery on Jeans
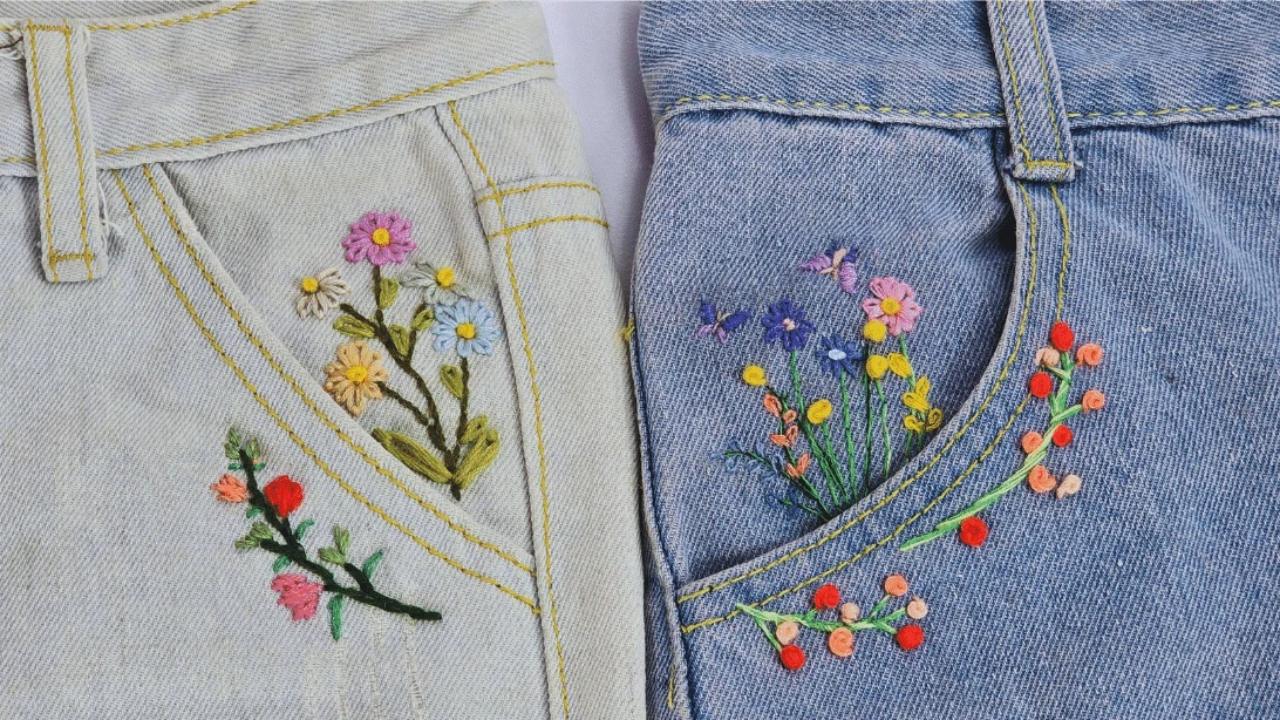
Small flowers embroidered up the leg of a pair of jeans, using water soluble paper so the pattern washes away and leaves only the stitching. Print or trace the design onto the stabiliser, stick it to the denim and stitch straight through both. The flowers are lazy daisy stitches for the petals, French knots for the centres and satin stitch for the leaves, which is three stitches in total. Hot water dissolves the paper at the end. Denim is genuinely the easiest fabric to learn on, thick enough to hold its shape without a hoop and forgiving enough to hide a wobbly stitch.
Get the full tutorial at Sueeye.
9. Braided Fabric Statement Bracelet
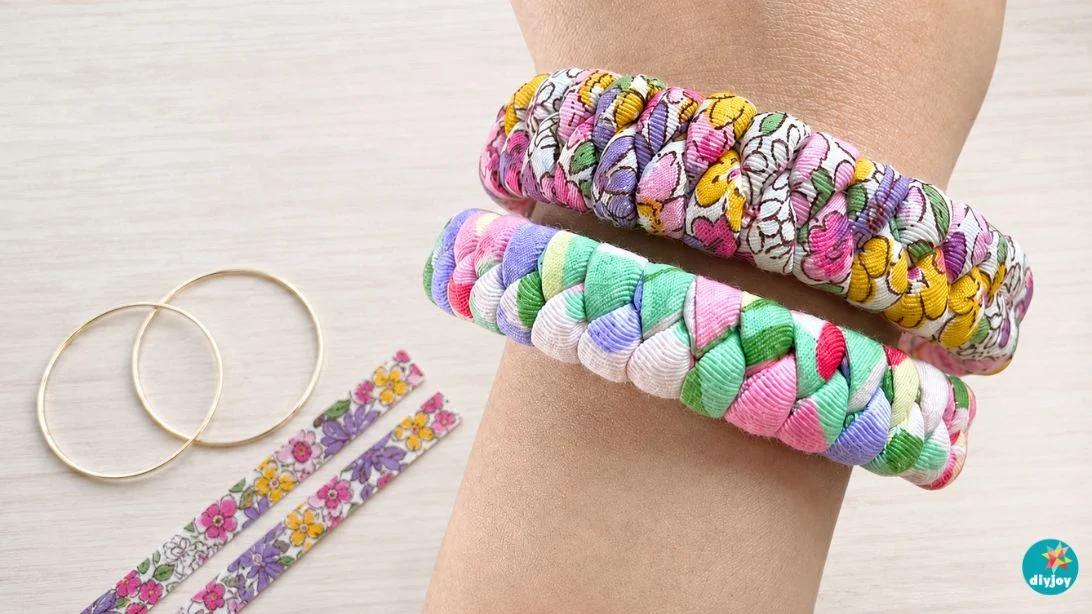
A printed fabric tube woven through two bangles, which turns two plain bracelets into one wide statement cuff. Cut a strip one inch by fifty five inches, fold it lengthways, press, sew down the long edge, then use a loop turner to bring the tube right side out. Thread yarn through the tube to give it body, attach the end to one bangle and weave the tube back and forth between the two in an alternating pattern until they are filled, then secure the end. The fabric is what makes each one different, so a scrap with a strong print is worth saving for this.
Get the full tutorial at Sueeye.
10. Sew a Bohemian Hippie Pants
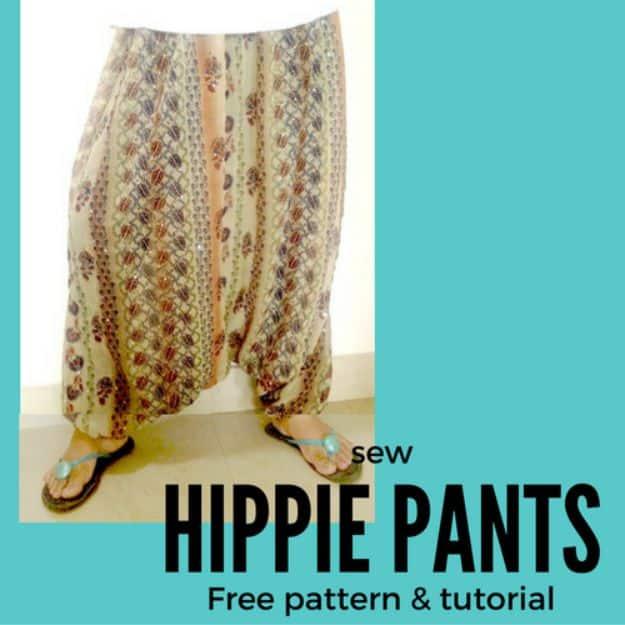
Wide legged harem style pants cut from two rectangles of printed cotton, with elastic casings at the waist and ankles and only three seams in the whole garment. SewGuide sizes them by folding and marking rather than a paper pattern: hip measurement divided by four plus five inches from the fold, a two inch mark down for the waist curve, seven inch marks from the bottom edge near the fold for the crotch and three inches for the leg opening. Two panels at forty four by forty five inches makes an adult pair, finishing around forty one inches high. Lightweight cotton, silk or rayon, and batik or ikat prints suit it best.
Get the full tutorial at SewGuide.
11. DIY Boho Maxi Dress
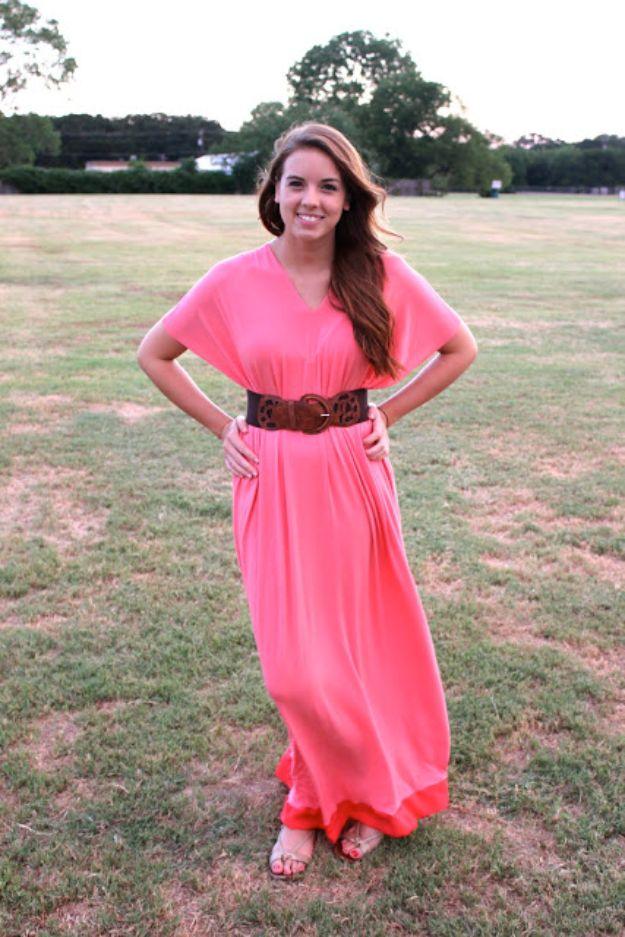
A bright coral jersey maxi dress cinched with a wide brown belt, made from a single panel of fabric and three seams. Sweet Verbena folds one and four fifths yards of extra stretchy sixty inch jersey in half along the long side, sews three seams to make a tube, cuts a six inch vertical opening at the centre top for the neck and removes eight inch strips from both ends for the sleeves. Knit does not fray, so the raw edges stay raw. Use a zigzag or stretch stitch, a ball point needle and a walking foot if you have one, and wear it belted.
Get the full tutorial at Sweet Verbena.
12. Bohemian Skirt
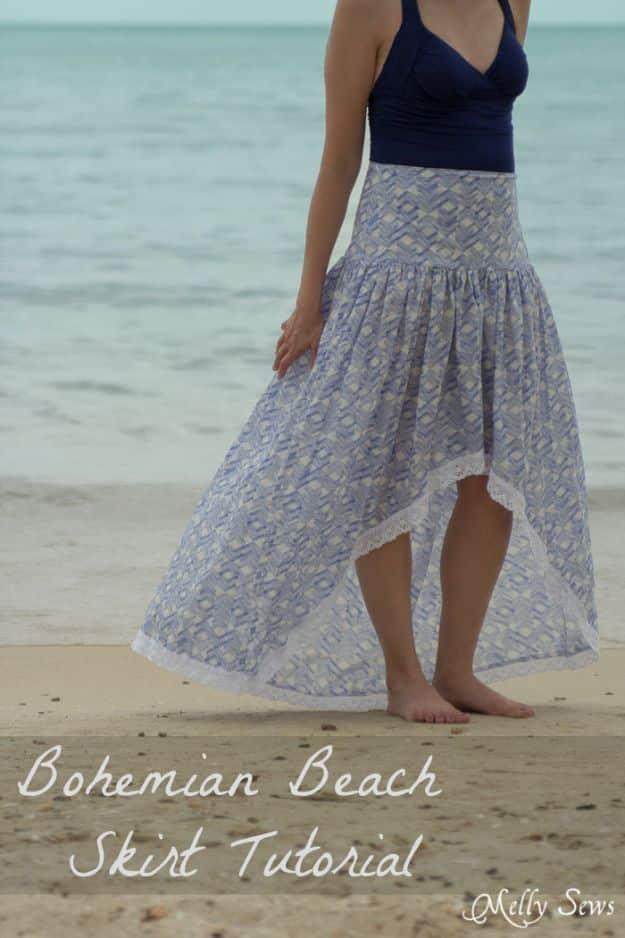
A high low voile skirt on a fitted yoke, knee length at the front and maxi at the back. Melly Sews drafts an eight inch deep yoke from a skirt block, lines it, and fastens it with an eight inch zip at centre back. The lower panels are cut at least one and a half times the waist measurement so there is enough to gather. Set the front fold at knee length minus the yoke depth and the back fold at maxi length minus the yoke. Three yards of crochet lace along the hem is offered as an option. Her own warning: the long back floats up on stairs and you will step on it.
Get the full tutorial at Melly Sews.
13. Make a Gypsy Skirt
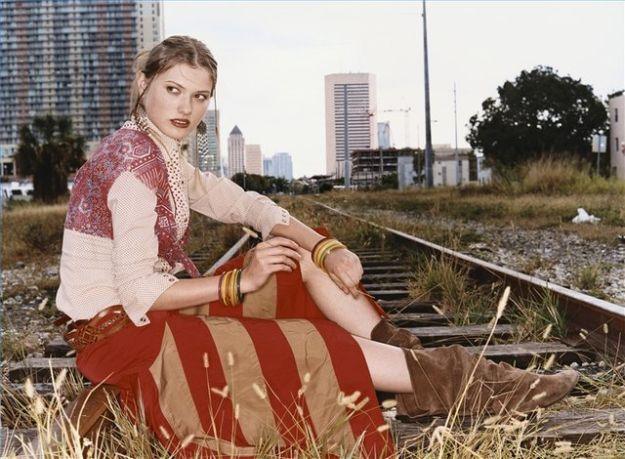
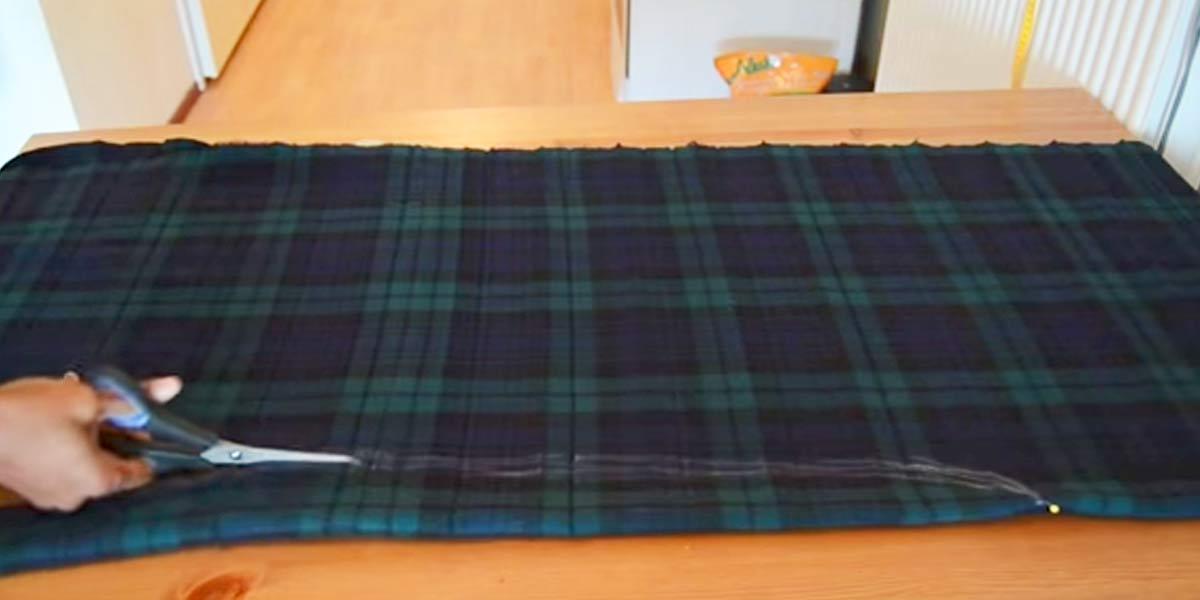
A crinkled broomstick skirt in rust and cream stripes, and the crinkle is the whole technique. LEAFtv hems the long sides of the fabric, sews them into a tube and threads elastic through a channel at the top using a seven foot length of wire, then sews the waistband in place. After the skirt is washed, wrap it tightly around a broomstick handle, winding round and round so it sits snugly against the wood, leave it several hours and hang it to dry without ever ironing it. Rayon, cotton or velvet crinkle well; heavy fabrics do not.
Get the full tutorial at LEAFtv.
14. Boho Patchwork Shorts
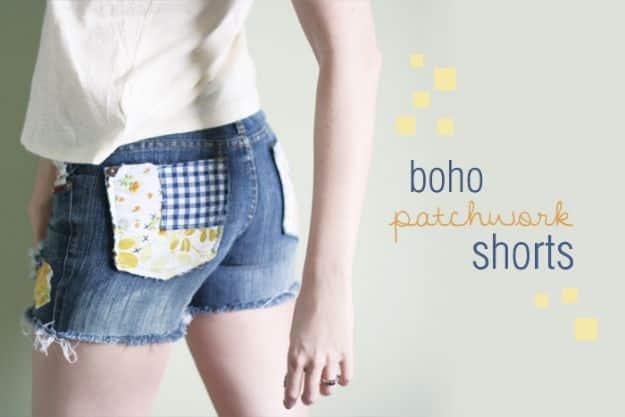
Cut off denim shorts with squares of gingham and floral cotton patched onto the pockets and hem, using up scraps too small for anything else. Wonder Forest cut hers from a pair of jeans she never wore and a pile of vintage fabrics she already had, which is the whole economics of the project. Patching over a worn spot rather than beside it is the useful instinct here, since the patch has a job to do as well as a look, and mixing prints deliberately is what keeps it from reading as a repair. Worth knowing before you click: the steps are photographs rather than written out.
Get the full tutorial at Wonder Forest.
DIY Lace Cut Off Shorts
Don’t stop at one pair of shorts, you also need these easy to make lace edged shorts, perfect for a summer day at the lake or that big music festival outfit you don’t yet have figured out. A no sew idea you can make in minutes, you are going to love wearing these.
15. Easy DIY Boho Tassel Earrings
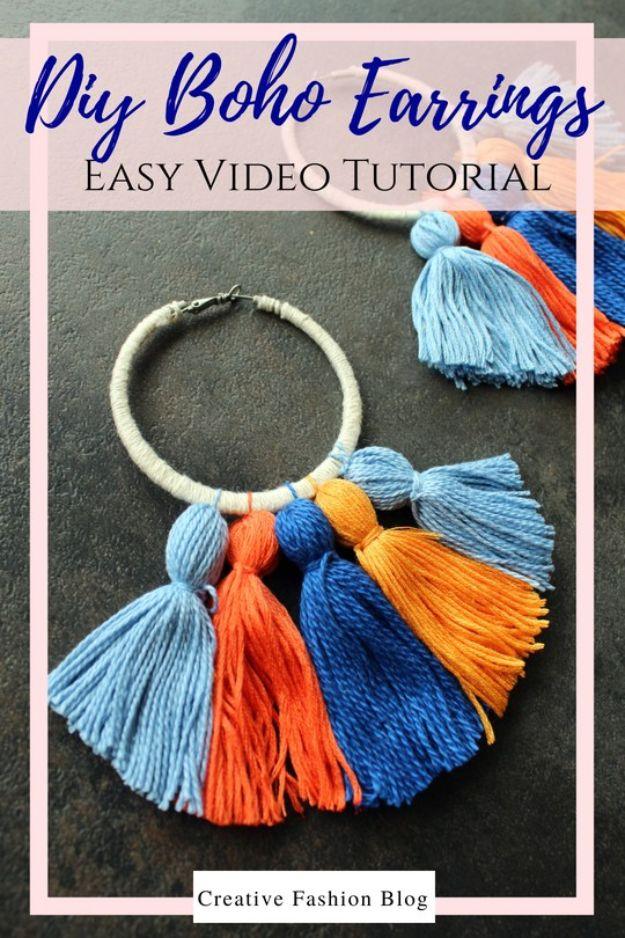
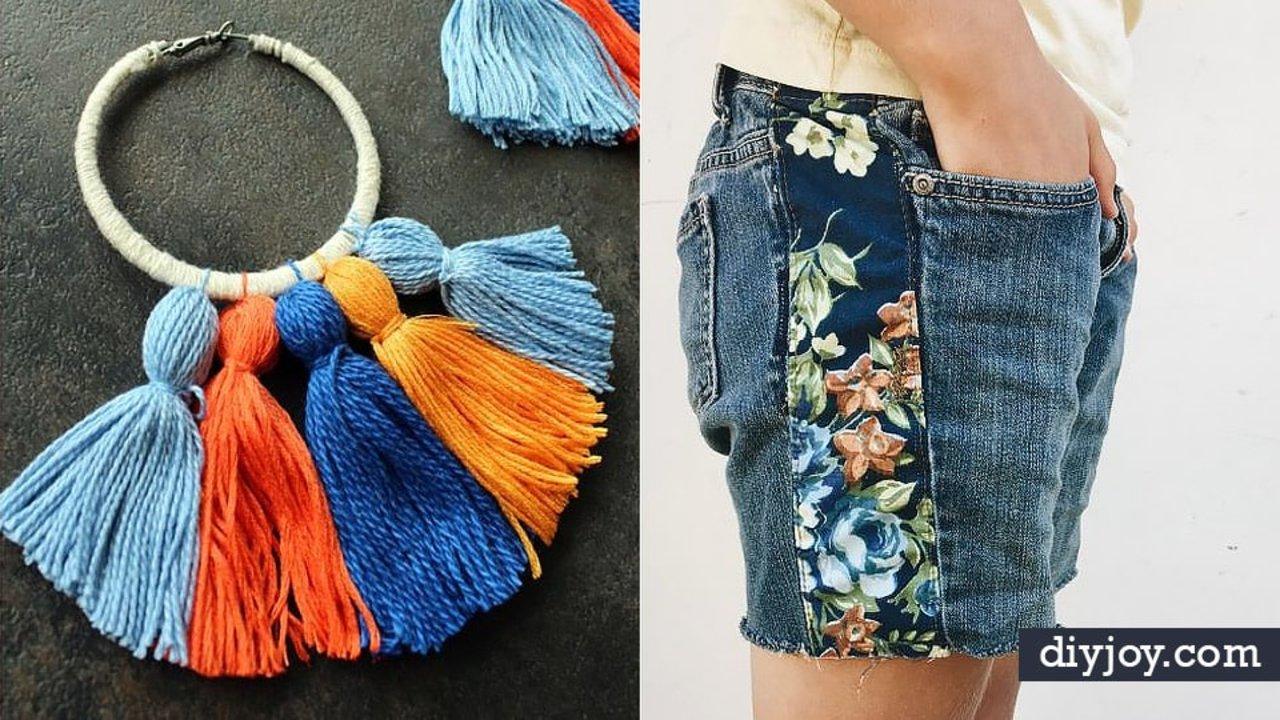
A hoop wrapped in cream cord with fat tassels in orange, cobalt, yellow and pale blue hanging from it, more statement necklace than earring in scale. Embroidery floss is the usual material for tassels this size and it comes in every color for very little, so a single project can be made in five colorways for the price of a coffee. Wrapping the hoop is what hides the metal and holds the whole piece together, and hanging the tassels in shades that sit near each other rather than matching exactly is what stops it looking like a kit.
Get the full tutorial at Creative Fashion Blog.
16. Woven Necklace DIY
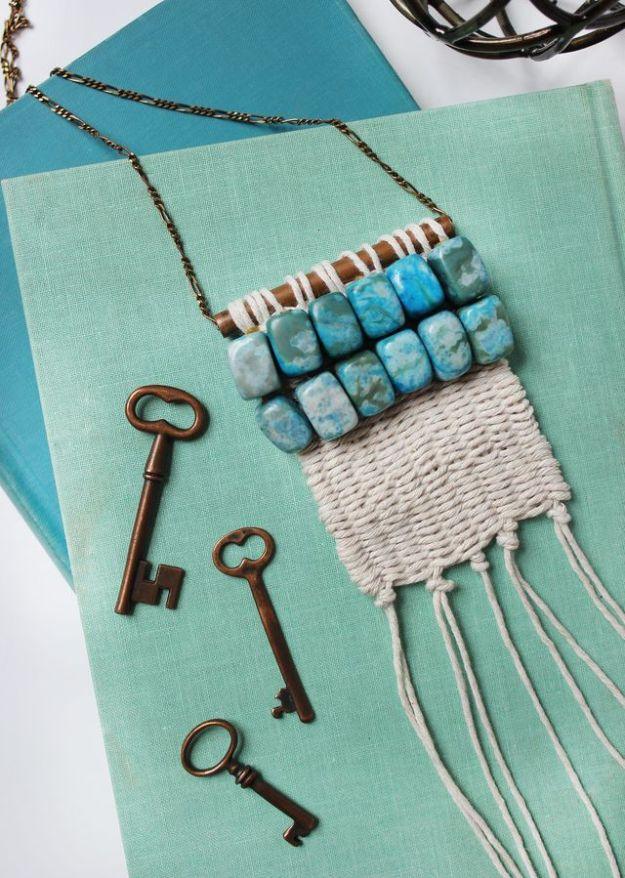
A small woven panel of cream twine hung from a bar of turquoise stones with long fringe falling below, which is essentially a miniature wall hanging you can wear. A Beautiful Mess warps a piece of thick cardboard about five by seven inches with ten rows of cotton twine, then weaves over and under with a tapestry needle. The trick worth knowing is pulling each new row up into a hill before pressing it flat, because that slack is what stops the weaving drawing in at the waist. Twelve turquoise stones and a four inch length of copper pipe finish the top.
Get the full tutorial at A Beautiful Mess.
17. Easy DIY Ring with Tassels
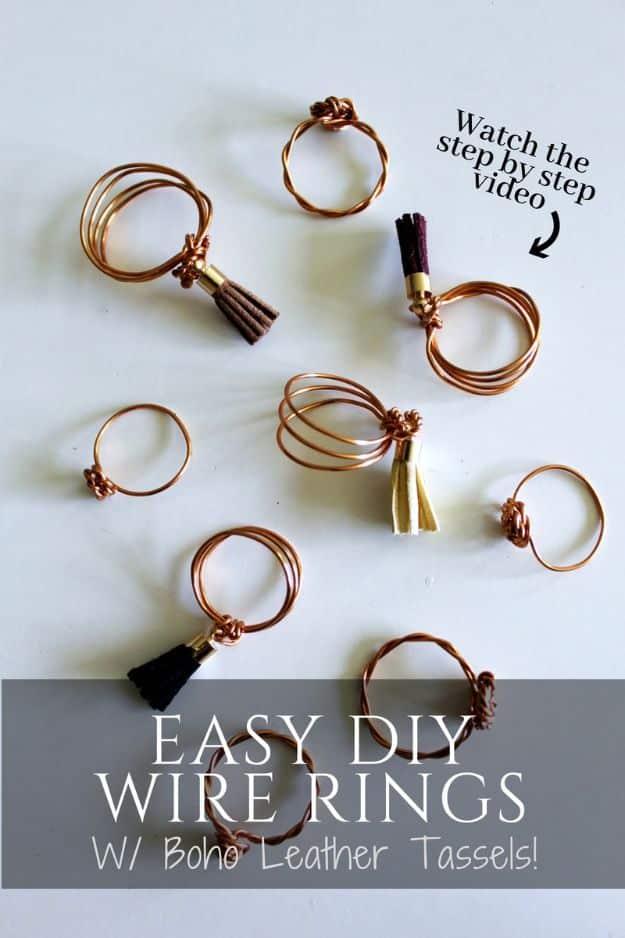
Copper wire wrapped into stacked rings, several of them finished with a small leather tassel hanging from the band. Craft wire is the friendliest jewelry material there is because it is soft enough to shape with your fingers and cheap enough that a mistake costs nothing, so a whole set of mismatched stacking rings is an evening’s work. Vary the number of wraps from ring to ring so they sit together as a set rather than reading as a failed attempt at matching, and let one or two carry a tassel for movement.
Get the full tutorial at Creative Fashion Blog.
18. DIY Woven Hair Tie Headband
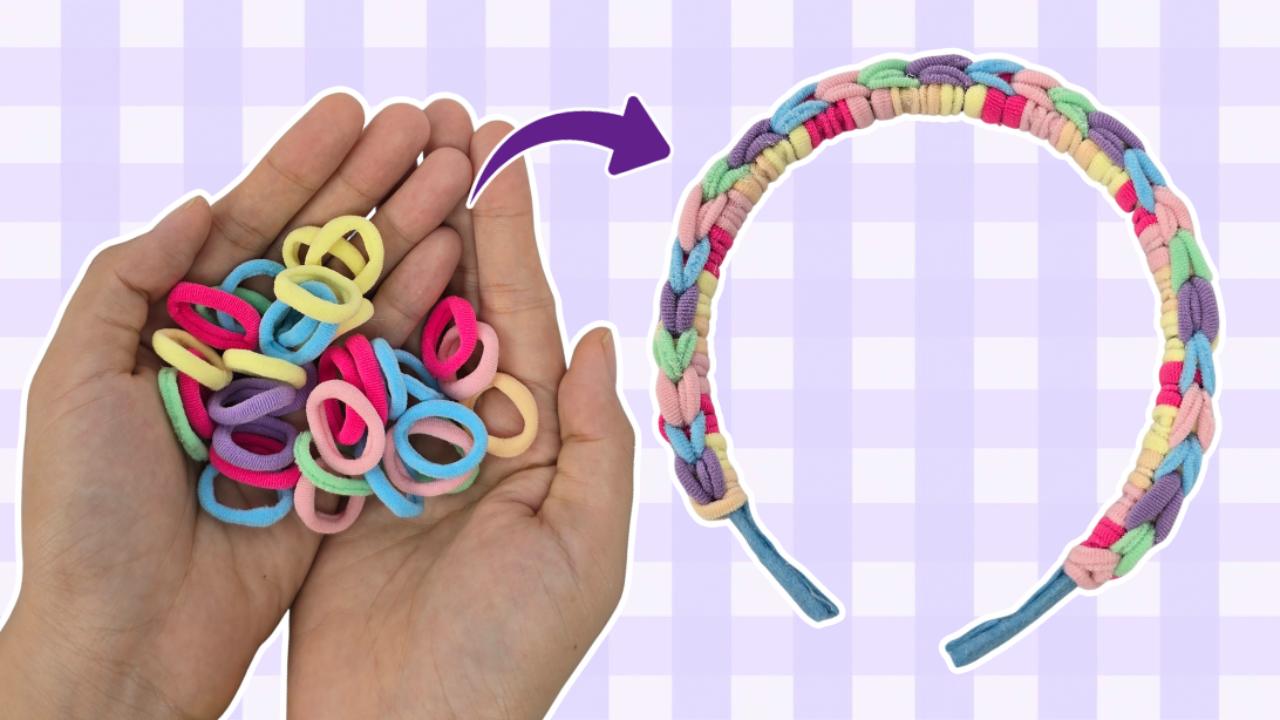
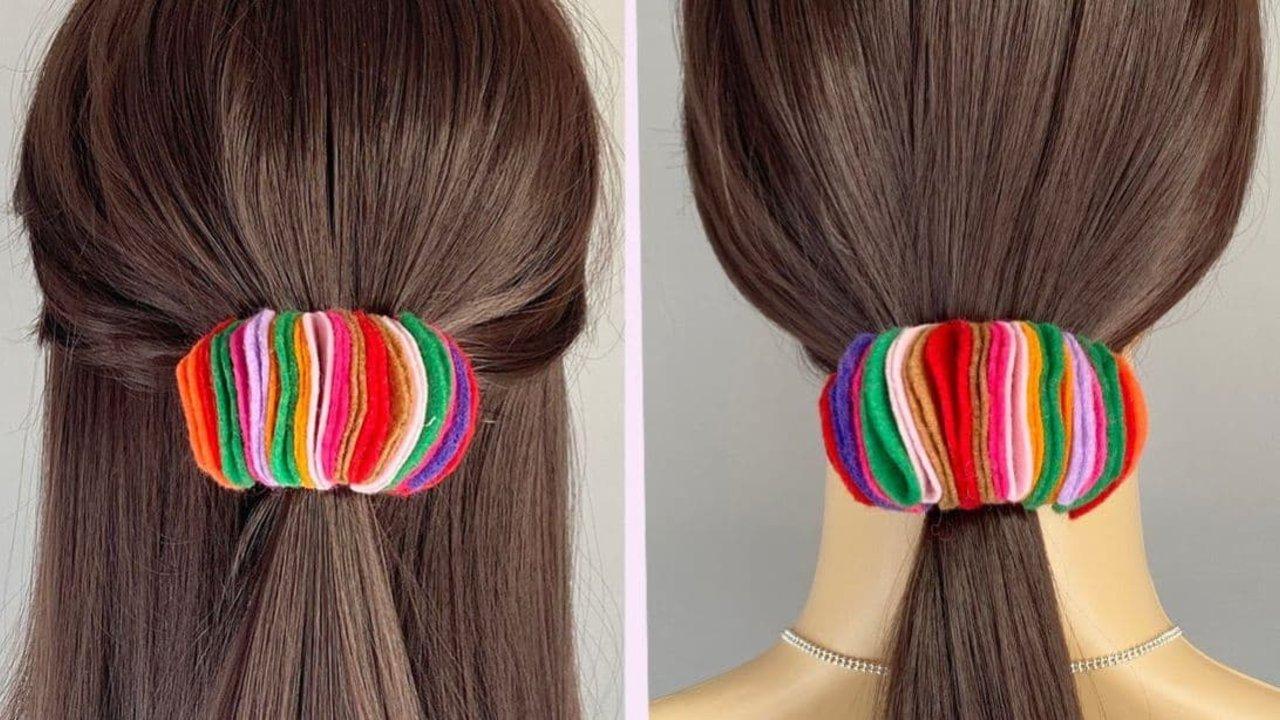
Elastic hair ties woven over a plain headband base until the metal disappears under a band of color, finished at each end with felt and hot glue. Start by laying hair ties horizontally across the base as your foundation, then loop and secure each new one through the last to build the weave along the band. Keep going to the far end, then cover the raw ends with small felt pieces glued down. Hair ties cost almost nothing in a multipack and come in every color, so one pack makes several headbands and nothing has to be sewn.
Get the full tutorial at Sueeye.
19. DIY Boho Style Earrings
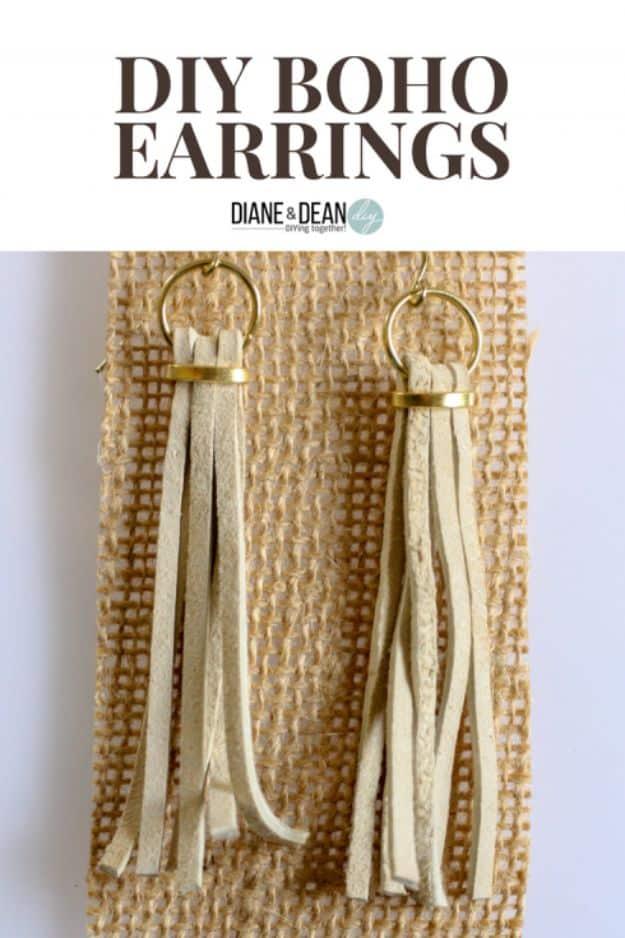
Long cream suede fringe earrings made from leather cording, a jump ring, a D ring and a fishhook ear wire, and they take about five minutes each. Pretty Handy Girl cuts three strands at six inches, threads a large jump ring through the centre of all three, bends the cording in half over the ring so six strands hang down, then slides a D ring onto the cords at the top, widening it with pliers and flattening it back afterwards. Open the fishhook wire, attach it to the jump ring and close it, then trim the fringe to the length you want.
Get the full tutorial at Pretty Handy Girl.
20. Crystal Pendant
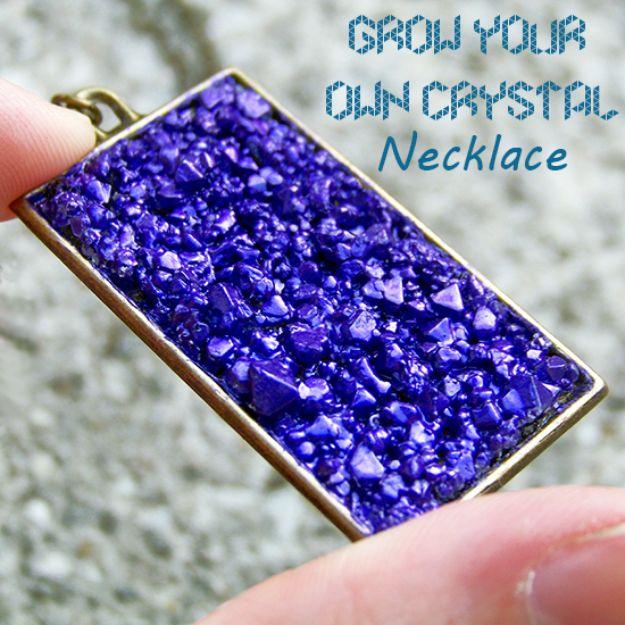
Real crystals grown at home from alum and set into a metal pendant blank, then colored and sealed. The Cwafty Blog warms one to two cups of water in a jar and adds about half a container of alum, noting that more alum grows larger crystals faster, then waits ten to fifteen days. Color comes from watercolor or metallic nail polish over Mod Podge, and the watercolor advice matters: use as little water as possible, because Mod Podge is water soluble and will lift. One coat of nail polish is enough. Her best batch came from a jar she forgot about for a month.
Get the full tutorial at The Cwafty Blog.
21. DIY Fringe Studded Leather Necklace
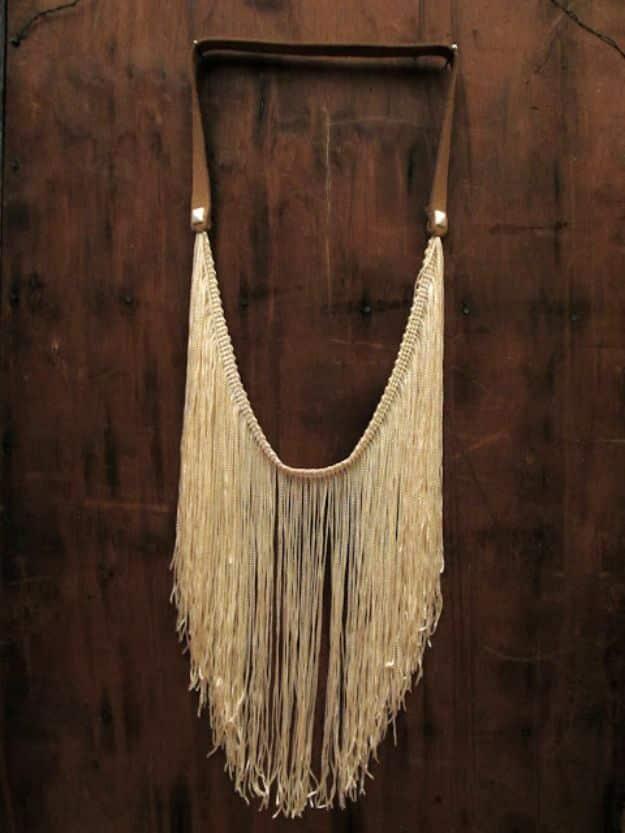
A bib of pale rayon chainette fringe hanging from a studded leather strap, hung on a dark wooden board. Runaway Thrift cuts nine inch chainette fringe to fifteen inches and the leather to seventeen, slightly over an inch wide so there is room either side of the studs. Cut holes in the leather ends, pull the fringe through with enough spare that it cannot pull apart in wear, glue the ends and fold them up onto the back. Then set the studs, and expect to adjust as you go, because doubled leather is thicker than you think. Position them to sit at the collarbones.
Get the full tutorial at Runaway Thrift.
22. DIY Brass Boho Earrings
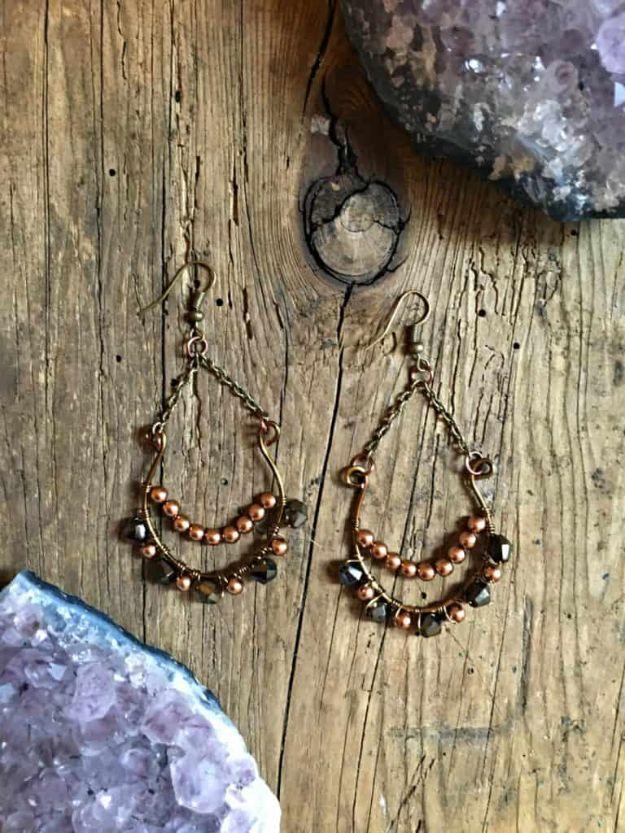
Teardrop earrings made by wrapping fine brass wire and small beads around a heavier wire frame, then bending the frame around something cylindrical. Crafty Little Gnome cuts two lengths of 16 gauge wire at about five inches and a 12 inch piece of 24 gauge, wraps the thin wire tightly around the thick one four or five times, then adds a bead and wraps three more times, alternating bead types until the beaded section runs about halfway round. Slide that section to the centre, then curve the whole thing around a fat marker. She used 3 mm pearls and 4 mm bicone crystals.
Get the full tutorial at Crafty Little Gnome.