
How to Deep Clean Between Your Oven Doors: A Comprehensive Guide for Non-Self-Cleaning Models
For many of us, the heart of the home lies in the kitchen, and a well-maintained oven is crucial for culinary adventures. Whether you cherish the charm and durability of a vintage oven or simply prefer your reliable older model, knowing how to properly clean an appliance that isn’t a modern self-cleaning unit is an invaluable skill. One of the most challenging areas to tackle is the space hidden between the oven door glass panels, where grease and food splatter often accumulate, creating stubborn, baked-on grime.
When we discovered this truly effective oven door cleaning hack video tutorial by Andrea Jean Cleaning on YouTube, we were thrilled to find a method that makes this daunting task remarkably straightforward and efficient. This guide expands on her excellent technique, offering a comprehensive, step-by-step approach to achieve a sparkling clean oven door. Beyond just aesthetics, a clean oven operates more efficiently and hygienically, enhancing your overall cooking experience.
Before diving into the specifics, it’s vital to distinguish between different oven types. If you own a newer, self-cleaning oven, it’s generally advised to rely solely on its self-cleaning function. Using abrasive cleaners or methods intended for manual cleaning on such models can potentially damage the oven’s specialized enamel coating or heating elements, thereby voiding your warranty. This guide is specifically tailored for ovens that lack a self-cleaning feature, or for areas of any oven where the self-cleaning function doesn’t reach effectively.
The Hidden Grime: Why Cleaning Between Oven Doors Matters
Over time, cooking fumes, grease, and microscopic food particles can seep between the inner and outer glass panels of your oven door. This creates unsightly streaks, smudges, and a cloudy film that can be incredibly frustrating, as it’s out of reach for conventional cleaning methods. This buildup not only detracts from your oven’s appearance but can also lead to unpleasant odors, especially when the oven heats up. Furthermore, excessive grime can impact your oven’s insulation properties, potentially leading to slightly less efficient heating. Tackling this hidden dirt is a significant step towards a truly clean kitchen appliance.
Gather Your Arsenal: Essential Materials to Clean In Between Your Oven Doors
Having the right tools at hand will make this cleaning process much smoother and more effective. You might already own many of these items, proving that a deep clean doesn’t always require specialized, expensive equipment.
Tools for Disassembly:
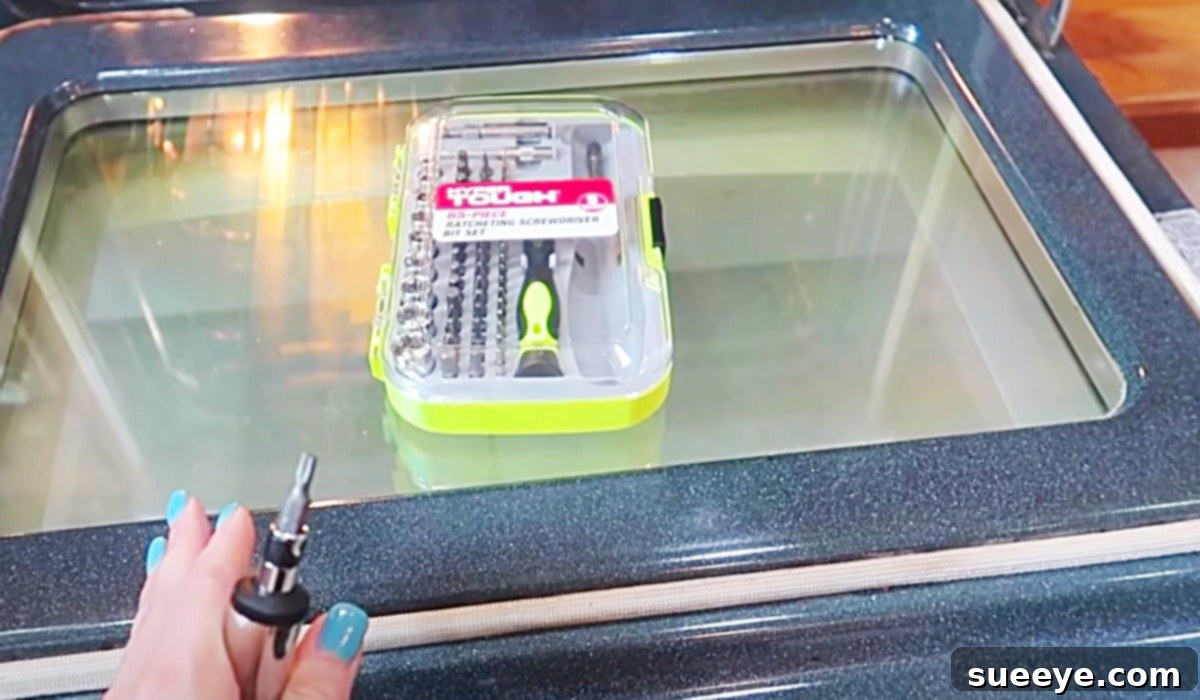
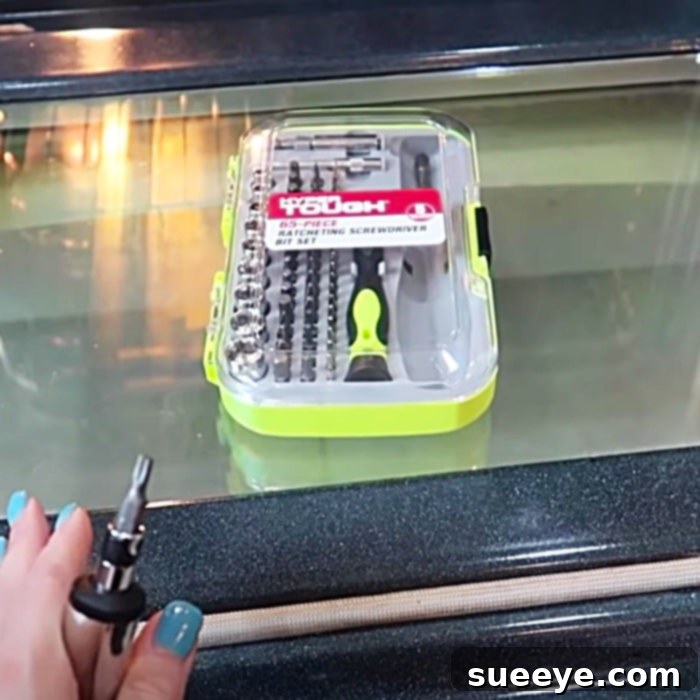
- A Small Set of Tools (or a Drill with Bits): You’ll likely need screwdrivers (Phillips head and possibly flathead) to remove the screws securing your oven door panels. A drill with appropriate bits can speed up this process, but manual screwdrivers work perfectly well.
Cleaning Agents:
- A Bowl: For mixing cleaning solutions or holding water.
- Dish Soap (Liquid): A gentle degreaser that works well for initial cleaning and loosening lighter grease.
- Easy-Off Oven Cleaner (or similar heavy-duty oven cleaner): This is crucial for tackling baked-on, stubborn grease and carbon deposits. Ensure you choose a cleaner suitable for your oven’s interior if you plan to use it elsewhere, and always read the product’s safety instructions carefully.
Scrubbing and Scraping Aids:
- An Old Cloth (or several microfiber cloths): For wiping away cleaner, scrubbing, and polishing. Make sure they are clean and absorbent.
- Some Steel Wool (or a Brillo Pad/Scouring Pad): Excellent for abrasive scrubbing on tough spots, but use with caution on glass to avoid scratches.
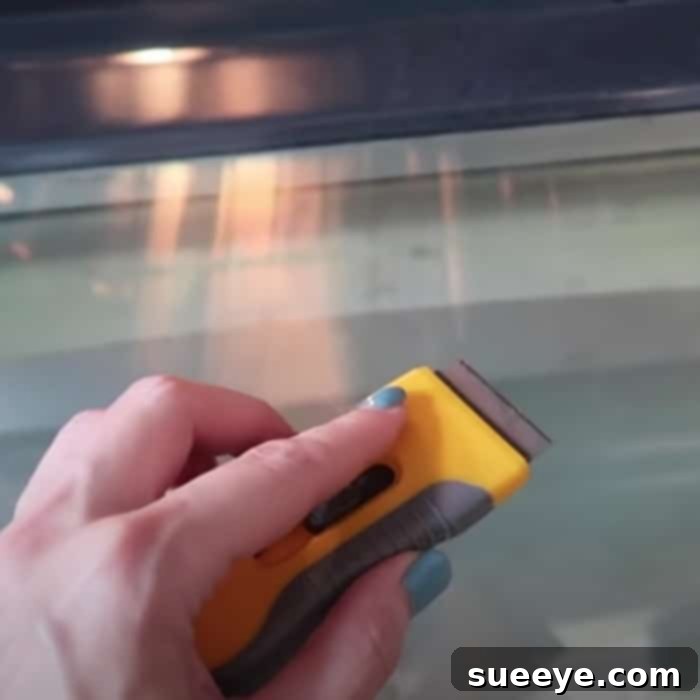
- A Razor Blade Scraper: This tool is incredibly effective for carefully scraping off hardened, caked-on food residue and grease from glass surfaces. Ensure you use it at a shallow angle to prevent scratching.
Additionally, remember to have rubber gloves for hand protection and ensure your kitchen is well-ventilated during the cleaning process.
Step-by-Step Guide: Deep Cleaning Your Oven Door
This comprehensive guide will walk you through the process of cleaning between your oven doors, making it much easier than you might anticipate. Based on the insights from Andrea Jean Cleaning’s excellent tutorial, we’ll cover each stage in detail.
Step 1: Preparation and Safety First
Before you begin any cleaning, safety is paramount. First, ensure your oven is completely cool to the touch. Attempting to clean a hot oven is not only ineffective but can also be dangerous. For an added layer of safety, consider unplugging the oven from its power source if it’s easily accessible. Clear a spacious, well-lit area where you can comfortably work on the oven door, as you’ll be removing and disassembling it. Lay down old towels or newspapers to protect your floor or countertop from potential spills or scratches.
Step 2: Carefully Disassemble the Oven Door
This step might seem intimidating, but it’s often simpler than it appears. Most oven doors are designed to be relatively easy to take apart for maintenance. Begin by examining your oven door for visible screws. These are typically located along the inner edge of the door, on the sides, or sometimes beneath decorative trim. Using your screwdriver or drill, carefully remove these screws. Keep them in a small container or a magnetic tray so they don’t get lost. Once the screws are removed, gently separate the inner panel from the outer panel. You may need to carefully pry them apart or slide a glass panel out of its frame. Pay close attention to how the pieces fit together, as this will be crucial for reassembly. Note the order and orientation of any glass panels or spacers.
The image above illustrates an oven door in its disassembled state, showcasing the inner workings and layers of glass that accumulate grime. This visual reference should help you understand what to expect once you begin taking your door apart. Remember to handle the glass panels with care to avoid chips or breaks.
Step 3: Initial Attack: Scraping Baked-On Debris
With the glass panels exposed, you’ll likely see layers of baked-on grease and carbon. This is where your razor blade scraper becomes an indispensable tool. Hold the scraper at a very shallow angle (almost flat against the glass) and gently push it across the surface, carefully lifting and scraping away the hardened debris. For safety, always scrape away from yourself and keep your fingers clear of the blade. This initial scraping removes the bulk of the heavy residue, making subsequent cleaning steps much more effective. Be patient and systematic, working across the entire surface of the glass panels.
Step 4: Applying and Working the Oven Cleaner
Once you’ve scraped off the larger pieces of grime, it’s time for the heavy-duty oven cleaner. Ensure your kitchen is well-ventilated – open windows and turn on exhaust fans. Put on your rubber gloves. Spray or apply the Easy-Off oven cleaner directly onto the soiled glass surfaces and other greasy internal components of the door. Be generous, especially on areas with thick grime. Allow the cleaner to sit and penetrate for the time recommended on the product label (usually 20-30 minutes, or longer for extremely tough stains). This dwell time is crucial as it allows the powerful chemicals to break down the hardened grease and carbon deposits.
Step 5: Intensive Scrubbing and Wiping
After the cleaner has had sufficient time to work, take your steel wool or Brillo pad and begin scrubbing the treated surfaces. Focus on the areas where the grime is thickest, applying firm but not excessive pressure. For areas that still resist, you can reapply a small amount of cleaner and let it sit for a few more minutes before scrubbing again. Use your old cloths to wipe away the loosened grime and cleaner residue. You may need several cloths as they will quickly become saturated with dirt. For corners and edges, you can wrap a cloth around a screwdriver or a thin tool to reach into tight spots.
The image above depicts the detailed cleaning process, highlighting the effort involved in scrubbing away the accumulated grease and dirt. This level of detail is necessary to ensure every inch of the glass and internal components are pristine.
Step 6: The Final Rinse and Polish
Once you’ve scrubbed away all the visible grime, it’s critical to thoroughly remove all traces of the chemical cleaner. Dampen a clean cloth with plain water and meticulously wipe down all surfaces. Rinse and wring out the cloth frequently, ensuring you’re not just spreading residual cleaner. Repeat this step multiple times until the cloth comes away clean and there’s no soapy or slippery feeling on the glass. For a streak-free finish on the glass panels, you can use a separate glass cleaner or a mixture of white vinegar and water, buffing with a clean, dry microfiber cloth. This final polish will make your oven door sparkle like new.
Step 7: Reassembly: Putting It All Back Together
Before reassembling, ensure all parts are completely dry. Carefully reverse the disassembly process. Place the glass panels back into their correct positions, ensuring they are oriented as they were originally. Realign the inner and outer door panels and secure them with the screws you removed earlier. Do not overtighten the screws, as this can strip them or damage the door components. Test the door’s operation to ensure it opens and closes smoothly. Once reassembled, your oven door should look visibly cleaner, with bright, transparent glass.
Crucial Safety Precautions During Oven Cleaning
Working with powerful chemicals and sharp tools requires careful attention to safety. Always wear rubber gloves to protect your hands from harsh oven cleaners, which can cause skin irritation or chemical burns. Ensure adequate ventilation in your kitchen by opening windows and using an exhaust fan to minimize inhalation of fumes. When using a razor blade scraper, always direct the blade away from your body and keep it at a very shallow angle to prevent scratches or cuts. Never mix different cleaning products, especially ammonia-based cleaners with bleach, as this can create dangerous toxic fumes. If you accidentally get cleaner in your eyes or on your skin, flush thoroughly with water and seek medical attention if irritation persists.
Pro Tips for a Spotless Finish and Lasting Clean
- Ventilation is Key: Don’t underestimate the importance of fresh air when using oven cleaners. Good airflow helps disperse fumes and makes the process more comfortable and safer.
- Don’t Rush the Process: Allow the oven cleaner sufficient dwell time. Rushing this step will mean less effective cleaning and more scrubbing for you. Patience pays off.
- Regular Maintenance: To prevent heavy buildup, wipe down visible spills and splatters inside your oven after each use, once the oven has cooled. A quick wipe can save you from another deep cleaning session sooner than you’d like.
- Know Your Oven Type: As mentioned, self-cleaning ovens have specific guidelines. Never use chemical oven cleaners inside a self-cleaning oven, as this can damage the lining and void the warranty. The self-cleaning function works by superheating the oven interior to incinerate food residue into ash, which can then be simply wiped away. Manual cleaning methods are specifically for ovens without this feature or for areas like between glass panels that the self-cleaning cycle might not fully reach.
- Protect Surroundings: Place old towels or newspaper on the floor or counter around your oven and door parts to catch any drips or debris, protecting your surfaces.
- Warm Water Rinse: Using warm water for the final wipes can help dissolve any remaining residue more effectively than cold water.
Beyond the Sparkle: Benefits of a Clean Oven
A thoroughly cleaned oven, especially one with a pristine door, offers numerous advantages beyond mere aesthetics. Firstly, it significantly improves kitchen hygiene by eliminating a breeding ground for bacteria and mold that can thrive in neglected food residues. Secondly, a clean oven operates more efficiently. Baked-on grime can sometimes absorb heat, leading to uneven cooking and longer preheating times. Removing this buildup allows heat to circulate more effectively and ensures your food cooks evenly. Thirdly, eliminating burning food particles means an end to unpleasant smoke and odors that can taint your dishes and permeate your home. Finally, regular cleaning and maintenance can extend the lifespan of your appliance, protecting your investment and ensuring many more years of delicious meals.
Conclusion
Cleaning between your oven doors might seem like a formidable task, but with the right tools, a clear plan, and a bit of patience, it’s entirely achievable. By following this detailed guide, you can transform a neglected, grimy oven door into a sparkling, transparent window into your culinary creations. The satisfaction of a truly clean oven is immense, contributing to a more hygienic, efficient, and enjoyable cooking environment. So roll up your sleeves, gather your supplies, and get ready to reveal the brilliance hidden within your oven door!