
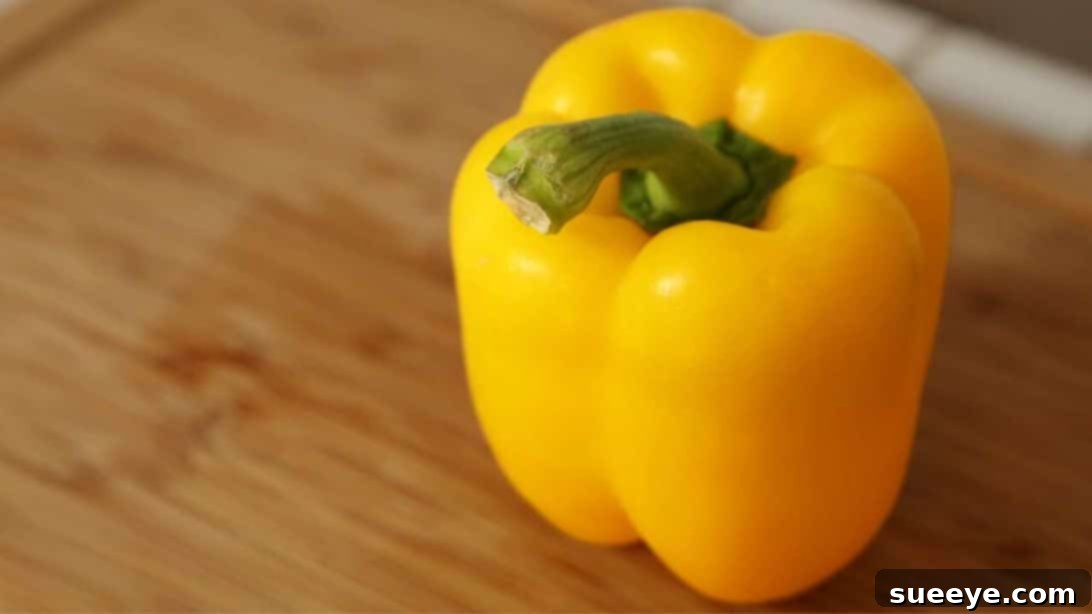
Mastering Bell Pepper Cuts: An Easy Guide for Every Cook
Bell peppers, often celebrated for their vibrant colors and crisp texture, are a beloved ingredient in kitchens worldwide. While botanically classified as fruits, they are universally treated as vegetables in culinary applications, gracing everything from fresh salads to hearty stir-fries. These versatile gems come in a spectrum of colors—green, yellow, orange, and red—each offering a subtly distinct flavor profile. Green bell peppers, harvested earlier, tend to have a slightly bitter, grassy note, while their red counterparts, fully ripened, boast a remarkable sweetness and milder taste, making them a favorite for many.
Their culinary versatility is truly impressive. From being the star in dishes like Mexican Stuffed Bell Peppers, offering a delightful container for savory fillings, to adding crunch and flavor in hearty meals such as Skillet Fried Cabbage With Bacon, Sausage, & Bell Peppers, or lending their unique zest to an Asian-inspired classic like Chinese Take Out Pepper Steak, bell peppers are an indispensable ingredient for countless recipes.
Beyond their delightful taste and versatility, bell peppers are also packed with nutritional benefits. They are an excellent source of Vitamin C, often containing more than an orange, and are rich in Vitamin A, antioxidants like beta-carotene, and dietary fiber. Incorporating bell peppers into your diet can support immune function, improve skin health, and aid digestion. Their low-calorie count makes them a perfect addition for those mindful of their health and well-being.
One of the most delightful ways to enjoy bell peppers is when they are roasted. The roasting process transforms their texture, softening them to a tender consistency, and intensifies their natural sweetness, adding a rich, smoky, and caramelized depth of flavor that is truly irresistible. Whether tossed into salads, blended into sauces, or simply enjoyed on their own, roasted peppers are a culinary treat worth trying. However, for all their wonderful attributes, bell peppers can sometimes present a minor challenge: their somewhat awkward shape and tough skin can make them tricky to cut, especially without a sharp knife. Moreover, the internal membrane and seeds, which have a distinctly bitter taste and gritty texture, must be carefully removed to ensure the best flavor and eating experience.
If you’ve ever found yourself dreading the task of preparing bell peppers, struggling with an unwieldy shape, or painstakingly scraping out stubborn seeds, you’re not alone. But fret not, for there’s a simple, elegant method that can transform your bell pepper prep from a chore into a breeze. This technique, championed by culinary experts like The Domestic Geek, streamlines the process, ensuring you get perfectly cleaned and ready-to-use bell pepper pieces every time, without unnecessary waste or frustration.
RELATED: How to Cut a Pineapple in Under 5 Minutes
Before we dive into the steps, it’s worth noting that the right cutting method not only saves you time but also enhances your cooking experience. Efficient preparation means less mess, more consistent pieces for even cooking, and ultimately, better-tasting dishes. So, let’s explore this ingenious way to handle bell peppers, ensuring every slice is a step towards culinary perfection.
Here’s another helpful tip for your kitchen endeavors: The Right Way to Cut a Watermelon
A Professional Approach: How to Efficiently Cut a Bell Pepper
Achieving clean, uniform bell pepper pieces doesn’t require advanced knife skills; it simply requires a smart approach. This method focuses on stability, safety, and maximizing the usable flesh while minimizing effort in seed and membrane removal. Follow these steps for an effortless bell pepper preparation:
Step 1: Create a Stable Base by Removing the Stem and Base
Safety and stability are paramount when working with a knife. Begin by placing your bell pepper on a cutting board. Using a sharp chef’s knife, carefully slice off the top part of the bell pepper, including the stem. Aim to cut just below where the stem meets the pepper’s shoulder, creating a flat, stable surface. Repeat this process by slicing off the very bottom of the bell pepper, again creating another flat surface. This dual flat base ensures your pepper won’t roll or wobble during the subsequent cutting steps, making the process much safer and more precise. Discard the stem and base pieces as they typically contain the tough core and a concentration of seeds.
Step 2: The “Petal” Method for Core and Seed Removal
Now that your bell pepper has two flat ends, place it upright on one of these cut surfaces. Starting from the top, run your knife carefully along the natural curvature of the pepper’s internal walls. Imagine you are cutting down just inside the outer skin, separating the fleshy “petals” of the pepper from the central core, membrane, and seeds. Continue rotating the pepper and making these vertical cuts until you have detached all four or more segments of bell pepper flesh. The goal is to cut away all the vibrant, usable flesh while leaving behind the bitter white membrane and the seed-filled core intact. If a few small pieces of membrane or stray seeds remain on your separated bell pepper segments, don’t worry. You can easily scrape them off with the edge of your knife or a spoon, ensuring your bell pepper pieces are perfectly clean and ready for cooking. This method not only minimizes waste but also keeps the mess of seeds contained to a single, easily discardable core.
Step 3: Preparing Your Cleaned Bell Pepper Pieces
With the core, seeds, and membrane efficiently removed, you are now left with beautiful, flat, and clean pieces of bell pepper flesh. These segments are incredibly easy to work with and can be cut into any shape your recipe calls for. Lay one of these flat pieces skin-side down on your cutting board for maximum stability.
- For Strips (Julienne): Slice the bell pepper segment lengthwise into even strips. The thickness will depend on your preference and the dish—thinner strips for stir-fries and fajitas, thicker ones for salads or crudités.
- For Diced Bell Peppers (Small Cubes): First, cut the segment into strips as described above. Then, gather a few strips together and cut them crosswise into small, uniform cubes. This is perfect for sauces, omelets, and casseroles.
- For Rings: If your recipe requires bell pepper rings (e.g., for sandwiches or garnishes), you would typically cut these from the whole pepper before removing the core, but a more consistent ring can be achieved by carefully slicing across a wider, flatter segment, though this method is less common for rings. For the most part, the “petal” method focuses on getting clean, flat pieces for strips and dice.
This organized approach not only makes the cutting process faster and cleaner but also significantly improves the consistency of your cuts, which is vital for even cooking and appealing presentation.
The Best Way to Cut a Bell Pepper for Any Recipe
What makes this method truly the “best way” to cut a bell pepper? It’s a combination of efficiency, waste reduction, and ease. By first creating a stable base and then systematically cutting around the core, you eliminate the most cumbersome parts of the bell pepper (the stem, core, seeds, and bitter membrane) in one swift motion. This leaves you with large, flat, and uniform pieces of flesh that are incredibly easy to slice, dice, or chop into any desired shape. You avoid the messy ordeal of scooping out seeds and peeling off membrane from inside a hollowed pepper, which can be time-consuming and often leads to less usable flesh. This technique is particularly beneficial for home cooks seeking to streamline their meal prep and achieve professional-looking results without fuss.
Choosing and Storing Bell Peppers for Optimal Freshness
To ensure your culinary creations are always at their best, starting with high-quality bell peppers is key. When selecting bell peppers, look for those that are firm to the touch, have a smooth, shiny skin, and feel heavy for their size. Avoid peppers with soft spots, wrinkles, or any visible blemishes. The stem should look fresh and green. Different colors are simply stages of ripeness; green peppers are unripe, while red, yellow, and orange peppers are fully ripened and sweeter. Choose the color that best suits your recipe’s flavor profile.
Once home, proper storage can significantly extend their shelf life. Store whole, unwashed bell peppers in the crisper drawer of your refrigerator. They can last for up to 1-2 weeks. If you’ve cut a bell pepper and have leftovers, store the pieces in an airtight container or a sealed plastic bag in the refrigerator, where they will remain fresh for about 3-5 days. For longer storage, bell peppers can also be frozen, either raw (blanched or unblanched) or roasted, making them convenient for future cooking.
Bell Peppers in the Global Kitchen: More Than Just a Garnish
Bell peppers are not just a visually appealing ingredient; they are fundamental to many global cuisines. In Mediterranean dishes, they are often roasted, grilled, or stewed, lending a sweet and smoky depth. Think of Spanish Pisto, Italian Peperonata, or Greek Salads. In Asian cooking, their crispness and vibrant color make them perfect for stir-fries, adding texture and a mild sweetness that balances savory sauces. Mexican and Tex-Mex cuisines heavily rely on bell peppers for fajitas, salsas, and stuffed peppers, where their robust flavor shines through. Even in Eastern European cooking, they find their way into goulash and stuffed dishes. Their versatility allows them to be enjoyed raw, providing a refreshing crunch in salads and dips, or cooked, where their flavors mellow and sweeten.
Common Mistakes to Avoid When Cutting Bell Peppers
While the method above simplifies the process, here are a few common mistakes to avoid for the best results:
- Dull Knives: A dull knife is not only inefficient but also dangerous. It requires more force, increasing the risk of slips and injury. Always use a sharp knife for clean, precise cuts.
- Ignoring the Membrane and Seeds: As mentioned, the white membrane and seeds are bitter. Skipping their removal will negatively impact the flavor and texture of your dish.
- Wasting Too Much Flesh: While removing the core is essential, try to cut as close to it as possible to maximize the usable bell pepper flesh. The petal method inherently helps with this by cutting along the natural contours.
- Inconsistent Cuts: For dishes where bell peppers are cooked, inconsistent sizes can lead to uneven cooking. Some pieces might be mushy while others are still crunchy. Aim for uniform pieces.
Frequently Asked Questions About Bell Peppers
Q: Are bell peppers really fruits or vegetables?
A: Botanically speaking, bell peppers are fruits because they contain seeds and develop from the flower of a plant. However, in culinary terms, they are almost universally treated as vegetables due to their savory flavor profile and how they are used in cooking, much like tomatoes or cucumbers.
Q: What is the nutritional difference between green and red bell peppers?
A: While all bell peppers are nutritious, red bell peppers are generally more nutrient-dense than green ones. Red peppers are fully ripened and have higher levels of Vitamin C, Vitamin A (beta-carotene), and various antioxidants compared to green peppers, which are unripe. Red peppers are also sweeter and milder in taste.
Q: Can I eat bell pepper seeds?
A: While eating bell pepper seeds won’t harm you, they are generally removed before cooking because they have a bitter taste and a slightly gritty texture. The white membrane, or pith, is also bitter and should be removed for the best flavor.
In conclusion, mastering the art of cutting bell peppers is a simple skill that can significantly elevate your cooking experience. By adopting this efficient, mess-free method, you’ll not only save time and effort but also ensure that every bell pepper you prepare is perfectly clean, flavorful, and ready to contribute its vibrant best to your culinary creations. So grab a sharp knife, choose your favorite colored bell pepper, and get ready to transform your kitchen prep!