
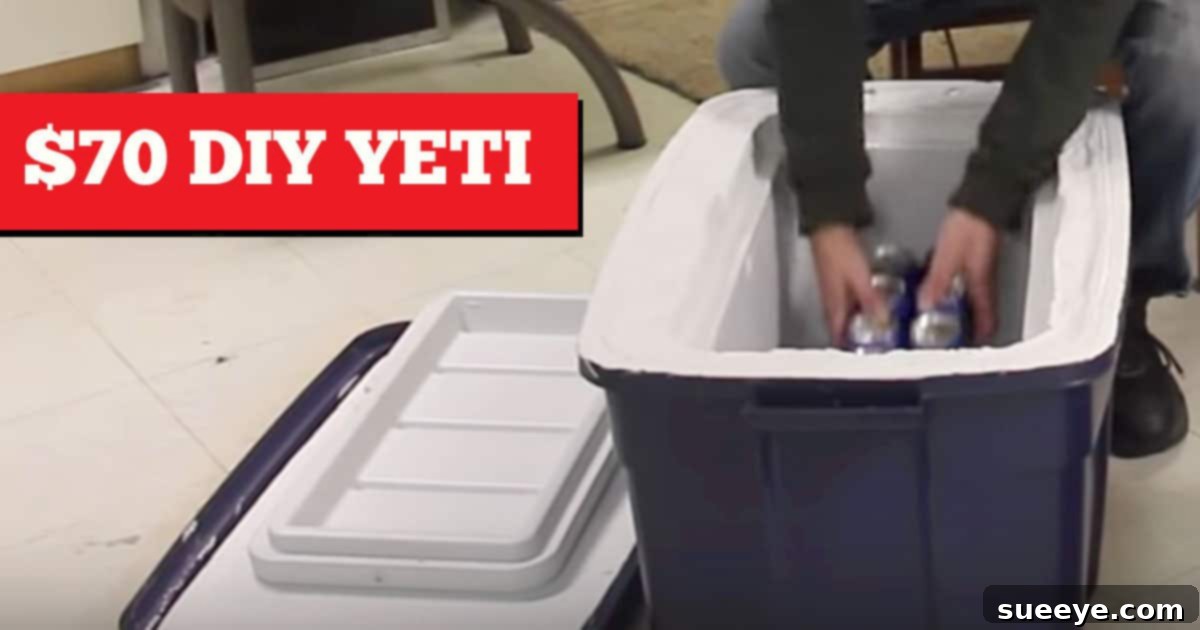
Build Your Own High-Performance DIY Yeti Cooler for Under $70
For outdoor enthusiasts, adventurers, and anyone who enjoys a perfectly chilled beverage, a reliable cooler is an indispensable companion. Yet, the market is dominated by premium brands like Yeti, which, despite their undeniable quality and legendary ice retention, come with a prohibitive price tag ranging anywhere from $250 to over $1000. For many, including myself, such an investment simply isn’t feasible when balancing daily expenses and financial obligations.
I yearned for the superior cooling performance of a high-end cooler but couldn’t justify the exorbitant cost. That’s when I stumbled upon a brilliant solution on YouTube: a DIY Yeti cooler project that promised comparable performance for a mere fraction of the price – specifically, around $70! Intrigued by the potential savings and the challenge of a hands-on project, I knew I had to give it a try. What I discovered was not only an incredibly easy-to-follow process but also an immensely satisfying and fun build that yielded astonishing results.
This guide will walk you through the simple steps to create your own super-insulated cooler, ensuring your drinks stay colder, longer, without breaking the bank. Forget those expensive brand names; it’s time to craft a cooler that truly performs.
Understanding the Secret: The Science of Superior Insulation
The core principle behind high-performance coolers like Yeti is advanced insulation. They’re not just fancy plastic boxes; they’re engineered to minimize heat transfer, keeping the cold in and the heat out. There are three primary ways heat transfers: conduction (through direct contact), convection (through fluid movement), and radiation (through electromagnetic waves). Premium coolers excel by addressing all three.
Our DIY approach directly mimics this by creating a robust double-wall insulation system. At its heart, you’re essentially placing a basic cooler inside a larger, insulated shell. This dual-layer construction, combined with a thick layer of expanding spray foam, creates an impressive thermal barrier. The foam, once cured, becomes a dense, closed-cell structure filled with tiny air pockets. Air is a poor conductor of heat, making it an excellent insulator. This greatly reduces heat transfer through the walls and lid of the cooler, allowing your ice to last for days, not just hours. It’s a testament to simple physics applied creatively.
Gathering Your Budget-Friendly Materials
One of the most appealing aspects of this DIY project is the affordability and accessibility of the materials. You can find everything you need at most general merchandise stores like Walmart or a local hardware store. Here’s a detailed list of what you’ll need, along with some considerations:
- A Traditional Cooler: This will be your inner container. Choose one that fits your desired capacity. Look for a basic, inexpensive cooler – the insulation quality isn’t critical here, as we’ll be significantly upgrading it.
- A Rubbermaid-style Storage Container: This will serve as your outer shell. It needs to be significantly larger than your inner cooler, allowing for several inches of space on all sides and the bottom for the expanding foam. Measure carefully to ensure a good fit with ample room. A sturdy, rectangular shape is ideal.
- 10 Cans of Expanding Spray Foam: This is your primary insulating material. Brands like Great Stuff Insulating Foam Sealant work perfectly. Opt for the “Big Gap Filler” or similar high-yield versions. You’ll need a generous amount to ensure full coverage and dense insulation.
- 4 Small Styrofoam Squares: These will form the initial insulating base for your inner cooler. Standard craft styrofoam sheets, cut into squares, work well. Their purpose is to elevate the inner cooler and create a cavity for foam at the bottom.
- Strong Adhesive/Glue: Such as construction adhesive or waterproof silicone sealant, to secure the styrofoam squares and potentially the inner cooler if desired.
- Sealant Paint (Optional but Recommended): Roofing paint, marine paint, or a durable exterior-grade paint with sealing properties. This provides an additional layer of protection, waterproofing, and a professional finish to the exposed foam.
- Basic Tools: Utility knife or sharp blade, sandpaper or file, drill with small bits (for lid), safety glasses, and gloves.
My total expenditure for these items was approximately $70, proving that high-performance cooling doesn’t have to come with a premium price tag.
Step-by-Step Construction: Building Your Super Cooler
The assembly process is surprisingly straightforward. Here’s how to put your DIY Yeti together, step by step:
Step 1: Preparing the Base Insulation
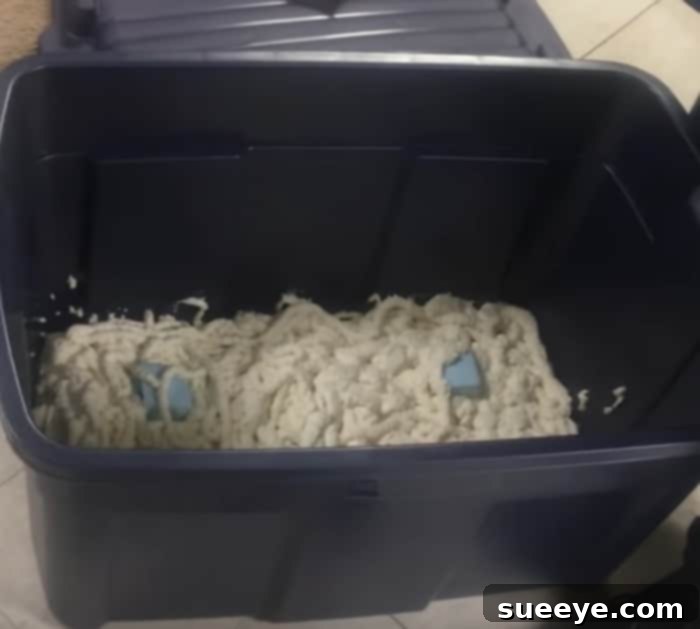
Begin by taking your Rubbermaid storage container (the outer shell). Flip it upside down and apply a generous amount of strong adhesive to the bottom interior. Carefully place your four small styrofoam squares onto the adhesive, spacing them evenly to create a stable base for your inner cooler. These squares will lift the inner cooler, allowing the expanding foam to create a thick insulating layer underneath. Let the adhesive cure according to the manufacturer’s instructions to ensure a strong bond.
Step 2: Positioning the Inner Cooler and Initial Foaming
Once the base styrofoam is securely in place, carefully lower your traditional cooler (the inner container) into the Rubbermaid shell. Ensure it’s centered and stable on the styrofoam squares. There should be a gap of at least 1-2 inches around all sides between the inner cooler and the outer container. This gap is crucial for the expanding foam.
Now, put on your safety glasses and gloves. Start spraying the expanding foam into these side gaps. Begin at one corner and work your way around, applying the foam in layers. Don’t overfill initially, as the foam will expand significantly. Aim to fill about halfway, then allow it to start expanding. You’ll likely need to go back and add more foam as it settles and expands over several hours.
Step 3: Insulating the Lid
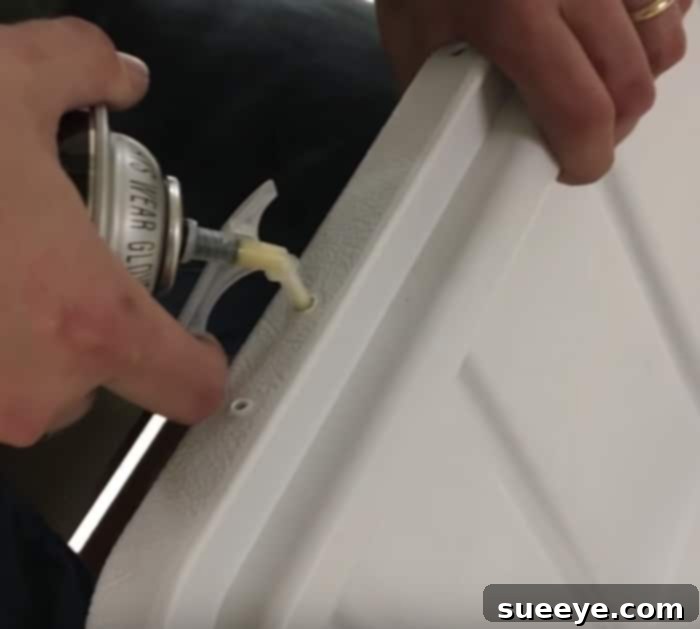
The lid is often an overlooked aspect of cooler insulation, but it’s critical for maintaining internal temperature. Take the lid of your traditional cooler. Using a small drill bit, carefully drill several small holes (e.g., 1/8 inch) into the top surface of the lid, spaced evenly across its area. These holes will serve as injection points for the spray foam. Once the holes are drilled, insert the nozzle of your spray foam can into each hole and inject foam until you feel resistance or see a slight expansion. Be careful not to overfill, as excessive pressure could distort the lid. Seal the holes with a dab of silicone sealant or hot glue once the foam has expanded and dried.
Step 4: Curing and Expanding
This is perhaps the most critical step for optimal insulation. Allow the foam to expand and cure for at least 24 hours, ideally longer, in a well-ventilated area. The foam needs time to fully expand and harden, creating its dense, insulative structure. Resist the urge to touch or manipulate the foam during this period. You’ll notice it growing and filling all the cavities. If there are any significant gaps after the initial expansion, you can carefully add more foam.
The Finishing Touches: Sanding, Sealing, and Customizing
Once the spray foam is completely expanded and dry – which might take a full day or even two depending on humidity and foam type – it’s time to refine your cooler’s appearance and enhance its durability.
Step 5: Shaping and Smoothing the Foam
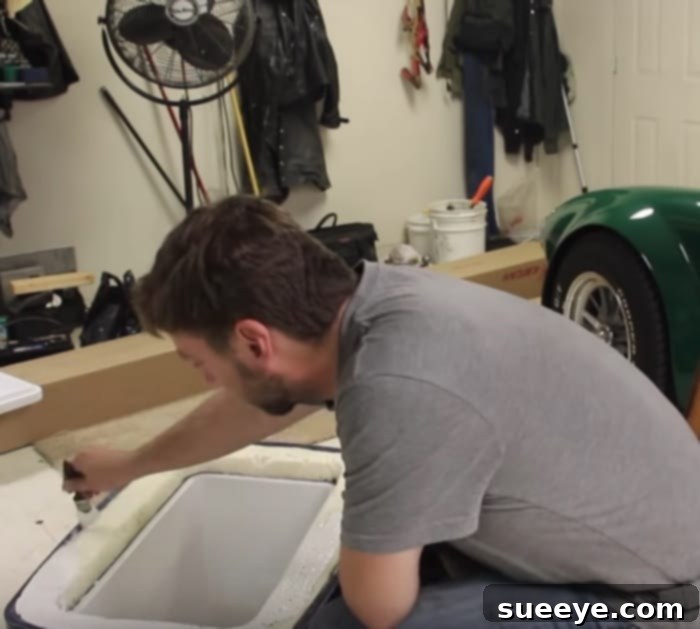
Using a utility knife, sharp blade, or a coarse file/sandpaper, carefully trim and file down any excess foam that has expanded beyond the edges of the containers. The goal is to make the foam level and flush with the rims of both the inner and outer containers, creating a neat and even surface. Take your time to achieve a smooth finish; this will greatly improve the final aesthetic of your cooler.
Step 6: Sealing and Protecting Your Investment
With the foam trimmed, it’s highly recommended to apply a coat of sealing paint. Roofing paint is an excellent choice due to its extreme durability, waterproofing properties, and ability to withstand outdoor elements. Marine paint or any strong, exterior-grade sealant paint would also work. This protective layer will prevent the foam from deteriorating due to UV exposure, moisture, and general wear and tear, significantly extending the lifespan and performance of your DIY cooler. It also gives your cooler a much more finished and professional look.
Step 7: Personalize Your Cooler (Optional)
This is where you can truly make your cooler unique! After the sealing paint has dried, consider adding a custom color with exterior-grade spray paint. You could also attach new heavy-duty handles, bottle openers, or even rubber feet for added stability. Some enthusiasts add rope handles for a more rugged look or attach drain plugs if their inner cooler didn’t have one initially. Let your creativity guide you!
Putting Your DIY Masterpiece to the Ultimate Test
The thrill of completing a DIY project, especially one that saves you so much money, is immeasurable. I was brimming with excitement about my new super-efficient cooler. To celebrate and test its prowess, I hatched a plan to surprise my friends. Over the phone, I cryptically hinted at a surprise, which only fueled their laughter and curiosity, as they’re well-accustomed to my eccentricities.
Arriving at their doorstep, I presented the initial “surprise”: two 18-packs of their favorite beverages. While certainly appreciated, this was a fairly standard gesture from me, not the grand revelation I had promised. The real surprise was waiting. I enlisted my best friend to create a diversion, having him ring the doorbell and draw everyone’s attention away. Meanwhile, I stealthily placed my newly crafted DIY Yeti cooler right on their doorstep.
As my troop of beer-loving friends returned to the door, their eyes landed on the sleek, custom-painted cooler. A collective gasp, followed by an unmistakable yelp of delight, filled the air! The realization dawned on them – this wasn’t just any cooler; this was a high-performance beast, built with love and ingenuity. Instantaneously, they swarmed me, demanding one of our legendary group bear hugs, their cheers echoing my own satisfaction. The evening then unfolded into an unforgettable celebration, with Hank Jr. providing the soundtrack, and our drinks staying perfectly frosty all night long, thanks to my “$70 Yeti.”
Unleash Your Inner Innovator
This DIY Yeti cooler project is more than just a money-saving hack; it’s an empowering demonstration of how simple materials and a basic understanding of physics can yield results comparable to high-end commercial products. You don’t need to spend a fortune to enjoy superior ice retention and keep your provisions perfectly chilled on your next camping trip, fishing excursion, backyard BBQ, or tailgating event.
Take pride in creating something with your own hands that performs exceptionally well. So, gather your supplies, follow these steps, and prepare to impress your friends and family with your very own, incredibly efficient, and budget-friendly DIY Yeti cooler. Happy building!