
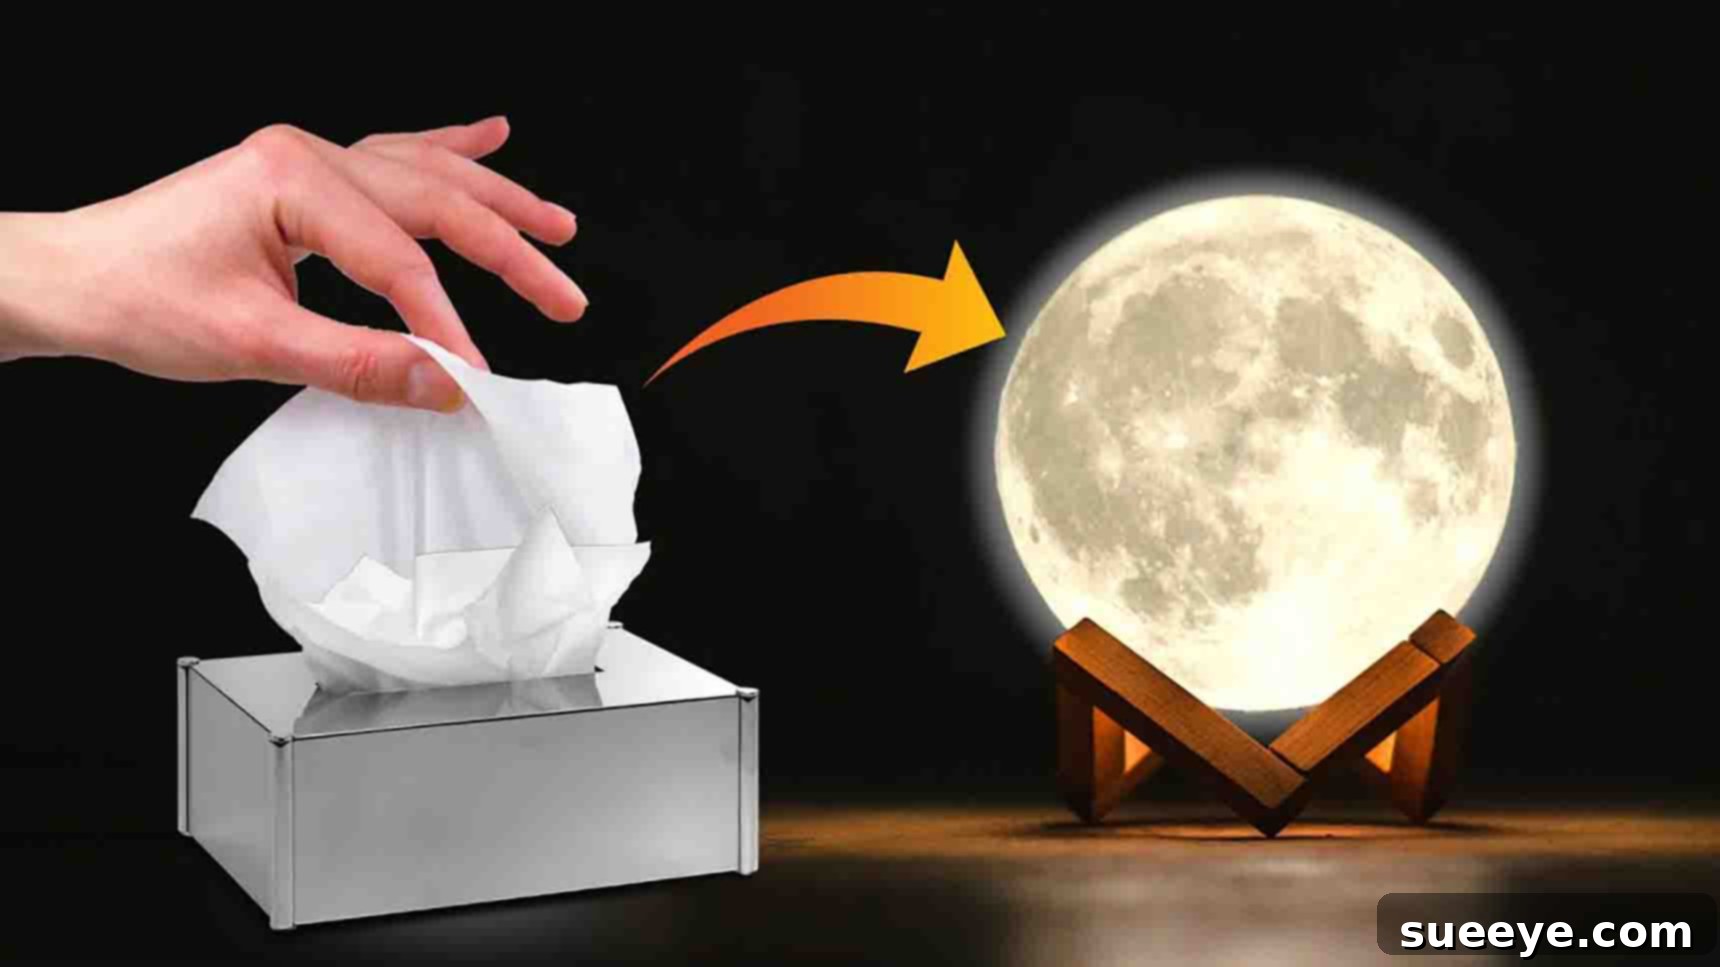
Illuminate Your Space: Easy DIY Moon Lamp Tutorial for Stunning Home Decor
Have you ever gazed at the moon and wished you could bring a piece of its serene glow into your home? Now you can! This incredible DIY moon lamp project, inspired by Crafts Junction, offers a delightful way to create your very own celestial masterpiece. What makes this project truly special is its simplicity and accessibility; you likely already have most of the required materials lying around your house. Imagine transforming everyday crafting supplies into a captivating piece of home decor that radiates a soft, ambient light. Perfect for a weekend activity, a unique gift, or simply adding a touch of cosmic wonder to any room, this DIY moon lamp is a rewarding craft that promises to enchant!
Why Create Your Own DIY Moon Lamp?
Beyond the sheer joy of crafting, making your own moon lamp offers a multitude of benefits:
- Personalized Decor: Unlike mass-produced items, your DIY moon lamp will be unique. You can customize its size, the nuances of its lunar surface, and even how it’s displayed to perfectly match your aesthetic.
- Budget-Friendly: Store-bought moon lamps can be surprisingly expensive. This homemade version utilizes affordable, readily available materials, making it a fantastic economic alternative without compromising on visual impact.
- Sense of Accomplishment: There’s immense satisfaction in creating something beautiful and functional with your own hands. This project is straightforward enough for beginners yet yields a professional-looking result.
- Unique Ambiance: The soft, diffused light from a moon lamp creates a calming and cozy atmosphere, ideal for bedrooms, nurseries, reading nooks, or as a distinctive centerpiece in your living space.
- Creative Outlet: Engaging in DIY projects stimulates creativity and offers a relaxing escape from daily routines. It’s a wonderful way to unwind and express yourself.
- Educational for Kids: It’s a fun, hands-on activity for families, helping children learn about crafts, patience, and even a little about the moon’s texture.
Get ready to embark on a creative journey that will leave you with a stunning, self-made moon lamp that’s sure to be a conversation starter!
Materials You’ll Need
Before you begin, gather all your supplies. Most of these items are common household or craft store staples:
- Tissue paper: White or light-colored tissue paper works best as a base for painting. You’ll need a good amount to create multiple layers.
- Plastic ball or round balloon: This will serve as the mold for your moon lamp. The size of your balloon will dictate the final size of your moon. Ensure it’s sturdy enough to handle the wet tissue paper.
- Crafting glue: White PVA glue (like Elmer’s or Mod Podge) is perfect for papier-mâché. Dilute it slightly with water for easier application.
- Glue gun: Essential for securely attaching the electrical components.
- Cutter: A craft knife or box cutter for precisely opening a section of the moon sphere.
- Scissors: For cutting tissue paper and wires.
- Acrylic paint: White acrylic paint for the base coat, and a super light gray (or a mix of white and a tiny bit of black) for the moon texture. You might also consider hints of cream or very light brown.
- Empty disposable food container: This will become the stable base for your lamp, housing the electrical components. A sturdy plastic container with a lid is ideal.
- Wire: Electrical wire suitable for a lamp, typically with a plug already attached, or wire to assemble with a plug. Safety is paramount here.
- Bulb holder: A standard lamp socket that matches your chosen bulb.
- CFL bulb: Or, preferably, an LED bulb. LED bulbs are safer as they produce very little heat, are energy-efficient, and have a longer lifespan. Avoid incandescent bulbs as they generate too much heat for this project.
- Paint brush: For applying glue and paint smoothly.
- Sponge: A small natural or synthetic sponge for blotting the moon texture.
Detailed Crafting Instructions
Follow these steps carefully to bring your lunar creation to life. Patience, especially during drying times, is key to achieving a beautiful result.
Step 1: Crafting the Spherical Moon Base
Begin by preparing your workspace. Lay down newspapers or a protective sheet to catch any glue or paint drips. Inflate your chosen balloon to your desired moon size. Remember, this will be the final diameter of your lamp.
Now, it’s time for the papier-mâché process. Using your paintbrush, generously apply a layer of crafting glue (diluted if needed for easier spread) all over the balloon’s surface. As you go, carefully place pieces of torn or cut tissue paper onto the glued areas. Smooth out any wrinkles or air bubbles as much as possible. It’s better to use smaller pieces of tissue paper to conform better to the spherical shape. Apply multiple, even layers of tissue paper. Each layer adds strength and opacity, which is crucial for the lamp’s durability and for diffusing the light beautifully. Aim for at least 3-5 layers, ensuring each layer is adequately saturated with glue. Once you’ve applied all your layers, set the balloon aside in a well-ventilated area and allow it to dry completely. This might take 12-24 hours, depending on humidity and the number of layers. A fully dry shell will be firm and rigid.
Once your tissue paper sphere is completely dry and firm, it’s time for the first coat of paint. Using your paintbrush, apply an even layer of white acrylic paint all over the surface. This creates a uniform base, brightens the final glow, and helps obscure any underlying tissue paper patterns. Let this white coat dry completely – typically a few hours.
With the white base dry, you can now add the iconic moon texture. Dip your sponge into a super light gray acrylic paint (or a mixture of white with a tiny touch of black). Blot off any excess paint to prevent heavy splotches. Gently dab and blot the sponge all over the white sphere, creating an uneven, crater-like texture. For added realism, you can vary the pressure or use slightly different shades of gray or even a hint of brown in certain areas. Study images of the moon for inspiration on how craters and shadows appear. The goal is to build up a subtle, irregular pattern that mimics the moon’s surface. Avoid painting broad, even strokes; the dabbing motion is key. Once satisfied with the texture, allow the moon sphere to dry completely once more. This final drying ensures the paint is set and ready for assembly.
Step 2: Wiring and Assembling the Light Source
Safety Note: If you are unfamiliar with electrical wiring, please seek adult supervision or assistance, or consider using a pre-wired lamp kit for safety.
First, assemble your bulb holder. If your bulb holder comes with separate wire and plug components, carefully attach the wire plug to the bulb holder according to the manufacturer’s instructions. Ensure all connections are secure. If you are using a pre-wired bulb holder, you can skip this step.
Next, prepare the empty disposable food container that will serve as the lamp’s base and housing for the electrical components. Take the lid of the food container and make a small hole in its center, just large enough for the threaded part of the bulb holder to pass through. Attach the bulb holder to the inside of the lid, securing it firmly with hot glue from your glue gun. This ensures the bulb holder is stable and upright. After the glue has set, take the main body of the empty food container. You’ll need to make a larger hole in the bottom of this container, big enough for the bulb (and potentially the entire bulb holder assembly if it needs to fit through for installation) to pass through without touching the sides. This hole will be where the light enters the moon sphere. Once the holes are ready, carefully attach the container body to its lid (which now has the bulb holder secured), creating a stable base for your lamp.
Now, turn your attention back to your dried and painted moon sphere. On one area of the sphere, preferably a flat or less textured spot, draw a circular outline. This circle should be slightly larger than the diameter of your bulb and the opening of your food container base, allowing the bulb to fit comfortably inside and for the container base to sit securely against the moon. Carefully use your cutter to slice open this circle. Take your time and be precise to avoid tearing the papier-mâché. Once the circle is cut, gently deflate and remove the balloon from inside the moon shell. You now have a hollow, sturdy moon sphere.
With the moon sphere ready, insert the assembled bulb holder and its base (the food container) into the opening you just created. The bulb should be positioned inside the moon sphere, and the food container base should sit flush against the opening on the moon. Use your hot glue gun to securely attach the rim of the food container base to the edge of the opening on the moon sphere. This creates a stable connection, ensuring the light source is firmly integrated. Allow the hot glue to cool and set completely.
Finally, screw in your chosen CFL or LED bulb into the holder. Plug in your newly finished DIY moon lamp and witness its enchanting glow!
Tips for a Perfect Moon Lamp
- Choose a Sturdy Balloon: A good quality balloon will maintain its shape better under the weight of the wet tissue paper, resulting in a more uniform sphere.
- Patience with Drying: Resist the urge to rush the drying process. Incomplete drying can lead to mold, warping, or a flimsy lamp. Using a fan can speed up drying, but ensure it’s in a well-ventilated area.
- Even Tissue Paper Layers: Aim for consistent thickness across the entire surface for uniform light diffusion and structural integrity.
- Practice Painting: If you’re new to sponge painting, try practicing the moon texture on a piece of scrap paper first to get a feel for the technique.
- Consider LED Bulbs: While CFLs work, LED bulbs are highly recommended due to their low heat emission, energy efficiency, and durability, making your moon lamp safer and more long-lasting.
- Ventilation: Always work in a well-ventilated area, especially when using paints and glues, and during the drying process.
Variations and Customization Ideas
Once you’ve mastered the basic moon lamp, feel free to unleash your creativity with these ideas:
- Size Exploration: Experiment with different sized balloons to create a collection of moons, from small desk accents to a large statement piece.
- Color Accents: While the classic gray-white is stunning, consider adding very subtle hints of blue, deep gray, or even a touch of metallic silver or gold paint to certain “craters” for an artistic interpretation. Glow-in-the-dark paint could add an extra magical touch when the light is off.
- Custom Stands: Instead of the food container, design a custom wooden tripod stand, a minimalist metal wire base, or even a clear acrylic stand to give your moon a floating effect.
- Hanging Moon: Instead of a base, secure a sturdy loop at the top of the moon sphere before adding the light. You can then suspend it from the ceiling using fishing wire for a truly ethereal look (ensure the wiring is safely designed for hanging).
- Enhanced Texture: For a more pronounced lunar surface, consider adding small amounts of crumpled tissue paper or even fine sand mixed with glue to create raised “mountains” and deeper “craters” before painting.
Safety Precautions
Working with craft tools and electrical components requires caution:
- Always supervise children when using cutters, hot glue guns, or handling electrical wires.
- As mentioned, use LED bulbs to minimize heat build-up inside the papier-mâché sphere.
- Ensure all electrical connections are properly insulated and secure.
- Never leave your lamp plugged in unattended for extended periods, especially during the first few uses.
This “Easy DIY Moon Lamp Tutorial” provides a comprehensive guide to crafting a beautiful and captivating piece for your home. With simple materials and a little creativity, you can bring the wonder of the cosmos right into your living space. This project is not just about making a lamp; it’s about creating an experience, a unique piece of art that reflects your personal touch. So, gather your materials, follow these steps, and prepare to light up your world with your very own handmade moon!