
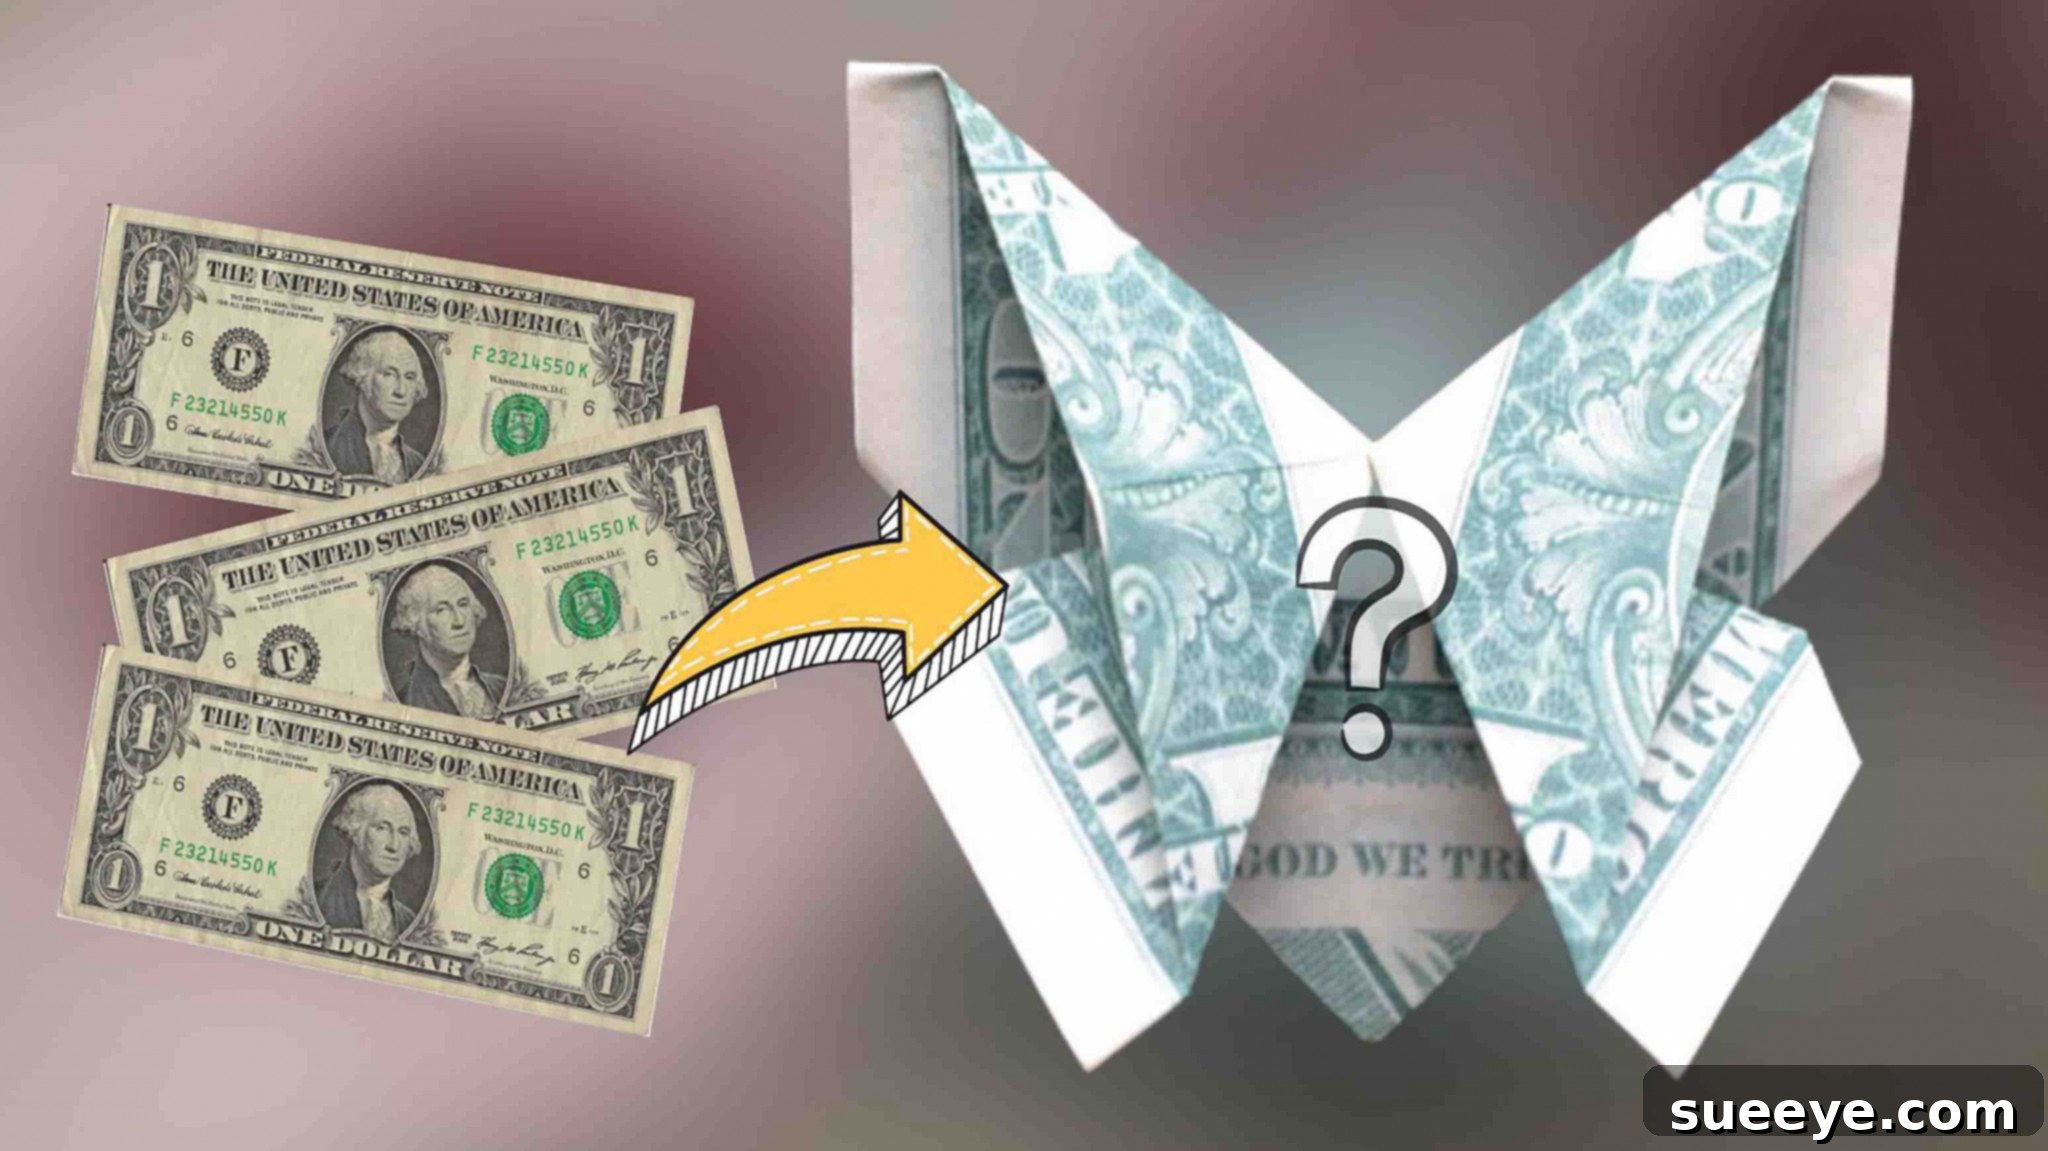
Craft Your Own Dollar Bill Origami Butterfly Bookmark: An Easy DIY Guide
Unleash your inner artist and embark on a fascinating journey into the world of paper folding with this captivating dollar bill origami tutorial. If you’re searching for a unique craft that’s both simple and rewarding, look no further. This guide will walk you through the process of transforming an ordinary dollar bill into an elegant and functional origami butterfly bookmark. Inspired by the brilliant instructions from NProkuda Origami on YouTube, this project is perfect for crafters of all skill levels, requiring minimal materials and no prior experience with complex folds. Prepare to impress your friends, personalize your reading, or simply enjoy the meditative art of origami.
The beauty of this particular craft lies in its simplicity and ingenuity. Forget about glue, tape, or an extensive list of supplies – all you truly need is a single dollar bill. This ingenious technique allows you to create a delicate butterfly, perfectly sized to hold your place in any book. It’s an ideal project for avid readers who frequently misplace their bookmarks, a charming decorative element, or even a thoughtful, personalized gift. Beyond its practical use, a money origami butterfly also serves as a delightful conversation starter and a testament to your creative prowess. Let’s dive in and discover how easy it is to bring this beautiful paper creation to life.
Why Choose a Money Origami Butterfly Bookmark?
There are countless reasons why this dollar bill origami butterfly bookmark stands out as an exceptional craft project. Firstly, its accessibility is unparalleled. Unlike many crafts that demand specific tools or expensive materials, this project uses an item readily available in most pockets: a dollar bill. This makes it an incredibly affordable and spontaneous craft, perfect for when inspiration strikes unexpectedly.
Secondly, the resulting butterfly is not just aesthetically pleasing but also highly functional. For bookworms, a bookmark is an indispensable tool, and a handmade one adds a personal touch to every reading experience. Imagine reaching for your favorite novel and finding this delicate, unique butterfly waiting patiently to mark your last page. It transforms a mundane item into something special.
Furthermore, money origami itself is a fascinating sub-genre of paper folding. It presents a unique challenge and opportunity to transform something with inherent value into a piece of art, often with a touch of whimsy. These money butterflies make fantastic, unexpected gifts – a small token that carries both monetary and artistic value. They can be slipped into a birthday card, used as a clever tip for excellent service, or simply given as a spontaneous gesture of appreciation. The versatility of this tiny folded masterpiece is truly remarkable, making it a beloved project among DIY enthusiasts and origami lovers alike.
Materials:
- A crisp dollar bill (a new, unfolded bill is highly recommended for cleaner creases)
That’s it! No scissors, no tape, no glue. Just your hands and a dollar bill.
Directions: Crafting Your Origami Butterfly
Follow these detailed steps carefully to ensure your dollar bill transforms into a stunning origami butterfly bookmark. Precision in your folds is key to achieving a neat and symmetrical final product.
Step 1: Laying the Foundation
To begin your origami adventure, take your dollar bill and lay it flat on a clean, hard surface. Ensure it is oriented horizontally, with the long edges at the top and bottom. First, carefully fold the dollar bill in half horizontally, bringing the top long edge down to meet the bottom long edge. Press firmly along the crease, then unfold it. This initial fold creates a central horizontal guideline that will be crucial for subsequent steps. Next, repeat this process by folding the bill in half vertically, aligning the short edges, pressing the crease, and then unfolding. You should now have a bill with a clear horizontal and vertical crease intersecting at the center.
Rotate the bill so that one of the short edges is facing you. Now, take both the top-left and top-right corners and fold them inwards, aligning their edges precisely with the vertical center line you just created. This will form two triangular flaps at the top. Once these creases are made, unfold them. These creases will serve as guides for the next delicate maneuver. Gently tuck these corners inwards along the creases you just made. This process involves pushing the outer edges inwards, allowing the paper to collapse along the diagonal creases and flatten into a new triangular shape at the top. It’s often referred to as a “squash fold” in origami, creating a pointed top section from what was originally a rectangular corner.
Once you have successfully tucked in both top corners, carefully open both sides of the paper slightly, creating a more three-dimensional shape. Then, turn the entire piece upside down. At this point, you should see the beginnings of the butterfly’s body structure. Focus on the upper edges that are now facing you. Fold these upper edges downwards, aligning them with the primary horizontal crease that runs across the middle of the bill. This action helps to further define the shape and prepare the form for the butterfly’s distinct wings.
Step 2: Shaping the Butterfly Wings
With the foundation laid, it’s time to bring the butterfly’s wings to life. Begin by unfolding the flaps that you just folded down in the previous step. This will reveal the underlying structure. Now, carefully fold these same flaps inwards, but this time, you’ll be creating a different type of crease. The goal here is to establish the internal structure for the wings. Once folded inwards, immediately reverse these folds. This “reverse fold” technique is fundamental in origami for shaping points and edges. To execute a reverse fold, you essentially open the layers of paper slightly, push the crease in the opposite direction, and then flatten the paper again, creating a sharp, inward-pointing edge.
Next, focus on the central section of your dollar bill. You will now make two distinct creases that will form the primary definition of the butterfly’s wings. Starting from the center of your folded bill, make two diagonal creases that extend outwards, one on each side. These creases should be prominent and ensure that the newly formed flaps or sections of paper are facing outward. This action effectively pushes the paper out, giving volume and a clear outline to what will become the upper wings of your butterfly. The precision of these diagonal folds will greatly influence the symmetry and elegance of your final butterfly.
Finally, to fully shape the butterfly wings, gently open both corners along the diagonal creases you just made. This involves carefully separating the layers of paper and flattening them out, essentially “squashing” the paper outwards to form the broad, flat surfaces of the butterfly’s wings. As you open and flatten these sections, you will see the distinctive shape of a butterfly’s wings emerge. Take your time to gently mold and refine these wings, ensuring they are symmetrical and have a graceful curve. You can slightly curl the tips of the wings for a more natural, lifelike appearance. Once complete, your dollar bill will have been wonderfully transformed into a beautiful origami butterfly bookmark, ready to adorn your favorite book.
Tips for Origami Success and Creative Variations
To ensure the best results for your dollar bill origami butterfly, here are a few expert tips:
- Crisp Bills are Key: Always try to use a new or very gently used dollar bill. Worn, crinkled, or heavily creased bills can make clean, sharp folds challenging, leading to a less polished final product.
- Practice Makes Perfect: If this is your first venture into money origami, consider practicing with a regular piece of paper cut to the same dimensions as a dollar bill. This allows you to get comfortable with the folds without risking damage to actual currency.
- Precision is Paramount: Origami thrives on accuracy. Take your time to align edges and corners perfectly. Each fold builds upon the last, so minor inaccuracies can compound. Use a ruler or the edge of a credit card to get extra sharp creases if needed.
- Gentle Hands: While firm creases are important, avoid tearing the paper. Be gentle when unfolding or reversing folds, especially with older bills.
Beyond the standard dollar bill, feel free to experiment with different currencies (keeping in mind varying sizes) or even decorative origami paper for a unique aesthetic. While this tutorial focuses on a dollar bill, the fundamental folding techniques can be applied to any rectangular paper of suitable dimensions. Imagine a whole flutter of butterflies in various colors and patterns!
Beyond the Bookmark: Creative Uses for Your Money Butterfly
While an exquisite bookmark is a primary function, your newly crafted money origami butterfly holds a wealth of other creative possibilities:
- Unique Gift Topper: Attach it to a gift box or bag for an unexpected and delightful embellishment.
- Desk or Shelf Decor: A small collection of these butterflies can add a touch of whimsy and elegance to any workspace or bookshelf.
- Party Favors: Create a flutter of butterflies for guests at a celebration – they double as a memorable keepsake.
- Gratitude Token: Leave it as a thoughtful tip for a barista, waiter, or service professional to brighten their day.
- Decorative Accents: Use them in scrapbooking, card-making, or even as miniature wall art, affixed with a tiny piece of removable adhesive.
Each use case highlights the versatility and charm of this simple yet impactful origami creation, proving that a dollar bill can indeed be a canvas for art.
The Enduring Art of Origami
This simple money origami project offers a gateway into the profound and ancient art of paper folding. Originating in Japan, origami is more than just a craft; it’s a practice that fosters patience, concentration, and fine motor skills. Each fold requires attention to detail and a methodical approach, making it a meditative and rewarding activity. Engaging in origami, even with a seemingly small project like this butterfly, connects you to a tradition of transforming a flat sheet of paper into a three-dimensional form, using nothing but folds. It’s a testament to human ingenuity and the beauty that can be found in simplicity. As you complete your butterfly, you’re not just creating a bookmark; you’re participating in a timeless artistic legacy.
Conclusion: Your Handmade Origami Masterpiece Awaits
Congratulations on completing your very own dollar bill origami butterfly bookmark! You’ve transformed a common piece of currency into a beautiful and functional piece of art, showcasing the incredible potential of paper folding. This project, while straightforward, yields a result that is both charming and practical. Whether you made it for yourself, as a gift for a fellow book lover, or simply for the joy of crafting, you’ve engaged in a rewarding activity that hones precision and creativity.
We hope this detailed guide has inspired you to explore more of the wonderful world of origami. The satisfaction of creating something beautiful with your own hands is truly unparalleled. Don’t hesitate to experiment with different papers or even try other money origami designs. Happy folding, and may your new butterfly bookmark bring a touch of handmade elegance to all your reading adventures!