
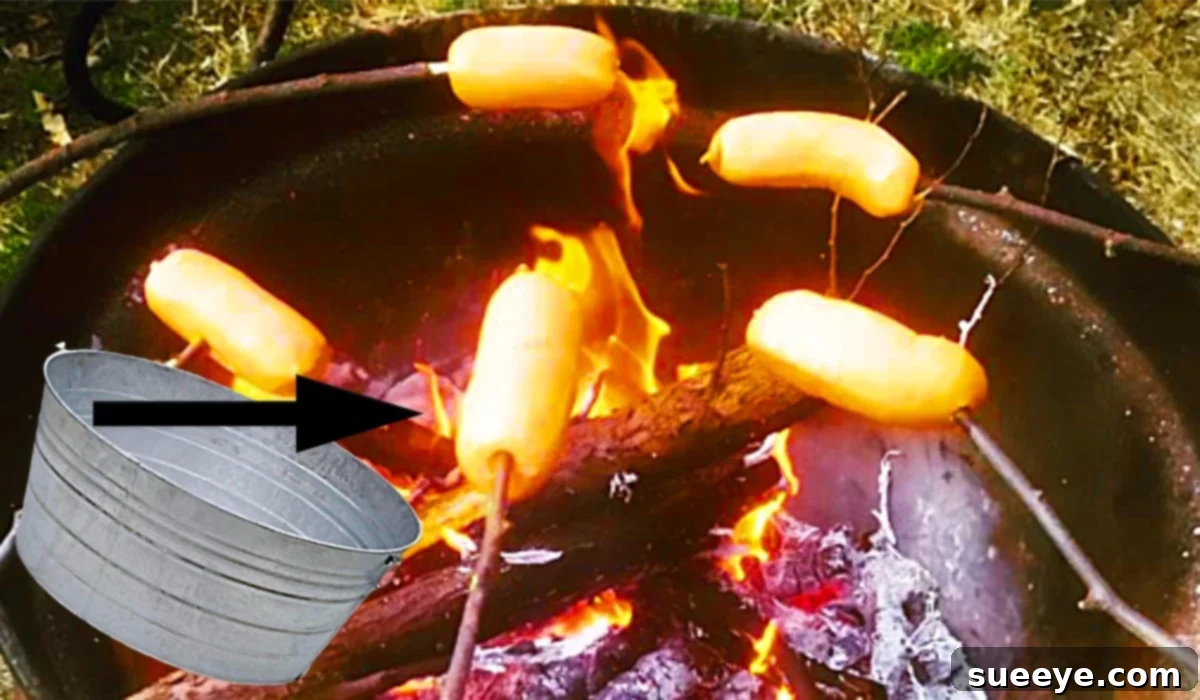
DIY Galvanized Bucket Fire Pit: Create Your Own Backyard Oasis
Transforming your backyard into a cozy and inviting retreat doesn’t have to be complicated or expensive. One of the most rewarding and straightforward projects you can undertake is building your own fire pit. Imagine cool evenings spent gathered around a flickering flame, sharing stories, making s’mores, or simply enjoying the tranquil ambiance. This guide will walk you through creating a charming and functional DIY galvanized bucket fire pit, a brilliant idea inspired by creators like Brian Sewell, whose ingenuity sparked the desire for many to embark on this simple yet impactful project.
When I first encountered the concept of using a galvanized bucket for a fire pit, I immediately envisioned it as the perfect addition to my outdoor living space. The rustic charm of the galvanized metal, combined with the warmth of a contained fire, promised an idyllic setting. I even started planning accompanying wooden block stools with plush outdoor cushions, imagining lively gatherings with friends and family. This project is surprisingly simple, requiring only basic skills, and the result is a beautiful, functional centerpiece that will undoubtedly become a favorite spot in your yard. If you can handle a drill and light a fire, you’re well on your way to enjoying your very own backyard oasis.
Why Choose a Galvanized Bucket Fire Pit?
The appeal of a galvanized bucket fire pit extends beyond its aesthetic. It offers several practical advantages that make it an excellent choice for many homeowners:
- Portability: Unlike permanent stone or brick fire pits, a galvanized bucket fire pit is lightweight and easy to move. You can reposition it around your yard as needed, take it camping (if appropriately sized and handled safely), or store it away when not in use.
- Cost-Effectiveness: The materials required for this DIY project are readily available and significantly more affordable than purchasing a pre-built fire pit or investing in extensive construction materials.
- Simplicity: This project boasts minimal complexity. It doesn’t demand advanced carpentry or masonry skills, making it accessible to almost anyone looking for a rewarding DIY endeavor.
- Unique Style: Galvanized metal lends an industrial-chic or modern farmhouse aesthetic that can complement a variety of outdoor decor styles. Its silvery sheen can be customized with heat-resistant paint, though its natural look is often preferred.
- Space-Saving: For smaller backyards, patios, or balconies (where local regulations permit), a compact bucket fire pit is an ideal solution, offering the joy of a fire without monopolizing valuable space.
- Quick Setup: From gathering materials to lighting your first fire, this project can often be completed in an afternoon, providing instant gratification.
However, it’s crucial to address a significant safety consideration upfront: galvanized metal is coated with zinc. When heated to very high temperatures, especially by direct, intense flames, this coating can release zinc fumes, which are toxic if inhaled. For this reason, a galvanized bucket fire pit is best suited for small, ambient fires and should not be used for direct cooking where food comes into contact with the bucket’s heated surfaces. The inclusion of a grill grate, as detailed in the materials and instructions, is vital for elevating the fire and minimizing direct heat transfer to the bucket’s base, thereby enhancing both safety and airflow.
Essential Materials for Your DIY Galvanized Fire Pit
Gathering all your supplies before you begin ensures a smooth and efficient building process. Here’s a detailed look at what you’ll need:
- 1 Galvanized Bucket:
- Selection: Choose a sturdy, heavy-duty galvanized steel bucket. Common sizes range from 5 to 10 gallons. A larger bucket will allow for a slightly bigger fire, while a smaller one offers greater portability. Hardware stores like Tractor Supply (as mentioned in the original inspiration) or any well-stocked home improvement center will carry these.
- Considerations: Ensure the bucket is new and clean, free of any prior uses that might leave residues. The thickness of the metal is important for durability and heat resistance.
- A Drill and Drill Bits:
- Drill Type: Any standard electric or cordless drill will work.
- Drill Bit Size: You’ll need a metal drill bit slightly larger than the diameter of your chosen screws to allow them to pass through easily, but small enough for the screw head to sit flush.
- Long Screws (at least 4, ideally 6-8):
- Type: Opt for heat-resistant, rust-proof screws, such as stainless steel. Their length should be sufficient to pass through the bucket wall and extend inward enough to support the grill grate, typically 2-3 inches.
- Quantity: While four screws can work, using six or eight screws spaced evenly around the bucket’s circumference will provide a more stable and level support for the grill grate, preventing it from wobbling.
- Nuts (to hold in the screws):
- Type: Corresponding nuts for your chosen screws (e.g., stainless steel nuts for stainless steel screws).
- Purpose: These will secure the screws in place from the outside of the bucket.
- A Round Grill Grate:
- Fit: This is a crucial component. Select a grill grate that will fit snugly inside the galvanized bucket, resting securely on the screws you install. Measure the inner diameter of your bucket before purchasing the grate.
- Material: A standard chrome-plated or stainless steel cooking grate is ideal. It will elevate your fire, ensuring proper airflow and protecting the bucket’s bottom from direct, intense heat.
Optional Materials for Enhanced Experience & Safety:
- Heat-resistant Spray Paint: If you wish to customize the bucket’s appearance (ensure it’s rated for high temperatures).
- River Rocks or Lava Rocks: Can be placed at the bottom of the bucket (underneath the grill grate) for added aesthetic appeal and potentially some heat retention, though their primary role here is decorative.
- Fire Starters: For easy ignition.
- Ash Shovel and Poker: For maintenance and safe fire management.
- Fire Extinguisher or Water Bucket: Essential safety equipment to have on hand.
Step-by-Step Guide: Building Your Galvanized Bucket Fire Pit
Creating your DIY galvanized bucket fire pit is a straightforward process. Follow these steps carefully for a safe and successful build:
Step 1: Prepare Your Work Area and Gather Supplies
Before you begin, lay out all your materials and ensure you have a clean, stable surface to work on. Wearing safety glasses and gloves is highly recommended when drilling metal to protect your eyes and hands from sharp edges or metal shavings.
Step 2: Mark Drilling Points on the Bucket
Decide how many support screws you want (4, 6, or 8). Using a tape measure and a marker, carefully mark equidistant points around the inside circumference of your galvanized bucket, approximately 3-4 inches from the bottom. These marks indicate where the screws will be inserted to support your grill grate. Ensure these points are level with each other to guarantee a stable base for the grate.
Step 3: Drill the Support Holes
Using your drill and the appropriate metal drill bit, carefully drill a pilot hole at each of your marked points. Once the pilot holes are made, switch to a drill bit that matches the diameter of your screws (or slightly larger, if necessary, for the screw body to pass through). Slowly drill through the bucket wall at each marked point. Take care not to press too hard, allowing the drill to do the work. Once drilled, you might want to deburr the edges of the holes using a file or sandpaper to remove any sharp metal fragments.
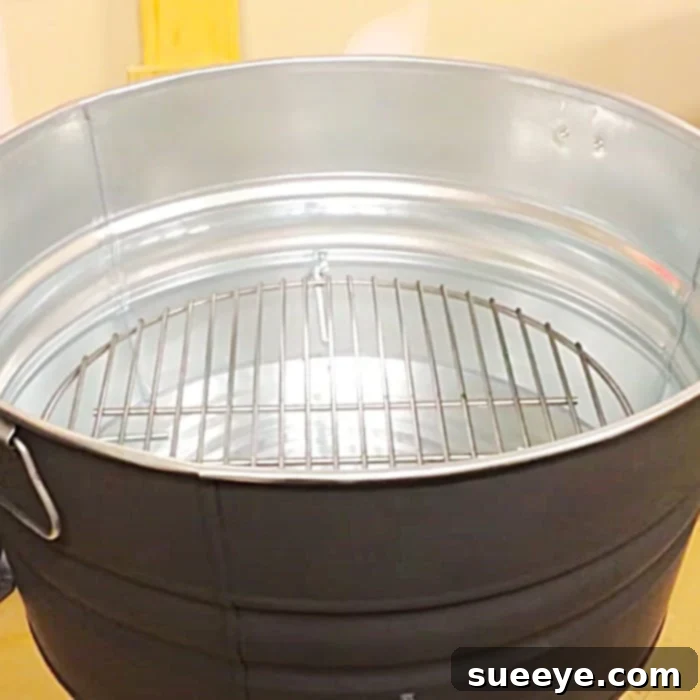
Step 4: Install the Screws and Nuts
Insert your long screws from the inside of the galvanized bucket, pushing them through the drilled holes so they extend outward. On the outside of the bucket, secure each screw with a corresponding nut. Tighten the nuts firmly, but be careful not to overtighten, which could deform the bucket. The heads of the screws on the inside of the bucket will now create a stable ledge for your grill grate.
Step 5: Position the Grill Grate
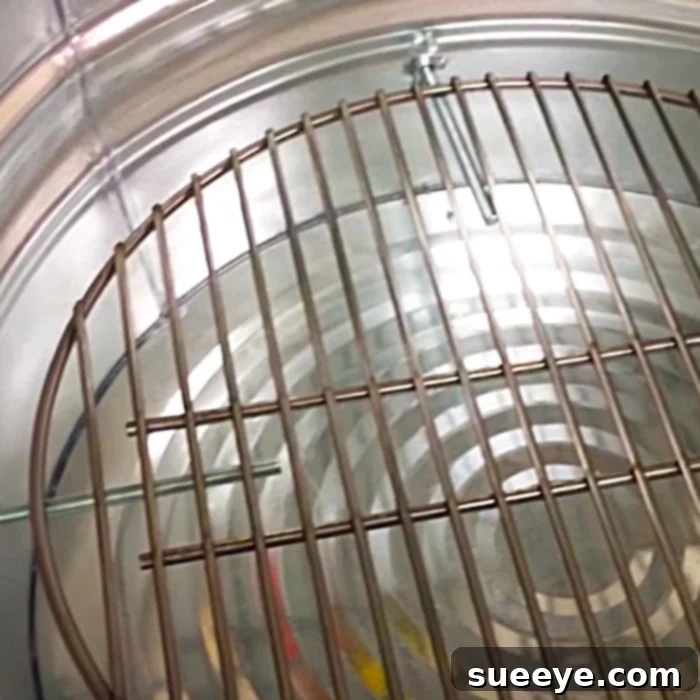
Gently lower your round grill grate into the bucket, allowing it to rest securely on the heads of the installed screws. The grate should sit level and stable. This grate is essential as it elevates the burning material, allowing for better airflow, a more efficient fire, and, most importantly, helps to separate the direct heat of the flames from the bottom of the galvanized bucket. This separation is key to mitigating the risk of zinc fume release.
Step 6: Choose Your Location and Light Your First Fire
Before lighting your fire, select a safe and appropriate location for your new fire pit. It should be on a flat, non-combustible surface (like concrete, stone, or bare earth), well away from any flammable materials such as dry grass, leaves, fences, overhanging tree branches, or structures. Place a small amount of kindling and a few small pieces of seasoned hardwood or charcoal briquettes on the grill grate. Use a fire starter to ignite the material. Enjoy the ambiance of your new DIY creation, but always keep safety at the forefront of your mind.
Safety First: Important Considerations for Your Fire Pit
While a galvanized bucket fire pit is a wonderful addition to any backyard, responsible use is paramount. Prioritizing safety will ensure enjoyable and worry-free outdoor experiences:
- Galvanized Metal and Heat: As previously mentioned, heating galvanized metal to very high temperatures can release toxic zinc fumes. This fire pit is designed for small, ambient fires that produce less intense heat than a roaring bonfire. Always use the internal grill grate to elevate the fire, preventing direct contact with the bucket’s bottom. Avoid using this fire pit for extensive cooking or prolonged, extremely hot fires.
- Location, Location, Location: Always place your fire pit on a stable, level, non-flammable surface. Maintain a minimum safe distance (at least 10-15 feet) from any buildings, wooden decks, fences, trees, shrubs, or other combustible materials.
- Clear the Area: Ensure the immediate vicinity around the fire pit is clear of dry leaves, grass, twigs, or other flammable debris.
- Supervision is Key: Never leave a lit fire pit unattended, even for a moment. Adult supervision is required at all times, especially when children or pets are present.
- Wind Conditions: Avoid using your fire pit on windy days, as embers can easily be carried aloft and ignite nearby materials.
- Fire Extinguishment: Always have a bucket of water, a garden hose, or a fire extinguisher readily available nearby. Before leaving the area or going indoors, ensure the fire is completely extinguished. Stir the ashes, douse them with water, and ensure no glowing embers remain.
- Local Regulations: Check your local city or homeowner’s association rules regarding open flames, fire pits, and burn bans. Some areas have restrictions or require permits.
- Fuel Type: Use only seasoned hardwood or charcoal briquettes. Avoid burning trash, plastics, treated wood, or accelerants, as these can release harmful fumes and create dangerous sparks.
Enhancing Your Fire Pit Experience
Once your DIY galvanized bucket fire pit is complete, it’s time to create the perfect setting for relaxation and entertainment:
- Comfortable Seating: Complement your fire pit with comfortable seating. My idea of wooden block stools with outdoor cushions is a great start. Consider Adirondack chairs, outdoor benches, or even weather-resistant bean bags for a laid-back vibe. Arrange them in a circle around the fire pit to encourage conversation.
- Ambient Lighting: String lights, solar lanterns, or even a few decorative candles can enhance the magical atmosphere around your fire pit after dark.
- Outdoor Decor: Integrate your fire pit into your overall backyard aesthetic. Add an outdoor rug, some decorative planters, or a small side table for drinks and snacks.
- Cozy Essentials: Keep a basket of soft blankets nearby for cooler evenings, and perhaps a tray with s’mores ingredients for a classic fire pit treat.
- Fire Pit Tools: Invest in a good quality poker, tongs, and an ash shovel to safely manage your fire and clean up afterward.
Maintenance and Care
Proper maintenance will extend the life of your galvanized bucket fire pit and keep it looking great:
- Regular Cleaning: Once the fire is completely out and cooled, use an ash shovel to remove ash and debris from the bucket. Dispose of ashes in a metal container.
- Inspection: Periodically check the bucket for any signs of rust or wear, especially around the drill holes and where the screws are installed. The grill grate should also be cleaned and inspected for any damage.
- Storage: To protect your fire pit from the elements and prolong its life, cover it with a weather-resistant cover when not in use. During harsh weather seasons, storing it indoors, such as in a shed or garage, is highly recommended.
Conclusion: Ignite Your Outdoor Adventures
Creating your own DIY galvanized bucket fire pit is an incredibly rewarding project that adds both charm and functionality to any outdoor space. It’s an accessible endeavor that proves you don’t need extensive skills or a huge budget to craft something beautiful and enjoyable. The simplicity of the design, combined with its portability and stylish appeal, makes it an ideal choice for anyone looking to enhance their backyard, patio, or camping experience.
From the moment I completed my own galvanized bucket fire pit, I knew it would be a beloved feature. The thought of inviting guests over, snuggling around its warm glow, and creating lasting memories fills me with excitement. This project truly embodies the spirit of DIY: taking a few simple materials and transforming them into something that brings joy, comfort, and connection. So, gather your materials, follow these steps, and prepare to ignite your outdoor adventures with your very own, beautifully crafted galvanized bucket fire pit. You’ll be delighted with the result and the countless evenings of cozy warmth it brings.