
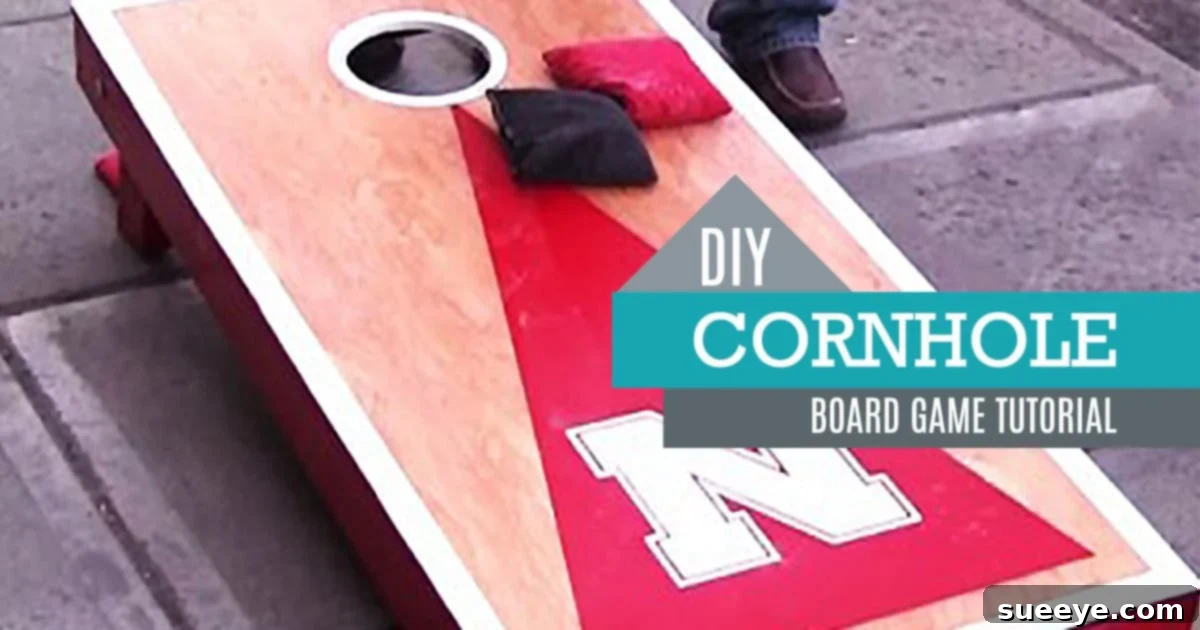
Ultimate DIY Guide: Build Your Own Regulation Cornhole Boards
Are you looking for a fantastic DIY project that promises endless fun for friends and family? Crafting your own cornhole boards is an excellent choice! This beloved lawn game, sometimes called bean bag toss, is incredibly easy to learn, highly portable, and suitable for all ages. Whether it’s a backyard barbecue, a tailgate party, or a casual get-together, a custom-built cornhole set guarantees hours of entertainment. This comprehensive guide will walk you through every step of constructing your very own regulation-size cornhole boards, from gathering materials to applying the finishing touches.
Imagine the satisfaction of playing on boards you built yourself, customized to your unique style. All you need are some basic woodworking tools, a few supplies, and a little dedication. Not only will you save money compared to buying a pre-made set, but you’ll also gain a durable, high-quality game that will last for years. We’ll also touch upon how to create your own DIY cornhole bean bags to complete your ultimate game set.
What is Cornhole, Anyway?
Cornhole, often known by various regional names such as Corn Toss, Bean Bag Toss, Indiana Horseshoes, or Soft Horseshoes, is a wildly popular recreational game. However, for those in its heartland, particularly Kentucky and southern Ohio, it’s almost universally referred to simply as “Cornhole.” While its exact origins are debated, with some stories tracing it back to 14th-century Germany, the modern game was undeniably rediscovered and popularized in the Kentucky hills over a century ago. Today, playing cornhole remains a cherished pastime across North America and beyond.
The game shares similarities with horseshoes, but with a friendly, less hazardous twist. Instead of metal stakes and heavy horseshoes, players use two wooden platforms, known as cornhole boards, and toss fabric bags filled with corn kernels or plastic pellets (bean bags). The objective is straightforward: take turns tossing your corn bags at the opposing board until one player or team reaches a score of 21 points. It’s a game of skill, precision, and a bit of luck, making it engaging for everyone from children to seasoned adults.
Gameplay Basics and Scoring
Understanding the scoring is key to enjoying cornhole. Here’s a quick breakdown:
- Cornhole (Bag in the Hole): A bag that passes completely through the hole scores 3 points.
- Woody (Bag on the Board): A bag that lands and remains on the platform scores 1 point.
- Foul Bags: Bags that hit the ground before landing on the board, or are thrown from outside the designated pitching area, do not score.
Players typically alternate throwing their bags, with teams usually having four bags each. The game is played until one team reaches or exceeds 21 points. A common scoring method is “cancellation scoring,” where only the difference in points is awarded. For example, if Team A scores 5 points and Team B scores 3 points in a round, Team A gets 2 points for that round. This keeps the game exciting and close!
Why Build Your Own Custom Cornhole Boards?
The decision to build your own cornhole set rather than buying one offers a multitude of benefits:
- Cost Savings: High-quality, regulation-size cornhole boards can be expensive. DIY allows you to source materials efficiently and save a significant amount of money.
- Unmatched Customization: This is where the real fun begins! You can paint your boards with team logos, intricate designs, family crests, or anything your imagination conjures. This personal touch makes your set truly unique and a conversation starter.
- Superior Quality: By building them yourself, you control the quality of materials and construction. You can choose durable wood and apply robust finishes that will stand up to years of enthusiastic play.
- Sense of Accomplishment: There’s immense satisfaction in creating something with your own hands. Every time you play, you’ll feel a sense of pride in your craftsmanship.
- Perfect Gift Idea: A custom cornhole set makes an incredible gift for weddings, birthdays, holidays, or housewarmings.
- Year-Round Entertainment: While often associated with outdoor fun, these portable boards can easily be brought indoors for game nights during colder months, extending your entertainment options.
Understanding Regulation Cornhole Board Specifications
For an authentic gameplay experience, it’s essential to adhere to official regulation dimensions. This ensures fair play and familiarity with tournament standards. Your goal is to build two identical boards.
- Board Surface Dimensions: Each board should measure 24 inches wide by 48 inches long (2 feet by 4 feet).
- Hole Diameter and Placement: The hole should be 6 inches in diameter. The center of the hole must be 9 inches from the top edge of the board and 12 inches from each side edge.
- Front Height: The front edge of the board (the side closest to the pitcher) should be 2.5 to 4 inches from the ground.
- Back Height: The back edge of the board (where the legs extend) should be 12 inches from the ground.
- Legs: The legs should be designed to fold for easy storage and transport. They typically pivot on bolts.
Maintaining these specifications will provide a consistent and enjoyable game experience for everyone.
Materials You’ll Need for Two Boards
Before you begin, gather all your materials. Quality materials will result in a more durable and professional-looking finished product.
- Plywood for Tops: Two pieces of 1/2-inch thick plywood, each measuring 24 inches x 48 inches. Birch plywood is often recommended for its smooth surface and stability.
- Lumber for Frames and Legs:
- Eight pieces of 2×4 lumber, 48 inches long (for side frames).
- Eight pieces of 2×4 lumber, 21 inches long (for front/back frames).
- Four pieces of 2×4 lumber, approximately 11 3/4 inches long, with one end cut at a 30-degree angle (for legs).
- Hardware:
- Wood screws (1 5/8 inch or 2 inch) – approx. 60-80 screws.
- Four carriage bolts (1/2 inch diameter, 4 inches long) with matching washers and wing nuts for the legs.
- Wood glue (waterproof if boards will be used outdoors frequently).
- Finishing Supplies:
- Wood filler.
- Sandpaper (various grits: 80, 120, 220).
- Primer (if painting).
- Paint or stain (colors of your choice).
- Exterior-grade polyurethane or clear sealant (crucial for protection).
- Optional: Painter’s tape, stencils, paintbrushes/rollers.
Tools Required for Construction
Having the right tools will make the building process smoother and more accurate.
- Measuring and Marking:
- Tape measure.
- Pencil.
- Speed square or combination square.
- Compass or string/pencil for drawing circles.
- Cutting Tools:
- Circular saw or miter saw (for precise straight cuts on lumber).
- Jigsaw (essential for cutting the 6-inch diameter hole). A 6-inch hole saw can also be used.
- Drilling Tools:
- Power drill/driver.
- Drill bits (various sizes, including a bit for pilot holes and a 1/2-inch bit for leg bolts).
- Sanding Tools:
- Orbital sander (highly recommended for efficiency).
- Sanding blocks.
- Clamping Tools:
- Wood clamps (useful for holding pieces while gluing or screwing).
- Safety Gear:
- Safety glasses.
- Hearing protection.
- Work gloves.
Step-by-Step Guide: Building Your Cornhole Boards
Follow these detailed steps carefully to ensure you build a sturdy, regulation-compliant cornhole set.
Step 1: Cut the Plywood Tops
Begin by cutting your two sheets of 1/2-inch plywood to the exact dimensions of 24 inches wide by 48 inches long. Use a circular saw with a straight edge guide for the cleanest, most accurate cuts. Ensure all edges are perfectly square.
Step 2: Construct the Frames
For each board, you’ll need two 48-inch 2x4s (long sides) and two 21-inch 2x4s (short sides). These will form a rectangular frame for your plywood top.
- Apply wood glue to the ends of the 21-inch pieces and butt them against the inside faces of the 48-inch pieces, forming a rectangle.
- Secure each corner with two or three 1 5/8-inch wood screws, pre-drilling pilot holes to prevent splitting.
- Ensure the frame is square by measuring diagonally from corner to corner; the measurements should be identical.
Repeat this process for the second board’s frame.
Step 3: Attach the Tops to the Frames
Now, it’s time to secure the plywood tops to your newly built frames.
- Place one plywood top onto one completed 2×4 frame, aligning all edges perfectly.
- Use 1 5/8-inch wood screws to fasten the plywood to the frame. Space screws approximately every 8-10 inches around the perimeter and add a few screws in the center for extra stability.
- Ensure the screw heads are flush with or slightly recessed below the plywood surface.
- Repeat for the second board.
Step 4: Cut the Holes
This step requires precision for proper gameplay.
- On each board, measure 9 inches down from the top edge and 12 inches in from each side edge. This point is the exact center of your 6-inch diameter hole. Mark it clearly.
- Using a compass or a string-and-pencil method, draw a perfect 6-inch diameter circle around this center point.
- Drill a pilot hole just inside the edge of your drawn circle, large enough to insert your jigsaw blade.
- Carefully cut out the circle with your jigsaw, taking your time to follow the line as smoothly as possible. Alternatively, if you have a 6-inch hole saw, this step will be much faster and cleaner.
- Once the hole is cut, sand the edges smooth to remove any splinters or rough spots.
Step 5: Build and Attach the Legs
The legs allow your boards to stand at the correct angle and height.
- Take your four 11 3/4-inch 2×4 pieces. On one end of each, cut a 30-degree angle. This angle will allow the leg to sit flush against the ground when the board is at the correct height.
- On the uncut end of each leg, measure 1 3/4 inches from the top and center it. Drill a 1/2-inch hole through the 2×4. This will be the pivot point for your legs.
- On the side frame of each board, measure down 1 3/4 inches from the top edge and center it. Drill a 1/2-inch hole through the 2×4 frame.
- Align the drilled hole on a leg with the drilled hole on the board’s frame. Insert a 4-inch carriage bolt through both, securing it with a washer and a wing nut on the inside of the frame. The wing nut allows you to loosen and fold the legs for storage.
- Test the legs to ensure they pivot smoothly and hold the board at the correct 12-inch height at the back. Trim the angled bottom of the legs if necessary to achieve perfect stability.
Step 6: Sand Everything Smooth
Proper sanding is crucial for a professional finish and safe handling.
- Start with 80-grit sandpaper to remove any major imperfections, sharp edges, or glue squeeze-out.
- Move to 120-grit sandpaper for a smoother surface.
- Finish with 220-grit sandpaper to achieve a silky-smooth finish that’s ready for painting or staining.
- Pay special attention to the edges of the plywood and the cut edges of the hole to prevent splinters.
- Wipe down the entire surface with a tack cloth or damp rag to remove all sanding dust before proceeding.
Step 7: Finish and Customize Your Boards
This is where your cornhole boards truly come to life!
- Prime (if painting): If you plan to paint your boards, apply an even coat of good quality wood primer. This will help the paint adhere better and provide a more uniform color. Let it dry completely.
- Paint or Stain: Apply your chosen paint colors or wood stain. You can use brushes, rollers, or even spray paint. For custom designs, use painter’s tape to create sharp lines or stencils for logos and graphics. Apply multiple thin coats, allowing each coat to dry thoroughly between applications, for the best results.
- Sealant: This is arguably the most important step for durability, especially if your boards will be exposed to the elements. Apply at least 3-4 coats of exterior-grade polyurethane or a clear wood sealant. Lightly sand with 220-grit sandpaper between coats for an incredibly smooth, glossy, and protective finish. This will shield your boards from moisture, UV rays, and general wear and tear.
- Allow the sealant to cure fully according to the manufacturer’s instructions before playing, which can take several days.
Making Your Own Cornhole Bean Bags
No cornhole set is complete without the proper bean bags! While you can certainly purchase regulation bags, making your own allows for further customization and ensures quality. You’ll need eight bags in two distinct colors (four of each).
- Materials: Approximately 16 oz of whole kernel corn (feed corn) or plastic resin pellets per bag, and durable fabric like duck cloth or canvas (e.g., 10-12 oz weight).
- Dimensions: Each finished bag should be 6 inches by 6 inches and weigh between 15 and 16 ounces.
- Process: Cut fabric into 7×7 inch squares (to allow for seams). Sew three sides together, turn inside out, fill with corn/pellets, then sew the fourth side shut. A separate, detailed tutorial on making cornhole bags can provide more specific sewing instructions.
Tips for a Perfect Cornhole Set
- Measure Twice, Cut Once: This old adage is paramount in woodworking. Accuracy in measuring ensures components fit together well and the boards meet regulation standards.
- Pilot Holes Are Your Friend: Always drill pilot holes before driving screws, especially when working near the ends of lumber, to prevent wood splitting.
- Don’t Skimp on Sealant: The clear coat is what protects your boards from the elements and makes them last. Apply enough coats and allow adequate drying time.
- Personalize Boldly: This is your chance to showcase creativity. Don’t be afraid to experiment with colors, designs, or even collaborate with family members on artwork.
- Consider Portability: Ensure your leg design allows for easy folding, making transport and storage a breeze.
- Safety First: Always wear safety glasses when cutting or drilling, and follow all tool safety guidelines.
Maintenance and Care for Your Boards
To ensure your DIY cornhole boards provide years of enjoyment, a little maintenance goes a long way:
- Store Indoors: While your boards are sealed, it’s best to store them in a garage, shed, or indoors when not in use. This protects them from extreme weather, temperature fluctuations, and prolonged moisture.
- Clean Regularly: Wipe down the boards with a damp cloth after use to remove dirt, dust, and spills. For tougher grime, a mild soap solution can be used, but avoid harsh chemicals.
- Inspect and Repair: Periodically check for any loose screws, damaged paint, or wear on the sealant. Touch up paint or reapply sealant as needed to keep your boards looking fresh and protected.
Conclusion
Building your own regulation cornhole boards is a rewarding and enjoyable woodworking project that culminates in a fantastic game for all occasions. From the initial cuts to the final decorative touches, each step brings you closer to owning a custom-made piece of backyard entertainment. You’ll not only save money and gain a sense of accomplishment but also create a durable, personalized game that will be the centerpiece of countless memories. So grab your tools, unleash your creativity, and get ready to toss some bags – your ultimate DIY cornhole experience awaits!