Outdoor & Garden
23 DIY Container Gardening Ideas for Small Spaces
Container gardening ideas for a patio or balcony: 23 DIY planters and pot projects, plus how to grow lettuce, carrots, figs and strawberries in pots.
html PUBLIC "-//W3C//DTD HTML 4.0 Transitional//EN" ""
A pot is a garden that fits on a fire escape, and these 23 container gardening ideas cover both halves of that: what to plant things in, and how to actually keep them alive once they are in there. The containers get inventive fast. Rain boots drilled and hung along a fence, a cedar A frame stepped with troughs of salad, an old table with its top replaced by mesh so lettuce grows at waist height, a wrought iron chair with a chicken wire basket dropped into the seat. The growing half is where the specifics live, and they matter more than anyone admits: carrots want a pot 10 to 12 inches deep, lettuce only 6 to 8, a fig tree will be in a 36 inch pot by its fourth year, and almost everything fails the same way, which is soil that never dries out.
Container Gardening Ideas
1. Container Gardening Made Easy
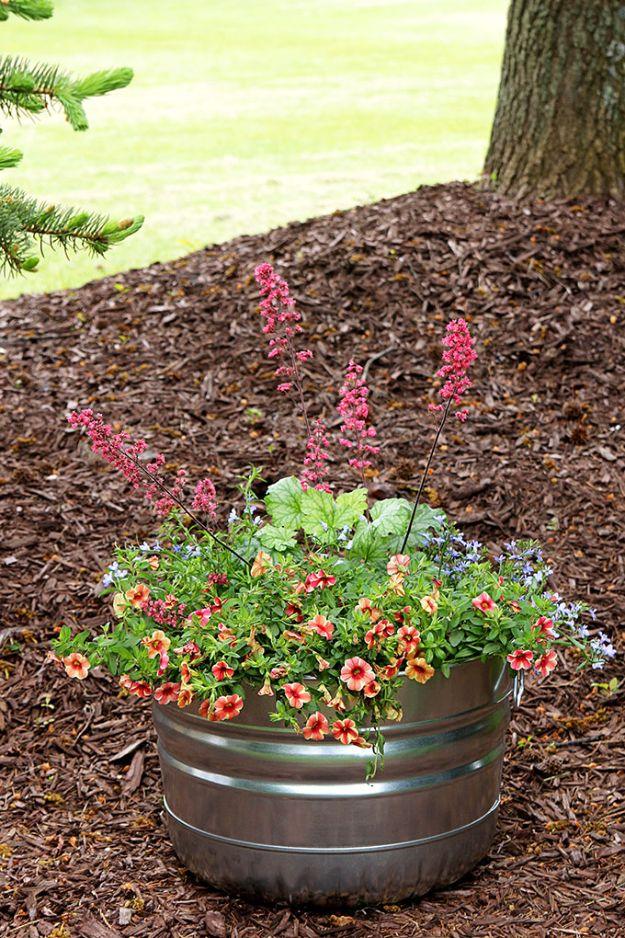
One galvanized tub, three plants and a rule that makes every mixed container work: something tall, something that spills over the edge and something to fill the gap between them. Here that is coral bells standing up in the middle, trailing lobelia over the rim and calibrachoa filling in. Drainage is non-negotiable, and the phrasing is hard to forget: nobody likes to have wet feet. Potting compost is expensive, so part-fill a deep container with upturned plastic pots or foam before the soil goes in. Loosen the root ball by splitting the bottom gently before planting, and keep all three semi-moist rather than soggy.
Get the full tutorial at House of Hawthornes.
2. Growing Lettuce In Containers
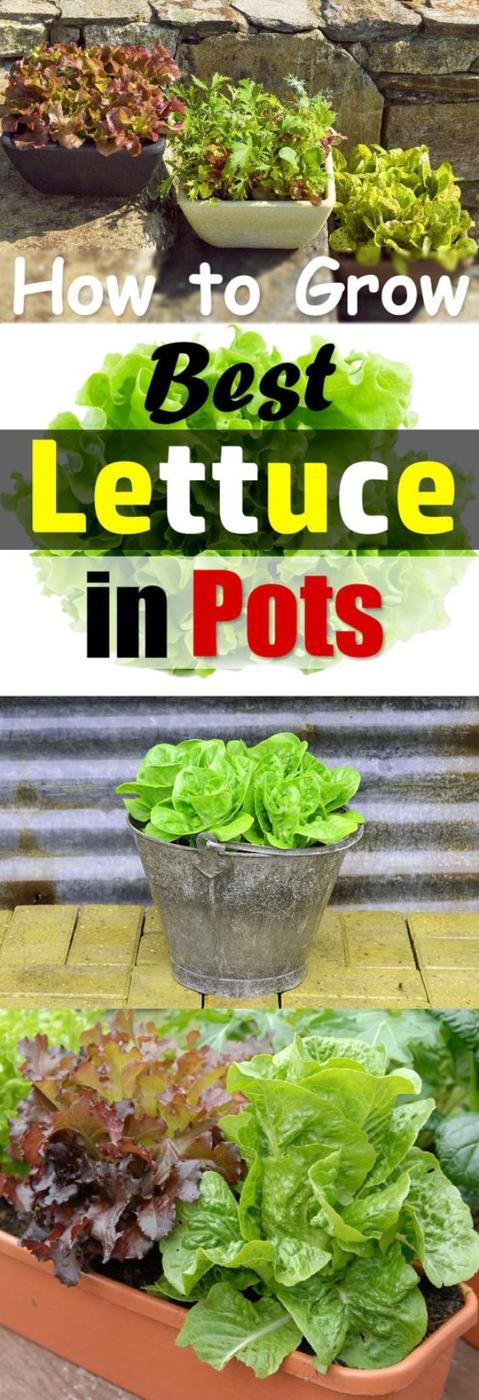
Six to eight inches of depth is all lettuce needs, so wide and shallow beats deep and narrow every time, and that opens up troughs, crates and washing-up bowls as containers. Loose leaf is the beginner’s choice at 45 to 50 days; romaine takes 85 to 90. Start cutting at four to six inches for baby leaves. The part that doubles your crop is how you cut: take the outer leaves only, or shear the whole plant off an inch above the crown, and it will grow back for another harvest. Keep it slightly moist, not wet, and give it morning sun only in a hot climate.
Get the full tutorial at Balcony Garden Web.
3. Build a Vertical Herb Planter
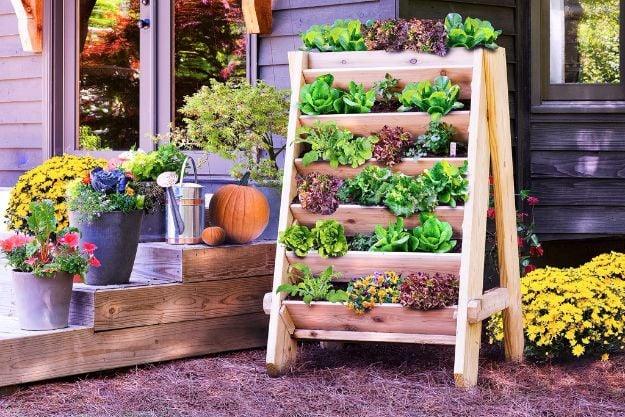
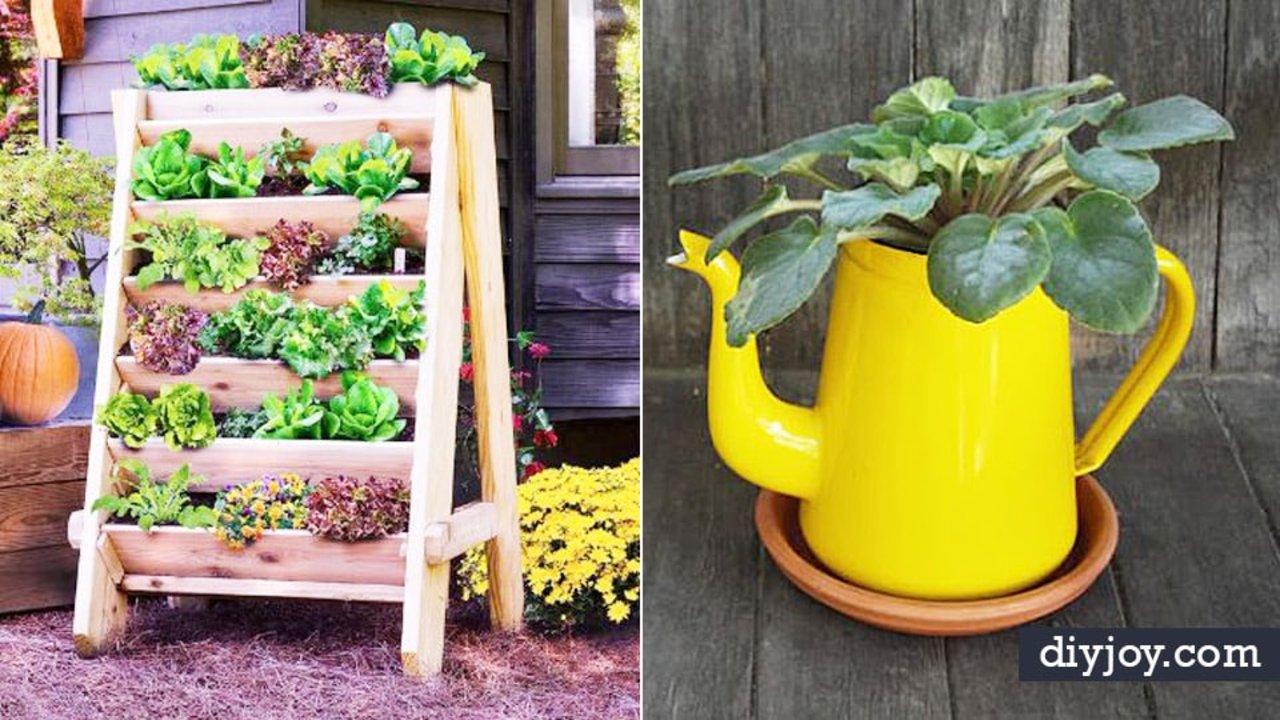
Cedar, four legs at 59 1/4 inches, and the detail that makes this worth building rather than buying is that the shelves lift out. Leave one off and the gap below it becomes a tall slot for something that will not fit under a shelf. Allow about three hours, or far less if you have the lumber cut to the parts list at the store instead of cutting it yourself, and buy 68 deck screws at an inch and a quarter plus 18 longer ones. Twelve to eighteen herb plants fill it, and the same frame grows lettuce just as happily. Sealing is optional.
Get the full tutorial at Bonnie Plants.
4. Mason Jar Herb Garden
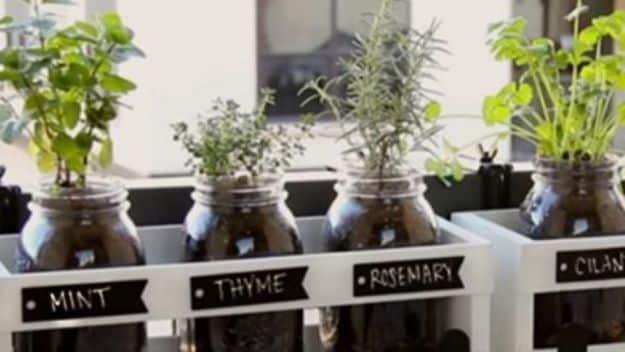
Four wide mouth jars of mint, thyme, rosemary and cilantro in a white wooden tray, labelled with chalkboard tags, and the appeal is that the whole thing lifts off the sill and moves. That portability is the real argument for it if you rent and the only outdoor space is a balcony. The catch with jars is that glass has no drainage, so a layer of pebbles at the bottom and a light hand with the watering can are what keep the roots out of standing water. Cilantro, parsley and basil all want sun, so a south facing window is the spot, five to eight hours a day.
Get the full tutorial at Sueeye.
5. Grow a Fig Tree in a Pot
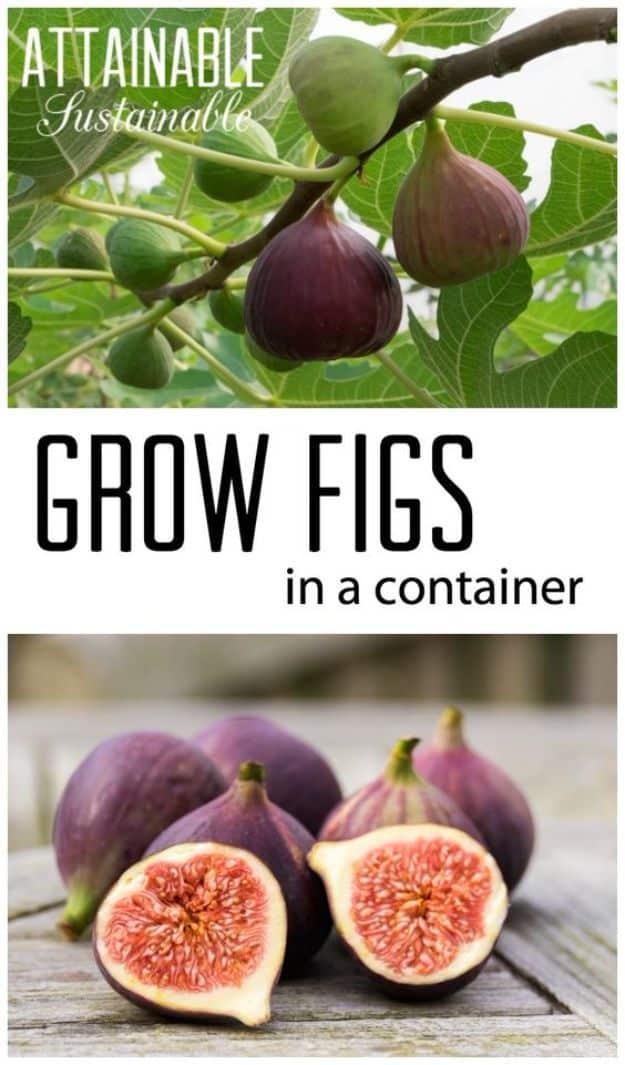
Figs are the fruit tree most willing to live in a pot, because restricted roots make them fruit harder rather than sulk. Pot size steps up every year for the first four until the tree is in a 36 inch pot, and after that you replace the compost annually and prune the roots to hold it there. The mix is 60 percent sterile potting compost to 40 percent finished compost with a cup of kelp meal. Hardy Chicago goes to zone 4 with protection. They drop their leaves and go dormant in winter, and that is when an unheated garage works, still watered, surface allowed to dry between times.
Get the full tutorial at Attainable Sustainable.
6. DIY Lettuce Table
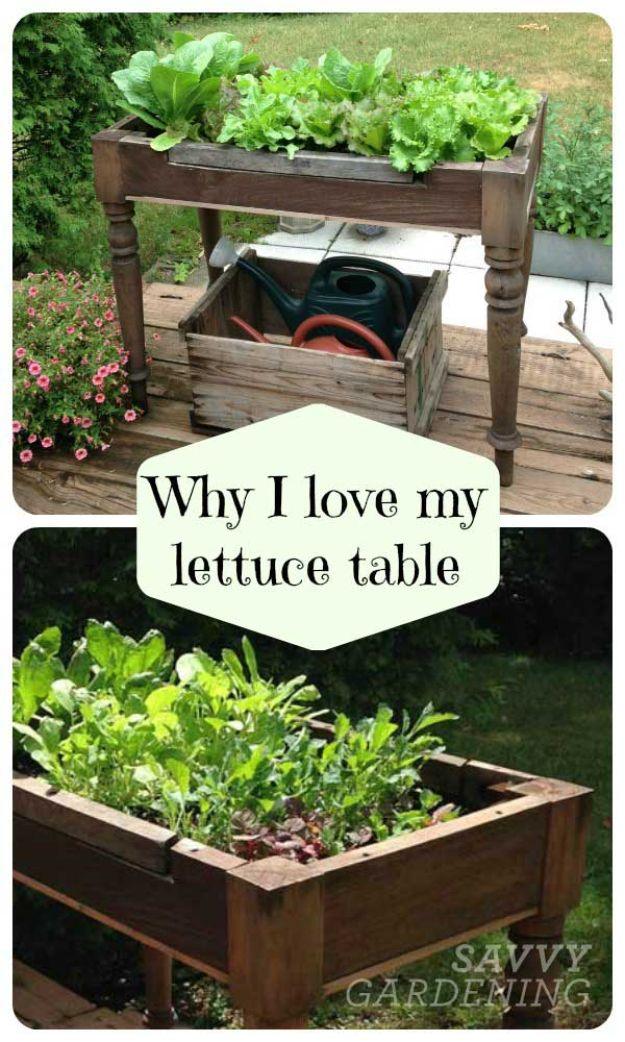
An old table frame with the top removed, hardware cloth stapled across the underside, flipped, lined with landscape fabric and filled with vegetable potting compost. That gives about four inches of growing depth, which is exactly what lettuces want at four to six. The mesh is the drainage, so there is nothing else to drill. What makes it worth building rather than just using a trough is the height: greens end up at hand level, you can see instantly what is ready, and you can cut salad straight into the bowl. One lasted around ten years, which is about what a cedar raised bed manages.
Get the full tutorial at Savvy Gardening.
7. Grow Carrots In Pots
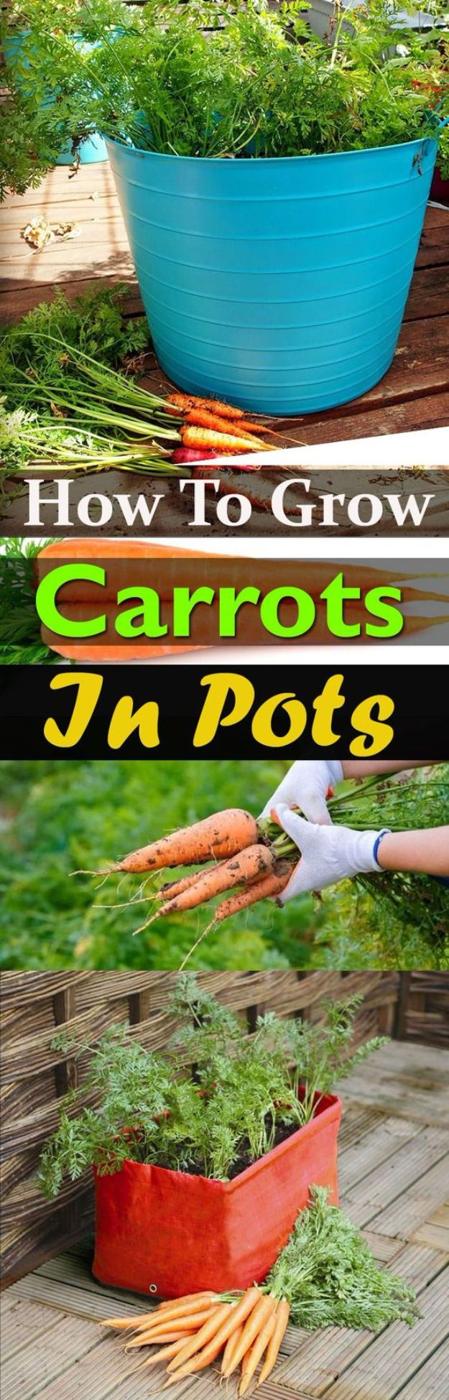
Match the pot to the carrot, not the other way round. Thumbelina, Minicor and Little Finger only make two to three inches and will grow in six; Nantes needs five to six; Imperator 58 wants eight to ten, so a pot 10 to 12 inches deep and as wide as you can manage covers most of them. The soil has to be stone free and sandy rather than heavy, one part soil to one part compost to one part perlite, at pH 6 to 6.8. Thin with scissors at two inches tall rather than pulling, so you do not disturb the roots next door. Ease off watering near the end or they split.
Get the full tutorial at Balcony Garden Web.
8. Grow Watermelon in Containers
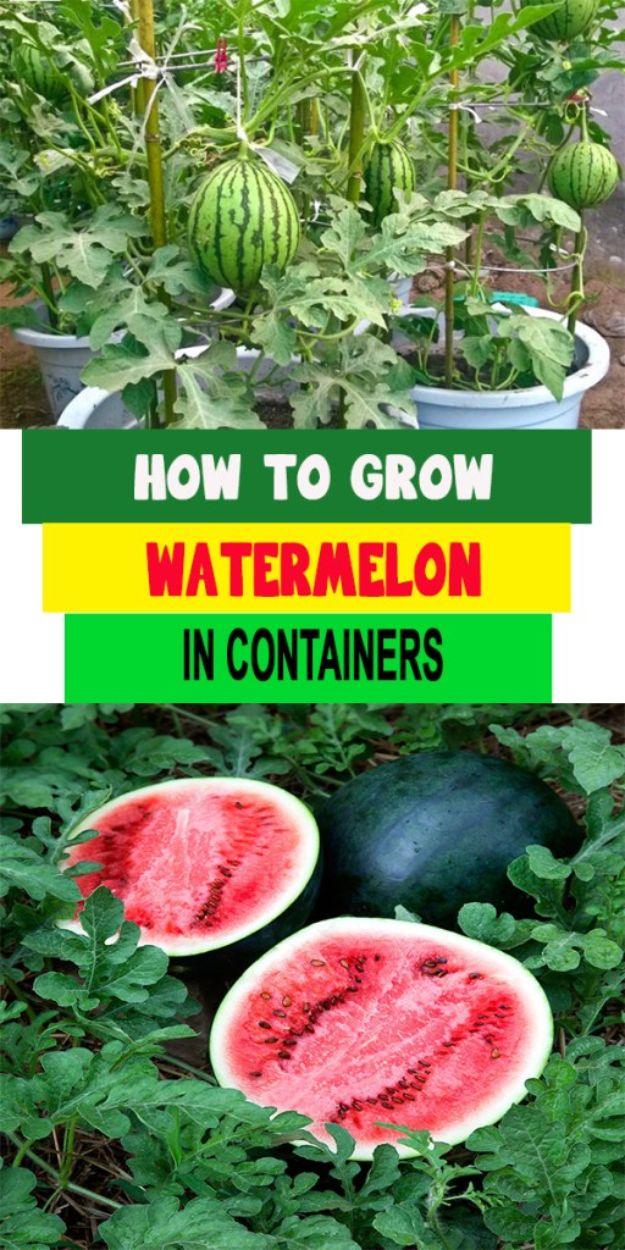
A whole watermelon ripening on a vine in a five gallon bucket, which is the size floor for this: five gallons or bigger, because watermelons grow fast and drink accordingly. Potting compost or a soilless mix, never garden soil, which compacts in a container. Ten compact varieties suit pots, Sugar Baby and Golden Midget among them. Sow the seed three times deeper than it is long, then give the vine a trellis or a teepee to climb. The detail that saves the crop is the hammock: as a fruit sizes up, sling it in a length of old tights or a cut up t-shirt so the vine does not tear.
Get the full tutorial at Urban Gardening Ideas.
9. Lemon Tree For Container Gardening
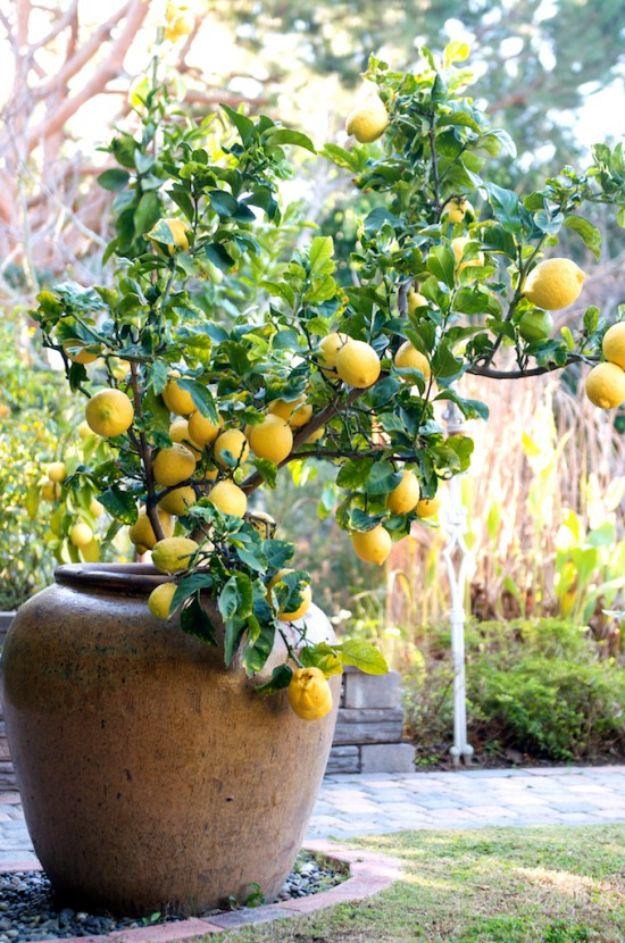
A glazed pot rather than terracotta, and that is a correction worth making before you buy anything: unglazed clay sweats water out through its sides and a root bound citrus in one dries out in a day. Water consistently, mulch the surface with a couple of inches of leaves, and run a drip line to the pot if you can, because letting it dry out is what leaves the fruit soft and shrivelled. Full sun all day proved too much for a potted tree, so about two thirds of a day suits it better. One warning on pot shape: avoid anything that narrows at the rim, or the tree can never come out again.
Get the full tutorial at White On Rice Couple.
10. Grow Bell Peppers in Pots
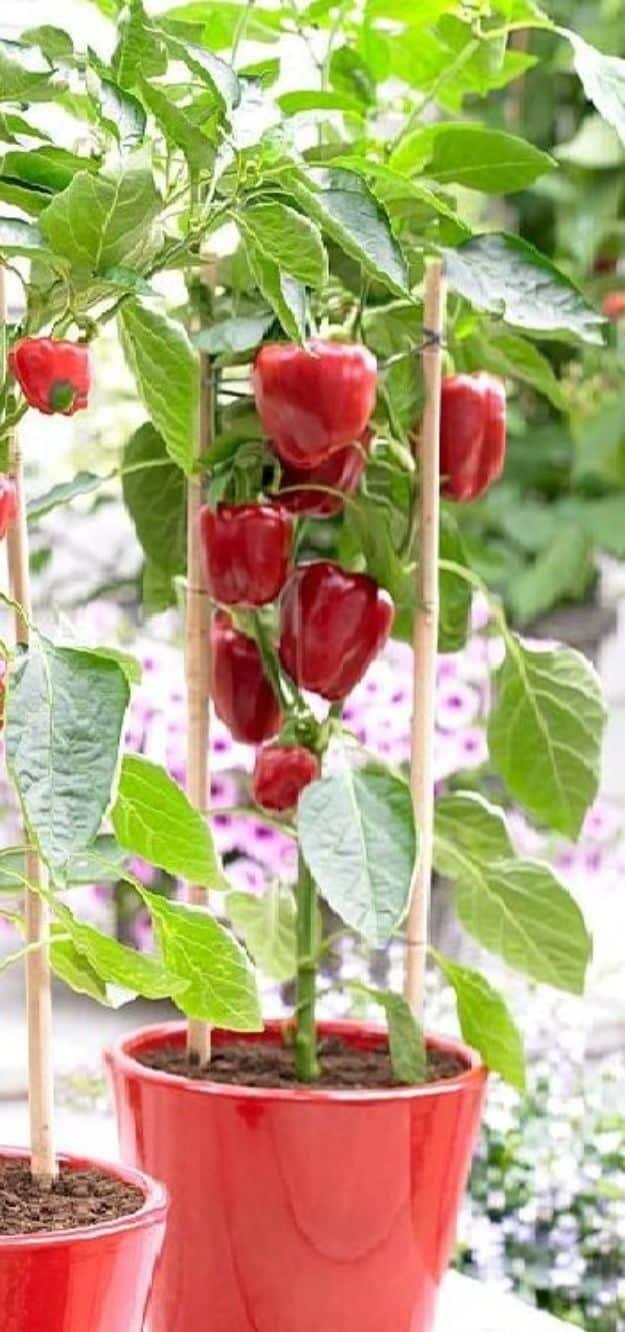
Four red peppers hanging off one plant in a red pot with a pair of bamboo canes beside it, and the canes are not optional once fruit sets. Ten inches deep and ten wide is the minimum and will take two or three plants, though they will be competing. Six hours of sun a day, well drained loose compost, daily water that never lets the soil dry out completely but never waterlogs it either, and a feed every fourteen days once they are established. Sixty to ninety days from transplanting to harvest. If they flower very early, pinch back so the plant puts its energy into growing first.
Get the full tutorial at Bees and Roses.
11. Potting Soil For Container Gardening
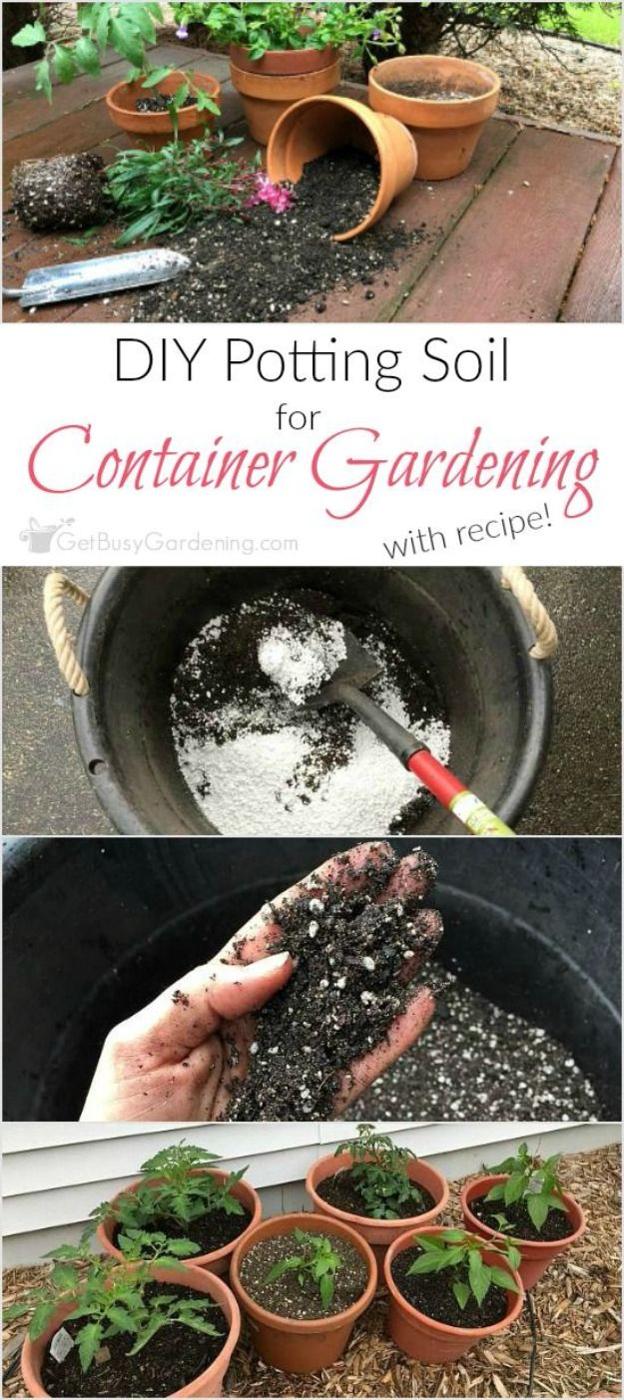
Two parts peat moss or pre-moistened coco coir, two parts compost, one part perlite and a quarter to a half part vermiculite, plus a tablespoon of garden lime per gallon if peat is in the mix. That is the general recipe. For hanging baskets the compost comes out altogether, because compost is what makes a pot heavy, and you are left with a lighter soilless version of the same thing. What never goes in is garden soil. It packs down solid in a container and it arrives carrying weed seeds, mould spores and insects. Topsoil and fill dirt are cheap because they hold no nutrients at all.
Get the full tutorial at Get Busy Gardening.
12. Front Porch Winter Container Gardens
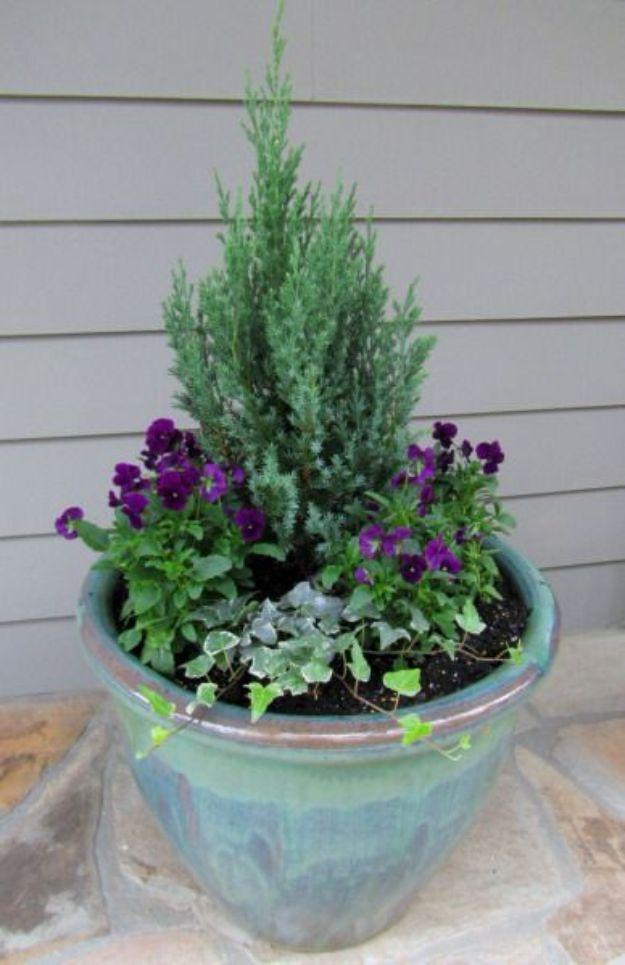
A conifer standing in the centre of a glazed pot with purple violas and trailing ivy packed round its feet, which is the winter container formula: one evergreen for structure, something that flowers through cold, and something that spills. Violas are the pick over pansies because they are more winter hardy, which matters after a bad year. Use fresh potting compost every autumn rather than whatever is left in the pot from summer; a moisture control mix helps because winter containers get over and under watered in equal measure. Once planted properly they need almost nothing until spring.
Get the full tutorial at Tips From Ashton.
13. Rain Boots Gardening
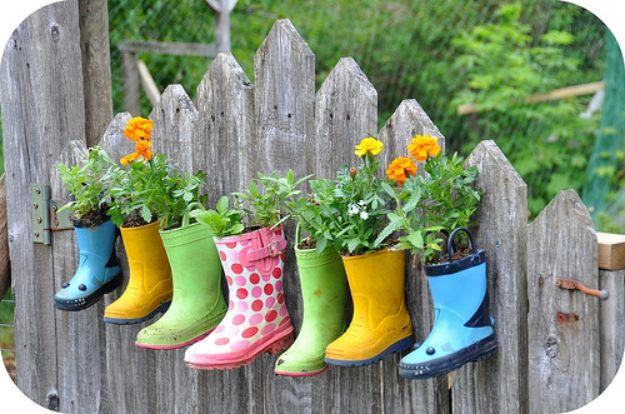
Seven children’s wellies in a row along a picket fence, each planted with marigolds and trailing greenery, and the construction is four or five quarter inch holes drilled through each sole for drainage plus one more through the back near the top to hang it from a cup hook. Nails work if there are no hooks. The unexpected benefit is pest control: up on a fence, slugs cannot reach the flowers at all, which is more than can be said for anything at ground level. Outgrown boots are free, waterproof and already the right shape, and the row of colors does the work.
Get the full tutorial at Rosy Posy.
14. Cinder Block Focal Point Vertical Planter
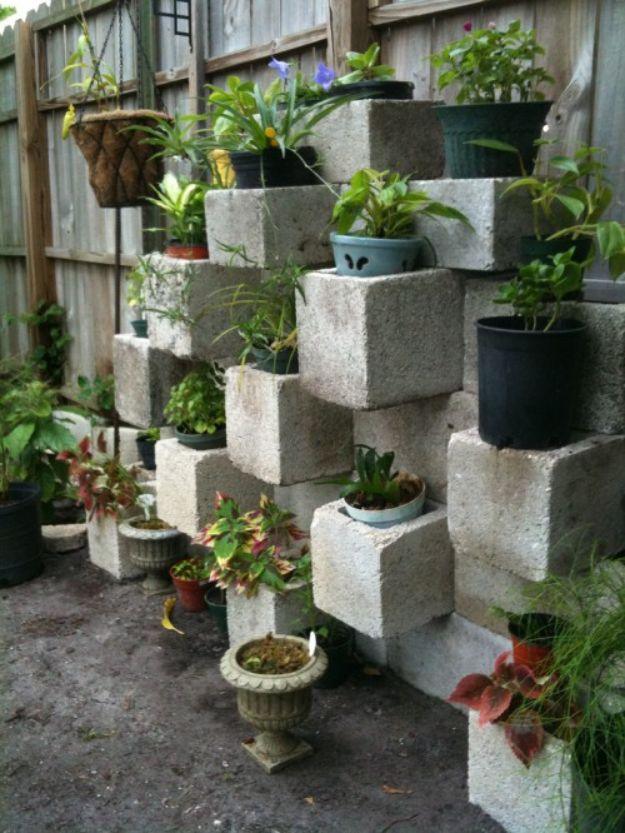
A wall of concrete blocks stacked in an open staggered pattern with potted plants sitting in the cavities and on the ledges, half screen and half planter. Laid dry like this the blocks are only held by their own weight and by how far each one overlaps the course below, so keep the overhang short, build against something and keep the height low. The cavities do not hold soil well on their own, which is why every pot in the photograph is a pot. Blocks can be painted or concrete stained before they go up, and that is much easier than after.
Get the full tutorial at Pith + Vigor.
15. Grow Ginger Indoors
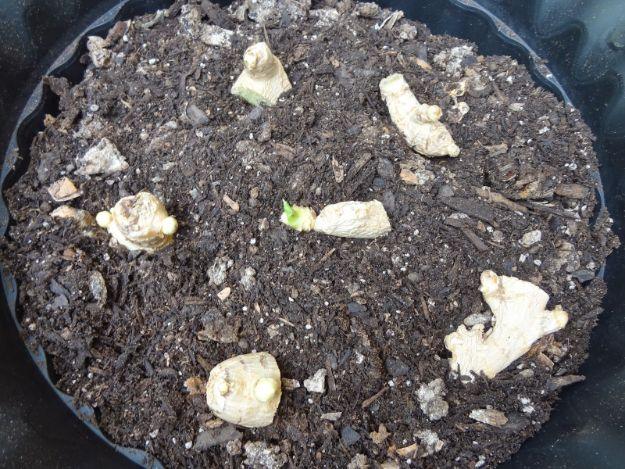
Supermarket ginger that has started to sprout, cut into pieces with at least one eye bud each and laid out across the surface of a pot with the buds facing up, then covered with one to two inches of compost. That is the entire planting operation, and the photograph is the moment before the soil goes on. Use a plastic pot rather than terracotta because ginger cannot take a freeze and you will be carrying it indoors. Partial shade and consistently moist compost, not the dry regime most houseplants want. Allow at least four months, and closer to a year for a real harvest.
Get the full tutorial at Rebecca's Texas Garden.
16. Succulent Chair Planter
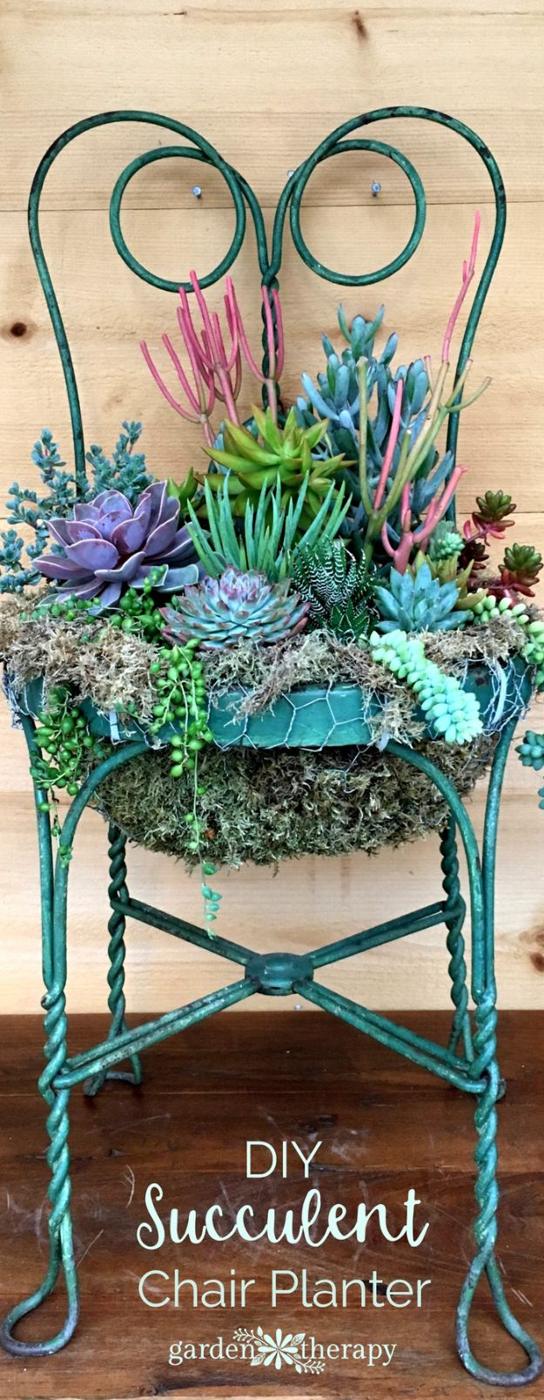
A wrought iron chair with chicken wire formed into a basket inside the open seat, nine cable ties holding it to the frame, lined with sheet moss and two or three sheets of newspaper, then filled with cactus and succulent compost. The basket goes about eight inches deep and the wire wants one inch openings. Plant something tall at the back that can climb the chair back, then let the rest spill over the front edge and down the legs, varying color, shape and texture. Water regularly but let it dry slightly between times, because succulents will not forgive soggy compost.
Get the full tutorial at Garden Therapy.
17. Sew A Grow-Bag
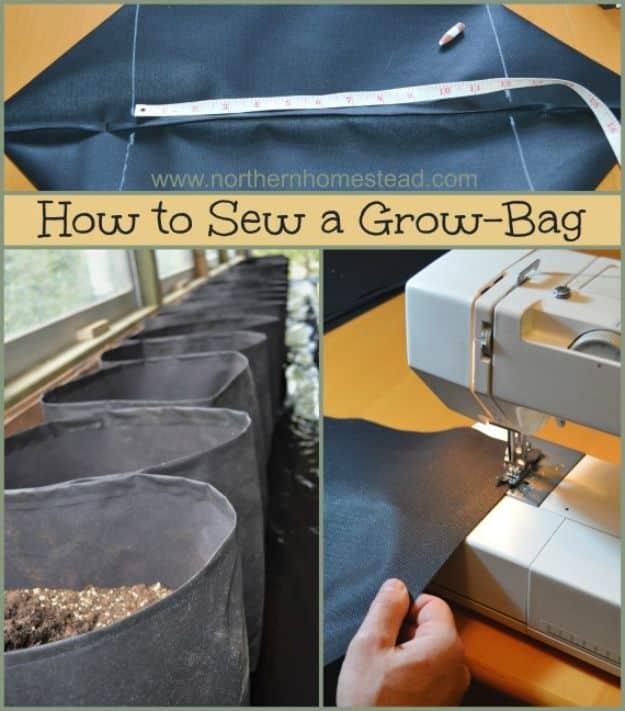
Heavy landscape fabric sewn into square-bottomed bags on an ordinary domestic machine, which is what makes this worth doing rather than buying: the fabric comes on a roll and you cut the size the space needs. Four feet plus an inch for the seam gives a bag with a roughly one foot square base, and the height is simply the roll folded in half. Go for the thickest weed shield you can find, because the thin plastic-feeling stuff tears at the seams once it is full of wet compost. No handles in this pattern, on the grounds that a full grow bag never moves anyway. Two to three seasons of use.
Get the full tutorial at Northern Homestead.
18. Grow Your Onions In A Container
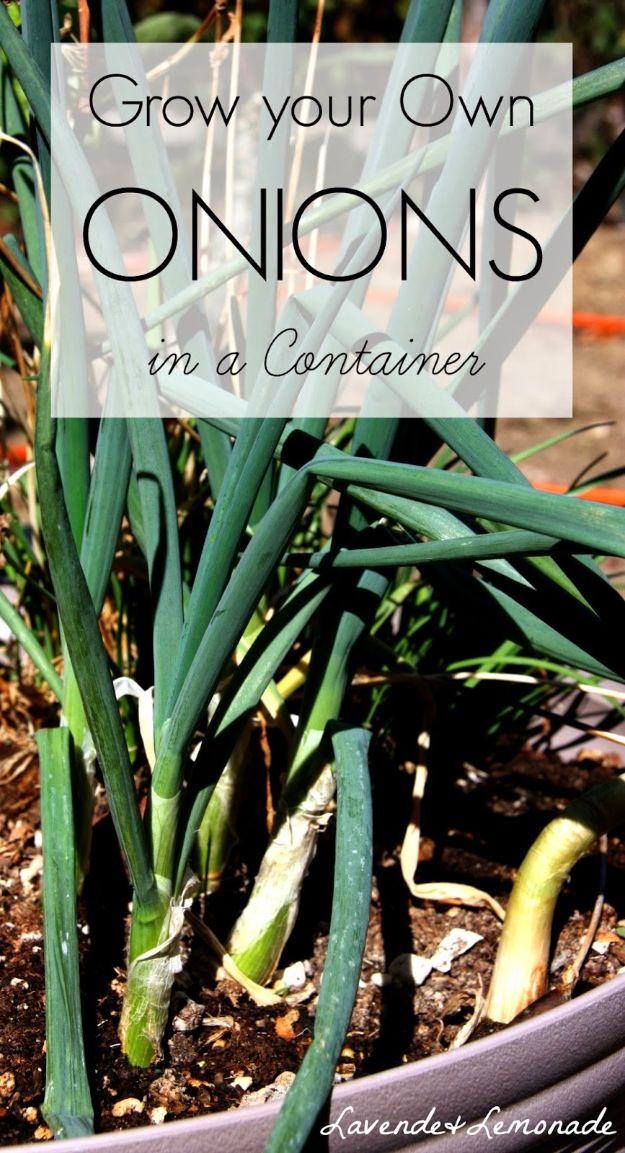
Onion tops in a wide terracotta bowl, some already fattening at the base, and the container depth is the only number that really matters: at least ten inches. Space them about three inches apart, which sounds generous until the bulbs start to swell and you understand why. Well drained soil with sand mixed into ordinary potting compost, full sun and as much of it as the spot gets, and water thoroughly then wait until the surface starts to dry before going again. Consistent watering is what makes them juicy rather than sharp. They grow happily alongside tomatoes, garlic and parsley.
Get the full tutorial at Lavende and Lemonade.
19. Growing Strawberries in Containers
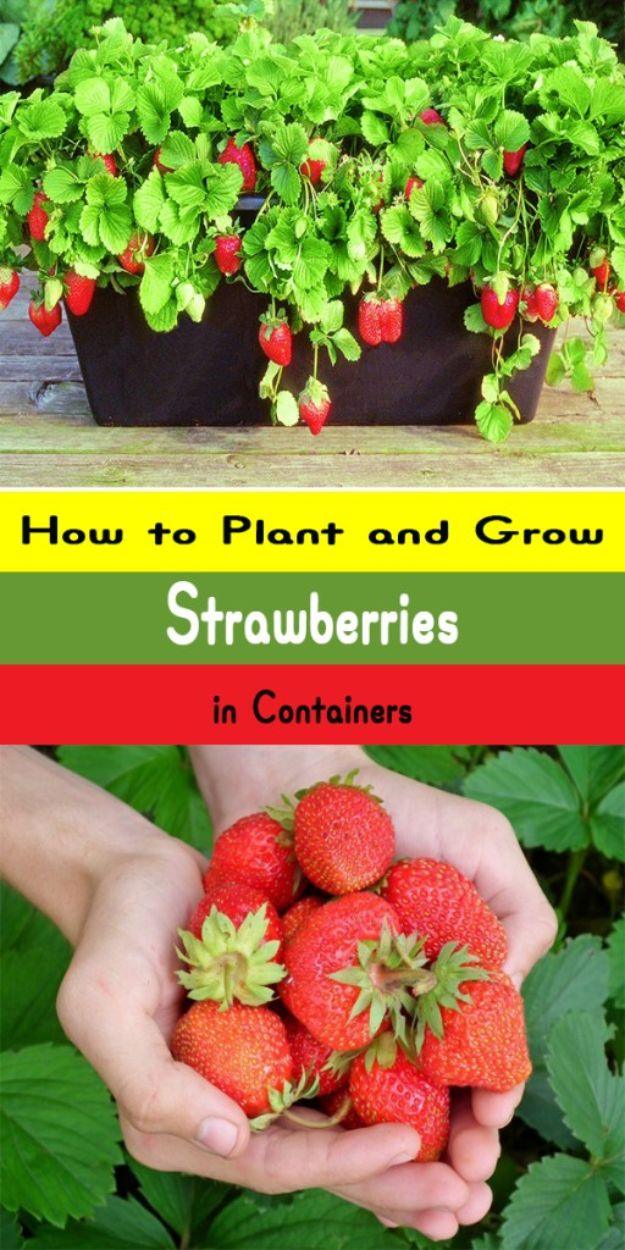
An urn-shaped pot with holes punched down the sides is the classic strawberry planter, and the reason is that it multiplies the planting area without multiplying the footprint: one plant per side hole, three or four more across the top. Everbearing types are the ones for containers because they throw fewer runners and fruit from spring through autumn; June bearing produces one big crop and a mass of runners and is better in a bed. Full sun to part shade, a soilless mix with compost and slow release 10-10-10, and a gravel-filled tube down the middle spreads water evenly instead of drowning the top.
Get the full tutorial at Urban Gardening Ideas.
20. DIY Pig Planter From a Plastic Bottle
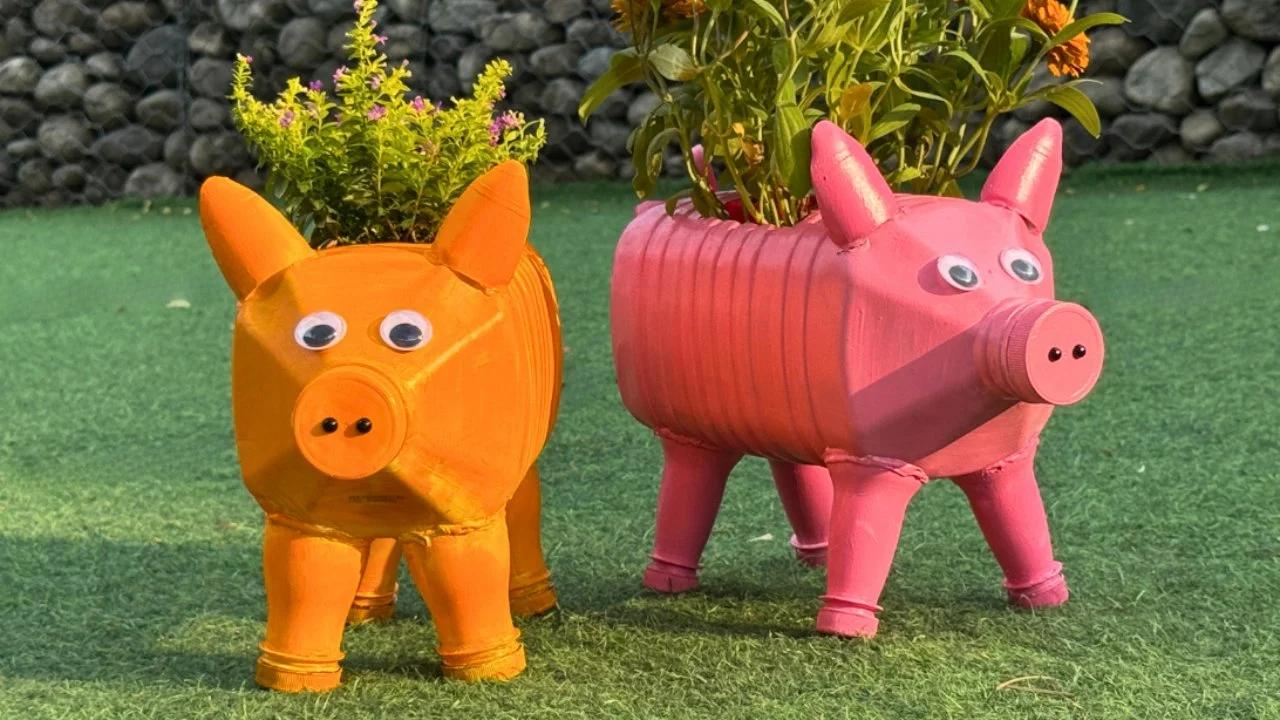
A gallon plastic bottle laid on its side, cut open along the top and turned into a pig with four legs, ears, a curled tail and googly eyes, then filled with soil and planted. The bottle is free, it is already waterproof and it is light enough to move with one hand when it is full, which is more than can be said for terracotta. The shape looks harder than it is; the process is a sequence of small cuts that only resolve into a pig near the end. Two of them in different colors look deliberate in a way one never quite does.
Get the full tutorial at Sueeye.
21. Upcycled Light Bulb Mini Planter
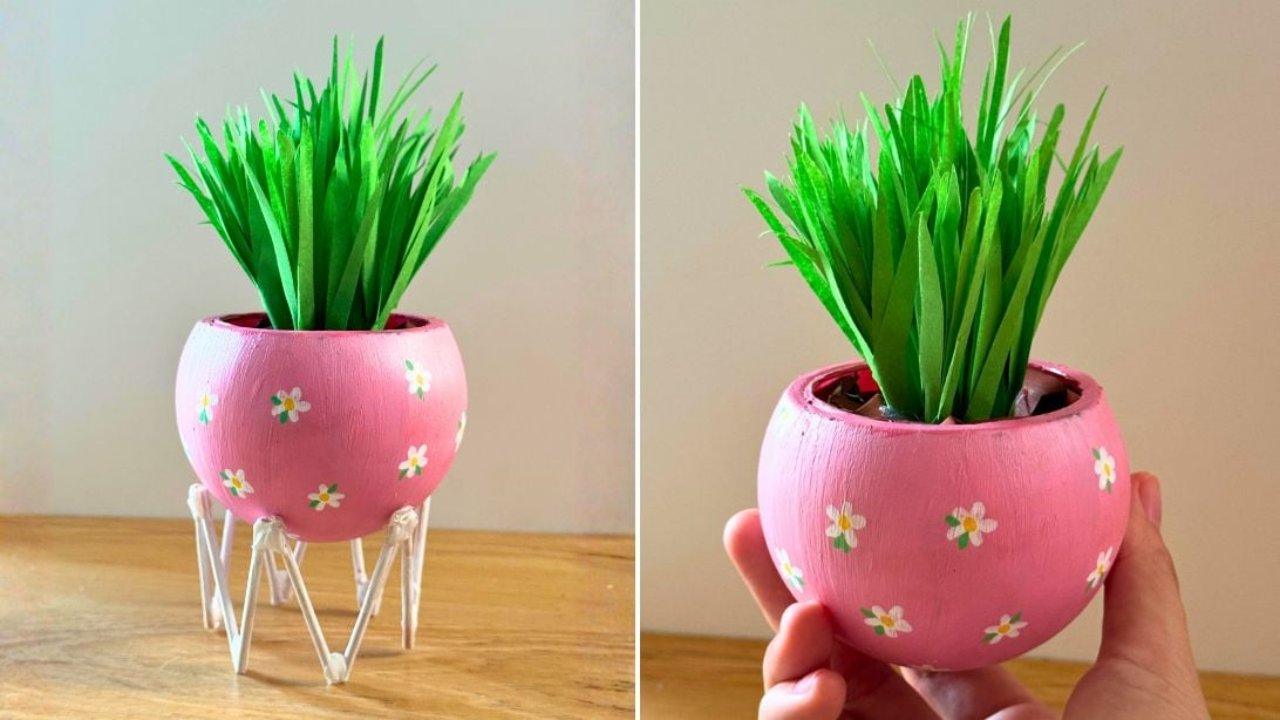
The round glass body of a dead light bulb, emptied out, painted and set on a wire stand to make a planter about the size of an egg cup. It is a desk object rather than a garden one, and the scale is the point: a tiny succulent, a cutting rooting in water, or a paper plant if you would rather not water anything. Getting the bulb hollow is the part that takes care and safety glasses. Once it is empty the glass takes paint well and the shape does the rest. Two of them side by side, one on legs and one without, reads as a set.
Get the full tutorial at Sueeye.
22. Repurposed Glass Jar Planter
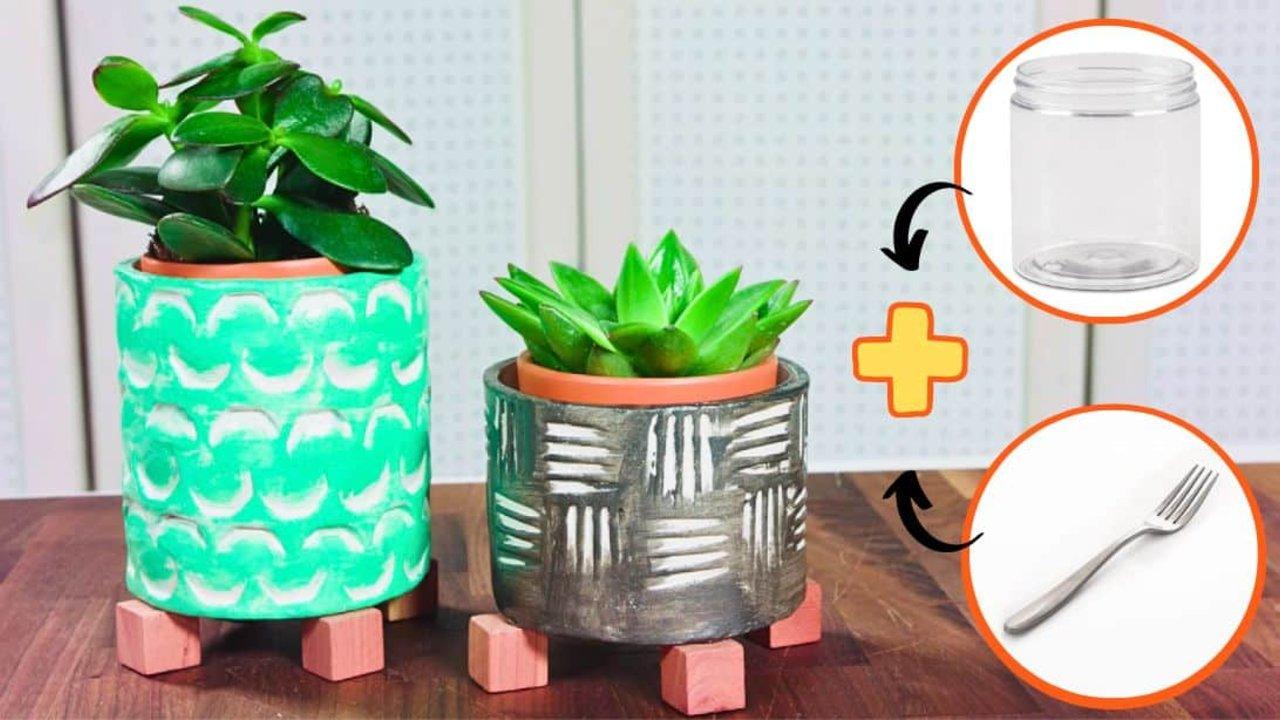
Air dry clay rolled out, wrapped around an old glass jar and textured with the back of a fork, which turns a jar into something that looks thrown rather than recycled. Cut the seam, smooth it, trim top and bottom, then let it set 24 hours before painting and sealing. Small wooden blocks glued underneath become feet, and feet are what stop it reading as a jar. Sealing matters if it will hold a potted plant, because air dry clay softens when it gets wet. Drop the nursery pot inside rather than planting into the jar, since there is no drainage.
Get the full tutorial at Sueeye.
23. Detergent Bottle Elephant Pot
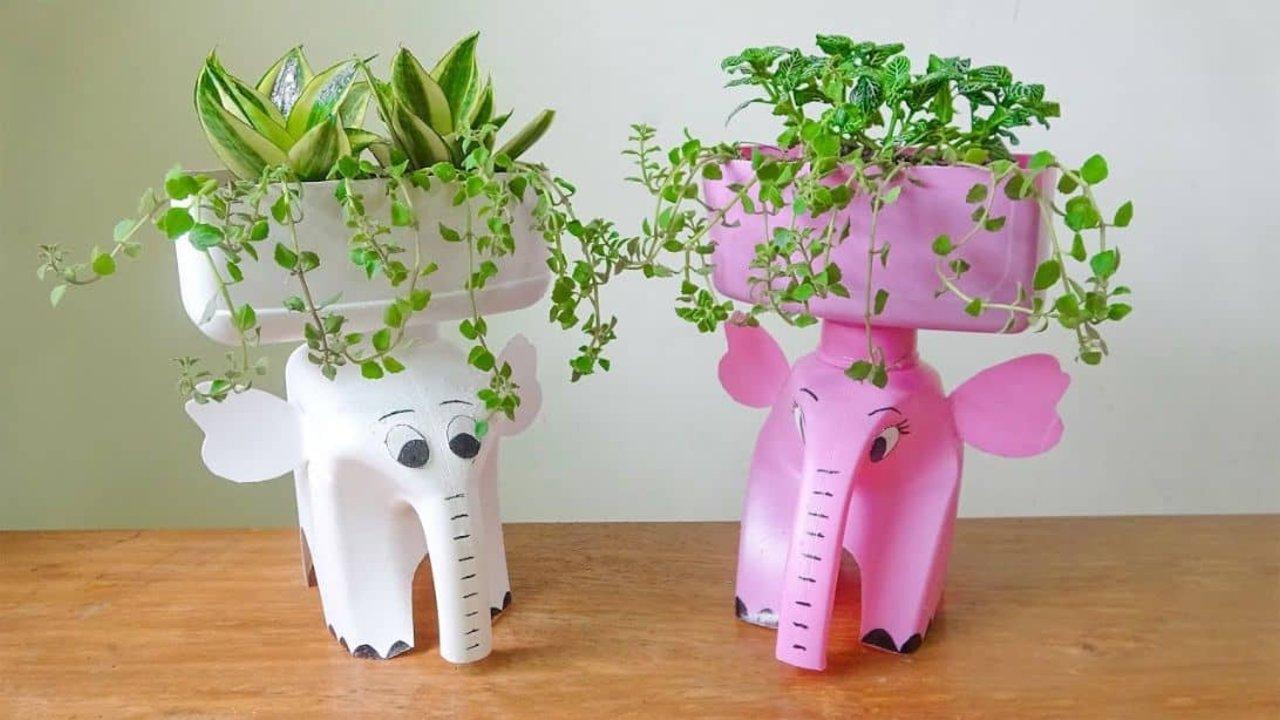
An empty laundry detergent bottle cut into an elephant with a trunk, ears and legs, planted through the open back. The bottles are already colored, so nothing needs painting, which is unusual for a plastic bottle project and is the reason this one looks finished rather than crafted. A marker, a cutter, scissors and glue is the whole tool list. Detergent bottles are heavier gauge plastic than drinks bottles, so they hold their shape when full of wet soil and stand up on their own legs, which a thin water bottle never will.
Get the full tutorial at Sueeye.