
Effortlessly Remove Sticky Labels: A Genius Natural Hack for Reusing Jars and Bottles
Are you tired of battling stubborn sticky labels that cling relentlessly to your beautiful glass jars, plastic bottles, or cherished mugs? That unsightly residue can be incredibly frustrating, especially when you’re aiming to repurpose a container for a craft project, organized pantry storage, or a thoughtful homemade gift. While many commercial label removers exist, they often come with harsh chemicals, strong odors, and an extra cost. What if there was a simple, natural, and incredibly effective solution using ingredients you likely already have in your kitchen? Good news – there is! This guide unveils a brilliant life hack, inspired by the concise demonstration from Red Ted Art on YouTube, that will transform your label-removing woes into a breeze. Get ready to embrace a greener, cleaner, and more organized approach to your home.
The Common Frustration: Why Labels Are So Stubborn
Most labels are designed to stick firmly to surfaces, resisting moisture and handling to ensure product information remains intact. This design, however, becomes our biggest challenge when we want to peel them off. The adhesive, often a polymer-based glue, forms a strong bond that seems impenetrable. Many people resort to scratching, soaking in hot water (which sometimes works, but often leaves a sticky mess), or even harsh solvents like nail polish remover or paint thinners. These chemical options can be hazardous, damaging to certain materials like plastics, and definitely not ideal for items intended for food storage or crafting.
The beauty of the method we’re about to explore lies in its simplicity and natural efficacy. It leverages basic chemistry to break down the adhesive bond without requiring any specialized tools or potentially harmful substances. This makes it a perfect solution for anyone looking to upcycle glass jars for candles, convert wine bottles into elegant vases, or simply clean up containers for a more aesthetically pleasing pantry.
The Science Behind the Magic: Oil Meets Adhesive
At the heart of this label-removal hack is a simple yet powerful chemical reaction. The cooking oil acts as a solvent, specifically targeting the sticky, oil-soluble polymers found in most adhesives. Think of it this way: “like dissolves like.” The oil penetrates and dissolves the adhesive, weakening its grip on the surface. But why baking soda? The baking soda serves a dual purpose. Firstly, it creates a paste-like consistency with the oil, preventing the oil from simply dripping off the label. This ensures the oil stays in direct contact with the adhesive for the required duration, maximizing its effectiveness. Secondly, the fine granules of baking soda provide a gentle abrasive action, helping to scrub away the softened adhesive and paper residue without scratching delicate surfaces like glass or plastic. This combination is what makes the Red Ted Art method so remarkably effective and user-friendly.
Materials You’ll Need: Simple & Accessible
One of the greatest advantages of this label removal technique is that it requires only a few common household items. No need for special trips to the store or expensive cleaning products. Gather these simple materials, and you’ll be ready to tackle any sticky label challenge:
- Cooking Oil: Any type will do – vegetable oil, olive oil, canola oil, or even coconut oil. The key is its oil-based nature.
- Baking Soda: A staple in most kitchens, essential for creating the paste and providing gentle abrasion.
- Sponge or Cloth: A regular kitchen sponge, scrubber, or even an old rag works perfectly for applying and wiping.
- Small Bowl (optional): Useful for mixing your paste.
- Warm Water & Dish Soap: For a final clean-up.
Step-by-Step Directions: Your Guide to Label-Free Success
Follow these easy steps to achieve perfectly clean, label-free surfaces:
Step 1: Prepare Your Power Paste
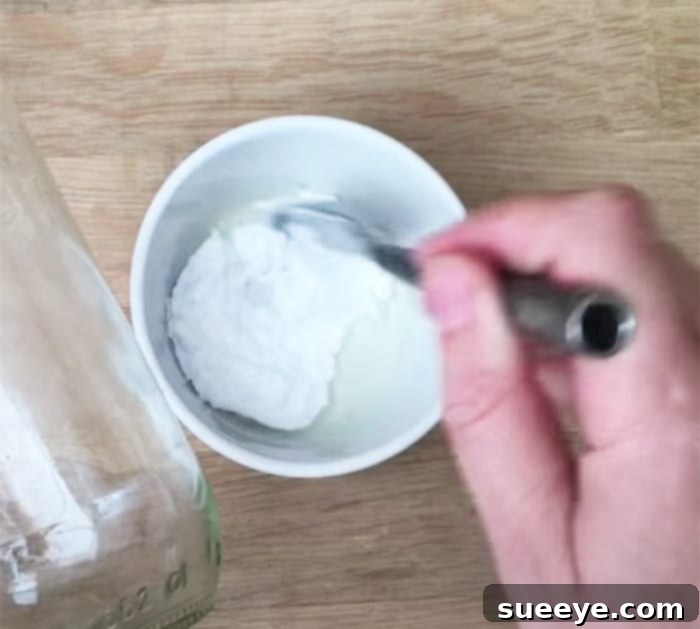
Begin by mixing your label-removing paste. In a small bowl, combine a generous amount of cooking oil with an equal or slightly greater amount of baking soda. The goal is to create a thick, spreadable paste – similar to the consistency of peanut butter or a thick frosting. You want it to be firm enough to adhere to the label without dripping, but still easily spreadable. Adjust the ratio of oil to baking soda as needed, adding more of either until you achieve the desired consistency. Mix thoroughly until there are no dry pockets of baking soda.
Step 2: Apply and Let It Work Its Magic
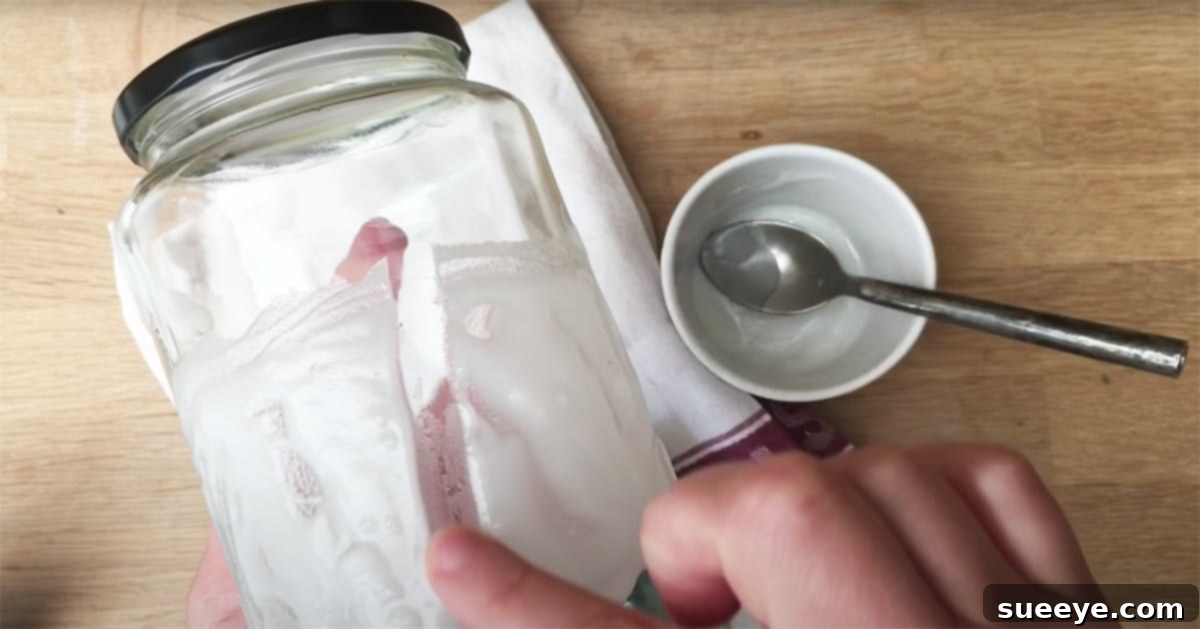
Once your paste is ready, generously spread it over the entire sticky label on your jar, bottle, or other item. Ensure the paste completely covers the label and any visible adhesive residue around its edges. Don’t be shy with the application; a good, thick layer will provide the best results. The key here is to give the oil ample time to penetrate and break down the adhesive. The thicker the label or the more stubborn the glue, the more time and paste it might require.
Step 3: The Waiting Game (10-20 Minutes)
Now comes the waiting period. Allow the baking soda paste to sit on the label for approximately 10 to 20 minutes. For particularly tough or old labels, you might extend this time to 30 minutes or even an hour. During this period, the oil is actively working to dissolve the adhesive, loosening its grip on the surface. Resist the urge to scrub too early, as adequate soaking time is crucial for the paste to be most effective. Use this time to prepare your rinsing station or gather other label-ridden items to treat.
Step 4: The Gentle Scrub and Wipe
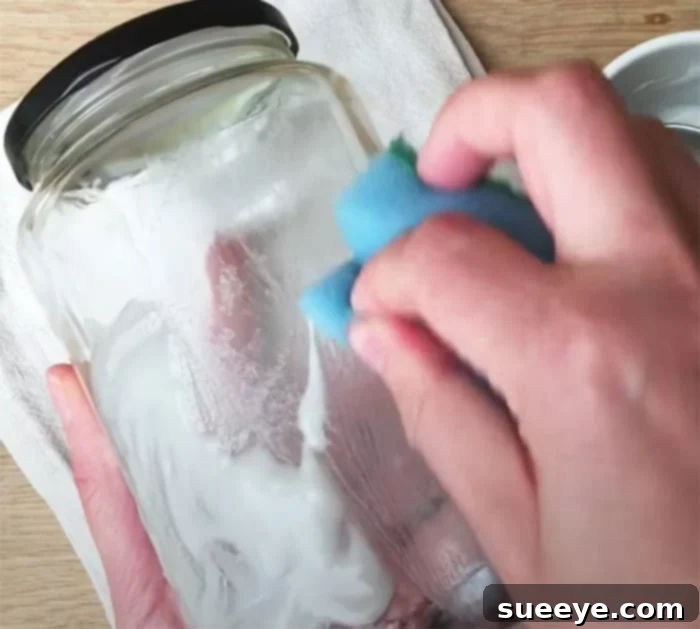
After the waiting period, take a sponge (the soft, non-abrasive side is usually sufficient) and gently begin to wipe and scrub the surface where the label is located. You’ll notice that the label paper and the underlying adhesive will start to loosen and come off remarkably easily. The baking soda acts as a mild abrasive, aiding in the removal without scratching the surface. For areas with more stubborn residue, you might need to apply a little more pressure or use a slightly rougher side of the sponge. Keep a small bowl of warm water nearby to dip your sponge in, helping to rinse away the paste and loosened label bits as you go. This prevents you from simply spreading the sticky mixture around.
Step 5: Final Clean-Up and Rinse
Once all the label and adhesive residue has been removed, give the item a thorough wash with warm water and a little dish soap. This will ensure that any remaining oil and baking soda residue is completely cleaned off, leaving your jar or bottle sparkling clean and ready for its new purpose. Dry the item thoroughly with a clean cloth, and behold your perfectly prepped, label-free container!
Tips for Optimal Results and Troubleshooting
- For Extra Stubborn Labels: If a label proves particularly challenging, don’t hesitate to reapply the paste and let it sit for a longer duration, perhaps an hour or even overnight. Patience is key!
- Pre-Soak Option: For paper labels that are very thick, you can gently peel off the top layer of paper or lightly score the label with a knife before applying the paste. This allows the oil to penetrate the adhesive more directly.
- Different Surfaces: While this method is safe for most glass and plastic items, always perform a small spot test on an inconspicuous area if you are concerned about delicate finishes or painted surfaces.
- Consistency is Key: If your paste is too runny, it won’t stay on the label. If it’s too dry, it won’t spread well and the oil won’t be as effective. Adjust the oil/baking soda ratio until you find the perfect balance.
- Use a Scraper (Carefully): For extremely tough residue, once the paste has soaked, a plastic scraper or an old credit card can be used to gently scrape off the softened adhesive. Always use caution to avoid scratching.
Beyond the Bottle: Endless Possibilities for Reusing
This simple hack opens up a world of possibilities for repurposing and reusing items around your home. Once freed from their commercial branding, your jars and bottles can be transformed into:
- Chic Home Decor: Turn clear glass bottles into elegant vases for flowers, candle holders for a cozy ambiance, or even decorative accents on shelves.
- Organized Pantry Storage: Use jars for storing dry goods like pasta, rice, beans, spices, or homemade jams and preserves. Clear jars allow you to see contents at a glance, creating an organized and aesthetically pleasing pantry.
- Crafting Essentials: Repurpose jars for storing craft supplies like buttons, beads, glitter, or paintbrushes. They can also become vessels for DIY projects like layered sand art, terrariums, or fairy lights.
- Thoughtful Gift Packaging: Present homemade gifts like cookies, bath salts, or granola in beautifully cleaned, label-free jars. Add a new decorative label or ribbon for a personal touch.
- Bathroom & Office Organizers: Use smaller jars for cotton swabs, hair ties, paper clips, or pens.
- Planters: Larger jars can be transformed into miniature planters for succulents or small herbs.
The beauty of this method extends beyond just jars and bottles. You can apply this hack to remove sticky tags from new purchases like coffee mugs, candle jars, plastic storage containers, metal tins, picture frames, or even glass dishes. It’s a versatile solution that tackles adhesive problems across various household items, saving you money and reducing waste.
Embracing a Sustainable & DIY Lifestyle
In an age where sustainability and conscious consumption are more important than ever, this simple label removal hack aligns perfectly with a DIY and eco-friendly lifestyle. By choosing to reuse and repurpose instead of discard, you actively contribute to reducing landfill waste and minimizing your environmental footprint. It empowers you to give a second life to items that would otherwise be thrown away, transforming them into functional and beautiful objects for your home.
Moreover, this method embodies the satisfaction of natural cleaning and problem-solving. Knowing that you can achieve pristine, label-free surfaces with ingredients as humble as cooking oil and baking soda instills a sense of accomplishment and encourages further exploration of natural home solutions. It’s a testament to the fact that effective solutions don’t always require harsh chemicals or expensive specialized products. Embrace the power of your pantry and unlock a world of sustainable possibilities!