
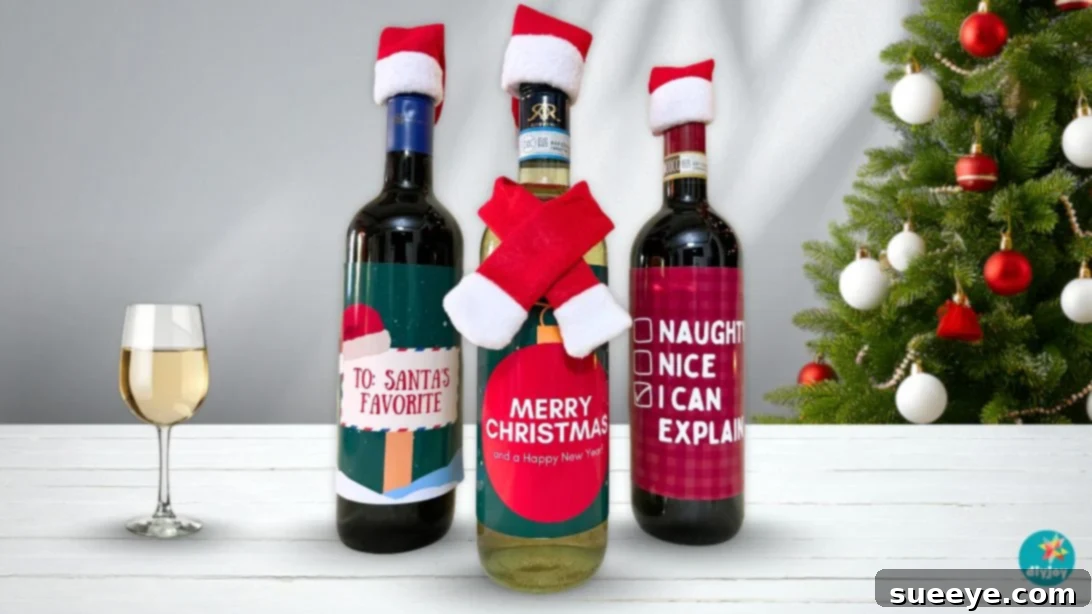
DIY Custom Holiday Wine Labels: The Perfect Personalized Gift
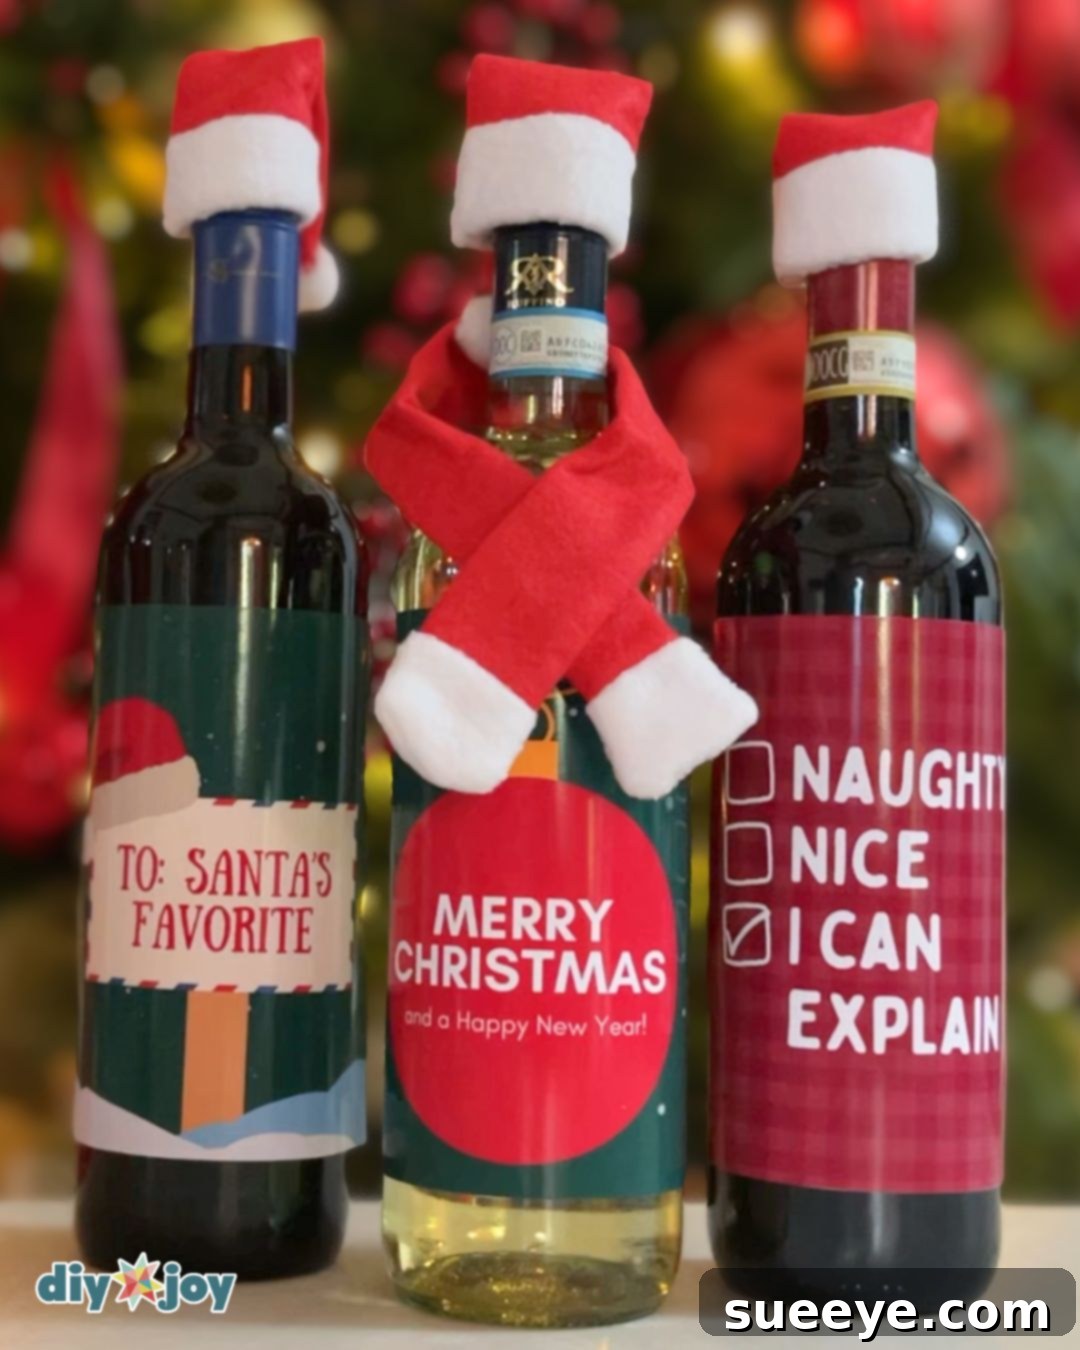
Looking for the ultimate holiday gift for the wine enthusiast in your life? Forget the generic store-bought bottles! This holiday season, elevate your gifting game with DIY custom holiday wine labels. This project is an exceptional DIY gift idea that transforms ordinary wine bottles into festive, personalized treasures. Imagine the delight of your friends, family, or colleagues when they receive a bottle of wine adorned with a custom label, a whimsical hat, and a cozy scarf. It’s a gift that’s sure to stand out and bring joy to any celebration.
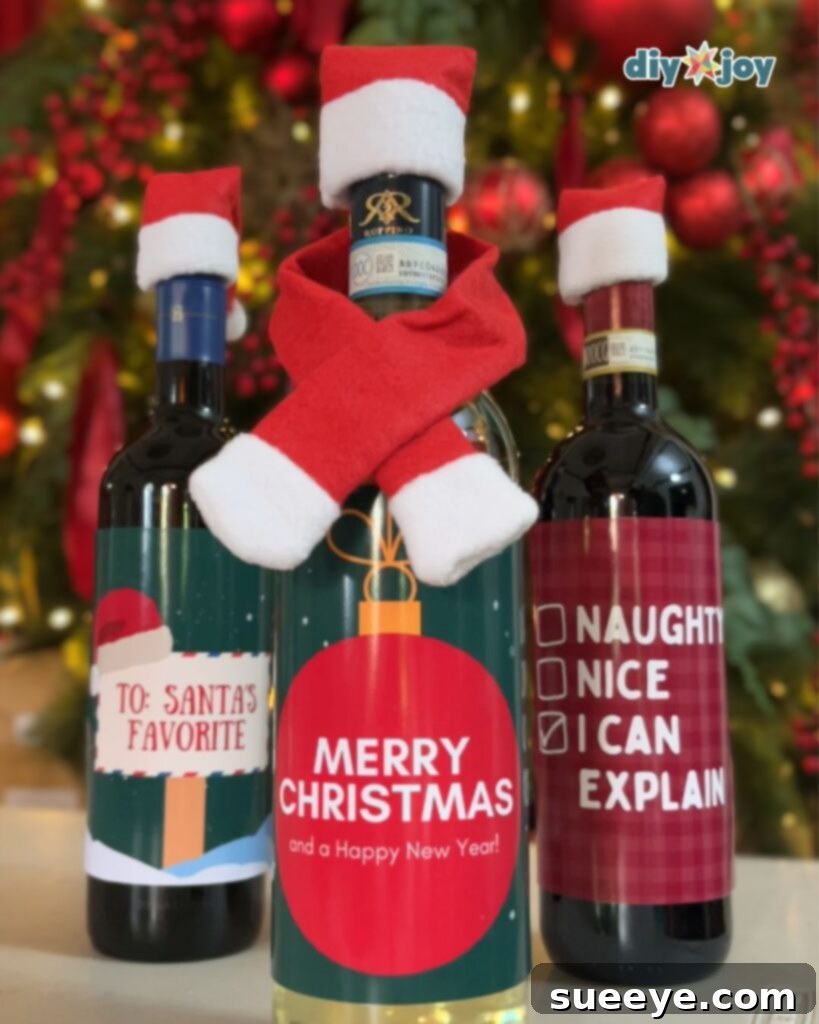
RELATED: DIY Santa Wine Bottle Gift
While gifting a bottle of wine as-is is perfectly acceptable, why not take it a step further and infuse it with your personal touch? Customizing wine labels is a simple yet impactful way to add sparkle and Christmas magic to ordinary bottles. These funny and festive holiday quotes will instantly transform the look of the bottles, making them more appropriate for the season’s festivities. More importantly, they demonstrate a level of thoughtfulness that surpasses standard, impersonal gifts. And don’t worry about the wine information – you don’t need to remove the back label to apply these custom labels.
How to Remove Wine Labels Easily
Before you can apply your custom-designed labels, you need to remove the original ones. Here’s a simple and effective method for easy wine label removal:
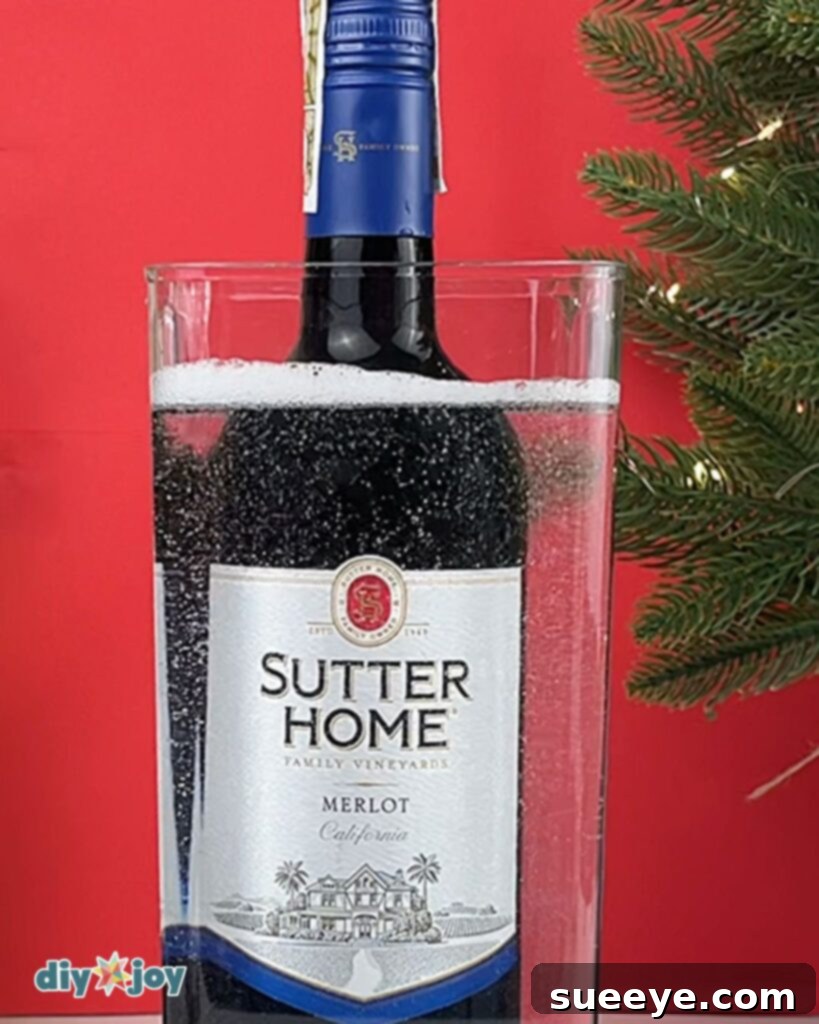
- Prepare the Soaking Solution: Fill a tall container with a mixture of warm water, a generous splash of vinegar, and a squirt of dish soap. The vinegar helps to loosen the adhesive, while the soap aids in lifting the label.
- Submerge the Wine Bottle: Place the wine bottle in the container, ensuring that the label is fully submerged in the soaking solution.
- Soak for 30 Minutes: Allow the bottle to soak for at least 30 minutes. This gives the solution ample time to penetrate the adhesive and loosen the label.
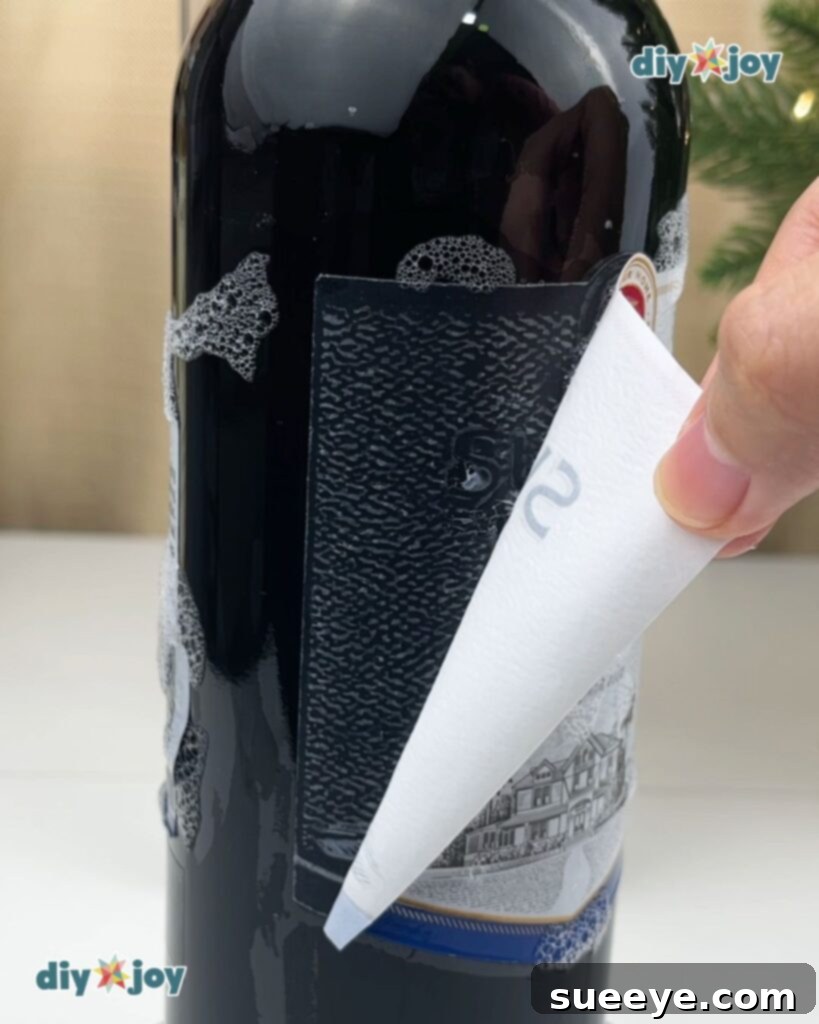
- Peel Carefully: After soaking, carefully peel the label from the bottle, starting at one corner and gently working your way across. If the label resists, soak it for a bit longer.
- Remove Excess Glue: Once the label is removed, you may find some residual glue on the bottle. To remove this, use a cotton ball soaked in rubbing alcohol. Gently rub the affected area until the glue dissolves. For stubborn residue, a plastic scraper or blade can be used with caution.
With the original labels removed, your bottles are now ready to be transformed into personalized masterpieces.
How to Customize Wine Labels
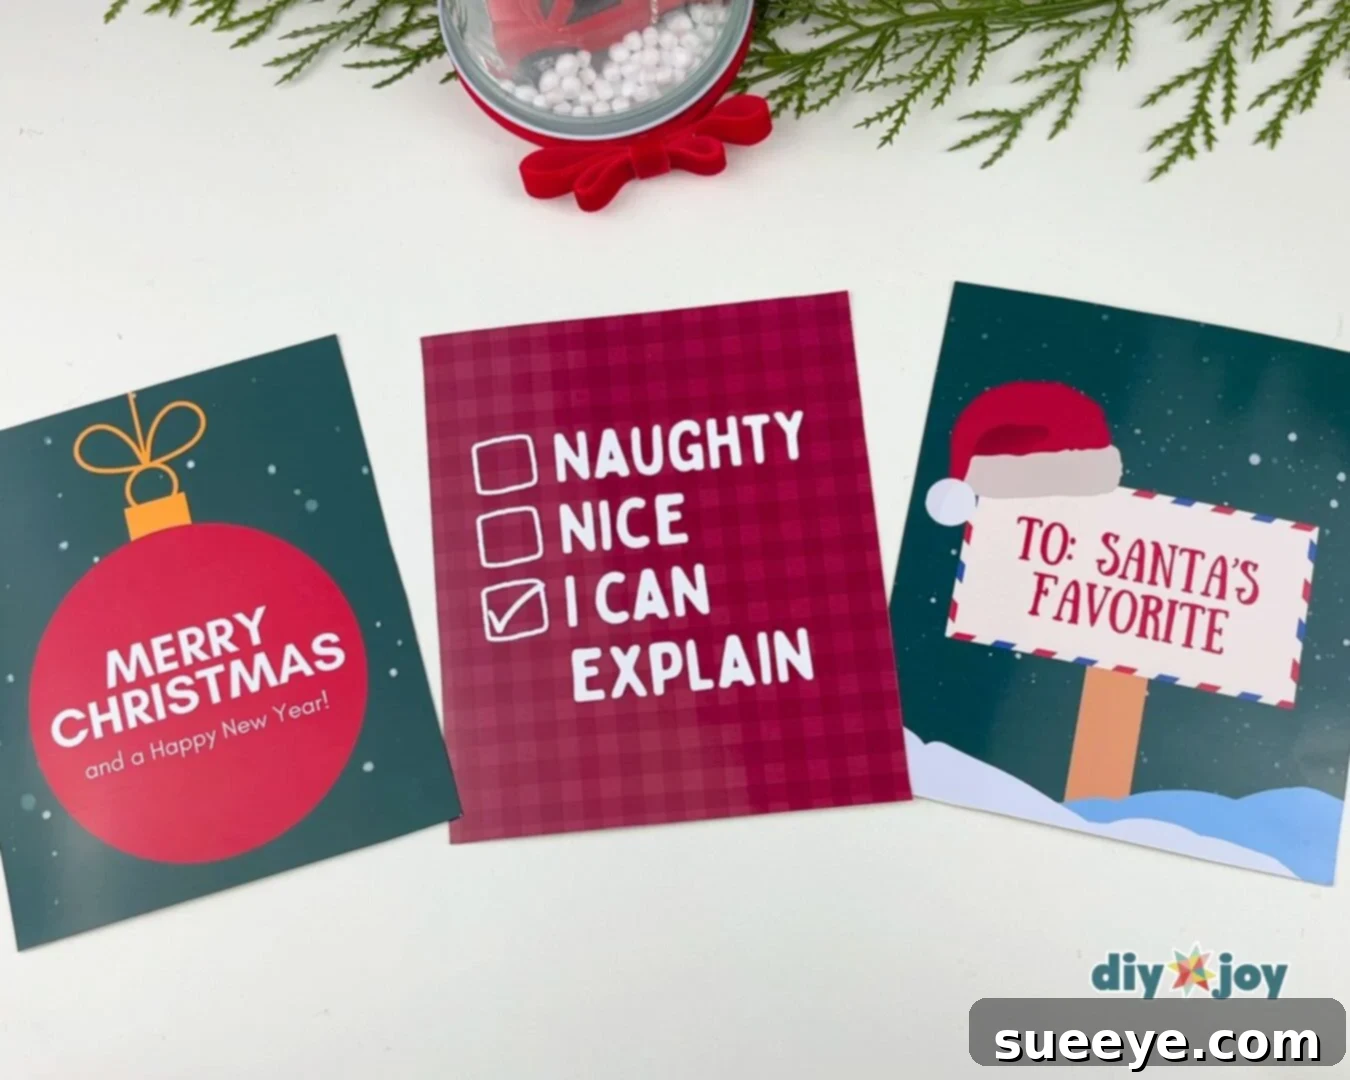
Creating custom wine labels is surprisingly easy and fun, and the results are incredibly rewarding. These personalized wine labels can be customized for any occasion and are sure to impress. I made all three designs on Canva!
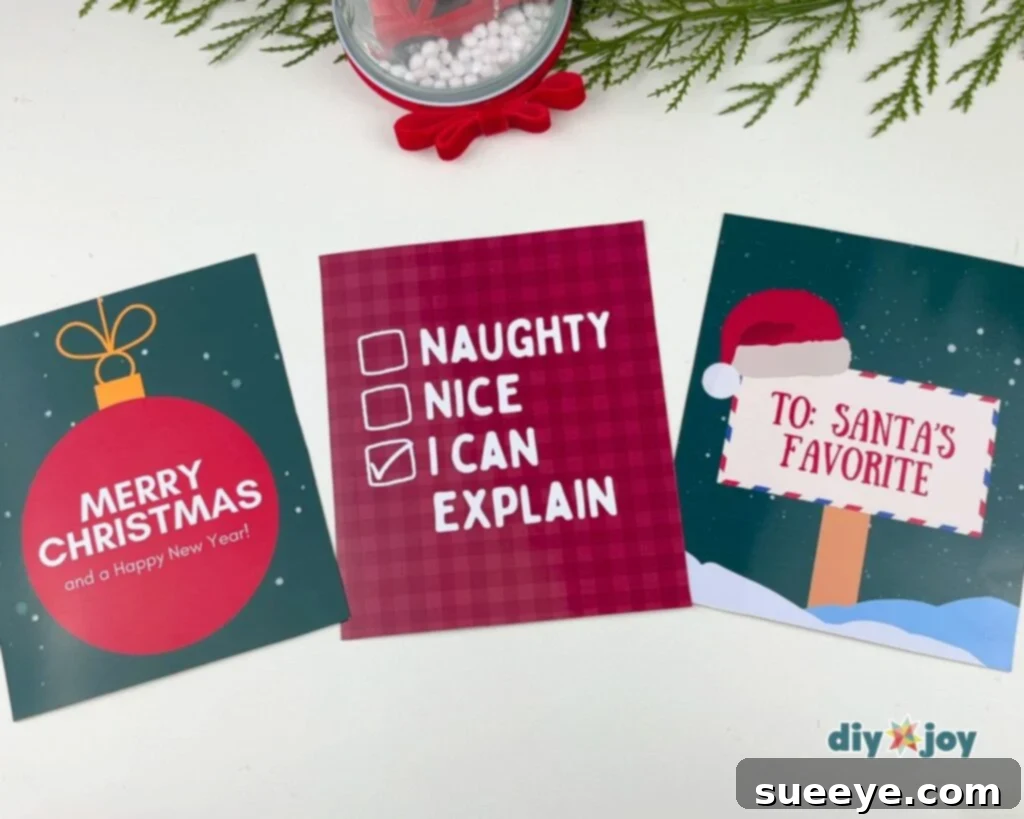
The design process is enjoyable. Canva is an invaluable online design tool. Its intuitive interface and vast library of resources make it easy for anyone to create professional-looking designs, regardless of their experience level. Canva offers a wide range of templates, graphics, fonts, and photos to choose from, giving you endless possibilities for creating unique and eye-catching wine labels. Whether you’re looking for a classic, elegant design or something more whimsical and fun, Canva has the tools to bring your vision to life. The availability of graphics and photos is especially great for creatives.
Holiday Wine Labels Free Download
Ready to get started? To help you on your creative journey, I’m offering the wine labels I designed as a free download! These labels are perfect for adding a touch of holiday cheer to your wine bottles. Simply click the link below to download the file:
Custom Holiday Wine Labels (Free Download) (Note: Paper size is A4)
If you want to create your own wine labels, check out Canva.
DIY Custom Holiday Wine Labels: A Step-by-Step Guide
Here’s a step-by-step guide to turn ordinary wine bottles into unforgettable Christmas gifts:
-
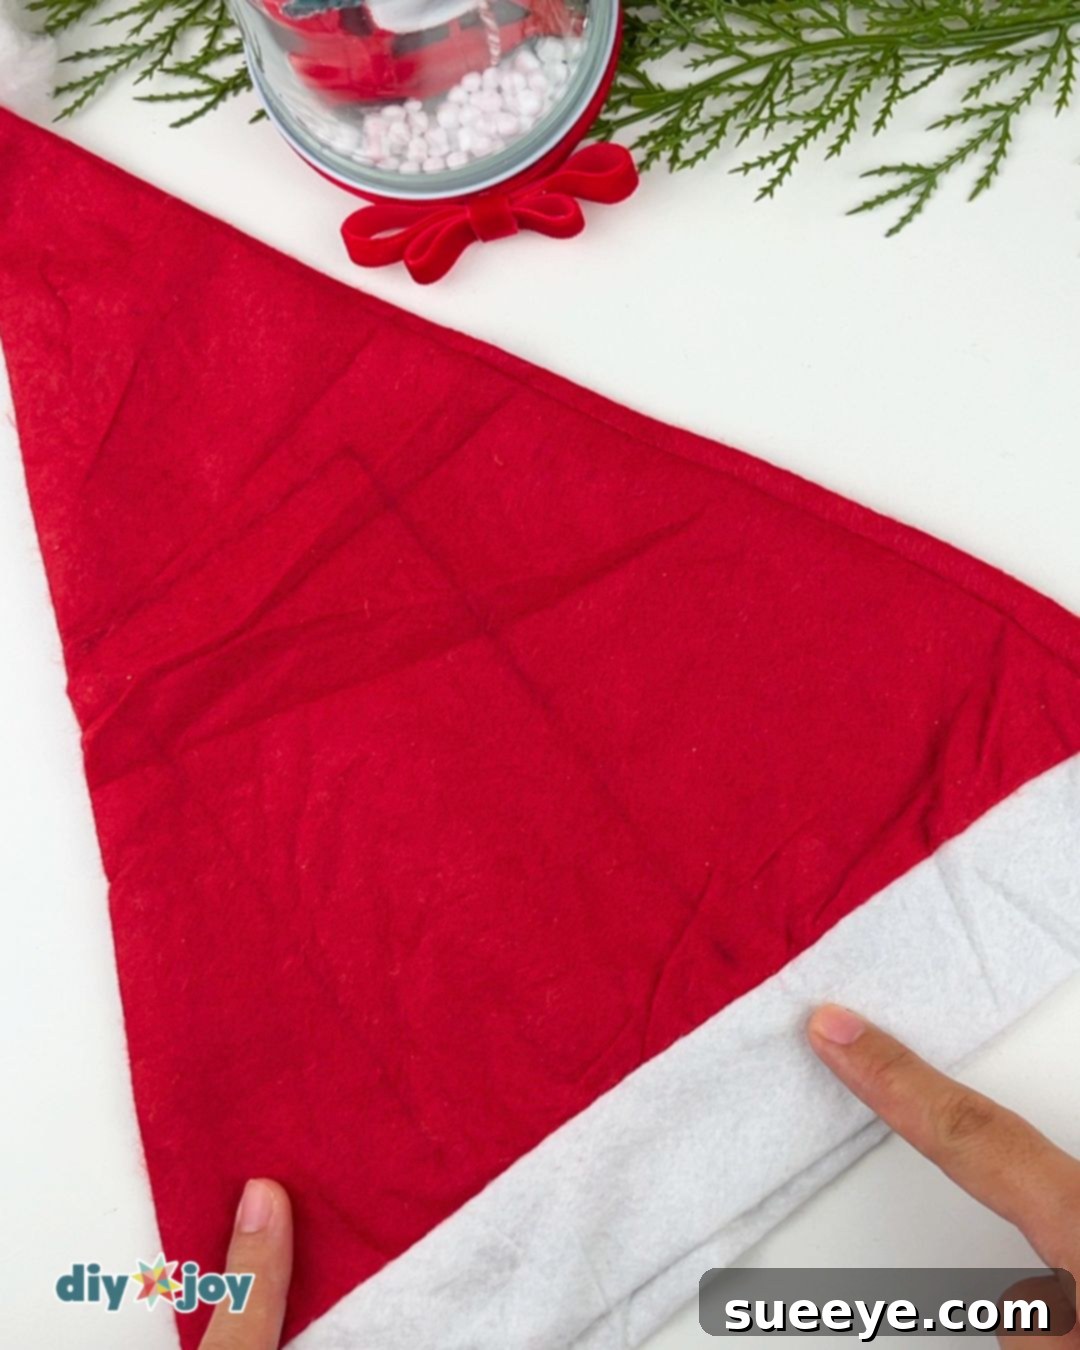
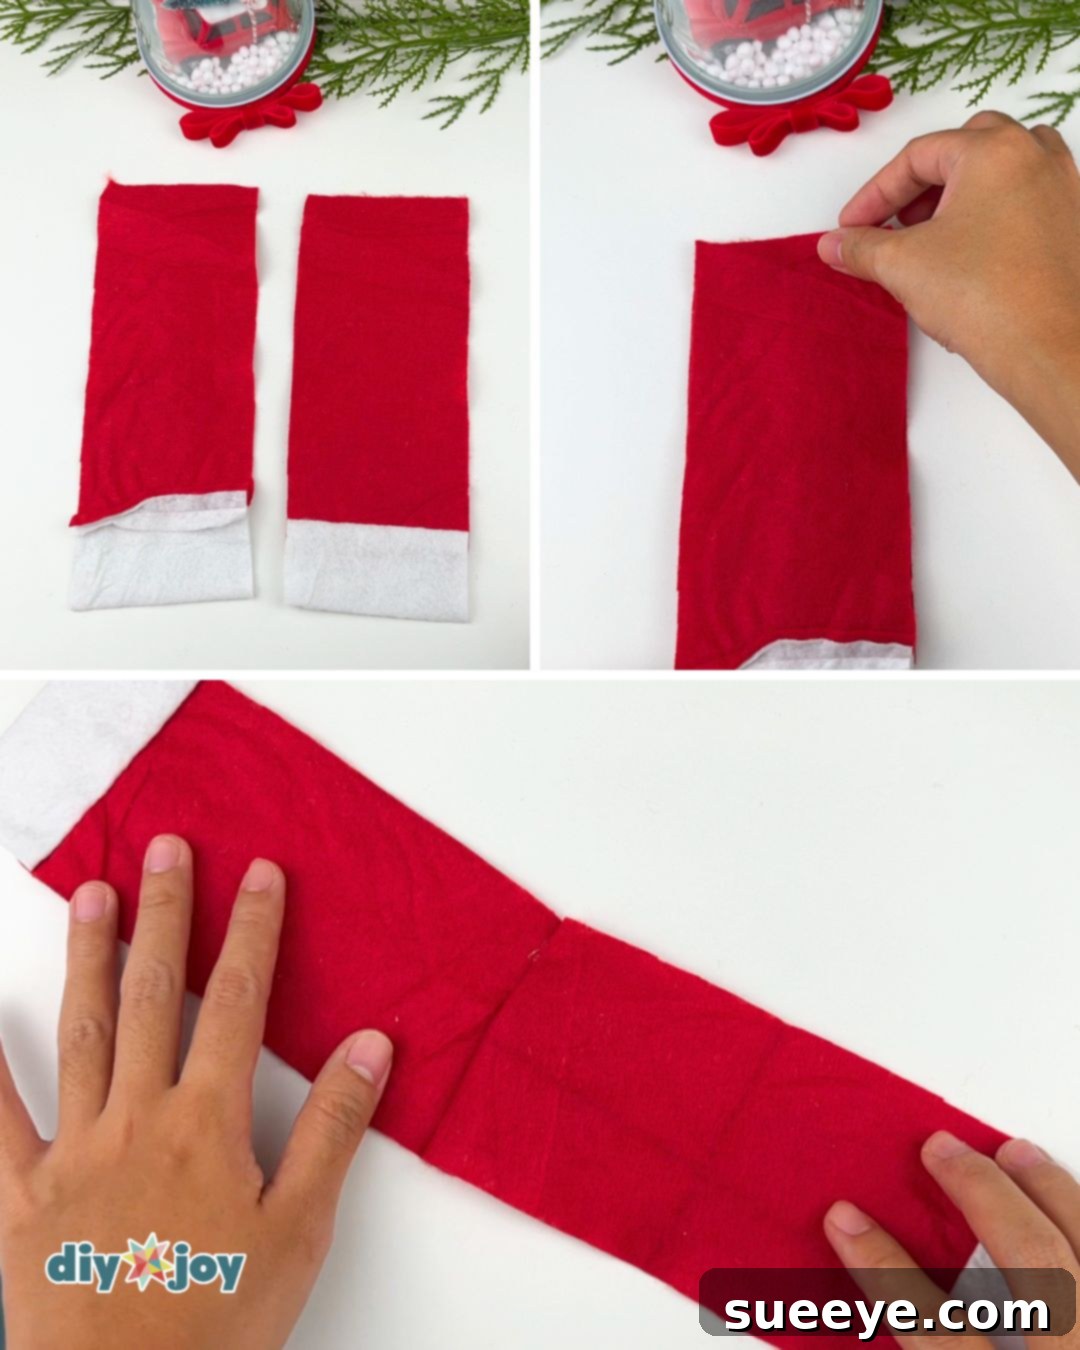
Prepare the Fabric: Draw a 6 1/2″ x 2.75″ rectangle on the Santa hat.

-
Cut and Glue the Fabric: Cut the rectangles. Take one of the cut pieces and place it right-side up. Apply a strip of glue along the top edge, then place the other piece on top, right-side down. Open the fabric.
-
Fold and Glue the Edges: Flip it so the wrong side is facing up. Fold and glue the edges on both sides.
-
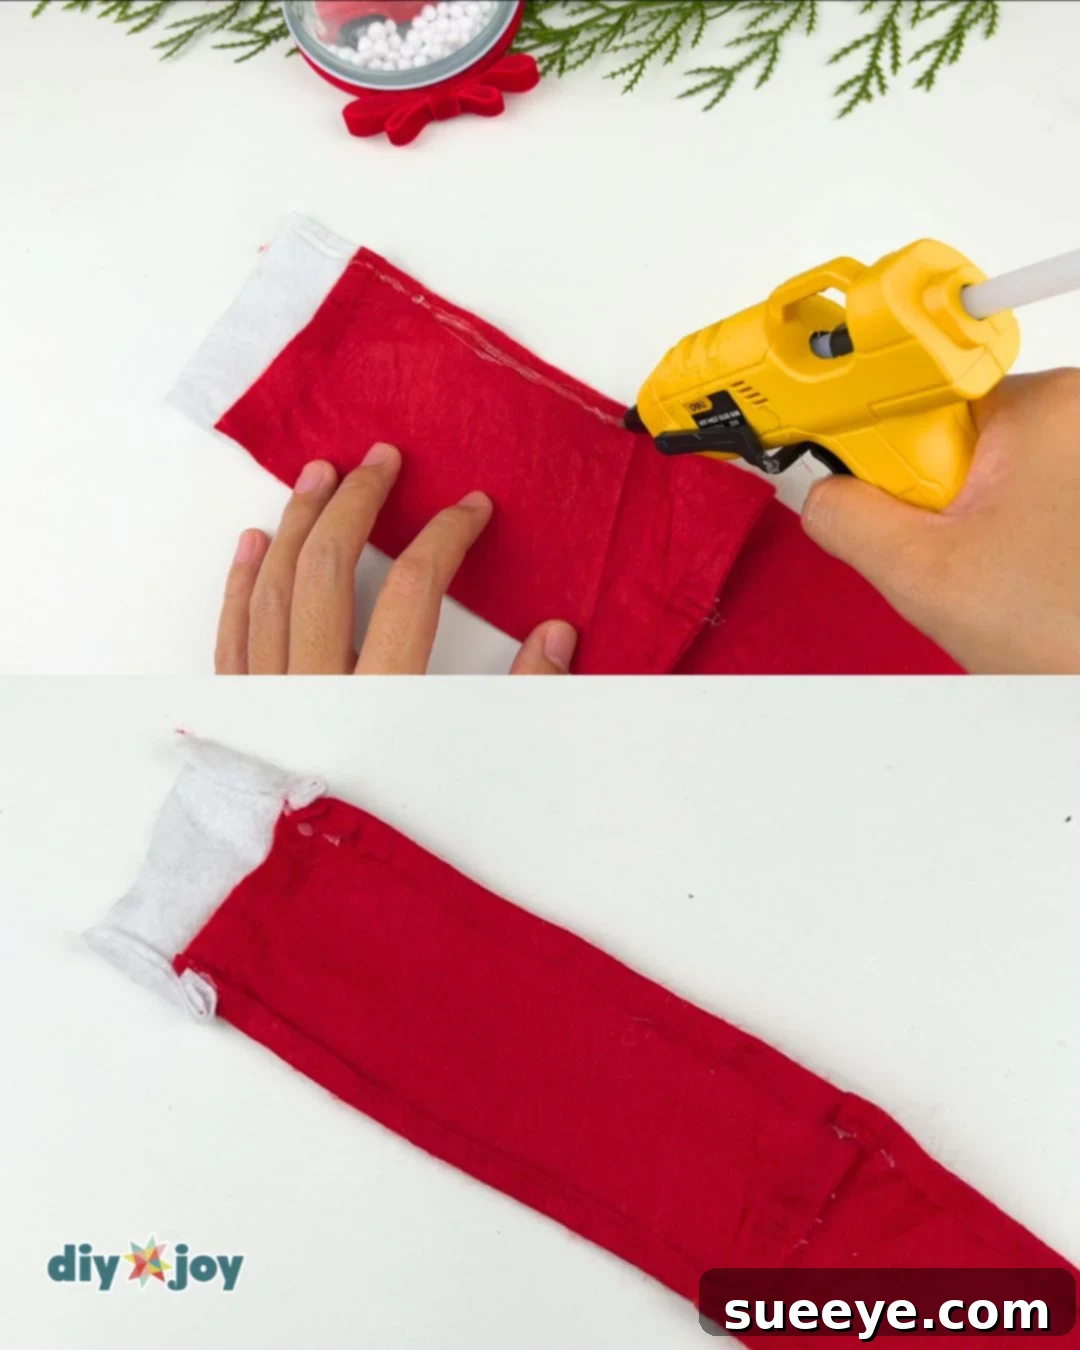
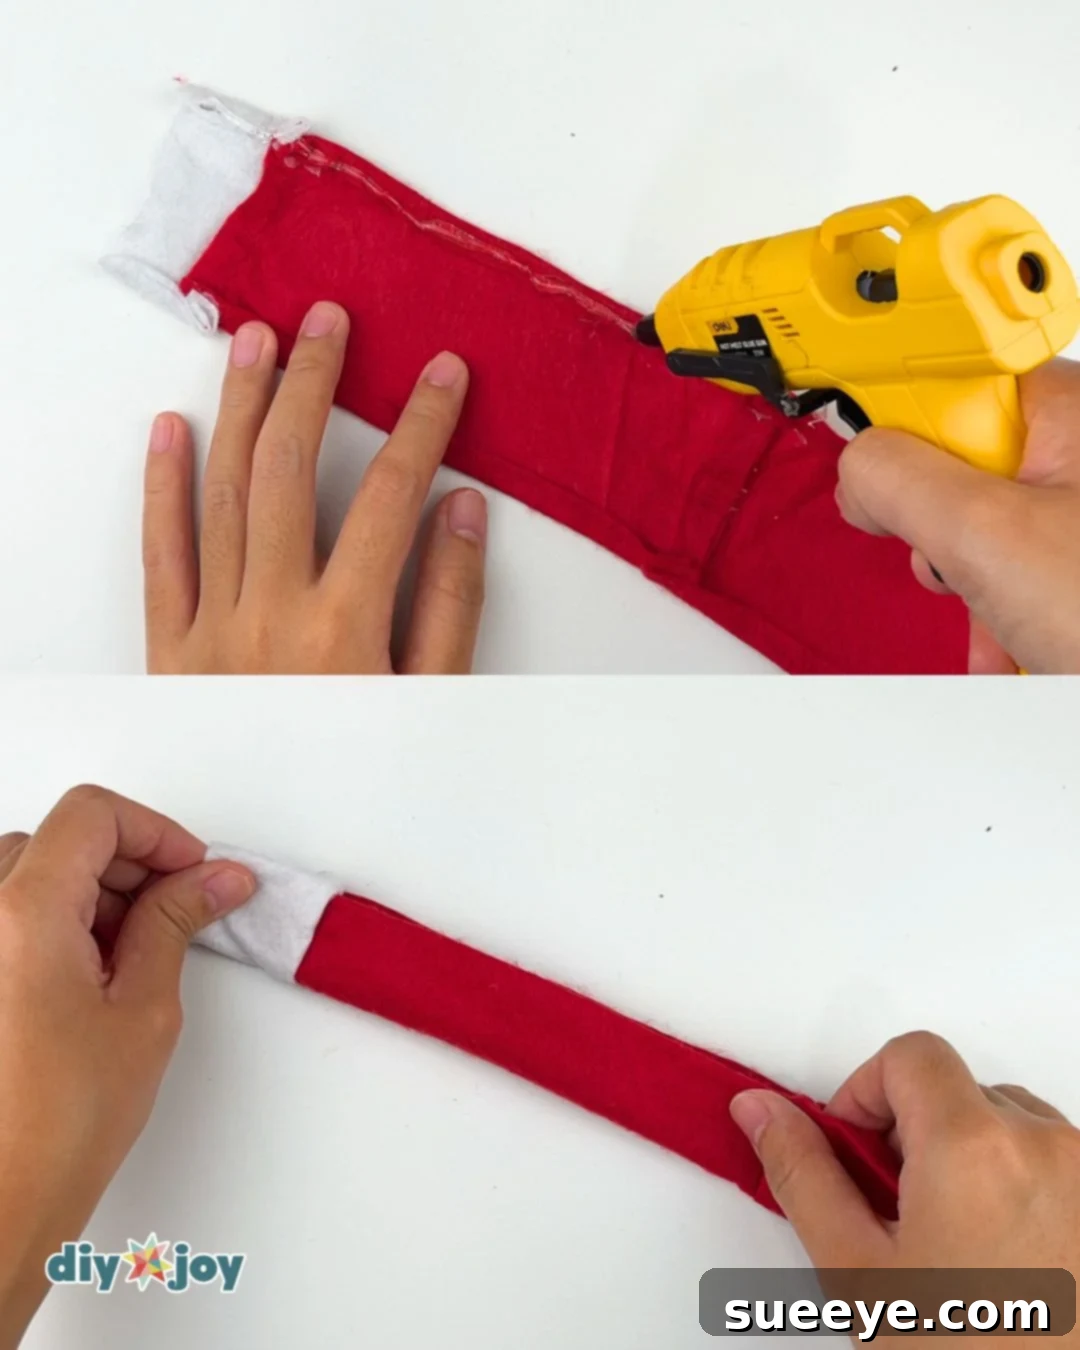
Secure the Sides: Apply hot glue to one edge, then fold the other side over.
-
Fold and Secure: Fold it just like in the photo below, then apply glue to secure it.
-
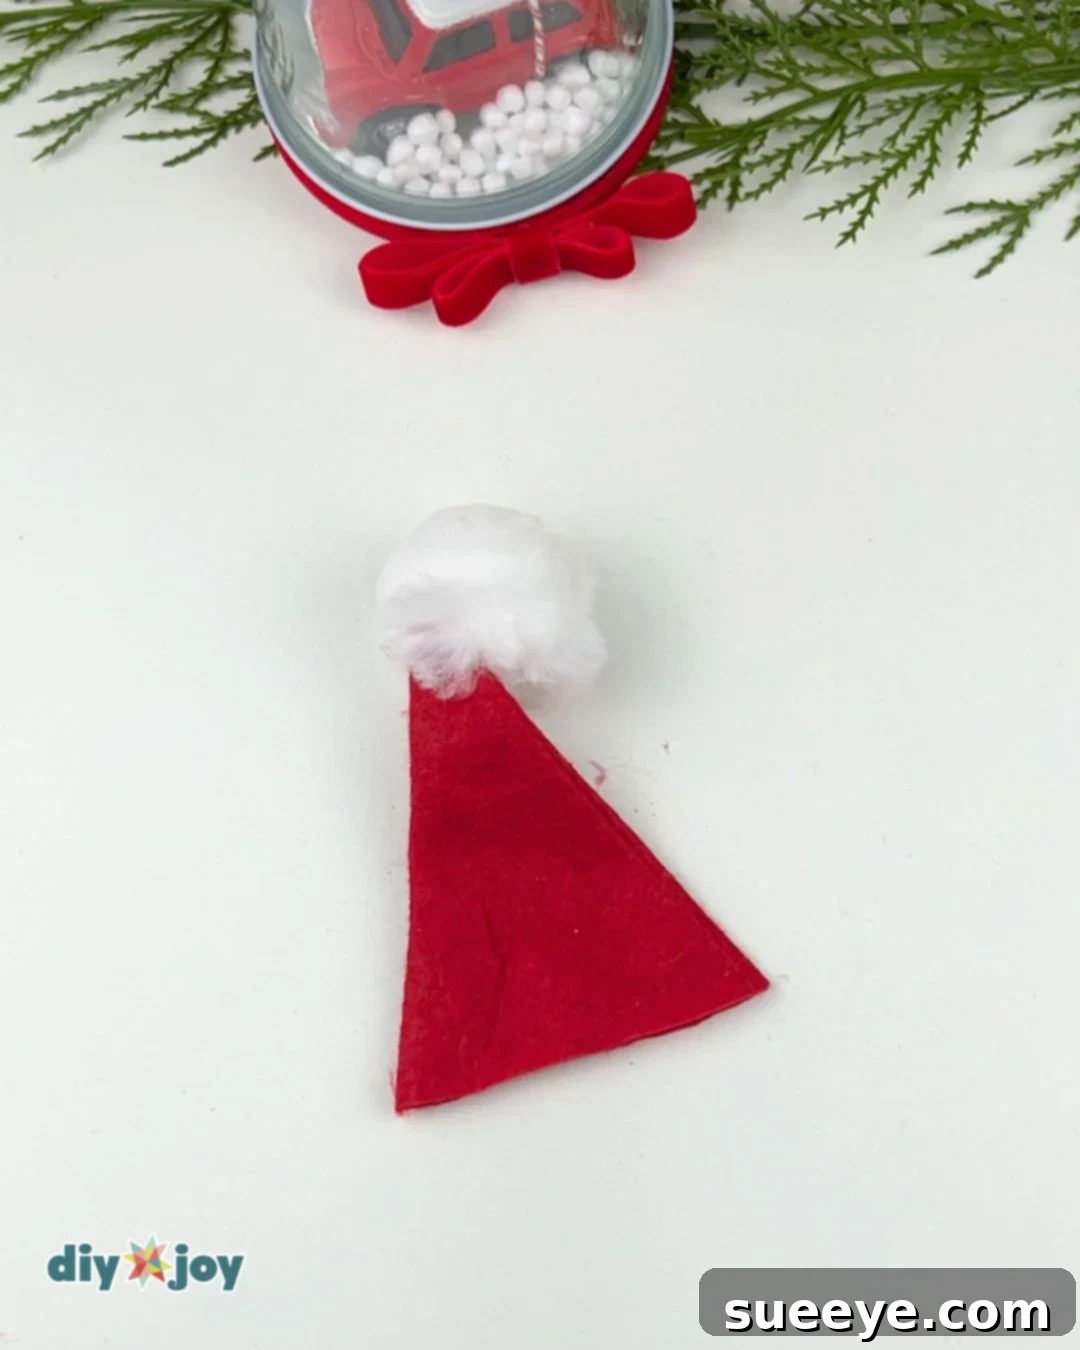
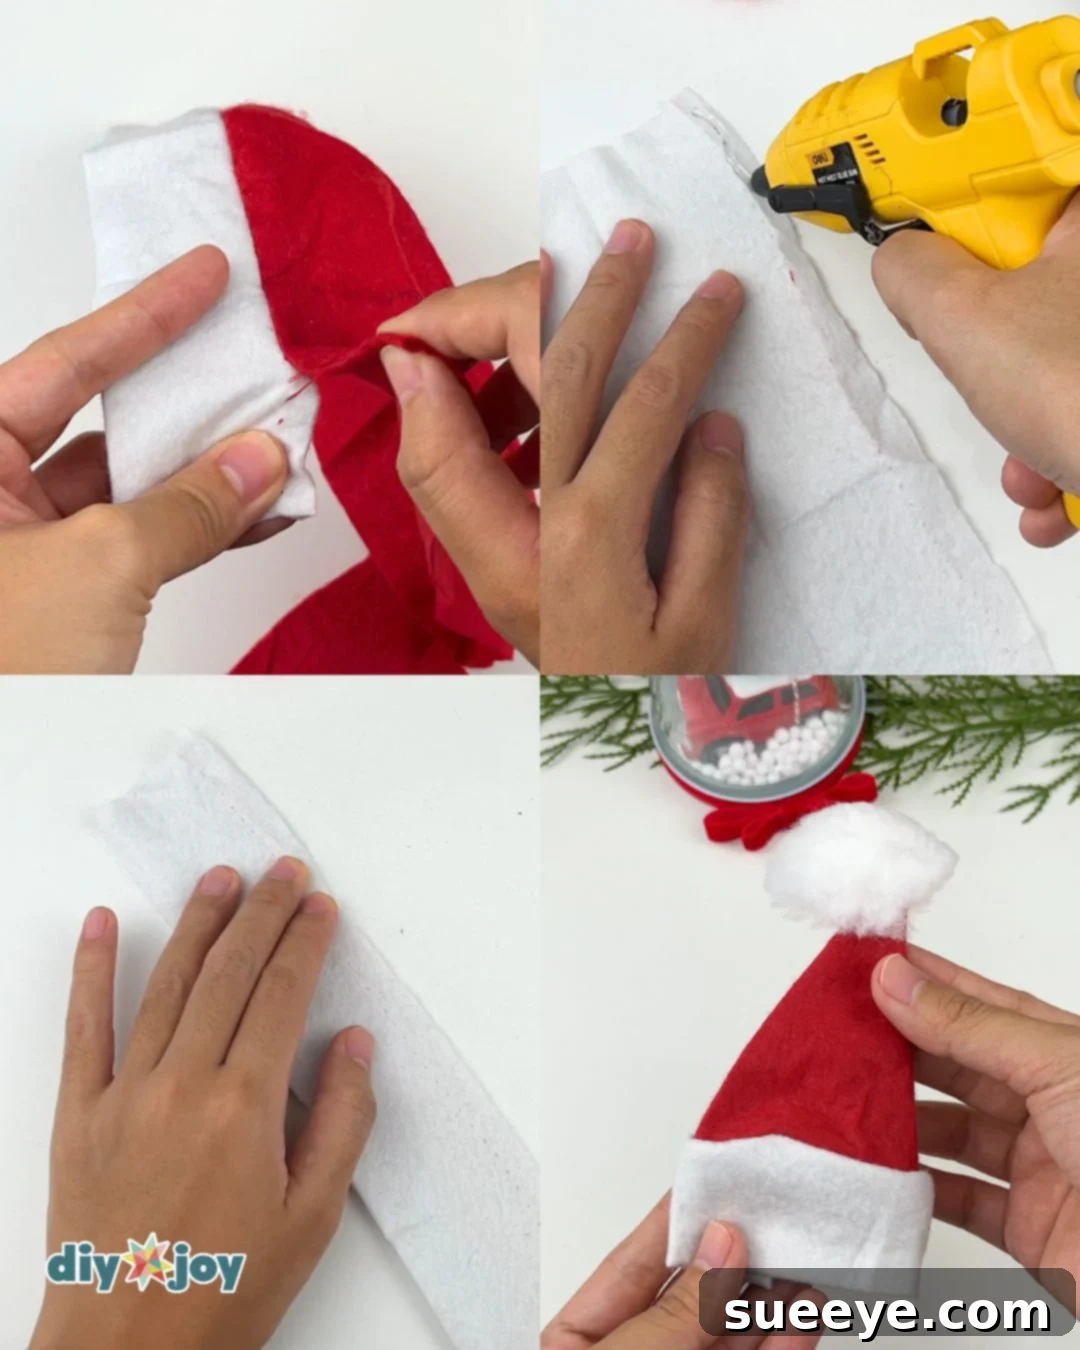
Prepare the Santa Hat: Take the Santa hat and cut off the top portion.
-
Add the White Trim: Remove the white trim from the bottom of the hat, then glue it onto the small Santa hat.
-
Apply the Custom Labels: Download and print your custom wine labels. To use them, simply remove the backing and stick the label onto your wine bottle.
-
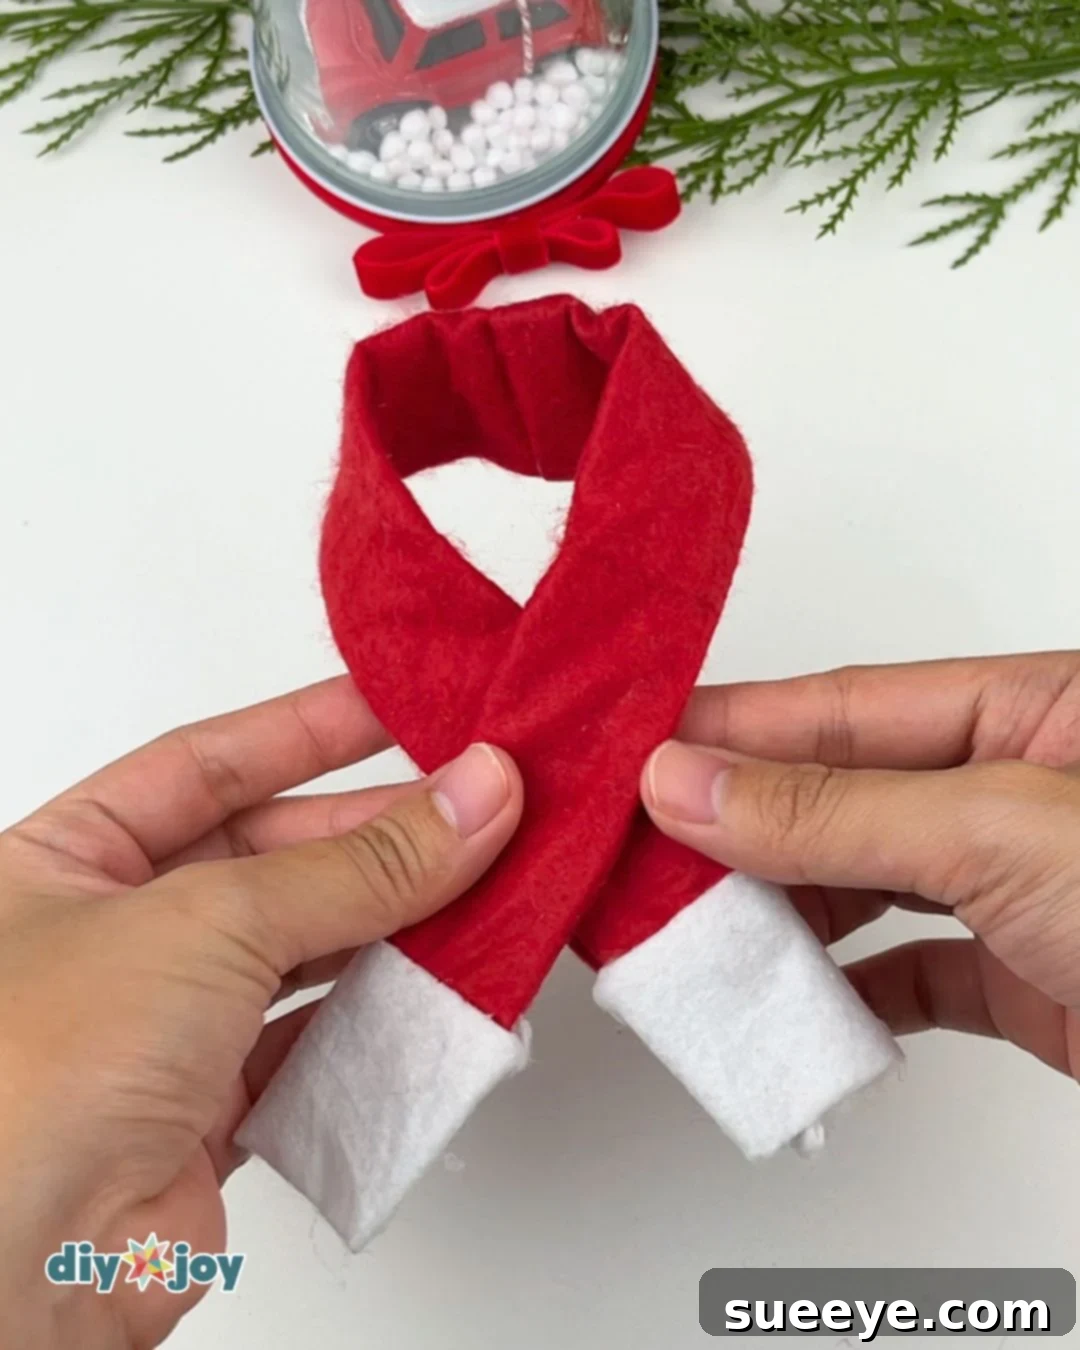
Dress Up Your Wine Bottle: Add the scarf and hat to complete the festive look.
Tools Needed
- Glue gun
- Scissors
Materials Required
- Wine labels
- Regular Santa hat
- Glue stick

Crafting Tip
Don’t be afraid to experiment. Try different shapes, patterns, and colors!
More DIY Gift Ideas
DIY Gifts
DIY Santa Chocolate Jar
General
DIY Snow Globe Gift Card Holder
DIY Gifts
Gingerbread House Paper Bag
Making Your Holidays Brighter
With a touch of creativity and these simple steps, you can transform ordinary wine bottles into extraordinary gifts that will be cherished and remembered. The process is not only fun and engaging but also allows you to express your personality and thoughtfulness in a unique way. Whether you’re creating these personalized wine labels for a special occasion, a holiday celebration, or simply as a gesture of appreciation, they are sure to bring a smile to the faces of your loved ones. So, gather your supplies, unleash your imagination, and get ready to spread some holiday cheer with these delightful DIY custom holiday wine labels!