
Mastering Kitchen Hygiene: Simple Ways to Sanitize Your Sponge and Banish Bacteria
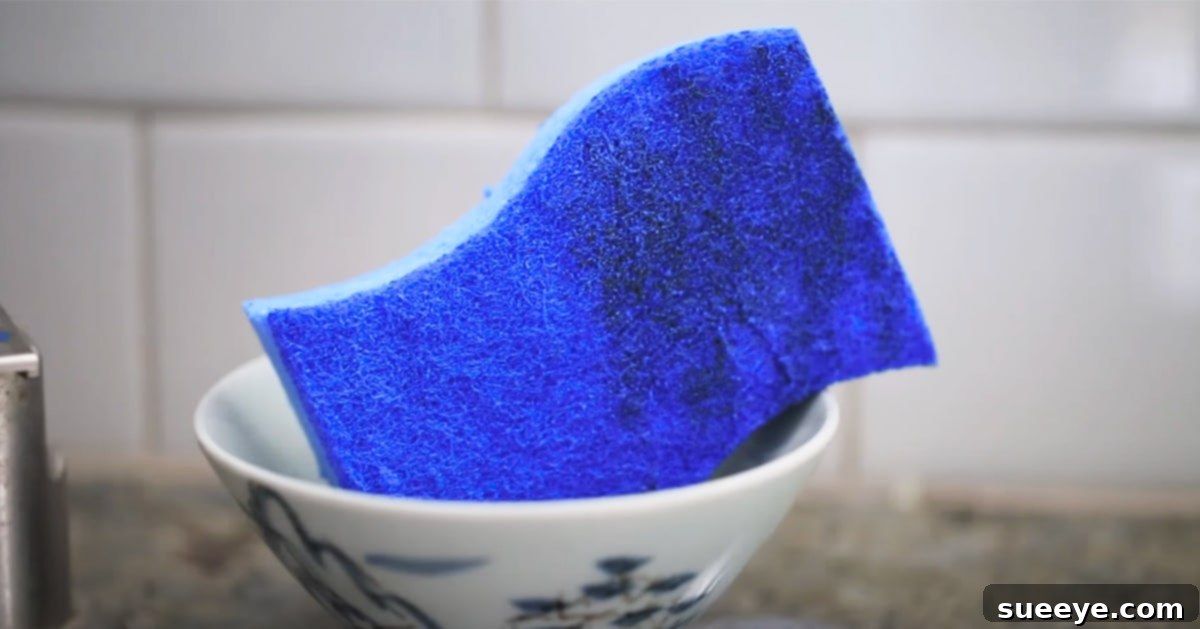
The humble kitchen sponge, an indispensable tool in every household, can quickly transform from a cleaning aid into a breeding ground for harmful bacteria. After countless rounds of tackling dirty dishes, food particles, and grime, your sponge can harbor millions of microscopic invaders, including salmonella and E. coli. This not only makes your cleaning efforts less effective but also poses a significant health risk, potentially spreading germs rather than eliminating them.
While many of us are diligent about cleaning our kitchens, the sponge itself is often overlooked. However, ensuring its cleanliness is paramount to maintaining a truly hygienic environment. Fortunately, keeping your kitchen sponge sanitized doesn’t have to be a chore or an expensive habit. With just a couple of minutes and common household items, you can effectively deep clean and extend the life of your sponges, making them safe and efficient to use.
Inspired by practical demonstrations, such as those shared by CNET on YouTube, we’ll explore two highly effective methods for sanitizing your kitchen sponge. These techniques are not only quick, taking two minutes or less, but also incredibly simple to integrate into your regular cleaning routine. By adopting these hacks, you can save money, reduce waste, and most importantly, protect your household from unseen microbial threats.
Why Sponge Sanitization is Non-Negotiable for a Healthy Home
Before diving into the “how,” let’s truly understand the “why.” A study by the Furtwangen University in Germany revealed that kitchen sponges are the single biggest reservoirs of active bacteria in the entire house, often containing more bacteria than a toilet seat. These bacteria aren’t just harmless microbes; they include potential pathogens that can cause foodborne illnesses and other infections. Every time you wipe down a surface or scrub a plate with a contaminated sponge, you risk transferring these germs directly onto your food preparation areas, dishes, and even your hands.
Over time, a dirty sponge can develop an unpleasant odor, a tell-tale sign of bacterial overgrowth. This smell indicates that the sponge is no longer just dirty but actively fostering a thriving microbial community. Regular, thorough sanitization disrupts this cycle, eliminating bacteria and keeping your sponge fresh and effective. Moreover, properly sanitized sponges last longer, reducing the need for frequent replacements, which is beneficial for both your wallet and the environment. Less waste means a smaller footprint, aligning perfectly with sustainable living practices.
Method 1: The “Nuclear Option” – Microwave Sanitization
For a rapid and highly effective sterilization method, the microwave stands out as an excellent tool. This technique, often referred to as the “nuclear option” due to its quick and powerful action, leverages the power of heat and steam to eradicate a wide range of bacteria and viruses lurking in your sponge. It’s an ideal solution for those seeking a chemical-free sanitization method that delivers results in mere minutes.
How to Microwave Your Sponge Safely and Effectively
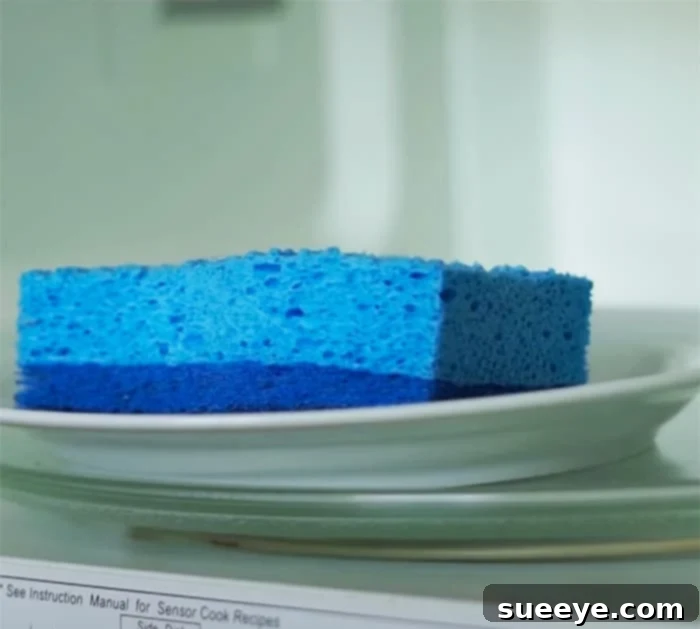
- Wet the Sponge: Before placing it in the microwave, ensure your sponge is thoroughly damp, but not dripping. A completely dry sponge can catch fire in the microwave, so this step is critical for safety. The moisture is what generates the steam needed to kill bacteria.
- Place on a Microwave-Safe Plate: For added safety and to catch any drips, place the wet sponge on a microwave-safe plate or bowl.
- Heat for 2 Minutes: Microwave the damp sponge on high power for approximately two minutes. The intense heat and steam generated within the sponge will effectively kill over 99% of bacteria, including E. coli and salmonella.
- Allow to Cool: After microwaving, the sponge will be extremely hot. Do not touch it immediately. Use oven mitts or tongs to carefully remove it from the microwave and allow it to cool for several minutes before handling. This cooling period is essential for your safety.
Pro-Tip: The steamy environment created by microwaving a wet sponge also helps to soften dried food particles that may be stuck to the interior surfaces of your microwave. This means you can effectively sanitize your sponge and give your microwave a preliminary clean simultaneously, doubling the efficiency of your cleaning efforts!
This method is quick, chemical-free, and highly effective for most synthetic sponges. However, it’s not recommended for sponges containing any metallic components or natural sponges that may break down under high heat. Always be sure your sponge is fully saturated with water to prevent fire hazards.
Method 2: The Bleach and Soak – Powerful Disinfection
For those who prefer a chemical-based approach or need a broad-spectrum disinfectant, the bleach and soak method is an excellent choice. Bleach (sodium hypochlorite) is a powerful sanitizer that effectively kills a wide range of bacteria, viruses, and fungi. This method is particularly useful for sponges that have been exposed to raw meat juices or other potentially highly contaminated materials, offering a thorough disinfection.
Step-by-Step Guide to Bleach Soaking Your Sponge
- Prepare the Solution: Grab a clean bucket or a shallow bowl. Fill it with a diluted bleach solution, typically using a ratio of 1 part bleach to 9 parts water. For example, if you use 1 cup of bleach, add 9 cups of water. Always add bleach to water, not the other way around, to minimize splashing and fumes.
- Submerge the Sponge: After each use, or whenever you feel your sponge needs a deep clean, toss it into the prepared bleach solution. Ensure the sponge is fully submerged.
- Soak Time: Let the sponge sit in the solution for about 10 to 30 seconds. For heavily soiled or very old sponges, you might extend this to a minute or two, but generally, a short soak is sufficient for daily sanitization.
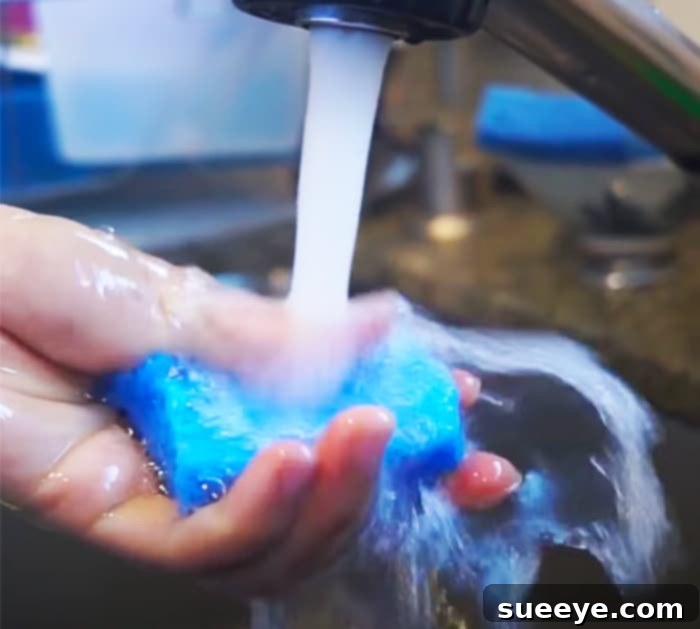
- Wring and Rinse: Carefully remove the sponge from the solution. Wring out the excess liquid thoroughly. Then, rinse the sponge extensively under running water until you can no longer smell bleach and are confident all residue has been removed.
Professional Tip: The leftover bleach solution from soaking your sponge can be repurposed! Don’t pour it straight down the drain. Instead, use it to clean and disinfect your kitchen sink, countertops, and even faucets. This not only maximizes the utility of your cleaning solution but also ensures that other frequently touched surfaces in your kitchen are also sanitized, contributing to overall kitchen hygiene. Remember to always rinse surfaces thoroughly with clean water after using bleach solution.
When using bleach, always work in a well-ventilated area and consider wearing gloves to protect your skin. Avoid mixing bleach with other cleaning agents, especially ammonia-based products, as this can create dangerous fumes. This method is highly effective, but prolonged use might slightly degrade the sponge material over time or cause discoloration in brightly colored sponges.
Comparing the Methods: Which is Best for You?
Both the microwave and bleach soak methods are excellent for maintaining kitchen sponge hygiene, but they each have unique advantages:
- Microwave Method:
- Pros: Chemical-free, incredibly fast (2 minutes), also helps clean the microwave.
- Cons: Not suitable for sponges with metallic parts or natural sponges; requires careful handling due to heat.
- Best For: Regular, quick sanitization of synthetic sponges.
- Bleach and Soak Method:
- Pros: Highly effective against a broad spectrum of germs, can be repurposed for other cleaning tasks.
- Cons: Involves chemicals (requires ventilation and gloves), can discolour sponges.
- Best For: Deep disinfection, especially after heavy-duty cleaning or exposure to raw food contaminants.
Ideally, a combination of both methods, used strategically, can provide the highest level of kitchen hygiene. For instance, a daily quick microwave zap and a weekly bleach soak can ensure your sponge remains a germ-fighting powerhouse.
Beyond Sanitization: Extending Sponge Lifespan and Overall Kitchen Hygiene
Sanitizing your sponge regularly is a fantastic step, but it’s part of a larger ecosystem of kitchen hygiene. Here are additional tips to keep your kitchen spotless and your sponges working efficiently for longer:
- Rinse and Wring After Every Use: After washing dishes, always rinse your sponge thoroughly under hot water to remove any food particles and soap residue. Then, wring it out completely. A damp sponge provides a perfect environment for bacterial growth.
- Allow to Air Dry: Store your sponge in a place where it can fully air dry between uses. A sponge holder that allows air circulation on all sides is ideal. Avoid leaving it flat in the sink or a closed container, which traps moisture.
- When to Replace Your Sponge: Even with regular sanitization, sponges don’t last forever. If your sponge starts to smell persistently bad, regardless of cleaning, or if it begins to disintegrate and lose its integrity, it’s time for a replacement. Typically, a sponge should be replaced every 1-2 weeks depending on usage.
- Consider Alternatives: While sponges are convenient, rotating with other cleaning tools can enhance hygiene. Dishcloths can be machine-washed and dried at high temperatures for effective sanitization. Silicone sponges are less porous and dry faster, making them less hospitable to bacteria, though they may not scrub as effectively. Dish brushes also offer excellent hygiene benefits as they dry quickly and can often be run through a dishwasher.
- Clean Your Sink Regularly: The sink itself can be a major source of bacteria. Cleaning and sanitizing your sink after washing dishes helps prevent cross-contamination and ensures that your freshly cleaned sponge isn’t immediately re-contaminated.
Environmental and Economic Benefits: A Win-Win for Your Home and Planet
Adopting a routine of sponge sanitization offers clear advantages beyond just health. From an environmental perspective, extending the life of your sponges means fewer discarded items ending up in landfills. This small change contributes to reducing household waste and promotes a more sustainable lifestyle. Imagine the cumulative impact if every household sanitized their sponges rather than throwing them out every week!
Economically, the benefits are equally compelling. Sponges, while inexpensive individually, can add up over time if replaced frequently. By getting more mileage out of each sponge, you’re effectively saving money on cleaning supplies. These savings, combined with the reduced environmental impact, make sponge sanitization a truly smart and eco-conscious habit to cultivate.
Conclusion: A Small Effort for a Big Impact
The journey to a truly clean kitchen starts with the tools you use. The kitchen sponge, often an unsung hero, deserves attention and proper care to ensure it remains a help, not a hindrance, in your cleaning efforts. As we’ve seen, sanitizing your kitchen sponge is neither complicated nor time-consuming. With simple methods like the microwave “nuclear option” or the bleach and soak technique, you can easily eliminate harmful bacteria, extend the life of your sponges, and significantly improve the overall hygiene of your home.
Embracing these cleaning hacks is a simple yet powerful step towards a healthier, safer, and more sustainable household. By making sponge sanitization a regular part of your routine, you’re not just cleaning a sponge; you’re safeguarding your family’s health, saving money, and contributing to a greener planet. So, why wait? Start sanitizing your sponges today and experience the peace of mind that comes with a truly clean kitchen!