
Quilting is a wonderfully rewarding craft, offering a unique blend of creativity and precision. However, it can sometimes become a source of frustration, especially when eager to see results and mistakes start to creep in. Rather than letting stress take over, take a moment to breathe and delve into these invaluable insights. This comprehensive guide, inspired by expert advice from Just Get it Done Quilts on YouTube, will help you identify and correct common errors you might be making with your domestic sewing machine, transforming your quilting journey into a smoother, more enjoyable experience. Let’s explore these essential tips designed to elevate your quilting skills.
Mastering Your Domestic Sewing Machine: 8 Essential Tips to Prevent Quilting Mistakes
For many quilters, the domestic sewing machine is the heart of their creative process. While incredibly versatile, it also presents unique challenges, particularly when tackling larger projects. Preventing common quilting mistakes isn’t just about technical skill; it’s about preparation, patience, and understanding the nuances of your machine and your own body. By addressing these foundational elements, you can significantly improve the quality of your quilts, reduce frustration, and truly enjoy every stitch. This article delves into eight critical areas where quilters often stumble and provides actionable advice to help you achieve beautiful, professional-looking results every time.
The Foundation of Flawless Quilting: Preparation and Planning
#1 Not Taking the Time to Make a Good Quilt Sandwich
The quilt sandwich — composed of the backing, batting, and quilt top — is the absolute bedrock of your quilting project. Neglecting this crucial step is a common pitfall that inevitably leads to puckers, creases, and uneven areas in your finished quilt. A properly prepared quilt sandwich ensures stability and a smooth surface for stitching, allowing your machine to move freely and your stitches to lie flat. To create a flawless sandwich, ensure your backing fabric is at least 4-6 inches larger than your quilt top on all sides, and your batting is similarly sized. Carefully layer your materials on a flat surface, smoothing out any wrinkles. There are several effective basting methods:
- Pin Basting: Use curved safety pins spaced every 3-4 inches across the entire quilt. Ensure the layers are taut but not stretched.
- Spray Basting: A temporary adhesive spray can create a secure bond between layers. Apply in sections, smoothing as you go.
- Thread Basting: For larger quilts or those requiring extra stability, hand-basting with large, loose stitches can be very effective.
Investing time in this initial setup will save you hours of frustration and potential unpicking later on, guaranteeing a professional finish.
#2 Not Planning Your Quilting Pattern
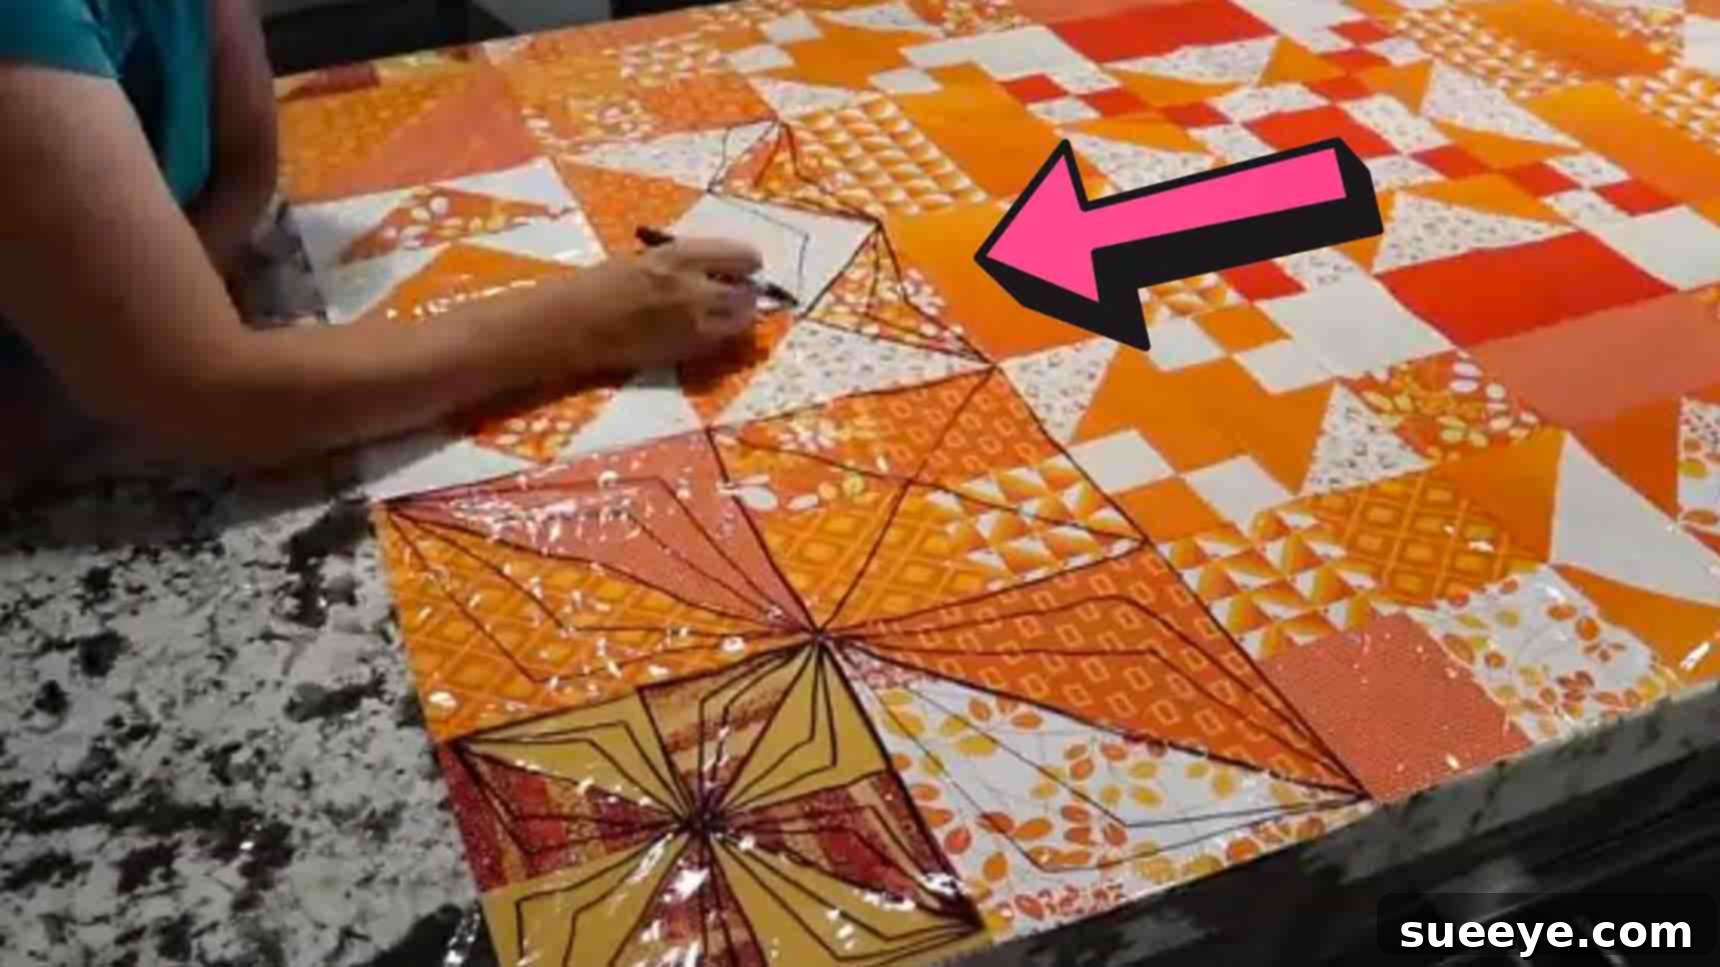
While the urge to dive straight into stitching can be strong, skipping the planning phase for your quilting pattern is a frequent cause of dissatisfaction. Thinking through your design might seem like an unnecessary time-waster, but it’s actually an investment in the final aesthetic of your quilt. A well-chosen quilting pattern should enhance and complement your pieced quilt top, rather than detracting from it. This planning stage allows you to consider several critical factors:
- Design Harmony: Does the pattern accentuate the piecing, or does it clash?
- Skill Level Assessment: Is your chosen pattern appropriate for your current free-motion quilting skills? Pushing too hard too soon can lead to frustration.
- Thread Selection: Will the thread color blend in, or will it stand out? How will it look against different fabric colors in your quilt?
- Quilt Use: Is this an heirloom quilt requiring dense, intricate quilting, or a utility quilt that can benefit from simpler, more open designs?
Sketching out your ideas on paper, or even drawing directly onto a printed photo of your quilt top, can reveal potential issues and spark new creative directions before you ever put needle to fabric. This foresight can prevent countless hours of unpicking and ensure your quilt’s design truly shines.
#3 Not Quilting Forward (or Managing Fabric Flow)
The direction in which you quilt is far more impactful than many realize. To effectively avoid unsightly puckers and excess fabric gathering, it’s essential to manage the flow of your quilt as you stitch. The general principle is to quilt from the middle outwards, or from one side steadily towards the other, distributing the fabric smoothly as you go. This technique helps to push any fullness towards the edges, where it can be eased in or trimmed later, rather than trapping it in the center of your quilt. If you consistently quilt in one direction without easing the fabric, you risk accumulating fabric at the opposite end, leading to significant bunching.
- Center Out: Many quilters prefer to start in the center of their quilt and work their way outwards in concentric designs or expanding motifs.
- Working in Quadrants: Divide your quilt mentally into four sections and quilt each section from its center towards its outer edges.
- Consistent Movement: Maintain a steady and consistent pace, guiding the fabric evenly under the needle.
Think of it like spreading frosting on a cake – you want an even distribution without pushing all the frosting to one side. This mindful approach to fabric management will ensure a flatter, smoother quilt.
#4 Not Practicing Your Design First
Just as an athlete warms up before a game or a musician practices scales, quilters benefit immensely from dedicated practice. Skipping practice pieces before tackling your actual quilt top is a missed opportunity to refine your skills and troubleshoot potential issues. It’s astonishing what insights you can gain from a few minutes on a scrap piece of fabric and batting (a mini quilt sandwich!). Practice allows you to:
- Develop Muscle Memory: Free-motion quilting requires coordination between your hands and feet. Practice helps build the fluid movement needed for consistent stitching.
- Check Tension Settings: Different threads, batting, and fabric combinations can affect tension. Practicing allows you to fine-tune your machine’s upper and bobbin tension for balanced stitches.
- Evaluate Thread Color and Type: See how your chosen thread interacts with your fabric colors and textures. Does it blend as intended, or is it too stark? Is the thread type suitable for your design?
- Experiment with Design Scale: Practice helps you gauge the appropriate size and density of your chosen quilting motif for your quilt.
Use a piece of scrap fabric and batting to simulate your actual quilt sandwich. This low-stakes environment allows you to experiment freely, make mistakes without consequence, and build confidence before embarking on your main project.
Optimizing Your Quilting Experience: Ergonomics and Technique
#5 Not Sitting Properly
Quilting is a marathon, not a sprint, and improper posture can quickly take a toll on your body, leading to discomfort, pain, and reduced endurance. An ergonomic setup is crucial for long-term quilting enjoyment and preventing repetitive strain injuries. Adjust your sewing chair and machine height so that your body maintains comfortable, natural angles. Aim for:
- 90-Degree Angles: Your elbows, hips, and knees should ideally form 90-degree angles. This often means adjusting your chair height or using a footrest.
- Engaged Core: A strong, engaged core supports your spine and reduces strain on your neck and shoulders. Think of lengthening your neck, broadening your collarbones, and keeping your ribs “knitted” – not flared out.
- Even Weight Distribution: Avoid leaning heavily on one side. Keep both feet flat on the floor or a footrest.
- Adequate Lighting: Good lighting reduces eye strain and helps you see your stitches clearly.
Regular breaks and stretches, even with perfect posture, are also vital. Listening to your body and making these adjustments will ensure you can quilt comfortably for longer periods, with less fatigue and better control over your machine.
#6 Quilting Too Fast
There’s a natural tendency to want to speed up, especially on larger, repetitive sections, but quilting too fast can be detrimental to both your stitch quality and your control. While speed can come with practice, forcing it before you’re ready often leads to uneven stitches, jerky movements, and a loss of precision. The goal is consistent motion, not maximum velocity.
- Find Your Rhythm: Experiment during practice sessions to discover the speed at which you can maintain consistent stitch length and smooth, controlled movements. This “sweet spot” will be unique to you and your machine.
- Synchronize Movement: The speed of your needle should ideally synchronize with the speed at which you move your fabric. This creates balanced stitches.
- Smooth Acceleration/Deceleration: Avoid abrupt starts and stops, which can create knots or skipped stitches.
Remember, quilting is not a race. Prioritize smooth, deliberate movements over sheer speed. A slower, more controlled pace will yield more beautiful and consistent results, and paradoxically, might even allow you to finish faster by reducing the need for unpicking.
#7 Trying to Quilt All at Once
Quilting can be physically and mentally demanding, especially large projects. Trying to power through an entire quilting session when you’re tired, rushed, or mentally drained is a recipe for mistakes, uneven stitching, and ultimately, burnout. Just like any creative endeavor, quilting benefits from a paced approach.
- Embrace Breaks: Take frequent short breaks to stretch, rest your eyes, and clear your mind. Step away from the machine for a few minutes every hour.
- Section Your Work: Don’t feel pressured to finish a whole section or motif in one sitting. Break your quilting down into manageable chunks.
- Reset and Refresh: Use breaks to reset your quilt on your machine, adjust your position, or simply take a mental pause. A fresh perspective can dramatically improve your next session.
- Hydrate and Snack: Keep water and healthy snacks nearby to maintain energy levels and focus.
Pacing yourself ensures that you bring your best focus and energy to each stitch, leading to higher quality results and a more enjoyable process. Quilting is a journey, not a sprint.
#8 Stressing Over Mistakes
Perhaps the most crucial tip for a fulfilling quilting experience is to cultivate patience and kindness towards yourself, especially when mistakes happen. Every quilter, from novice to expert, makes mistakes. It’s an inherent part of the learning and creative process. Stressing excessively over imperfections can sap the joy from quilting and ironically, often leads to more errors as tension builds.
- Embrace Imperfection: Understand that handmade items inherently carry unique qualities. Sometimes, a tiny “oops” adds character rather than flaws.
- The “2-Foot Rule”: If you can’t see the mistake from two feet away, it’s likely not worth stressing over or unpicking.
- Learn from Them: View mistakes as valuable learning opportunities. What went wrong? How can you prevent it next time?
- Know When to Unpick: Some mistakes (like a serious pucker or a skipped stitch) are worth correcting. Others are not. Develop the discernment to know the difference.
- Walk Away: If a mistake is causing significant frustration, step away from your machine. Come back with fresh eyes and a calmer mind.
Be patient with your progress. Your skills will improve with every stitch, every project, and yes, every mistake you learn from. The goal is enjoyment and creation, not unattainable perfection.
Conclusion: Your Path to Confident Quilting
Quilting on a domestic sewing machine offers immense creative freedom and the satisfaction of crafting beautiful textiles. By thoughtfully addressing these eight common pitfalls, you can significantly enhance your quilting process and the quality of your finished projects. From the foundational importance of a well-made quilt sandwich to the mental resilience of embracing mistakes, each tip builds towards a more enjoyable and successful quilting experience. Remember, quilting is a journey of continuous learning and artistic expression. Take your time, be kind to yourself, and celebrate every stitch. With practice and these strategic adjustments, you’ll be creating stunning, mistake-free quilts with confidence and joy.