
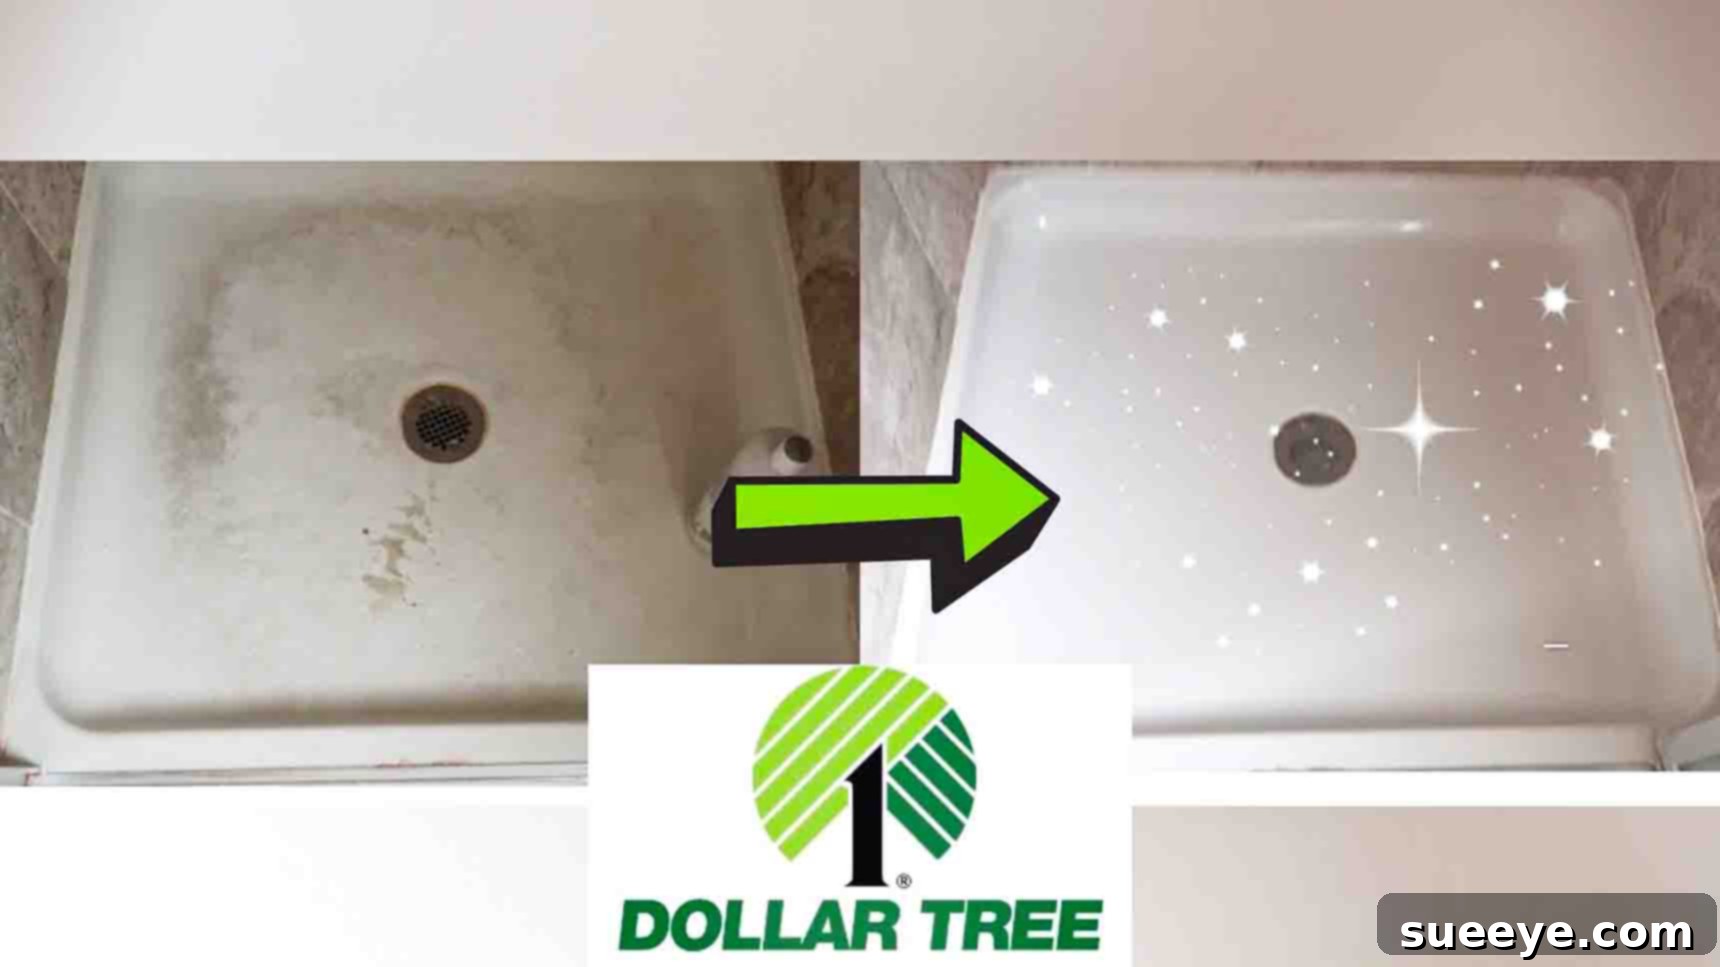
If the thought of scrubbing your shower fills you with dread, you’re not alone. Many of us postpone this chore, allowing soap scum, grime, and hard water stains to build up, making the task even more daunting. But what if there was a simple, affordable, and incredibly effective solution that could transform your bathroom cleaning routine? Prepare to discover a DIY magic shower cleaner hack that promises to make your shower sparkle with minimal effort and without breaking the bank. Inspired by a brilliant tip from Katie Sottile on YouTube, this method utilizes common Dollar Tree items to achieve professional-level clean in less than an hour. It’s the perfect solution for busy individuals, especially those with kids who demand constant attention, leaving little time for arduous cleaning. Get ready to say goodbye to tough shower stains and hello to a sparkling clean bathroom!
Why This DIY Shower Cleaner Is a Game-Changer
Before we dive into the how-to, let’s explore why this particular homemade shower cleaner stands out from the rest:
- Unbeatably Cost-Effective: Traditional commercial shower cleaners can be expensive, and often require multiple products for different types of stains. This DIY solution relies on just two widely available, inexpensive ingredients, making it incredibly budget-friendly. You can literally find everything you need at a dollar store.
- Remarkably Effective: Don’t let the simplicity fool you. The combination of ingredients in this cleaner creates a powerful solution that cuts through soap scum, dissolves hard water stains, and tackles everyday grime with impressive efficiency. You’ll be amazed at the transformation.
- Simple, Accessible Ingredients: You likely already have one or both of these ingredients in your pantry or under your sink. There are no harsh chemicals or complex formulations here, just household staples put to ingenious use.
- Time-Saving Solution: The beauty of this hack lies in its minimal active cleaning time. A short soak does most of the heavy lifting, significantly reducing the amount of scrubbing required. This is a huge win for anyone with a packed schedule.
- Family-Friendly: While it’s always wise to use cleaning products responsibly and ensure good ventilation, the core ingredients are generally safer than many harsh chemical-laden cleaners, making it a more appealing option for homes with children and pets.
The Power Duo: White Vinegar and Dawn Dish Soap
The secret to this “magic” cleaner lies in the synergistic effect of two household heroes: white vinegar and Dawn liquid dish soap. Understanding how each ingredient works helps appreciate the brilliance of this simple concoction.
The Mighty Power of White Vinegar
White vinegar, a humble kitchen staple, is a cleaning powerhouse thanks to its acetic acid content. This mild acid is incredibly effective at:
- Dissolving Mineral Deposits: Hard water stains, common in many showers, are essentially mineral deposits (like calcium and magnesium). Vinegar’s acidity breaks down these mineral bonds, making them easy to wipe away. It’s also excellent at dissolving soap scum, which is largely made up of fatty acids from soap reacting with hard water minerals.
- Natural Disinfectant and Deodorizer: While not a heavy-duty sanitizer, vinegar can kill certain bacteria and mold spores, contributing to a healthier shower environment. Its strong scent also helps neutralize unpleasant odors, leaving your bathroom smelling fresh (though the vinegar smell itself dissipates quickly).
- Eco-Friendly Alternative: For those looking to reduce their reliance on harsh chemicals, vinegar offers a natural and biodegradable cleaning solution.
The Grease-Cutting Brilliance of Dawn Dish Soap
Dawn dish soap (or similar concentrated blue dish soaps) is renowned for its degreasing properties, which are equally beneficial in the shower:
- Cutting Through Grease and Grime: Shower grime often includes body oils, shampoo residue, and other greasy substances. Dawn’s powerful surfactants lift and emulsify these oily residues, allowing them to be rinsed away easily.
- Creates a Clinging Lather: When mixed with vinegar, Dawn helps the solution cling to vertical surfaces, extending its contact time with stains and preventing it from simply running off. This ensures the cleaning agents have ample opportunity to work their magic.
- Adds Lubrication for Scrubbing: The soap component also provides lubrication, making scrubbing less abrasive and helping your sponge glide more smoothly over surfaces, protecting your shower from scratches.
Together, vinegar and Dawn create an unstoppable force against common shower challenges. The vinegar breaks down the hard water and soap scum, while the Dawn lifts and emulsifies the oils and grime, ensuring everything can be easily rinsed away for a sparkling finish.
Gathering Your Affordable Arsenal: Dollar Tree Essentials
The beauty of this cleaning hack is its accessibility. You don’t need fancy, expensive tools. Everything required can typically be found at your local dollar store, keeping your cleaning budget incredibly low.
Materials You’ll Need:
- White Vinegar: A large bottle of distilled white vinegar is your primary ingredient. Look for the cheapest option, as its cleaning power is consistent regardless of brand.
- Dawn Liquid Dish Soap (or similar concentrated blue dish soap): While the original hack specifies Dawn, any concentrated dish soap with strong degreasing properties, often found for a dollar, will likely yield excellent results.
- Spray Bottle: An empty spray bottle is crucial for applying the cleaning solution evenly and efficiently to all shower surfaces. A basic plastic one will work perfectly.
- Cleaning Sponge with Soap Dispenser: This clever tool streamlines the scrubbing process by continuously releasing the cleaning solution as you scrub. If you can’t find one, a regular sturdy cleaning sponge and a separate scrub brush for tough spots will also do the trick.
Step-by-Step Guide to Your Sparkling Shower
With your materials ready, let’s get down to the simple steps that will transform your grimy shower into a pristine sanctuary.
Step 1: Prepare Your Cleaning Solutions
This hack involves two slightly different preparations of the same solution, optimized for different application methods.
- For the Soap Dispenser Sponge: Carefully fill about half of your soap dispenser sponge with Dawn liquid soap. It’s crucial to put the liquid soap in first. If you add vinegar first, the soap tends to leak through the sponge quickly. After adding the soap, fill the remaining half with white vinegar. Secure the top and give it a good shake to ensure the two liquids are thoroughly mixed. This sponge will be your primary scrubbing tool.
- For the Spray Bottle: Next, pour a generous amount of liquid dish soap into your spray bottle. Follow this with an equal part of white vinegar. The exact ratio isn’t rigidly scientific, but aiming for roughly 1:1 or slightly more soap for extra clinging power works well. Secure the spray nozzle and gently shake the bottle to combine the ingredients. This spray solution will cover larger areas and initiate the cleaning process.
Step 2: Apply and Soak – Let the Magic Begin
This is where the cleaning really starts without you doing much! Ensure your bathroom is well-ventilated before you begin, as vinegar can have a strong scent.
- Spray Generously: Take your spray bottle and thoroughly coat all surfaces of your shower that need cleaning. This includes tiles, grout lines, glass doors, fixtures, and the shower floor. Don’t be shy; ensure a visible layer of the solution clings to the grime.
- Allow to Soak: Once applied, let the solution sit and work its magic for at least twenty minutes. For tougher stains or areas with heavy buildup, you can extend this soaking time to 30 minutes or even an hour. The vinegar and soap need time to penetrate, break down, and loosen the soap scum and hard water deposits. Resist the urge to scrub too soon!
Step 3: Scrub for a Streak-Free Shine
After the soaking period, it’s time for the gratifying part – scrubbing and seeing the grime melt away.
- Engage the Dispenser Sponge: Return to the shower with your soap dispenser sponge. Begin scrubbing all the surfaces you sprayed. The beauty of the dispenser sponge is that it continuously applies a fresh burst of the cleaning solution as you scrub, helping to dislodge loosened dirt and keep the area lubricated.
- Focus on Problem Areas: Pay extra attention to grout lines, corners, and areas with visible soap scum or hard water rings. For particularly stubborn spots, a bit of extra elbow grease or a dedicated grout brush might be helpful, but you’ll find the solution has done most of the hard work.
- Systematic Approach: Work from top to bottom, ensuring you cover every inch. The combination of the pre-soak and the active scrubbing will lift away even the most embedded grime.
Step 4: The Final Rinse – Reveal Your Squeaky Clean Shower
The last step is the most rewarding: seeing your hard work (or rather, the solution’s hard work!) pay off.
- Rinse Thoroughly: Once you’ve scrubbed every surface, rinse everything off with warm water. Use your showerhead to wash away all the loosened grime and cleaning solution. Ensure no soapy residue is left behind, as this can attract new dirt.
- Admire the Shine: Step back and admire your squeaky-clean, sparkling shower! For an extra streak-free finish on glass doors and tiles, you can use a squeegee or wipe down surfaces with a clean microfiber cloth immediately after rinsing.
Pro Tips for Optimal Results & Maintenance
To maximize the effectiveness of your DIY magic shower cleaner and keep your bathroom consistently clean, consider these additional tips:
- Pre-Rinse for Best Adhesion: For extremely dry or dusty showers, a quick pre-rinse with warm water can help the solution adhere better to the surfaces.
- Ventilation is Key: Always ensure good ventilation by opening windows or turning on the exhaust fan. While vinegar is natural, its scent can be strong.
- Tackle Tough Stains with Precision: For particularly stubborn hard water rings or mildew spots, you might create a slightly thicker paste with baking soda and a bit of this solution, apply it directly, and let it sit for a longer period before scrubbing.
- Regular Maintenance is Easier: The more frequently you use this cleaner (e.g., weekly or bi-weekly), the less buildup you’ll have, making each subsequent cleaning faster and easier. A quick spray and rinse after every few showers can drastically reduce the need for deep cleaning.
- Test on Delicate Surfaces: While generally safe, always perform a patch test on an inconspicuous area if you have unusual or delicate shower materials (e.g., natural stone) to ensure no discoloration or damage occurs.
- Don’t Forget the Grout: Grout lines can be notorious for trapping dirt. A dedicated grout brush can reach into these crevices more effectively for a truly deep clean.
Beyond the Shower: Other Uses for Your DIY Cleaner
The versatility of white vinegar and Dawn soap extends beyond just the shower. This same solution, or variations of it, can be incredibly useful for other cleaning tasks around the house:
- Kitchen Sinks and Faucets: Excellent for removing water spots and making stainless steel shine.
- Toilet Bowls: Spray and let it sit before scrubbing to tackle rings and freshen the bowl.
- General Surface Cleaner: For non-porous surfaces, a more diluted version can serve as an everyday all-purpose cleaner.
- Bathtubs: Just like showers, bathtubs benefit immensely from this soap scum and grime-fighting solution.
Conclusion: Embrace a Cleaner, Easier Life
Cleaning your shower doesn’t have to be a dreaded chore that consumes your precious time and energy. With this DIY magic shower cleaner hack, inspired by Katie Sottile, you have a powerful, cost-effective, and remarkably simple solution at your fingertips. By harnessing the combined power of white vinegar and Dawn dish soap, you can effortlessly banish soap scum, hard water stains, and general grime, revealing a sparkling clean shower that looks and feels brand new. So, gather your Dollar Tree essentials, follow these easy steps, and reclaim your bathroom as a truly clean and refreshing space. Say goodbye to cleaning woes and hello to a brilliantly clean shower, all achieved with minimal effort and maximum impact!