
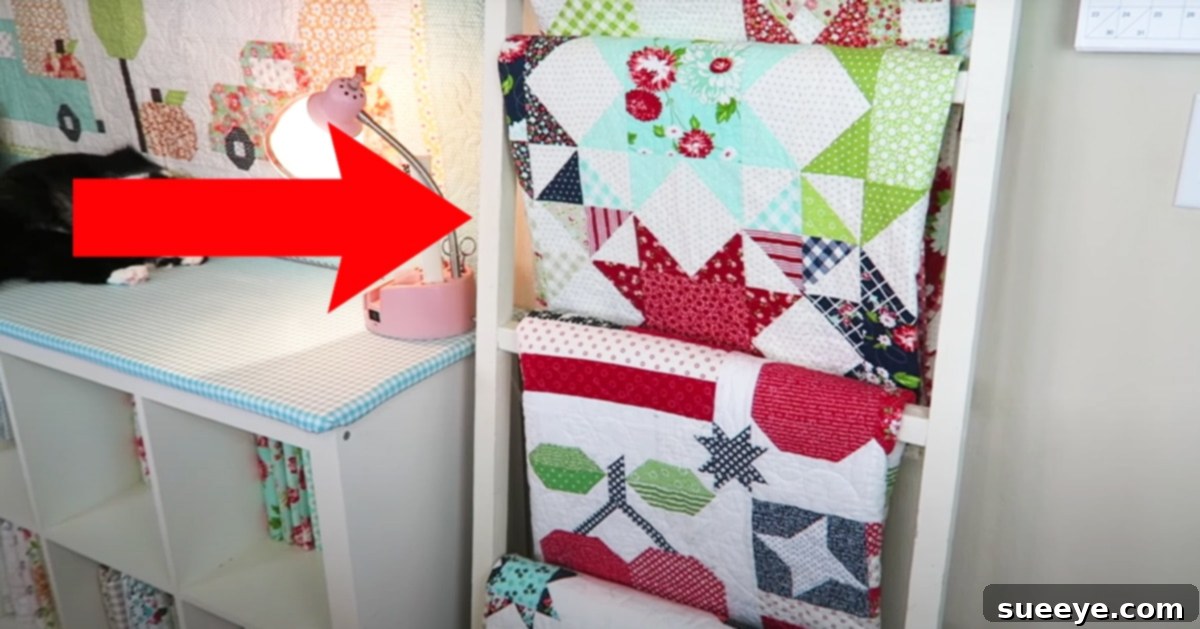
Build Your Own Stylish & Affordable DIY Quilt Ladder: A Comprehensive Guide
Are you looking to add a touch of rustic elegance and practical storage to your home without breaking the bank? Decorative ladders, often called quilt or blanket ladders, have become a beloved staple in modern home decor. They offer a charming way to display beautiful textiles, keep blankets tidy, and add vertical interest to any room. However, anyone who has shopped for one knows they can be surprisingly expensive, often costing upwards of $100 for a simple design. This is precisely why the idea of building your own DIY quilt ladder is so appealing.
Inspired by the incredibly clear and straightforward tutorial by Erica Arndt on YouTube, creating a custom quilt ladder is not only achievable but also incredibly rewarding. What makes Erica’s method particularly impressive is its simplicity: she uses minimal materials – just pieces of wood, screws, and optional chalk paint – to create a stylish and functional piece of furniture. For years, I searched for the perfect white ladder to neatly drape my throws in the living room, only to be deterred by the steep price tags. I always thought building one would be too complicated or require advanced woodworking skills. After watching Erica’s compelling demonstration, all my doubts vanished. I was convinced and motivated to tackle this project myself, realizing it’s far easier than I ever imagined. The simplicity of this ladder design is its greatest strength, making it an ideal weekend project that yields beautiful results and a wonderful way to showcase your blankets, quilts, scarves, or even towels.
Why a DIY Quilt Ladder is a Must-Have for Your Home
Beyond its primary function of displaying quilts and blankets, a decorative ladder offers a multitude of benefits that enhance both the aesthetics and functionality of your living space. In an age where thoughtful design and personalized touches are highly valued, a handmade quilt ladder stands out.
Aesthetic Appeal and Design Versatility
A quilt ladder instantly adds warmth, texture, and a touch of character to any room. Whether your home decor leans towards farmhouse chic, minimalist modern, bohemian, or traditional, a simple wooden ladder can blend seamlessly. You can customize its finish to match your existing palette – a distressed look for vintage charm, a crisp white for a clean aesthetic, or a natural wood stain to highlight the grain. It breaks up monotonous wall space and creates a focal point, drawing the eye upwards and making a room feel more expansive.
Practicality and Organization
One of the most practical advantages of a blanket ladder is its ability to declutter and organize. Instead of having blankets piled on a sofa or stored away in a basket, they can be neatly folded and hung, making them easily accessible whenever you need an extra layer of warmth. This not only keeps your living area tidier but also helps to prevent blankets from becoming wrinkled or damaged. It’s an elegant solution for seasonal throws or everyday comforts.
Space-Saving Vertical Storage
In smaller homes or apartments, maximizing vertical space is crucial. A quilt ladder utilizes an often-underutilized dimension – height – to provide storage without taking up valuable floor space that a traditional storage chest or shelf might require. Its slim profile means it can fit into narrow nooks, against walls, or even behind doors, offering efficient storage in compact areas.
Essential Supplies for Your DIY Quilt Ladder
One of the most appealing aspects of this project is the minimal list of materials required. You’ll be surprised at how much you can achieve with so little. Before you begin, gather these key components:
- Three 2″ x 2″ x 8′ pieces of wood: These will form the main structure of your ladder – two vertical uprights and the horizontal rungs. Pine is a popular and affordable choice for this type of project due to its availability and ease of working. When selecting your wood at a store like Home Depot or Lowe’s, take a moment to check each piece for straightness and any significant warping or knots that might affect the final look or stability.
- Eight 3″ wood screws: These screws are robust enough to securely join the 2×2 pieces, ensuring a sturdy ladder. It’s advisable to use proper wood screws that offer good grip and minimize the risk of splitting the wood, especially after pre-drilling pilot holes.
- Optional: Annie Sloan Antique White Chalk Paint and clear wax: Chalk paint is a fantastic option for DIY furniture projects as it often requires minimal surface preparation (no sanding or priming needed for most surfaces). Its matte finish provides a beautiful, soft look. Annie Sloan is a reputable brand, but other chalk paints or even regular latex paint can be used. Clear wax, or a polyurethane topcoat, is recommended to seal the paint, protect the wood from moisture and wear, and provide a durable finish.
Recommended Tools (Not in Original List, but Essential):
- Measuring Tape and Pencil: For accurate marking and cutting.
- Saw: A miter saw or circular saw will provide the cleanest, most precise cuts, but a hand saw can also be used with care.
- Electric Drill/Driver: Essential for pre-drilling pilot holes and driving screws.
- Sandpaper (various grits): For smoothing edges and preparing the wood for finishing, even if using chalk paint.
- Clamps: Helpful for holding pieces steady during assembly.
- Square: To ensure your rungs are perfectly perpendicular to your uprights.
Step-by-Step Directions: Building Your Quilt Ladder
Now, let’s walk through the process of transforming those simple pieces of wood into a beautiful and functional decorative ladder. Precision in measuring and careful assembly are key to a professional-looking finish.
1. Planning and Measuring Your Cuts
Before making any cuts, visualize the desired height of your finished ladder and how many rungs you’d like. A common height for a decorative ladder is around 5 to 6 feet. The original tutorial implicitly suggests a rung length of 23 inches, which is a good, versatile width.
- For the Vertical Uprights: Take two of your 2″x2″x8′ pieces of wood. You will need to cut these to your desired ladder height. For example, if you want a 6-foot (72-inch) ladder, cut two pieces exactly 72 inches long. The remaining portions of these 8-foot pieces can be discarded or saved for other small projects.
- For the Horizontal Rungs: Take your third 2″x2″x8′ piece of wood. From this piece, you will cut your rungs. If each rung is 23 inches long, an 8-foot (96-inch) piece of wood will yield four rungs (96 inches / 23 inches = approximately 4.17 rungs). You will have a small leftover piece.
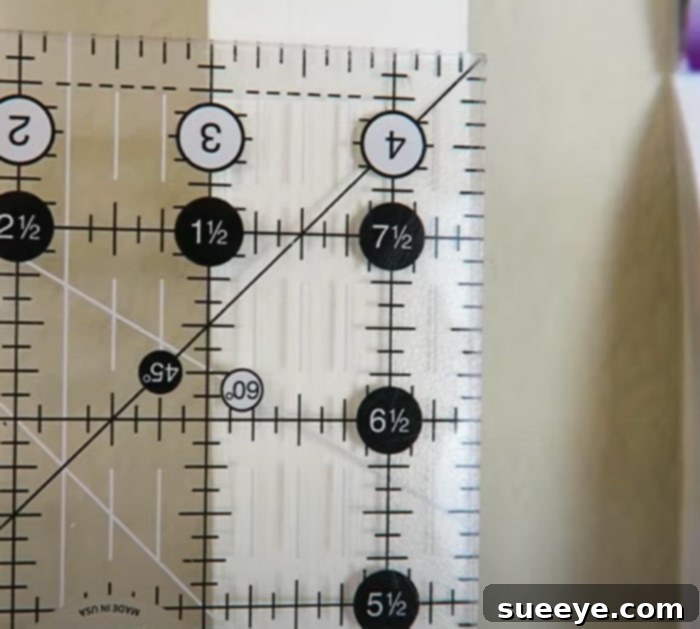
- Marking Rung Placement: Once your two vertical uprights are cut, lay them parallel on a flat surface. Use your tape measure and pencil to carefully mark the positions for your rungs. The tutorial suggests placing the first rung 9 inches down from the top. Subsequent rungs are spaced about 12 inches apart. The bottom rung should be positioned 18 inches up from the bottom of the uprights. Ensure your marks are consistent on both vertical pieces. Using a square here will help guarantee proper alignment.
2. Assembling the Ladder Structure
With all your pieces cut and marked, it’s time for assembly. This is where your drill and screws come into play.
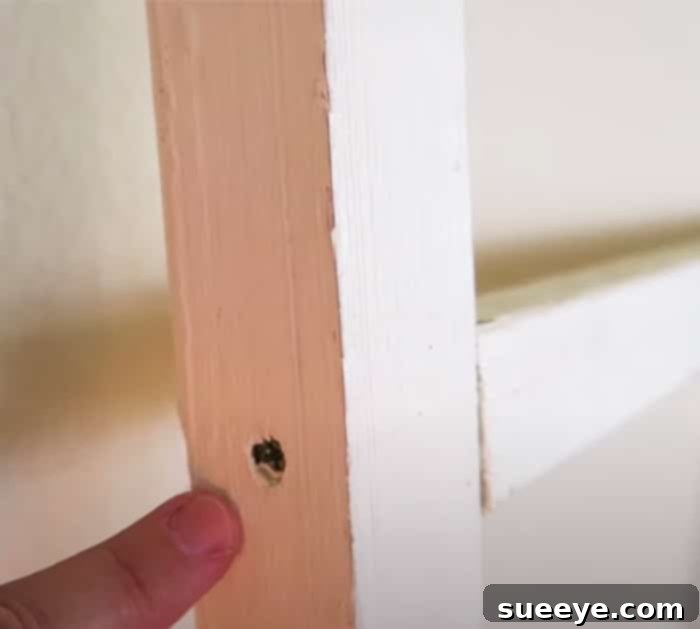
- Pre-Drill Pilot Holes: This step is crucial for preventing the wood from splitting, especially when working close to the ends of the rungs. Using a drill bit slightly smaller than the diameter of your screw, pre-drill pilot holes through the outside of your vertical uprights, where each rung will attach. Make sure these holes are centered on your marks and go deep enough to guide the screw without piercing the rung completely.
- Attach the Rungs:
- Start with the top rung. Position it carefully between the two vertical uprights, aligning it with your marks. Use a clamp to hold it securely in place if possible.
- Using your electric drill/driver, drive two 3-inch wood screws through your pre-drilled pilot holes on each side of the vertical uprights, into the ends of the rung. Ensure the screws are driven straight and flush with the surface.
- Repeat this process for each subsequent rung, working your way down the ladder. Double-check that each rung is level and square before fully tightening the screws. This ensures a stable and aesthetically pleasing final product.
For a dynamic visual guide and additional tips, I highly recommend watching Erica Arndt’s full YouTube tutorial. Seeing the steps in action can often clarify details and provide confidence as you work.
3. Finishing Your Quilt Ladder
Once the ladder is fully assembled and sturdy, it’s time to add the finishing touches that will make it truly yours.
- Sanding: Even if you plan to paint, a quick sanding of all surfaces and edges with medium-grit sandpaper (e.g., 120-grit) followed by fine-grit (e.g., 220-grit) will ensure a smooth, splinter-free finish. This step is particularly important if you plan to stain or leave the wood natural.
- Painting or Staining:
If using chalk paint, apply thin, even coats, allowing each to dry completely according to the manufacturer’s instructions. You might opt for one coat for a rustic, transparent look, or multiple coats for full coverage. For a distressed look, lightly sand edges or areas after painting to reveal the wood beneath. If you prefer a stained finish, apply wood stain following product directions, wiping off excess for an even color.
- Sealing: After your paint or stain has dried thoroughly, apply a clear protective topcoat. If you used chalk paint, clear wax (like Annie Sloan’s recommended wax) is ideal for sealing and protecting the surface while enhancing the matte finish. Apply with a brush or cloth, buffing off excess. Alternatively, a clear polyurethane or polycrylic topcoat can provide excellent durability, especially for areas where the ladder might experience more contact or moisture (like a bathroom).
Beyond Quilts: Creative Uses for Your New Decorative Ladder
While designed as a “quilt ladder,” its versatility is one of its greatest assets. Don’t limit your imagination to just blankets!
- Bathroom Towel Storage: Hang bath towels, hand towels, and washcloths to keep your bathroom organized and add a spa-like feel.
- Bedroom Wardrobe Assistant: Drape scarves, belts, or even plan the next day’s outfit. It can also be a clever spot for lightweight accessories.
- Living Room Display: In addition to blankets, hang lightweight decorative throws, magazines (with small hooks or clips), or even small potted plants in macrame hangers for a touch of greenery. Fairy lights woven through the rungs can create a cozy ambiance.
- Entryway Organizer: Add hooks to the rungs for hanging coats, bags, or umbrellas, creating a welcoming and functional entryway.
- Kitchen Charm: Use it to hang lightweight kitchen towels, aprons, or even small baskets of fresh herbs.
- Seasonal Decor: Easily drape garlands, string lights, or lightweight ornaments during holidays, making it a dynamic piece of festive decor.
The Rewards: Cost Savings and Personal Satisfaction
The journey of building your own quilt ladder offers two significant rewards: substantial cost savings and immense personal satisfaction. As someone who once spent over $80 on a mass-produced ladder, I can attest to the value of this DIY approach. By sourcing your own wood and spending just a few hours on construction, you can create a high-quality, custom piece for a fraction of the retail price. The material cost for this project is typically under $40, representing an outstanding return on investment for a piece of furniture that adds so much to your home.
Furthermore, there’s an undeniable pride that comes with creating something beautiful and functional with your own hands. This isn’t just a generic item; it’s a personalized piece of decor that reflects your effort and creativity. You have the freedom to choose the exact dimensions, finish, and style that perfectly complement your home, something off-the-shelf options rarely offer. It’s a testament to the power of DIY – transforming simple materials into a cherished home accent.
Important Safety Considerations
It’s crucial to remember that this DIY project is intended to create a decorative quilt or blanket ladder, not a ladder for climbing. While sturdy enough to hold textiles, it is not designed to bear human weight. Always ensure it is placed on a stable surface. If you have young children or pets, or if you plan to place heavy items (though not recommended), consider securing the top of the ladder to the wall with small brackets to prevent it from tipping over. Always follow proper safety procedures when using power tools, including wearing appropriate personal protective equipment like safety glasses.
Conclusion: Your Next Empowering DIY Project Awaits
The prospect of building your own furniture can seem daunting, but projects like this DIY quilt ladder prove that with simple instructions and a little motivation, anyone can create stunning pieces for their home. Erica Arndt’s tutorial demystifies the process, turning what seems like a complex task into an enjoyable and accessible craft.
This project is more than just about saving money; it’s about infusing your living space with personality, celebrating the joy of handmade items, and gaining confidence in your DIY abilities. Whether you’re displaying your grandmother’s heirloom quilts or simply tidying up your favorite throws, this functional and aesthetically pleasing ladder will be a cherished addition. So, gather your supplies, set aside a weekend, and embark on this incredibly rewarding journey. You’ll be delighted with the elegant, custom piece you create, bringing warmth and style into your home. Don’t forget to watch Erica Arndt’s video for a visual walkthrough and get ready to transform your decor!