
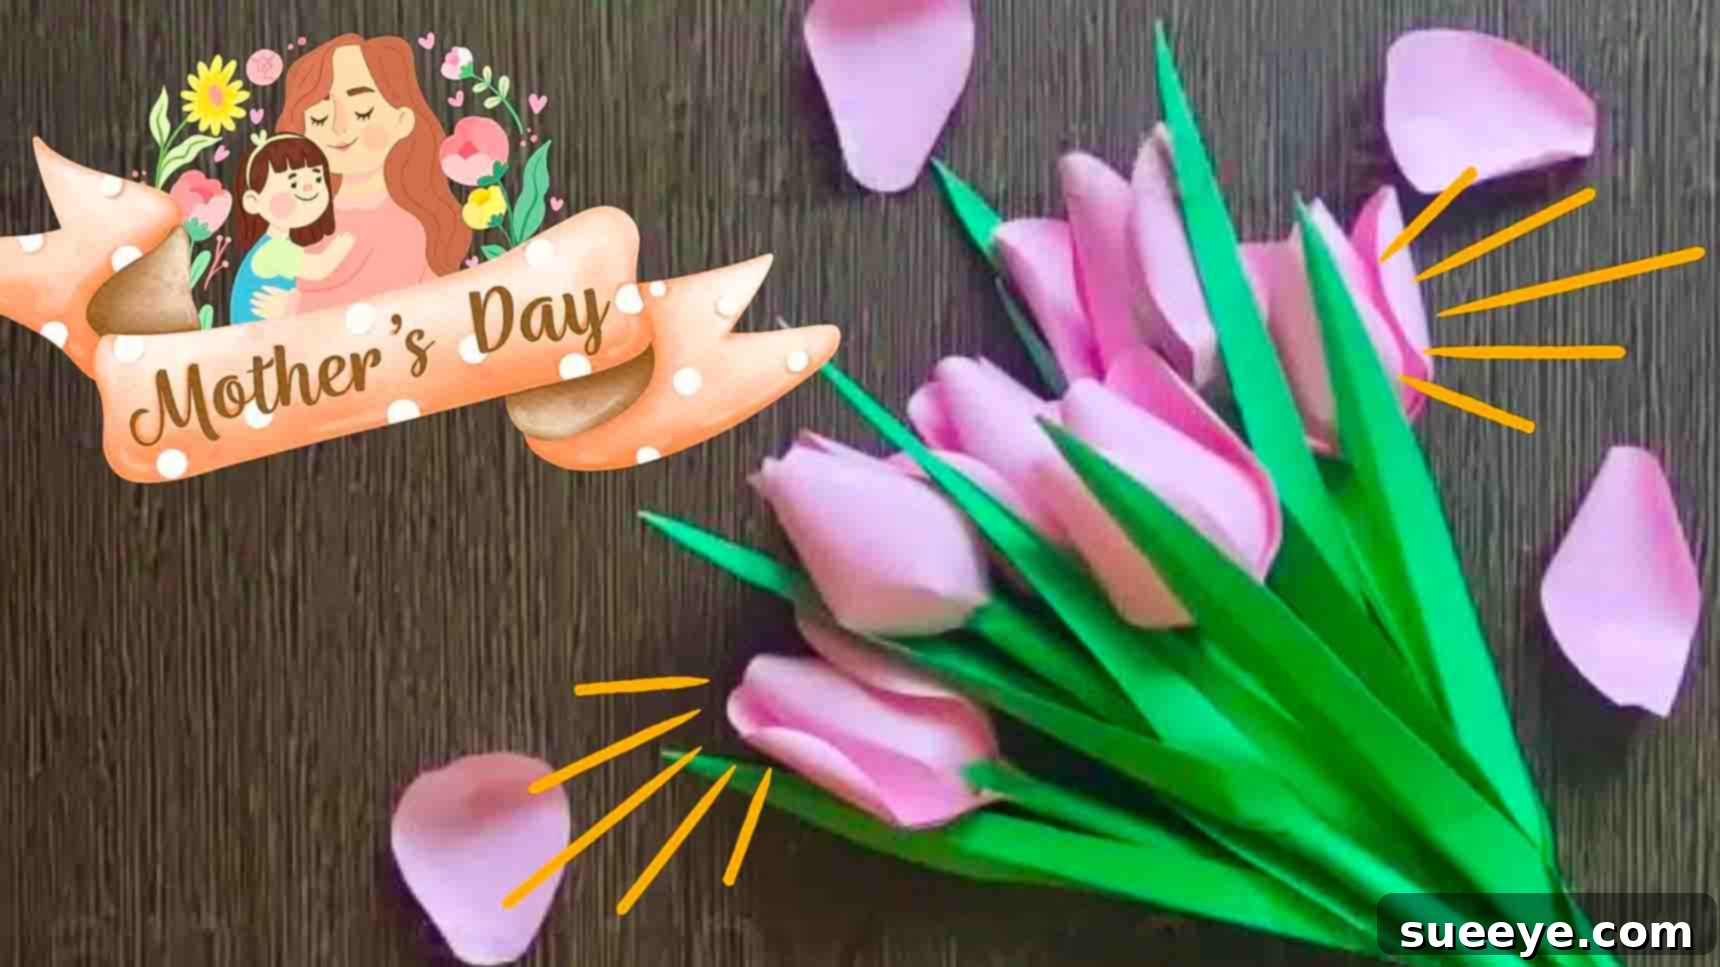
There’s an undeniable charm to a handmade gift, a personal touch that store-bought items simply can’t replicate. Especially for occasions like Mother’s Day, a lovingly crafted present speaks volumes. This comprehensive guide will walk you through creating beautiful DIY paper tulips, inspired by the fantastic tutorial from smaARTistix on Youtube. These paper tulips are not only incredibly easy to make but also require only basic crafting materials, making them an accessible and rewarding project for anyone. Forget expensive, perishable fresh flowers; these handmade tulips offer lasting beauty and a heartfelt sentiment that your mom, or anyone you gift them to, is sure to cherish. Dive into this step-by-step tutorial and discover the joy of crafting your own vibrant bouquet.
Why Choose DIY Paper Tulips?
Beyond the simple act of crafting, there are numerous compelling reasons to opt for DIY paper tulips:
- Lasting Beauty: Unlike fresh flowers that wilt and fade, paper tulips remain vibrant indefinitely, serving as a constant reminder of your thoughtful gesture.
- Budget-Friendly: Made from inexpensive colored paper and common craft supplies, they are a wonderfully economical alternative to fresh bouquets.
- Customization Galore: You have complete control over colors, sizes, and even adding unique details like glitter or scent, allowing for truly personalized creations.
- Allergy-Friendly: Perfect for recipients with allergies to pollen or strong floral scents, ensuring everyone can enjoy their beauty.
- Rewarding Craft: The process itself is therapeutic and enjoyable, offering a satisfying creative outlet for crafters of all skill levels.
- Versatile Decor: Ideal for Mother’s Day, birthdays, anniversaries, home decor, party decorations, or even as charming wedding favors.
Essential Materials for Your Paper Tulips:
One of the best aspects of this project is its simplicity, requiring only a handful of readily available items. Gather these basic supplies, and you’ll be ready to bring your paper tulips to life:
- Colored Papers: Choose a variety of vibrant colors for your tulip petals and contrasting green for the stems and leaves. Standard crafting paper or construction paper works perfectly. Consider experimenting with different paper textures for unique effects.
- Glue: A good quality craft glue or white school glue (PVA glue) is ideal. Ensure it dries clear and holds paper securely. A glue stick can also be handy for larger surface areas, but liquid glue offers a stronger bond for intricate folds.
- Scissors: A sharp pair of craft scissors is crucial for clean cuts, especially when shaping the petals and leaves.
- Barbecue Stick (or similar rod): This is used for rolling the paper to create the natural curves of the petals and the sturdy structure of the stem. A skewer, a thin dowel, or even a pen can be used as an alternative.
Step-by-Step Guide: Crafting Your Paper Tulips
Step 1: Crafting the Petals – The Heart of Your Tulip
Begin by selecting your desired color for the tulip petals. Take a piece of colored paper and precisely cut a rectangle measuring 15 cm in length by 5 cm in width. This dimension is crucial for achieving the correct petal size, but feel free to adjust for larger or smaller tulips. Once you have your rectangle, fold it in half lengthwise, then fold it in half again. This creates a compact layered piece of paper, which will yield multiple petals simultaneously.
With the paper still folded, use your scissors to carefully cut around the edges, shaping it into a graceful petal form. Envision the natural curve of a tulip petal and try to replicate that smooth, rounded silhouette. After cutting the overall petal shape, create a small slit in the center of the straight, folded edge. This central cut is vital for giving the petals their three-dimensional quality later on. When you unfold the paper, you should now have four individual petal pieces, each with a small slit at its base.
To give your flat paper petals a more lifelike, curved appearance, take your barbecue stick. Gently run the stick over the petal cut-outs, applying slight pressure to impart a subtle curl. Don’t press too hard, just enough to coax the paper into a gentle arc. Next, focus on the rounded edge of each petal. Position the barbecue stick at a slight slant on either side of this rounded edge and delicately roll the paper inward. This technique creates a natural, slightly cupped edge, enhancing the petal’s organic look. This subtle manipulation truly transforms a flat piece of paper into a realistic petal.
Now, to assemble the petals, apply a small dab of glue to one side of the central slit you cut earlier. Carefully bring the other side of the slit over, overlapping the glued portion, and press firmly to secure. This action will give the petal its volumetric shape, making it appear to cup inward. Repeat this gluing process for all four of your prepared petals, ensuring each one has that essential three-dimensional form. Set these aside to dry completely while you prepare the other components of your tulip.
Step 2: Creating the Sturdy Stem
For the tulip stem, select a piece of green colored paper. Cut a rectangle measuring approximately 20 cm in length by 7 cm in width. The length can be adjusted based on your desired tulip height. Begin to roll this green rectangle in a slight slant, starting from one corner and working your way diagonally across the paper. This slanted rolling technique ensures the stem becomes tapered and strong, mimicking a natural flower stem. Roll it as tightly and evenly as possible to create a firm cylindrical shape.
Once rolled, secure the end with a dab of glue to prevent it from unraveling. Press firmly and hold until the glue sets. After the glue has dried, you can trim both ends of the stem to give it a neat and uniform appearance. Now, focus on one end of the stem – this will be the top where the tulip head attaches. Cut this end into a subtle, pointed shape, creating a small tip. Then, carefully open both sides of this tip, creating two small flaps. These flaps will serve as the anchoring point for your petals. Apply glue generously to both of these flaps. Carefully take one of your shaped petals and press its base firmly onto one of the glued flaps. Hold it in place for a moment to ensure a strong bond. Next, attach the remaining two petals on opposite sides, distributing them evenly around the tip to complete the initial formation of the tulip head. This foundational step is key to a balanced and beautiful bloom.
Step 3: Enhancing Your Paper Tulips with Leaves and Details
To give your paper tulip a more finished and realistic look, we’ll now add a decorative green strip and the essential leaves. First, take a thin strip of green paper – approximately 1 cm wide and long enough to wrap around the stem. Starting from the base of the tulip head, carefully wrap this green strip around the stem in a spiral fashion, working your way downwards. This not only covers any imperfections from the stem rolling but also adds a lovely textural detail, making the flower appear more natural and refined. Secure the beginning and end of the strip with a small amount of glue.
For the leaves, take another piece of green paper. Cut two rectangles, each measuring about 15 cm in length by 2 cm in width. These dimensions are suitable for most tulip sizes, but feel free to adjust if your tulips are particularly large or small. Take one of these green rectangles and fold it horizontally down the center. With it folded, carefully cut along the open edge to create the distinct elongated shape of a tulip leaf. Tulip leaves are typically long, slender, and gently curved, so try to replicate this form. Repeat this process for the second leaf.
Once your two leaves are cut and shaped, it’s time to attach them to the stem. Apply a small amount of glue to the base of each leaf. Position one leaf on either side of the stem, approximately one-third of the way down from the tulip head. Press firmly to ensure they adhere well. The placement of two leaves per tulip helps create a balanced and botanically accurate appearance, bringing your paper tulip closer to its natural counterpart. Allow all the glued components to dry thoroughly before handling or arranging your finished paper flowers.
Tips for Crafting Perfect Paper Tulips
To ensure your paper tulips turn out beautifully every time, keep these expert tips in mind:
- Precision is Key: While it’s a fun craft, precise measurements and careful cutting will significantly improve the final look of your tulips. Take your time with each step.
- Quality Paper Matters: While basic colored paper works, experimenting with slightly thicker craft paper or cardstock (within reason, as it needs to be rolled) can yield more durable and professional-looking results.
- Glue Application: Use glue sparingly but strategically. Too much glue can make the paper soggy and create visible clumps; too little won’t hold. A thin, even layer is best.
- Drying Time: Allow ample drying time for each glued section. Rushing this can lead to parts falling apart or shifting.
- Experiment with Colors: Don’t limit yourself to traditional tulip colors. Explore pastels, bright neons, or even gradient papers for unique and eye-catching blooms.
- Vary Sizes: Create tulips of different heights and petal sizes to add depth and interest to your bouquet or arrangement.
- Add Details: For an extra touch, lightly brush the edges of the petals with chalk pastels to create subtle shading, or add a touch of glitter for sparkle. You can even dab a drop of floral essential oil onto the finished paper to give them a delicate scent.
Creative Display Ideas for Your Paper Tulips
Once your beautiful paper tulips are complete, the fun doesn’t stop there! Here are some imaginative ways to showcase your handmade creations:
- Classic Bouquet: Arrange a collection of your paper tulips in a lovely vase. Mix and match colors for a vibrant display, or stick to a monochromatic theme for elegance.
- Thoughtful Gift Topper: Attach a single paper tulip to a wrapped present for an extra special and personalized touch.
- Table Centerpiece: Create a charming centerpiece for your dining table, a party, or a special occasion. Combine them with other paper crafts or small decorative elements.
- Wall Decor: Fasten several tulips to a decorative branch or string them together to create a unique garland or wall hanging.
- Shadow Box Art: Arrange a few tulips inside a shadow box frame with a sentimental background for a piece of lasting art.
- Name Place Cards: For events, a small paper tulip attached to each name card adds a delicate and welcoming touch.
Conclusion: A Gift from the Heart
Crafting these DIY paper tulips is more than just a simple project; it’s an opportunity to create something beautiful, lasting, and deeply personal. Whether you’re making them as a heartfelt Mother’s Day gift, to brighten your home decor, or simply for the joy of crafting, each paper tulip is a testament to your creativity and effort. With basic materials and clear instructions, anyone can transform simple sheets of paper into a stunning bouquet that brings joy and beauty without the worry of wilting. So, gather your supplies, follow these steps, and embrace the rewarding experience of bringing these delightful paper tulips to life. Your handmade gift will undoubtedly be appreciated for its unique charm and the love poured into every fold.