
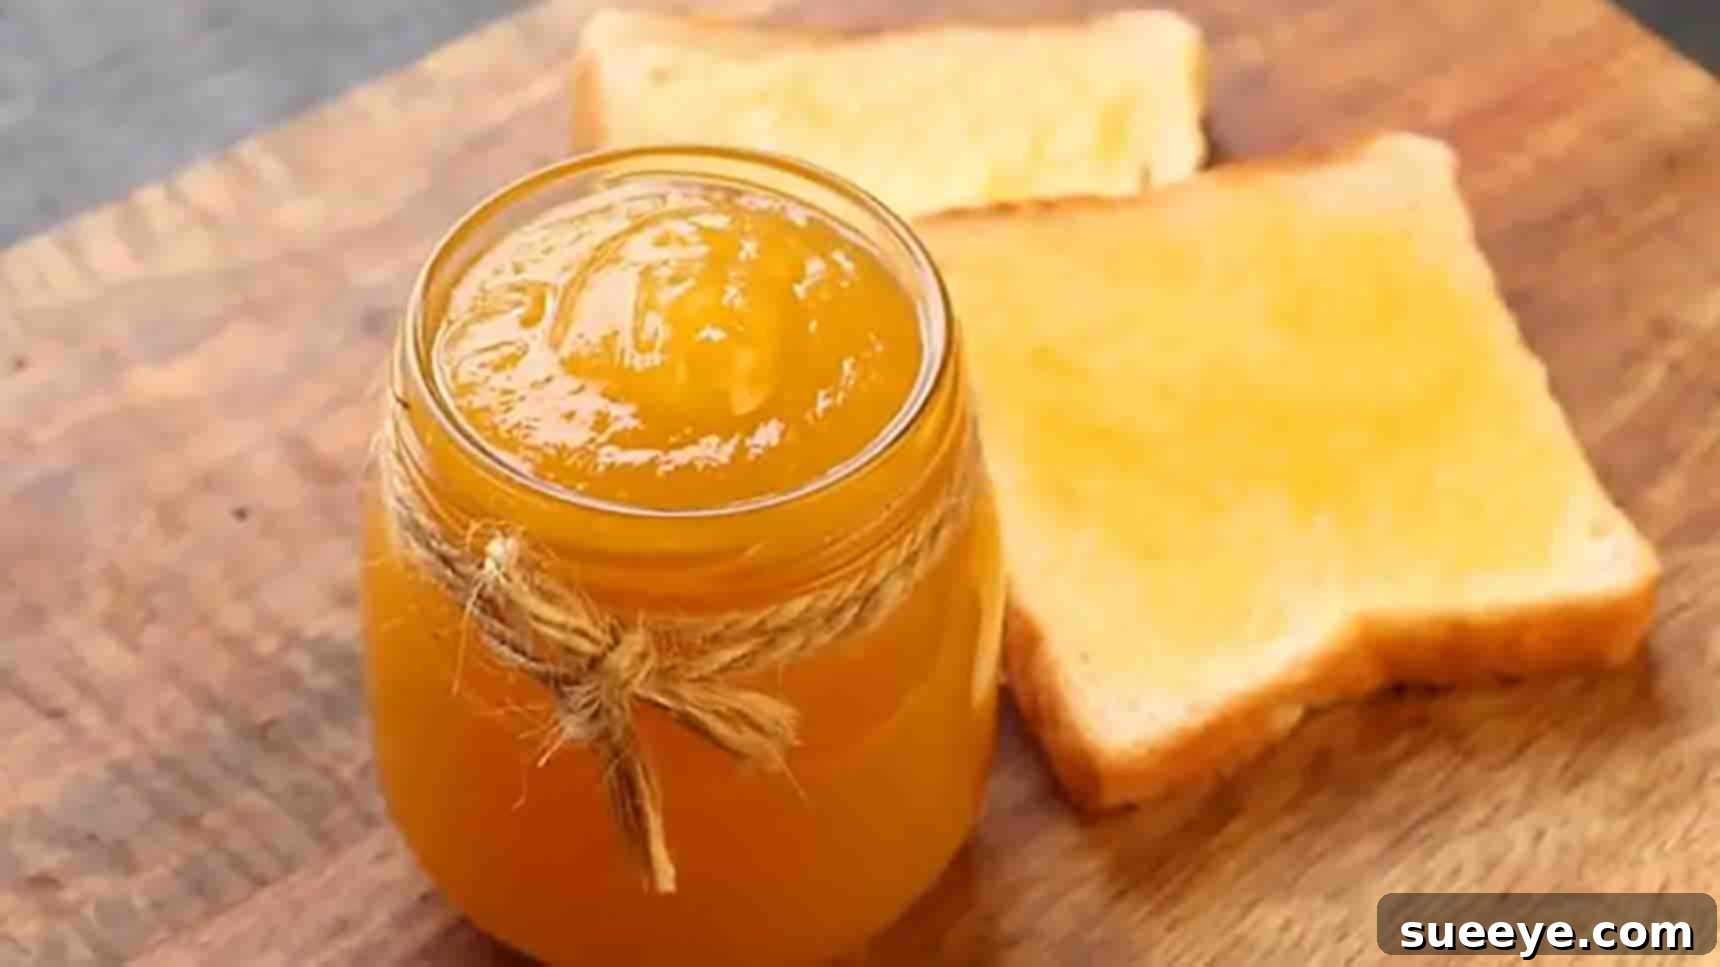
Homemade Pineapple Jam: A 2-Ingredient Recipe for a Healthier Lifestyle
For many, mornings simply aren’t complete without a spread of delicious jam. As I transitioned towards a healthier lifestyle, I began exploring ways to enjoy my favorite foods without artificial additives. This journey led me to discover the incredibly rewarding process of making homemade jam. To my delight, I stumbled upon a fantastic recipe for homemade pineapple jam from The Terrace Kitchen on YouTube that requires only two simple ingredients. It was a revelation! I genuinely wish I had known sooner how effortlessly one can create fresh, wholesome jams right in their own kitchen. There’s an immense satisfaction that comes from crafting your own jam, knowing precisely what goes into it – no artificial flavors, colors, or unnecessary preservatives. The best part? This particular recipe is not only incredibly cost-effective but also remarkably delicious, earning rave reviews from friends who have now adopted it themselves. Plus, it stores beautifully in the refrigerator for up to three months. If you’re ready to transform your breakfast routine and embrace a healthier, more flavorful spread, join me in making this delightful pineapple jam today!
Why Choose Homemade Jam? The Benefits of DIY Fruit Spreads
In an age where health and wellness are paramount, making your own food offers unparalleled control over what you consume. Homemade jams, especially simple recipes like this pineapple version, stand out as a superior choice compared to their store-bought counterparts. Firstly, you eliminate the worry of hidden sugars, artificial sweeteners, high-fructose corn syrup, and synthetic preservatives that are often prevalent in commercial products. You get to decide the quality of your ingredients, opting for fresh, ripe fruit and your preferred type of sugar, or even natural alternatives like honey or maple syrup if adapting the recipe. This transparency ensures a cleaner, healthier product for you and your family.
Beyond the health benefits, there’s a unique joy and sense of accomplishment in creating something delicious from scratch. The aroma of simmering fruit in your kitchen is intoxicating, and the taste of freshly made jam is simply incomparable. It’s a wonderful way to utilize seasonal produce, reduce food waste, and even create personalized gifts for loved ones. The cost-effectiveness is another significant advantage; often, making jam at home is far more economical than purchasing artisanal or organic varieties from the supermarket. Embracing homemade jam is more than just cooking; it’s a mindful step towards a more wholesome and fulfilling culinary experience.
The Tropical Delight of Pineapple: More Than Just Flavor
While most fruits are excellent for jam-making, pineapple offers a distinct advantage with its vibrant, tropical flavor profile and natural acidity. Pineapple is not only delicious but also packed with essential nutrients. It’s an excellent source of Vitamin C, a powerful antioxidant that supports immune health, and manganese, a mineral vital for bone strength and metabolism. Perhaps most notable is bromelain, an enzyme complex found in pineapple that is renowned for its anti-inflammatory properties and aid in digestion. These qualities make pineapple an exceptionally healthy and flavorful choice for a homemade spread.
The natural sweetness and tangy notes of pineapple lend themselves perfectly to jam, creating a bright and refreshing taste that can elevate a simple slice of toast or add a gourmet touch to desserts. Its inherent acidity also helps in the gelling process, often reducing the need for added pectin, especially when concentrated through cooking, as in this two-ingredient recipe. Opting for ripe, juicy pineapples ensures maximum flavor and sweetness, requiring less added sugar and enhancing the overall quality of your jam.
Ingredients for Your Simple Pineapple Jam
- 3 cups (approx. 650 g) of chopped pineapple: For the best flavor, choose a ripe pineapple that is firm, golden in color, and has a sweet aroma at its base. Fresh pineapple is highly recommended over canned for superior taste and texture.
- 2 cups (approx. 400 g) granulated sugar: Sugar acts as a preservative and contributes significantly to the jam’s texture and sweetness. You can slightly adjust the amount to your preference, but remember it also plays a role in the gelling process.
That’s it! Just two ingredients are all you need to create a truly spectacular pineapple jam. The magic lies in the natural pectin and acidity of the pineapple, combined with sugar, which transforms into a delectable spread with minimal effort.
Directions: Crafting Your Homemade Pineapple Jam
Step 1: Preparing and Pureeing the Pineapple
Begin by meticulously preparing your pineapple. Peel the pineapple, remove the core (which can be fibrous), and chop the fruit into smaller, manageable pieces. The size doesn’t need to be uniform as it will be pureed. Transfer all the chopped pineapple to a blender or food processor. Process until you achieve a smooth puree. The goal here is to break down all the fibrous parts of the pineapple into a liquid consistency.
Once pureed, it’s crucial to strain the mixture to ensure a silky-smooth jam, free from any remaining pulp or fibers. Place a fine-mesh sieve over a large bowl and pour the pineapple puree into it. Use a spoon or spatula to press the puree firmly against the sieve, allowing the liquid to pass through while retaining the pulp. Discard the leftover pulp, as it can make the jam gritty. To maximize the yield and ensure the desired smooth consistency, add a small amount of water (about 1/4 cup) to the strained pulp in the sieve and press it again. This helps extract any remaining flavorful liquid. Continue this process until you have a smooth and relatively thick pineapple liquid. This concentrated liquid is what will form the base of your jam.
Step 2: Cooking and Thickening Your Jam
Once you have your smooth pineapple liquid, transfer it to a large, heavy-bottomed pan or pot. A heavy bottom is essential to distribute heat evenly and prevent burning. Add the 2 cups of granulated sugar to the pan. Turn the heat to medium-high. Stir the pineapple mixture consistently, especially during the initial stages, to dissolve the sugar completely and prevent it from sticking to the bottom of the pan. As the mixture heats up and begins to boil, a frothy layer will start to form on the surface. This foam consists of impurities and air bubbles. Use a clean spoon or skimmer to carefully discard this froth. Skimming helps ensure a clear, bright, and visually appealing jam.
Continue to cook the jam, stirring frequently, for approximately twenty-five to thirty minutes. The cooking time can vary depending on the heat intensity and the moisture content of your pineapple. The key is to reduce the liquid and allow the natural pectin in the pineapple to activate and thicken the jam. You’ll know the pineapple jam is reaching its readiness when its consistency starts to thicken noticeably and it becomes translucent, taking on a beautiful golden hue. A simple test for doneness is the “plate test”: place a small spoonful of hot jam onto a cold plate (chilled in the freezer for a few minutes). Let it sit for about a minute, then push it with your finger. If the surface wrinkles, your jam is ready. It should also hold its shape and not run back into the liquid pool. Once it reaches this stage, turn off the heat immediately to prevent overcooking.
Step 3: Cooling, Jarring, and Storage
Once the jam has reached the desired consistency, remove it from the heat and allow it to cool down slightly in the pan for about 10-15 minutes. This brief cooling period helps it to settle and prevents splattering when transferring. While it’s cooling, ensure you have clean, sterilized glass jars ready. Sterilizing jars is crucial for proper storage and preventing spoilage, even for refrigerator jam. You can sterilize them by washing them thoroughly in hot soapy water, rinsing well, and then placing them in a boiling water bath for 10 minutes or running them through a hot dishwasher cycle.
Carefully ladle the warm pineapple jam into the sterilized glass jars, leaving about half an inch of headspace from the rim. Wipe the rims clean to ensure a good seal, then tightly secure the lids. Allow the jars of jam to cool completely to room temperature before transferring them to the refrigerator. Once cooled and refrigerated, your delicious homemade pineapple jam will remain good for up to three months. For even longer storage, you can freeze properly packaged jam for up to a year, or explore traditional water bath canning methods for shelf-stable preserves.
Tips for Jam-Making Success
- Choose Ripe Pineapple: The flavor of your jam heavily relies on the quality of your fruit. Opt for pineapples that are fully ripe for optimal sweetness and natural pectin.
- Use a Heavy-Bottomed Pot: This prevents the jam from scorching at the bottom, ensuring even cooking and reducing the need for constant stirring.
- Don’t Skimp on Straining: While it might seem tedious, straining the puree is key to achieving that smooth, restaurant-quality jam texture.
- Patience is Key: Jam-making isn’t a race. Allow the jam to cook down gradually. Rushing the process can result in a runny jam or a burnt bottom.
- Sterilize Your Jars: Even for short-term refrigerated storage, clean jars are essential to maintain freshness and prevent contamination.
- Taste and Adjust: Feel free to taste the jam during the cooling process and adjust sweetness if desired, though this recipe is balanced.
Delicious Ways to Enjoy Your Homemade Pineapple Jam
Once you’ve made a batch of this vibrant pineapple jam, the possibilities for enjoyment are endless! Here are just a few ideas to inspire you:
- Classic Breakfast: Spread generously on toast, English muffins, scones, croissants, pancakes, or waffles for a delightful start to your day.
- Yogurt and Oatmeal Topping: Swirl into plain Greek yogurt or hot oatmeal for a burst of tropical flavor and natural sweetness.
- Baking Ingredient: Use it as a luscious filling for tarts, thumbprint cookies, crêpes, or even as a glaze for cakes and pastries.
- Savory Pairings: Pineapple jam pairs surprisingly well with savory dishes. Try it as a glaze for baked ham, roasted chicken, or pork tenderloin, adding a sweet and tangy counterpoint.
- Cheese Board Companion: Serve a dollop alongside sharp cheeses and crackers for an elevated appetizer experience.
- Beverage Enhancer: Stir a spoonful into sparkling water, iced tea, or even a cocktail for a refreshing tropical twist.
Variations to Explore and Flavor Enhancements
While this two-ingredient recipe is perfect in its simplicity, you can always experiment with subtle additions to customize your pineapple jam:
- A Zest of Citrus: A teaspoon of fresh lime or lemon zest, added during the last few minutes of cooking, can brighten the flavor and enhance the natural acidity.
- Spice It Up: A pinch of ground ginger, cinnamon, or a whole star anise added to the pot while simmering can introduce warm, aromatic notes. Remove whole spices before jarring.
- Coconut Creaminess: For a piña colada-inspired jam, stir in a tablespoon or two of full-fat coconut milk or cream after removing the jam from heat.
- Vanilla Elegance: A splash of pure vanilla extract added at the end can add depth and warmth to the tropical flavor.
- A Hint of Heat: For those who enjoy a little kick, a tiny pinch of red pepper flakes or a thin slice of jalapeño (removed before jarring) can create an interesting sweet and spicy jam.
Troubleshooting Common Jam-Making Issues
- Jam is Too Runny: If your jam doesn’t wrinkle on the cold plate test and remains very liquidy, it simply needs more cooking time. Return it to medium-high heat and continue to simmer, stirring frequently, until it reaches the desired consistency.
- Jam is Too Thick/Hard: If, after cooling, your jam is too firm, you can gently reheat it with a tablespoon or two of water, stirring until it loosens slightly, then re-jar.
- Jam is Scorched: Unfortunately, if the jam has a burnt taste due to sticking to the bottom of the pan, it’s best to discard that portion. Always use a heavy-bottomed pot and stir consistently to prevent scorching.
- Too Much Foam: While a little foam is normal, excessive frothing might mean the heat is too high, or the fruit isn’t perfectly ripe. Consistent skimming will help.
2-Ingredient Pineapple Jam Recipe
This incredibly simple yet immensely satisfying 2-ingredient pineapple jam recipe is a testament to the fact that healthy, delicious food doesn’t have to be complicated. It’s a fantastic way to introduce fresh, natural flavors into your diet, reduce your reliance on processed foods, and enjoy the pure taste of fruit. The vibrant tang of pineapple, combined with just enough sweetness, creates a versatile spread that will quickly become a household favorite. So, gather your two ingredients, follow these easy steps, and prepare to be amazed by the deliciousness you can create. Embrace the joy of homemade goodness and elevate your everyday meals with this delightful tropical treat. Give it a try today!