
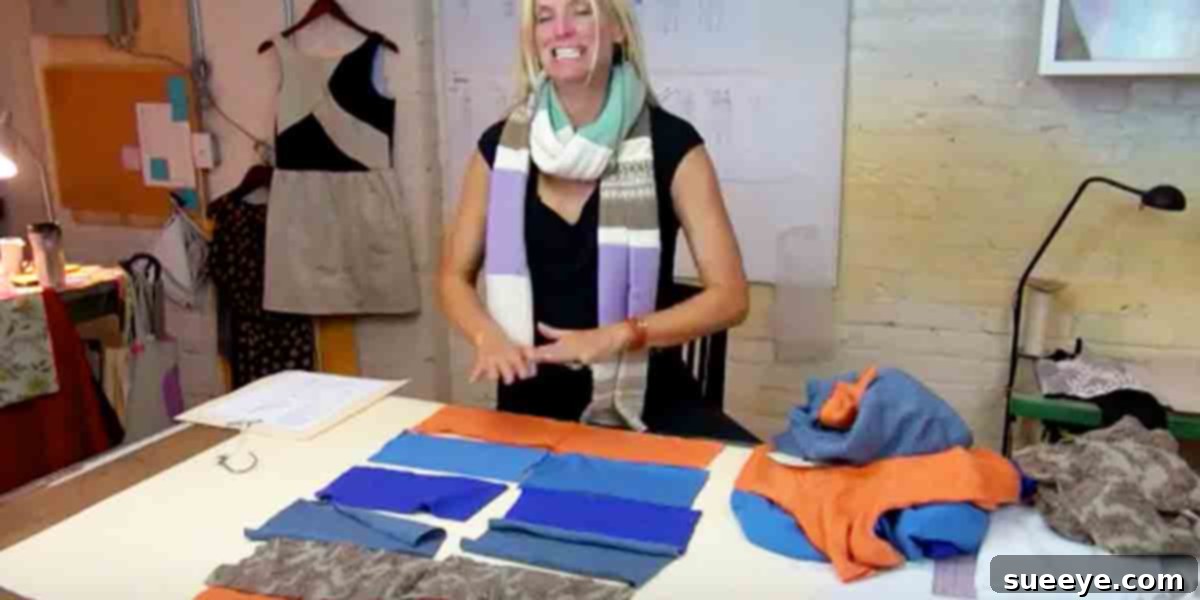
Transform Your Old Sweaters: The Ultimate Guide to DIY Recycled Scarves
Do you have a collection of old sweaters tucked away in your closet, perhaps too worn to wear but too sentimental to discard? You’re not alone! Many of us hold onto beloved knits, unsure of what to do with them. What if we told you there’s a brilliant, eco-friendly, and incredibly rewarding way to give those cherished garments a new lease on life? Prepare to embark on a creative journey as we explore how to transform your old sweaters into beautiful, warm, and utterly unique scarves. This DIY project is not only simple and cost-effective but also a fantastic way to add a personal touch to your winter wardrobe or create heartfelt handmade gifts.
Why Repurpose Your Old Sweaters? The Benefits of Upcycling
The concept of upcycling, or creative reuse, is gaining significant traction, and for good reason. Turning your old sweaters into new items like scarves offers a multitude of benefits, both personal and environmental:
Environmental Sustainability: A Greener Choice
- Reduce Waste: Fashion waste is a growing global concern. By repurposing old sweaters, you divert textiles from landfills, significantly reducing your environmental footprint. It’s a small step that contributes to a larger movement of sustainable living.
- Conserve Resources: Manufacturing new textiles consumes vast amounts of water, energy, and raw materials. Giving existing garments a new purpose lessens the demand for new production, conserving precious natural resources.
- Support Circular Economy: Upcycling promotes a circular economy where materials are continually reused and recycled, rather than a linear “take-make-dispose” model.
Economic Advantages: Smart and Frugal
- Save Money: Why buy new scarves when you can create stunning ones for free? This DIY project requires minimal, if any, financial investment, making it incredibly budget-friendly.
- Create Free Gifts: With a stash of old sweaters, you have an endless supply of materials for thoughtful, handmade Christmas, birthday, or ‘just because’ gifts. Imagine the joy of gifting something truly unique and made with love.
Personal & Creative Fulfillment: More Than Just a Scarf
- Unleash Creativity: This project offers a wonderful outlet for self-expression. You can experiment with different textures, colors, and designs, making each scarf a unique work of art.
- Sentimental Value: Transform a sweater with special memories into an accessory you can wear daily. It’s a beautiful way to keep those memories close and extend the life of a beloved item.
- Unique Style: Your upcycled scarf will be one-of-a-kind, reflecting your personal style and standing out from mass-produced accessories.
- Sense of Accomplishment: There’s immense satisfaction in creating something beautiful and functional with your own hands.
The Irresistible Appeal of a DIY Sweater Scarf
Beyond the general benefits of upcycling, transforming an old sweater specifically into a scarf holds a special charm. As the weather grows colder, there’s nothing quite like the embrace of a warm, soft scarf. Wool and cashmere sweaters, in particular, offer unparalleled warmth and comfort, making them ideal candidates for this project. Whether you’re facing crisp autumn breezes or the biting chill of winter, a repurposed wool scarf can truly warm you to the core. Moreover, these scarves make exceptionally cute and thoughtful gifts for friends and family, demonstrating care and creativity without breaking the bank.
Getting Started: What You’ll Need for Your Project
One of the best aspects of this DIY project is its simplicity and minimal requirements. Most of what you need might already be in your home:
- Old Sweaters: The star of the show! Look for sweaters made of wool, cashmere, alpaca, angora, or even soft acrylic blends. Consider the sweater’s color, texture, and pattern. Heavier knits will yield warmer, chunkier scarves, while thinner knits can create more elegant, draped styles. Ensure the sweaters are clean and in reasonable condition (though a few small holes can often be worked around or creatively patched).
- Sharp Scissors: Fabric scissors are ideal for clean, precise cuts.
- Fabric Measuring Tape or Ruler: For accurate measurements.
- Fabric Chalk or Marker: To mark your cutting lines.
- Pins: To hold fabric in place if sewing.
- Sewing Machine (Optional, but Recommended for Durability): While many sweater scarf projects can be no-sew, a sewing machine will provide a more durable and professional finish, especially if the sweater material tends to fray. If you don’t have one, hand-sewing or fabric glue can be alternatives for certain materials.
- Thread: Matching or contrasting, depending on your desired look.
- Embellishments (Optional): Buttons, fringe, lace, fabric paint, or embroidery floss can add a unique decorative touch.
Step-by-Step Tutorial: Crafting Your Recycled Sweater Scarf
While specific steps may vary depending on the sweater material and your desired scarf style (e.g., infinity, fringed, patched), here’s a general guide to get you started:
1. Prepare Your Sweater
- Wash and Dry: Always start with a clean sweater. Wash and dry it according to its care instructions. For wool sweaters, you might intentionally “felt” or “full” them by washing them in hot water and drying them on high heat. This process shrinks the wool and makes the fibers interlock, preventing fraying when cut, and eliminating the need for hemming.
- Lay Flat: Lay the clean, dry sweater flat on a large work surface, smoothing out any wrinkles.
2. Plan Your Cuts
There are several ways to cut a sweater to maximize its use:
- The Body Cut (Simplest): For a basic rectangular scarf, cut a large rectangle from the body of the sweater. You can cut horizontally across the sweater, just below the armpits and above the bottom hem. The width of your scarf will be the length of this rectangle, and the height of the sweater body will be the width of your scarf.
- The Sleeve Cut (Narrow Scarves/Cuffs): The sleeves can be repurposed into narrower scarves, wrist warmers, or even small cowls. Cut the sleeves off at the shoulder seam.
- Combined Sections: For longer scarves, you might need to combine multiple sections (e.g., two body pieces or a body piece with sleeves).
3. Measure and Mark
- Decide on the desired length and width of your scarf. Common scarf dimensions are around 6-10 inches wide and 60-70 inches long for a standard scarf, or 25-30 inches wide (when folded) and 60-70 inches in circumference for an infinity scarf.
- Using your measuring tape and fabric chalk, carefully mark your cutting lines on the sweater. Ensure your lines are straight.
4. Make Your Cuts
- Using sharp scissors, carefully cut along your marked lines. Take your time to ensure clean, even edges.
5. Finish the Edges (If Necessary)
This step depends heavily on the sweater’s material and whether it was felted:
- No-Fray Materials (Felted Wool/Fleece): If your sweater was felted wool or a non-fraying fleece, you might not need to do anything! The edges will naturally resist unraveling.
- Hemming: For materials that fray, or if you desire a polished look, fold the raw edges over twice (about ¼ to ½ inch) and press. Then, stitch them down using your sewing machine or by hand.
- Fringe: Cut small slits (about 1/2 to 1 inch deep) along the raw edges to create a fringe. This works particularly well with loosely knit or wool sweaters.
- Serging: If you have a serger, you can quickly finish the edges with a neat overlock stitch.
6. Assemble (For Multi-Piece Scarves or Infinity Scarves)
- If you’re making an infinity scarf from a single piece, simply bring the two short ends together, right sides facing, and sew them to form a loop.
- If combining multiple pieces for a longer scarf, place them right sides together and sew the short ends.
7. Add Personal Touches (Optional)
- Embroidery: Hand-stitch initials, a simple design, or decorative patterns onto your scarf.
- Buttons or Appliqués: Sew on vintage buttons, fabric patches, or lace trim for added charm.
- Braiding: Cut strips from another part of the sweater or a different material and braid them into the scarf or use them as decorative accents.
Beyond Scarves: More Creative Uses for Old Sweaters
Once you discover the joy of repurposing, you’ll see your old sweaters in a whole new light. The possibilities extend far beyond just scarves:
- Cozy Mittens or Fingerless Gloves: Utilize sweater sleeves for warm hand coverings.
- Warm Hats or Beanies: The body or top part of a sweater can often be shaped into a snug hat.
- Decorative Throw Pillows: Cut squares or rectangles from the sweater body and sew them into pillow covers for a rustic, cozy feel.
- Cozy Pet Beds or Toys: Cut and stuff sweater pieces for a soft bed or knot strips for a durable pet toy.
- Wrist Cuffs or Boot Toppers: Use the ribbed cuffs or sections of sleeves to add warmth and style to wrists or peeking out of boots.
- Leg Warmers: For extra warmth during colder months, sections of larger sweaters can be transformed into comfortable leg warmers.
- Tote Bags or Pouches: With a bit more sewing, you can create unique fabric bags.
- Coasters or Trivets: Felted wool can be cut into small shapes to protect surfaces.
Caring for Your Upcycled Treasures
To ensure your newly crafted sweater scarf or other upcycled items last, proper care is essential. Generally, follow the care instructions for the original sweater material. For wool items, hand washing in cool water with a mild detergent and laying flat to dry is usually best. Avoid harsh chemicals or excessive heat, which can damage the fibers. Store your scarves neatly folded or hung to prevent stretching or damage.
Make a Difference: Embrace the Sustainable Choice
In a world of fast fashion and disposable goods, choosing to repurpose your old sweaters is a powerful statement. It’s a testament to your creativity, your resourcefulness, and your commitment to a more sustainable lifestyle. Each DIY sweater scarf you create not only adds a unique, warm accessory to your life but also contributes to reducing waste and conserving our planet’s precious resources. It’s a project that truly offers something for everyone – from the beginner crafter to the seasoned DIY enthusiast.
So, the next time you open your closet and spot those forgotten knits, don’t see clutter; see potential. See warmth, creativity, sustainability, and the perfect opportunity to make something beautiful with your own hands. Get ready to transform those old sweaters into charming, cozy scarves and discover the joy of upcycling!