
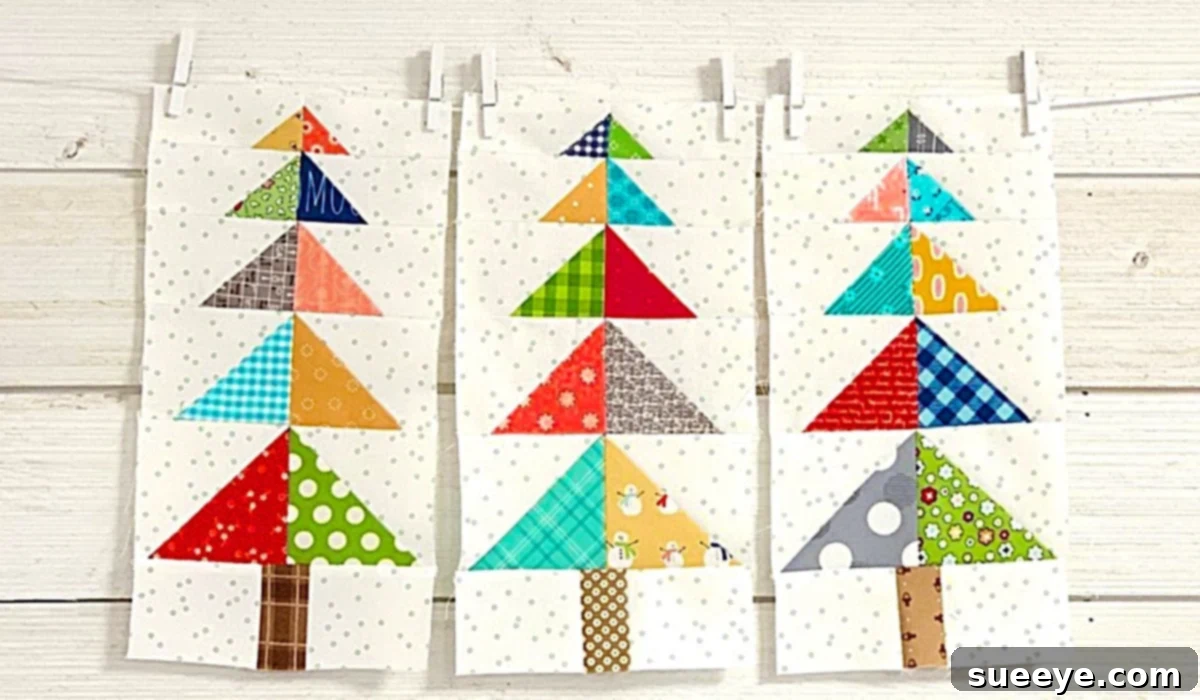
Mastering the Tall Pines Quilt Block: A Lori Holt Inspired Scrap Buster
For quilters worldwide, the allure of transforming a collection of fabric scraps into a masterpiece is undeniable. It’s a journey of creativity, resourcefulness, and often, a touch of nostalgic charm. Few designers capture this essence as beautifully as Lori Holt, whose distinctive “shabby chic boho” aesthetic has enchanted countless enthusiasts. Her sewing room, a vibrant tapestry of vintage-inspired fabrics and whimsical details, often serves as a muse, inspiring quilters to embrace color and pattern with abandon. It was in this spirit that I recently discovered her captivating Tall Pines Quilt Block video tutorial on YouTube, and immediately recognized it as a truly exceptional project.
The Tall Pines Quilt Block, with its traditional appeal and ingenious construction, offers an outstanding solution for managing and utilizing your ever-growing fabric stash. This pattern is not only incredibly easy to follow, making it accessible for quilters of all skill levels, but Lori Holt’s teaching style is also wonderfully clear and encouraging. She breaks down each step into manageable actions, ensuring that even complex-looking designs become achievable. What makes this particular block so ideal for a “scrap busting” mission is that all the individual pieces are relatively small, perfectly suited for those leftover bits and pieces of fabric that accumulate over time. While using scraps offers a unique, eclectic charm, remember that the beauty of quilting lies in personalization. Feel free to explore your creativity; whether you choose a vibrant mix of prints, a cohesive palette of solids, or a blend of both, this is your creative rodeo, and the final design is entirely yours to envision.
Embracing scrap quilting isn’t just about tidying up your fabric collection; it’s about weaving a story. Each tiny piece of fabric can hold memories from previous projects, turning your quilt into a visual journal of your crafting journey. The Tall Pines Quilt Block, with its classic geometric appeal, provides the perfect canvas for these textile tales. It’s a sustainable approach to quilting that not only reduces waste but also results in deeply personal and unique creations that can be cherished for generations. Let’s delve into the materials you’ll need and the simple steps to bring this delightful block to life.
Essential Materials For Your Tall Pines Quilt Block Journey:
Embarking on any quilting project requires a few fundamental tools. For the Tall Pines Quilt Block, the good news is you likely already possess most of what you need. Accuracy is key in quilting, so investing in good quality, sharp tools will make your experience much more enjoyable and yield better results.
- Fabric: This is where the magic begins! Gather your fabric scraps – those charming leftover pieces from previous projects are perfect. Alternatively, if you’re aiming for a more coordinated look, you can select specific fat quarters, jelly rolls, or yardage. Cotton quilting fabric is generally recommended for its ease of use and durability. Consider sorting your scraps by color or value to create a balanced look, or simply dive in for a truly spontaneous “scrappy” effect.
- A Sewing Machine: Any standard sewing machine in good working order will suffice. Ensure it’s clean and threaded correctly. A walking foot can be helpful for piecing, but it’s not strictly necessary for this block.
- Thread: Choose a high-quality 100% cotton thread that matches your fabric or is a neutral color like grey or cream. Strong, fine thread will create durable yet unobtrusive seams.
- A Rotary Cutter: This essential tool allows for precise and quick cutting of fabric strips and squares. A sharp blade is crucial for clean cuts.
- A Cutting Mat: Used in conjunction with your rotary cutter, a self-healing cutting mat protects your work surface and provides a stable base for accurate measurements.
- A Pair of Fabric Scissors: Keep a pair of scissors solely for fabric to ensure they remain sharp and cut cleanly. These are handy for snipping threads and making small adjustments.
- An Iron: Pressing is as important as sewing in quilting! A good iron with a steam setting is invaluable for achieving flat, precise blocks.
- An Ironing Board: Provides a stable, heat-resistant surface for pressing your fabric and seams.
- A Quilter’s Ruler: A transparent acrylic ruler, preferably with clear measurement markings, is essential for accurate measuring and cutting with your rotary cutter. A few different sizes can be useful, but a standard 6×12 or 6×24 inch ruler is a great starting point.
Crafting Your Tall Pines Quilt Block: A Step-by-Step Guide
Lori Holt’s Tall Pines Quilt Block video tutorial on YouTube provides an excellent visual guide, but let’s walk through the foundational steps here. The beauty of this block lies in its simplicity and the effective use of smaller fabric units to create a larger, captivating design. Preparation and precision are your best friends in quilting.
Step 1: Fabric Preparation and Cutting
Before you begin sewing, ensure all your fabrics are pressed flat. If you typically wash your fabrics before quilting to prevent shrinking and color bleeding, do so now. Once your fabric is prepped, the next crucial step is accurate cutting. Refer to Lori Holt’s tutorial for the exact dimensions of the squares and rectangles required for the Tall Pines block. Using your rotary cutter, cutting mat, and quilter’s ruler, carefully cut all your pieces. Precision here is paramount; even slight inaccuracies can compound and affect the final block’s size and squareness. Organize your cut pieces, perhaps by color or by the section of the block they will form, to streamline the assembly process.
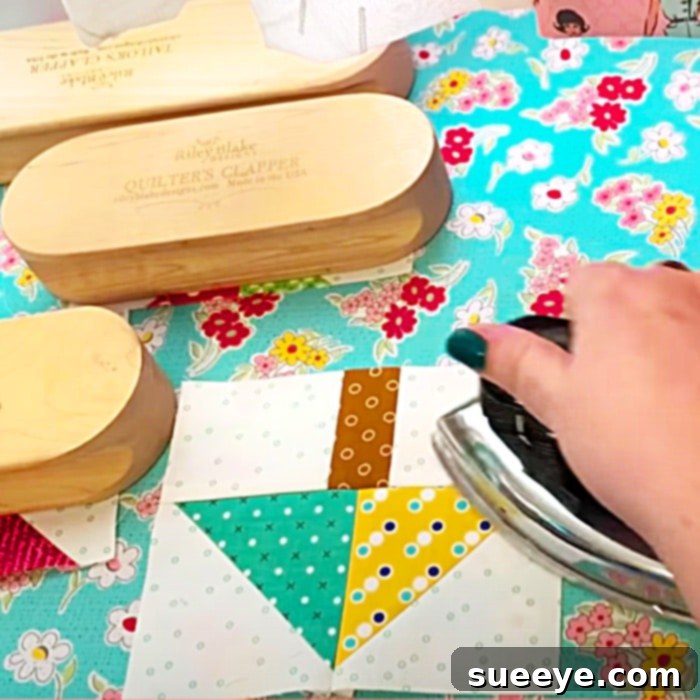
Step 2: Assembling the Smaller Units
The Tall Pines block is typically constructed by first piecing together smaller fabric units. This might involve sewing small squares together to form larger squares or attaching rectangles to squares to create specific components of the “pine tree” shape. As you sew, maintain a consistent 1/4-inch seam allowance. This precise measurement is standard in quilting and ensures that your finished block will be the correct size. Chain piecing can be a great time-saver here: feed one set of pieces through your sewing machine, then immediately feed the next set without lifting the presser foot or cutting the thread. This technique saves time and thread. After sewing each unit, gently press the seams. You can press seams open to reduce bulk, or press them to one side (typically towards the darker fabric) to help them nest later when joining units.
Step 3: Joining Units to Form the Block
Once you have all your smaller units pieced together and pressed, it’s time to arrange them according to the Tall Pines block design. Lay out all your components on a design board or a flat surface to visualize the final block before you begin sewing. This step is crucial for ensuring that all your pieces are correctly oriented and that your color placement is exactly as you desire. Following Lori Holt’s detailed instructions, begin joining these units together to form rows, and then sew the rows together to complete the attractive rectangle shape of the Tall Pines block. Again, maintain that accurate 1/4-inch seam allowance. When joining rows, pay attention to “nesting” your seams (if pressed to one side) to ensure your points match up perfectly, creating crisp, professional-looking intersections.
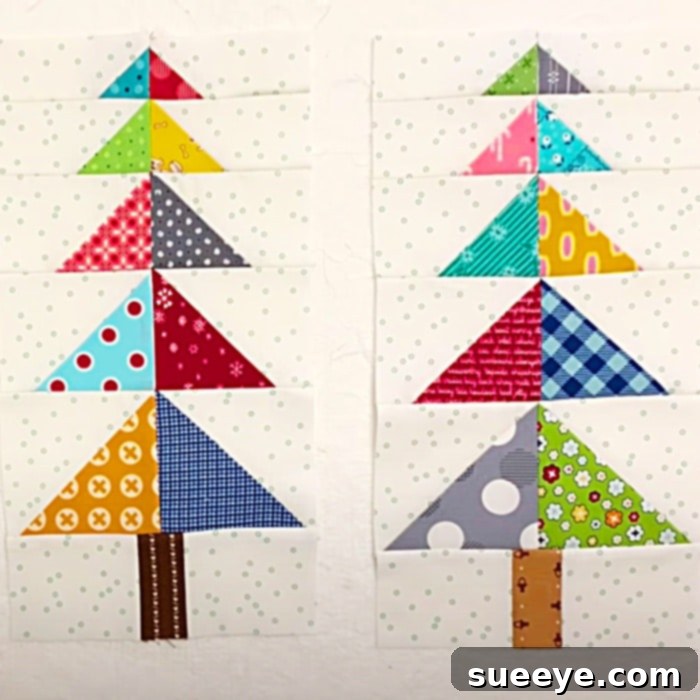
Step 4: Final Pressing and Squaring Up
After all your units are sewn together to form the complete Tall Pines Quilt Block, give it a final, thorough press. This step helps to set your seams, flatten the block, and remove any wrinkles, giving your block a polished and professional finish. The last crucial step is to “square up” your block. Using your quilter’s ruler and rotary cutter, trim any excess fabric from the edges to ensure your block is perfectly square and measures the correct finished size. This step is incredibly important, especially if you plan to join multiple Tall Pines blocks into a larger quilt, as it ensures all your blocks will fit together seamlessly.
This is a truly fabulous quilt block idea, and an exceptionally effective way to utilize your fabric scraps, breathing new life into forgotten textiles!
Beyond the Block: Designing with Tall Pines
Once you’ve successfully created your first Tall Pines Quilt Block, you’ll likely be inspired to make many more! The versatility of this block lends itself to numerous quilt designs. You could create a straightforward grid layout, where each Tall Pines block stands proudly next to its neighbors. For a more dynamic look, consider rotating alternate blocks, or setting the blocks “on point” (diagonally). Experiment with color placement: perhaps some blocks feature light “pines” against dark backgrounds, while others invert the scheme. The beauty of a scrappy quilt is that every block can be a unique combination of fabrics, creating a wonderfully cohesive yet diverse tapestry.
Quilting is more than just sewing fabric; it’s a meditative practice, a creative outlet, and a wonderful way to connect with a vibrant community. The satisfaction of taking small, disparate pieces of fabric and transforming them into a functional work of art is immense. Whether you’re making a cozy throw for your sofa, a charming baby quilt, or a wall hanging to adorn your home, the Tall Pines Quilt Block offers a sturdy, beautiful foundation for your project. Lori Holt’s vision for creating something beautiful from humble beginnings truly shines through in this pattern.
So, gather your treasured scraps, set up your sewing space, and let Lori Holt guide you through the creation of your very own Tall Pines Quilt Block. It’s an opportunity to embrace sustainable crafting, hone your quilting skills, and produce a unique, heartfelt item that tells a story. Happy quilting!