
DIY Rustic Farmhouse Mason Jar Wall Sconces: Elevate Your Home Decor Affordably
There’s an undeniable charm and warmth that rustic farmhouse decor brings into a home. It’s a style that speaks of comfort, simplicity, and a bygone era, yet it feels perfectly fresh and inviting in modern spaces. If you’ve been dreaming of infusing your living areas with this cozy aesthetic but are working with a tight budget, then you’re in for a treat! We’re about to dive into a delightful DIY project that’s not only incredibly cool-looking but also remarkably inexpensive and quick to complete: creating your very own rustic farmhouse Mason jar wall sconces.
As someone who loves transforming spaces without breaking the bank, I find immense joy in projects that offer immediate gratification. There’s nothing quite like seeing beautiful results come to life in just a few hours. This particular DIY fits that bill perfectly, allowing you to add a significant touch of farmhouse flair to your walls with minimal time and financial investment. It’s truly amazing how a few simple materials can be combined to craft something so appealing and unique.
The Allure of Rustic Farmhouse Style: Why We Love It
Rustic farmhouse decor has captivated countless homeowners, and for good reason. This style masterfully blends vintage elegance with practical country charm, creating an atmosphere that feels both lived-in and thoughtfully designed. It’s characterized by natural materials, distressed finishes, a neutral color palette, and repurposed elements that tell a story. Think reclaimed wood, galvanized metal, charming textiles, and, of course, the ubiquitous Mason jar.
The beauty of farmhouse decor lies in its ability to create a welcoming and serene environment. It’s about simplicity, functionality, and celebrating the imperfections that add character. Whether you’re decorating a new home, as I recently did, or simply looking to refresh your current space, incorporating elements of rustic farmhouse style can instantly elevate the ambiance and make every corner feel more inviting.
Embrace the Magic of DIY: Transform Your Home on a Budget
In today’s world, where designer decor can come with a hefty price tag, embracing DIY projects is a game-changer. It allows you to personalize your space, express your creativity, and achieve stunning results without overspending. One of the greatest virtues of DIY is the sense of accomplishment you feel when you create something beautiful with your own hands. Plus, it’s incredibly satisfying to know that your unique pieces truly reflect your personal taste.
For me, DIY has been an essential part of settling into my new home. I needed to fill my walls with character and charm, and doing it myself meant I could achieve the rustic farmhouse look I desired without compromising my budget. From discovering fantastic online tutorials for pallet wood projects (which my husband and I have enthusiastically tackled) to unearthing a fabulous vintage window perfect for a unique coffee table, the world of DIY offers endless possibilities for inexpensive decorating.
Your Next Project: Charming DIY Rustic Farmhouse Mason Jar Wall Sconces
Now, let’s focus on the star of today’s show: the delightful Mason jar wall sconce. This project is a quintessential representation of farmhouse style – simple, elegant, and resourceful. It takes readily available, affordable materials and transforms them into a beautiful decorative accent that adds warmth and a soft glow to any room. These sconces are perfect for an entryway, a cozy living room nook, a bedside table alternative, or even a powder room.
What makes this DIY so appealing is its straightforward nature. You don’t need advanced crafting skills or specialized tools. Just a few basic supplies, a dash of creativity, and a willingness to get a little bit crafty. You’ll be amazed at how quickly these charming pieces come together, offering that instant visual impact we all love in a home decor project.
Gathering Your Treasures: Materials Needed
One of the best aspects of this DIY is that most of the materials can be sourced from dollar stores, craft warehouses, or even items you might already have around your home. Here’s what you’ll need to create two beautiful rustic farmhouse Mason jar wall sconces:
- 2 x 5×7-inch Wooden Picture Frames: Look for simple, inexpensive frames. Brown or natural wood is ideal as a base, but any color will do since you’ll be painting them. Dollar stores and craft shops are excellent places to find these.
- 1 x Single Sheet of Decorative or Scrapbook Paper: Choose a pattern that complements the farmhouse aesthetic. Think subtle florals, distressed wood grain, gingham, plaid, or burlap textures. Craft warehouses offer a vast selection.
- 2 x Mason Jars: Pint or quart size will work beautifully, depending on the scale you prefer for your sconces. Clear jars are perfect, but you could also opt for blue or green vintage-style jars for a different look.
- Thick Jute Rope or Twine: This essential item adds that characteristic rustic texture. You can find it at Walmart, craft stores, or even hardware shops.
- Strong Adhesive (e.g., E6000 or a similar craft glue): You’ll need a glue designed for strong, multi-surface bonding to ensure your Mason jars stay securely attached to the frames. Walmart or craft stores carry these.
- 2 x Artificial Fabric Flowers or Greenery Sprigs: These add a touch of nature and a pop of color. Look for small, delicate flowers or simple greenery that complements your chosen paper and overall farmhouse palette. Dollar stores often have great options.
- White Chalk Paint (e.g., Waverly Inspirations Chalk Paint in White): Chalk paint is fantastic for achieving a distressed, matte finish that’s perfect for farmhouse style. Walmart’s craft section is a good source.
- Small Synthetic Paintbrush: For applying the chalk paint smoothly.
- Optional but Recommended: Fine-grit sandpaper (for distressing), small battery-operated LED fairy lights or tea lights (to place inside the jars for ambient lighting).
Step-by-Step Guide: Crafting Your Rustic Farmhouse Mason Jar Wall Sconces
Follow these simple steps to transform your materials into charming wall decor:
- Prepare Your Frames: Start by carefully removing the glass, matting, and backing from your two 5×7-inch picture frames. For this project, you’ll only be using the wooden frame itself. Give the frames a quick wipe down to ensure they are clean and free of dust or oils, which will help the paint adhere better.
- Apply Chalk Paint: Using your small synthetic paintbrush, apply an even coat of white chalk paint to the entire surface of both frames. Chalk paint is wonderful because it adheres well to most surfaces without extensive priming, and it dries with a lovely matte finish that’s ideal for a farmhouse look. Allow the first coat to dry completely, which typically takes about 20-30 minutes. If necessary, apply a second coat for full, opaque coverage, ensuring each layer is dry before adding the next.
- Distress for That Rustic Charm (Optional): Once the paint on your frames is thoroughly dry, you can achieve that sought-after distressed farmhouse look. Gently rub the edges, corners, and any raised details of the frames with fine-grit sandpaper. This will reveal hints of the original wood color underneath, creating an aged and weathered appearance. Wipe away any paint dust with a slightly damp cloth afterward.
- Cut and Secure Decorative Paper: Measure the inside dimensions of your frames (where the glass typically sits). Cut your chosen decorative or scrapbook paper to fit these measurements precisely. Apply a thin, even layer of your strong adhesive to the back of the cut paper. Carefully center and press the paper into place within the frame, ensuring it lies flat and smooth. Allow the adhesive to set for a bit, or you can even reinsert the original frame backing to hold the paper securely if it fits.
- Prepare Your Mason Jars: Decide whether you want your Mason jars to remain clear or if you’d like to give them a frosted or lightly painted look. For a frosted effect, you can use a glass frosting spray or even lightly mist them with watered-down chalk paint. If leaving them clear, simply ensure they are sparkling clean and dry.
- Attach Mason Jars to Frames: This is a critical step for ensuring the stability of your sconces. Apply a generous amount of E6000 adhesive (or your chosen strong craft glue) to the flat side of each Mason jar that will be resting against the decorative paper in the frame. Carefully center the jar onto the decorative paper within the frame, pressing firmly to ensure good contact. Hold it in place for a minute or two. It is absolutely essential to allow the adhesive to cure for at least 24-48 hours before handling or hanging your sconces. This lengthy drying time ensures a strong and lasting bond. For enhanced security, especially if you plan to put heavier items in the jars or simply desire a more robust attachment, you could consider drilling small pilot holes through the frame and using decorative metal hose clamps or bands around the jar, securing them to the frame with small screws. However, for lightweight decorative items, a quality adhesive is usually sufficient.
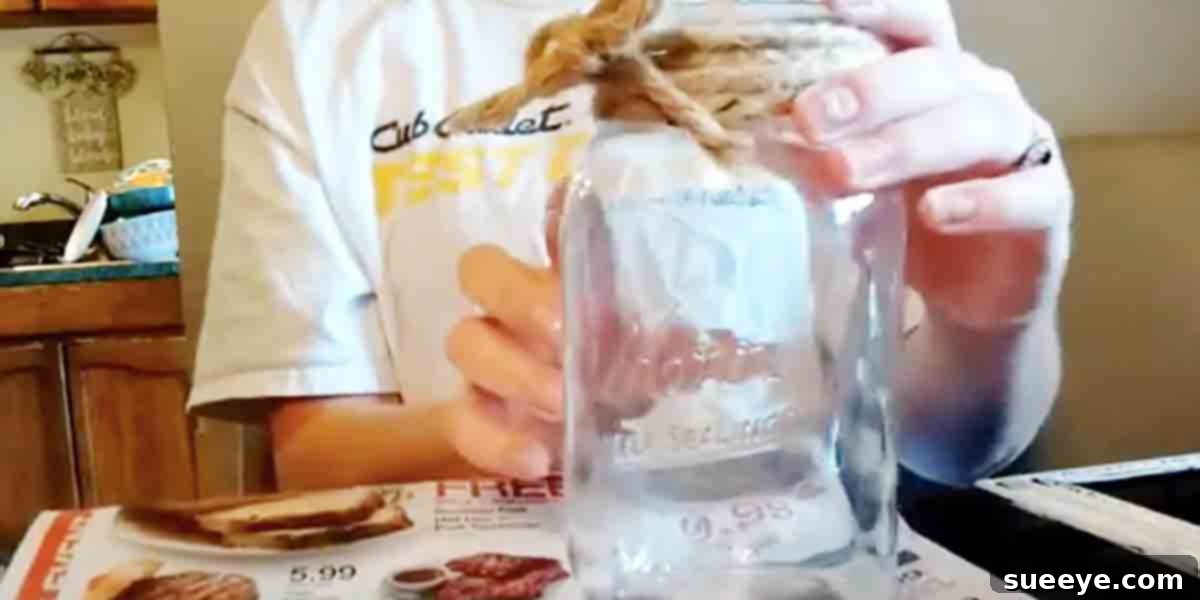
- Embellish with Jute Rope: Once the Mason jars are securely attached and the adhesive has fully cured, take your thick jute rope. Wrap it artfully around the neck of each Mason jar several times, tying it off with a simple knot or a rustic bow. This adds significant texture and reinforces the farmhouse aesthetic.
- Add Floral Touches: Gently tuck your artificial fabric flowers or greenery sprigs into the jute rope around the neck of the Mason jar, or simply place them inside the jar. This provides a lovely organic touch and a pop of natural color.
- Final Touches and Display: If you’re using them, place small battery-operated LED fairy lights or tea lights inside the Mason jars. These will emit a warm, inviting glow, perfect for creating a cozy ambiance in the evenings. Your DIY Rustic Farmhouse Mason Jar Wall Sconces are now complete and ready to be hung!
Customization and Personalization: Make It Uniquely Yours
The beauty of DIY lies in its flexibility. Feel free to adapt this project to your specific taste and home decor:
- Paint Colors: While white chalk paint offers a classic farmhouse look, consider other subtle hues like distressed gray, cream, sage green, or even a soft pastel blue for a French country twist.
- Decorative Paper: Experiment with different patterns and textures. Burlap, sheet music, old maps, or even personalized prints can add unique character.
- Jar Contents: Beyond fairy lights and flowers, consider filling your Mason jars with small pinecones, faux berries, potpourri, seashells (for a coastal farmhouse vibe), or even small bundles of dried lavender or eucalyptus. For fresh flowers, ensure you use a small glass or test tube inside the Mason jar to hold water, protecting your frame from moisture.
- Frame Sizes: While 5×7 inches is a great starting point, you could use larger frames (e.g., 8×10) for a more prominent statement, especially if you want to use larger quart-sized Mason jars.
- Embellishments: Add small metal accents, vintage-style labels, or even attach tiny wooden tags with charming farmhouse phrases.
Where to Hang Your New Farmhouse Sconces
These versatile Mason jar wall sconces can enhance almost any room in your home. Here are a few ideas:
- Living Room: Flank a fireplace, a large mirror, or a piece of wall art for a balanced look.
- Bedroom: Use them as charming alternatives to traditional bedside lamps, providing soft ambient lighting.
- Entryway or Hallway: Create a welcoming first impression by hanging them on either side of a console table or coat rack.
- Bathroom: Add a touch of rustic elegance above a vanity or next to a mirror.
- Kitchen or Dining Area: Bring a cozy, country feel by hanging them on an empty wall or near a hutch.
Consider hanging them in pairs or even a group of three at varying heights to create a captivating focal point.
Beyond the Sconces: Other Farmhouse DIYs to Explore
If you’ve enjoyed this project, there’s a whole world of rustic farmhouse DIYs waiting for you. My husband and I have already embarked on several pallet wood projects, turning discarded pallets into charming shelves, headboards, and even a rustic coffee table. Vintage windows, much like the one I found for my coffee table, can be repurposed into unique picture frames, decorative wall art, or even small cabinet doors.
Other ideas include distressing old furniture with chalk paint, creating decorative signs with stencils, crafting throw pillows from burlap and lace, or repurposing old crates into storage solutions. The key is to look at everyday items with a fresh perspective and imagine how they can be given a second life with a touch of farmhouse charm.
Embrace the Charm, Embrace the DIY Journey!
Creating your own rustic farmhouse Mason jar wall sconces is more than just a craft project; it’s an opportunity to infuse your home with personality, warmth, and the timeless appeal of farmhouse style. It’s incredibly satisfying to step back and admire something beautiful you’ve made yourself, knowing you’ve achieved a designer look without the designer price tag.
So, gather your materials, set aside a little time, and get ready to transform your walls. This easy, budget-friendly DIY is a fantastic way to add that extra layer of cozy charm to your home. Happy crafting!