
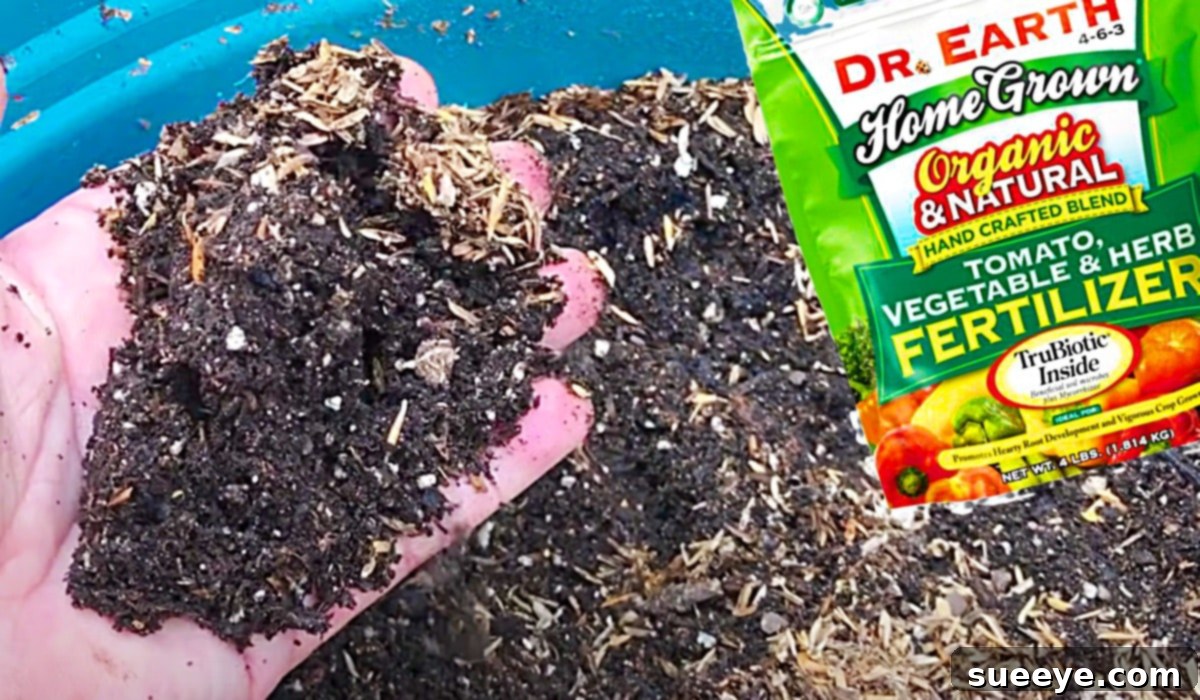
In a world increasingly focused on sustainability and resourcefulness, finding innovative ways to reduce waste and maximize our existing resources has become paramount. Not long ago, I experienced a frustrating soil shortage at a local garden center. Faced with empty shelves and an inability to get clear answers, I turned to the internet for solutions. That’s when I discovered an incredibly insightful and practical method for revitalizing old potting soil, shared by the expert gardener Scott Head on YouTube. His approach immediately resonated with me, offering a brilliant way to transform what might be considered ‘spent’ soil into fresh, nutrient-rich potting mix. This isn’t just about saving money; it’s about embracing a more sustainable and eco-friendly gardening practice. The beauty of this method lies in its simplicity and effectiveness, allowing you to breathe new life into almost any soil you find around your property, turning it into a vibrant foundation for your plants. The only crucial exception to this rule is soil that has housed a plant suffering from a legitimate disease, such as a fungal infection, as opposed to mere pests. Such diseased soil should be carefully disposed of to prevent the spread of pathogens.
How To Revive Old Potting Soil for a Thriving Garden
Every gardener understands the critical role soil plays in the health and vitality of their plants. Potting soil, though initially rich and fertile, eventually loses its potency. Over time, nutrients are depleted, organic matter breaks down, and the soil structure can become compacted, hindering root growth and water absorption. Instead of constantly buying new bags of soil, which can be costly and environmentally impactful, learning how to revive and reuse your existing potting mix is a game-changer. This guide will walk you through a proven method to reclaim and enrich your spent soil, ensuring your garden continues to flourish with minimal waste.
Understanding Soil Depletion: Why Your Potting Mix Needs a Boost
Potting soil isn’t just dirt; it’s a carefully crafted blend of organic materials, nutrients, and aggregates designed to provide the ideal environment for container plants. However, after a growing season or two, several factors contribute to its decline:
- Nutrient Depletion: Plants absorb essential nutrients from the soil for growth. Even with regular fertilization, these nutrients can become unbalanced or fully exhausted over time.
- Organic Matter Breakdown: Peat moss, coir, and other organic components in potting mix decompose, reducing the soil’s ability to retain moisture and provide a steady supply of nutrients.
- Compaction: Repeated watering, root growth, and gravity can cause the soil particles to pack together tightly. This compaction reduces aeration, making it difficult for roots to breathe and for water to drain effectively.
- Salt Buildup: Fertilizers and tap water can leave behind mineral salts, which accumulate in the soil and can harm plant roots if not flushed out.
By understanding these processes, we can better appreciate why soil revitalization isn’t just a good idea, but a necessary step for sustainable container gardening.
Step 1: Screening Your Soil for a Clean and Healthy Foundation
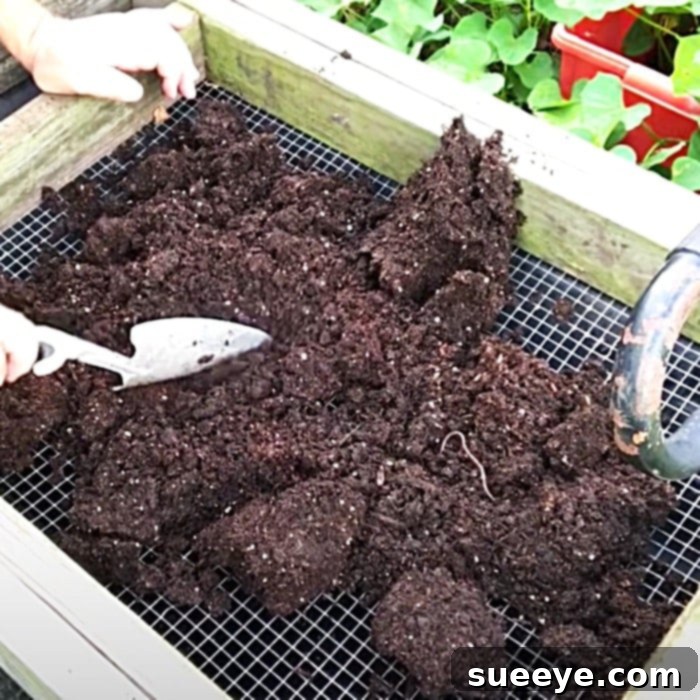
The first critical step in revitalizing old potting soil is to screen it thoroughly. This process serves multiple purposes: it removes unwanted debris, breaks up clumps, and ensures a clean slate for nutrient amendment. Screening helps to rid the soil of any lingering roots from previous plants, persistent weeds, large stones, or other unwanted organic matter that could hinder new growth or harbor pests.
Choosing the Right Screen for Your Needs
For effective screening, you’ll need a mesh screen. A simple hardware cloth with a 1/2-inch or 1/4-inch mesh size works perfectly. You can build a simple frame for it or even use an old window screen stretched across a sturdy box. The goal is to allow the finer soil particles to pass through while retaining larger debris. Gently rub or shake the old potting mix over the screen, allowing the fine, usable soil to fall into a wheelbarrow, tarp, or large container below.
What to Do with the Remaining Debris
After screening, you’ll be left with a pile of roots, plant stems, and other larger pieces. Most of this material, if not diseased, can be added to your compost pile, where it will further break down and contribute to future organic matter. However, any material that came from a diseased plant must be discarded in the trash to prevent the spread of pathogens to your compost or other garden areas. This is a crucial distinction that ensures the long-term health of your revitalized soil.
Step 2: Enriching Your Soil with Essential Organic Matter (Compost)
Once your soil is screened and free of unwanted debris, the next vital step is to replenish its organic matter and nutrient content by adding compost. Compost is often called “black gold” by gardeners for good reason; it’s a powerhouse of nutrients, beneficial microbes, and soil-improving properties. Adding compost to your spent potting soil does several things:
- Restores Nutrients: Compost slowly releases a broad spectrum of macro and micronutrients, providing a sustained food source for plants.
- Improves Soil Structure: It enhances aeration in compacted soil and improves water retention in sandy or rapidly draining mixes.
- Boosts Microbial Life: Compost introduces a diverse community of beneficial microorganisms that break down organic material, make nutrients available to plants, and help suppress diseases.
- Buffers pH: It helps to stabilize soil pH, making it more favorable for a wider range of plants.
Selecting and Preparing Your Compost
You can use either homemade compost or high-quality store-bought compost. Homemade compost, especially if it’s well-rotted and fine, is excellent. Worm castings (vermicompost) are another fantastic option, highly concentrated in nutrients and microbial life. Aim for mature compost that is dark, crumbly, and smells earthy. If your compost has large chunks, you might want to screen it similarly to your old soil to ensure a fine, even mix.
Mixing Ratios for Optimal Health
A general guideline for mixing compost into old potting soil is to aim for a ratio of approximately 1 part compost to 3 or 4 parts old soil. For example, if you have four buckets of screened old soil, add one bucket of compost. Mix this thoroughly until the compost is evenly distributed throughout the soil. This ensures that the benefits are spread consistently and prevents pockets of overly rich or lean soil.
Step 3: Boosting Nutrient Levels with Slow-Acting Organic Fertilizers
While compost provides a broad range of nutrients, adding a slow-acting organic fertilizer can give your revitalized soil an extra boost, tailored to the needs of most container plants. The key here is “slow-acting” and “organic.” Slow-release fertilizers provide a steady supply of nutrients over an extended period, preventing nutrient burn and supporting sustained plant growth. Organic fertilizers also nourish the soil’s microbial life, which is essential for a healthy, living soil ecosystem.
Popular Organic Fertilizer Choices and Their Benefits
There are many excellent organic fertilizer options. Some popular choices include:
- Bone Meal: Excellent source of phosphorus (P) for root development and flowering, and also contains calcium.
- Blood Meal: High in nitrogen (N), promoting lush leafy growth. Use sparingly as too much nitrogen can burn plants.
- Kelp Meal: A good source of micronutrients and plant growth hormones, enhancing overall plant vigor and stress resistance.
- Alfalfa Meal: Provides a balanced nutrient profile (N-P-K) and acts as a soil conditioner, encouraging microbial activity.
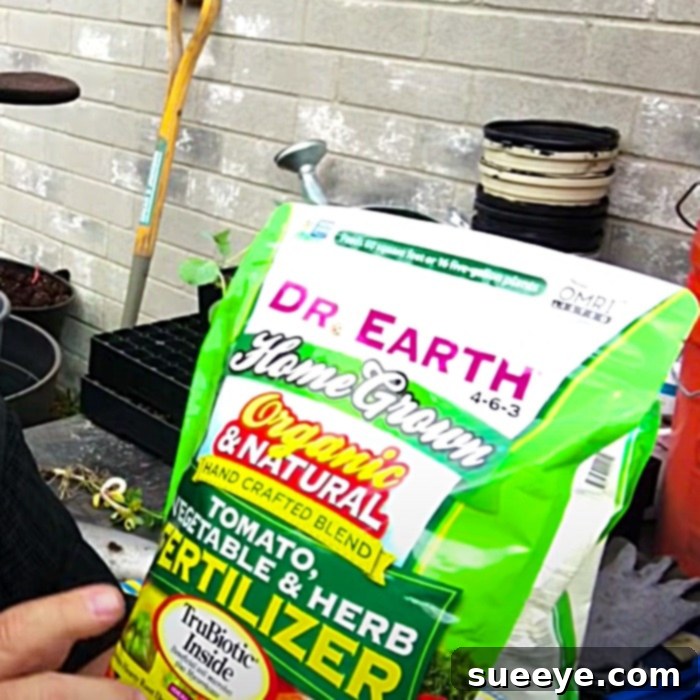
- Balanced Organic Blends: Many brands offer all-purpose organic granular fertilizers with a balanced N-P-K ratio, often fortified with micronutrients and beneficial microbes.
Choose an organic fertilizer that aligns with the general needs of the plants you intend to grow. For general-purpose potting soil, a balanced organic blend is often the best choice.
How to Incorporate Fertilizer Effectively
After mixing in the compost, sprinkle the recommended amount of your chosen organic fertilizer over the soil mixture. Refer to the product’s packaging for specific application rates, as these can vary significantly. Once applied, thoroughly mix the fertilizer into the entire batch of revitalized soil. You want to ensure an even distribution so that all parts of the soil benefit and no single area becomes overly concentrated. This complete mixing prevents potential root burn and ensures your plants receive consistent nourishment.
Crucial Considerations for Soil Reuse: When to Be Cautious
While the goal is to reuse as much soil as possible, there are specific instances where it’s safer to discard old potting mix to prevent future problems. The most critical exception, as mentioned earlier, is soil that has harbored genuinely diseased plants. Reusing such soil without proper sterilization could lead to the spread of pathogens to your new plants, negating all your efforts.
Identifying Diseased Soil
You should avoid reusing soil if the previous plant suffered from systemic diseases like Fusarium wilt, verticillium wilt, damping-off, or severe root rot caused by fungi or bacteria. Signs often include stunted growth, yellowing or wilting leaves despite adequate watering, lesions on stems, or a foul odor from the roots. If you suspect a severe disease, it’s always better to err on the side of caution and dispose of the soil.
Pests vs. Disease: A Key Distinction
It’s important to differentiate between soil from pest-infested plants and soil from diseased plants. If your previous plant had common pests like fungus gnats, aphids, or spider mites, the soil can often be reused. Many pests won’t survive a period of drying out, and the act of screening and amending the soil often disrupts their life cycles. If you’re particularly concerned, you can spread the soil thinly on a tarp in the sun for a few days to sterilize it with heat, or even bake small batches in an oven (though this can be smelly and is often unnecessary for common pests).
Beyond the Basics: Advanced Tips for Supercharging Your Revitalized Soil
For gardeners looking to take their soil revitalization to the next level, a few additional steps can enhance the quality and performance of your potting mix.
Testing Your Soil for Precision
For the most precise approach, consider doing a simple soil test. Home kits or university extension services can analyze your soil’s pH and nutrient levels, giving you specific recommendations for amendments. This can help you fine-tune your fertilizer additions and achieve optimal plant health.
Adjusting pH Levels
Most plants thrive in a slightly acidic to neutral pH (6.0-7.0). If your soil test reveals an imbalanced pH, you can adjust it. To raise pH (make it more alkaline), add garden lime. To lower pH (make it more acidic), add elemental sulfur or peat moss. Always follow application rates carefully, as drastic changes can harm plants.
Enhancing Aeration and Drainage
Even after screening and adding compost, some soils might benefit from improved aeration and drainage, especially for plants that dislike “wet feet.” Incorporating perlite, vermiculite, or coarse sand can help keep the soil structure open, allowing for better air circulation and water flow to the roots. Aim for about 10-20% of the total volume if desired.
Microbial Boosters for a Living Soil
To truly create a “living soil,” consider adding microbial inoculants. Products containing mycorrhizal fungi or beneficial bacteria can establish a robust soil food web, which enhances nutrient uptake, improves drought tolerance, and helps protect plants from diseases. These can be particularly beneficial for organic gardening.
The Long-Term Benefits of Reusing Potting Soil
Embracing the practice of reusing and revitalizing potting soil offers a multitude of benefits, extending far beyond simply saving a trip to the garden store. Environmentally, it significantly reduces the amount of waste sent to landfills and minimizes the demand for new peat moss, a non-renewable resource often used in commercial potting mixes. Economically, it represents substantial cost savings over time, especially for avid gardeners with numerous containers. More importantly, it fosters healthier, more resilient plants. By consistently replenishing organic matter and beneficial microbes, you create a vibrant, biologically active soil that better supports plant growth, improves disease resistance, and efficiently utilizes water and nutrients. This sustainable approach to gardening not only benefits your wallet and your plants but also contributes positively to the broader ecosystem, making you a more resourceful and eco-conscious gardener.
The method of soil revitalization championed by experts like Scott Head truly empowers gardeners to be more resourceful and sustainable. My own experience with the unexpected soil shortage at Home Depot highlights the unpredictability of supply chains, making this skill even more valuable in uncertain times. Any soil you can find, whether it’s from old containers, garden beds, or even collected from around your property, can be transformed into the rich, life-giving potting soil of your dreams. With these extremely useful tips and a bit of effort, you’ll be well on your way to cultivating a thriving garden while minimizing waste and maximizing your resources. Don’t let old soil go to waste; revive it and watch your garden flourish!