
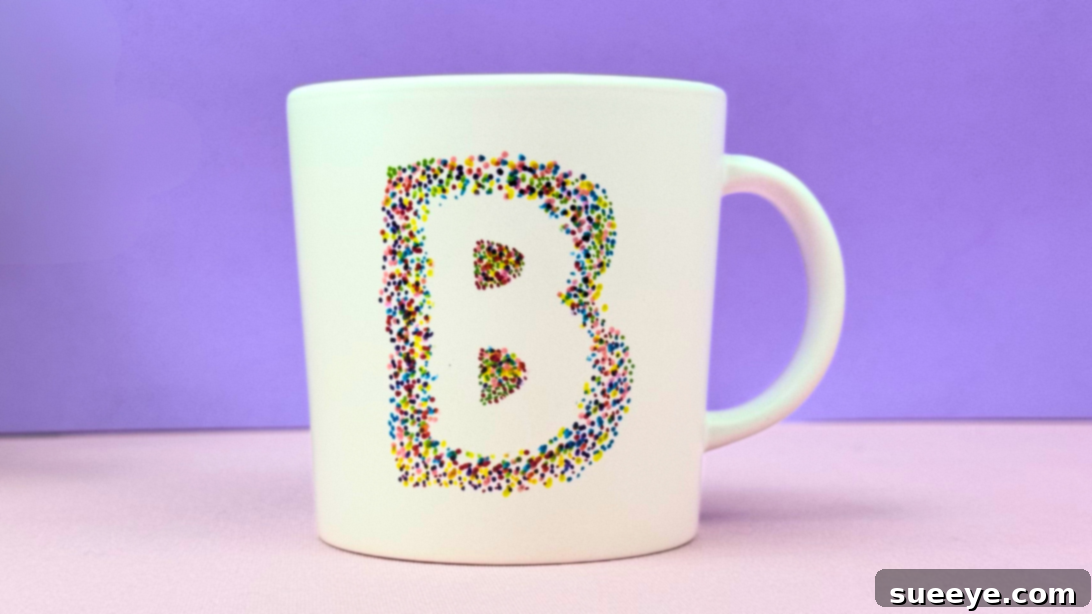
Create a Personalized Sharpie Mug: The Ultimate DIY Guide
Looking for a thoughtful and unique gift idea? Or perhaps a fun and creative project to unleash your inner artist? Look no further! This DIY personalized Sharpie mug tutorial offers a fantastic way to transform an ordinary ceramic mug into a cherished keepsake. By customizing your mug with hand-drawn letter patterns, you can create a truly special gift that reflects the personality and preferences of the recipient. Perfect for birthdays, holidays, or just because, a personalized Sharpie mug is a heartfelt gesture that will be appreciated every time it’s used.
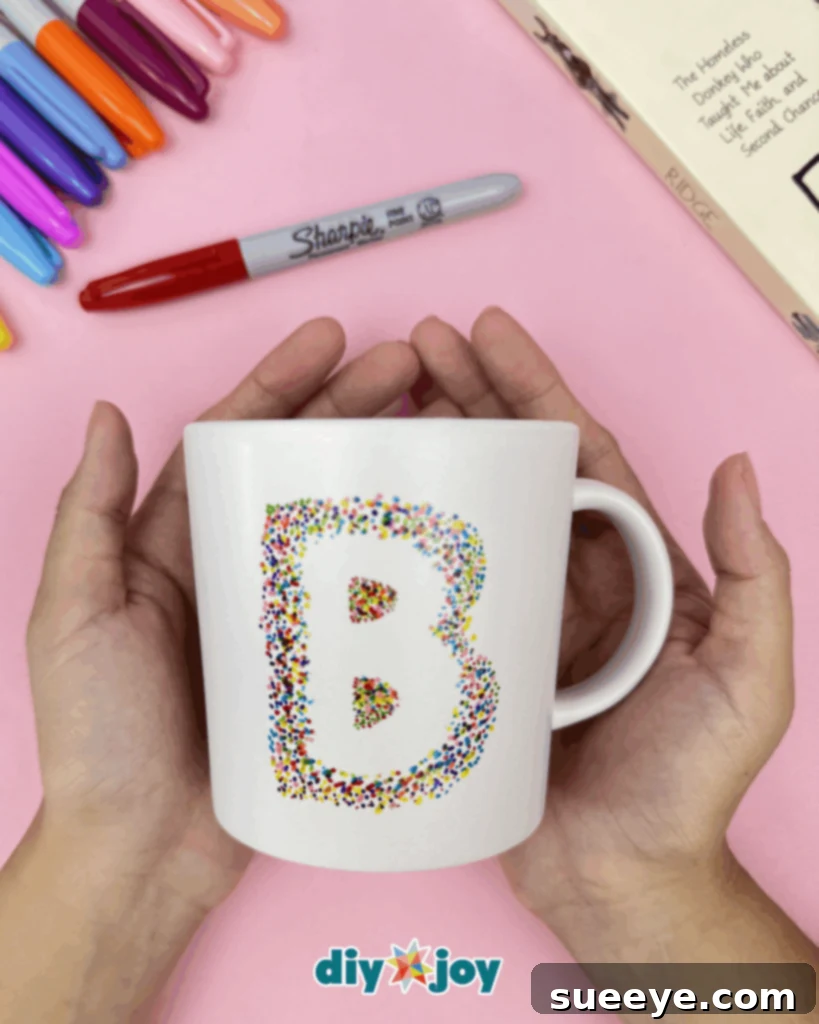
This easy Sharpie mug project is designed for crafters of all skill levels, including beginners. You’ll need minimal supplies: a plain ceramic mug, a set of Sharpie markers, and a dash of creativity. The beauty of this project lies in its simplicity and the endless possibilities for personalization. Whether you opt for initials, monograms, or even short words, each mug can be tailored to the individual, making it a truly one-of-a-kind creation.
But it’s not just about the finished product; the process itself is enjoyable and therapeutic. Experiment with different lettering styles, color combinations, and decorative elements to create a mug that perfectly reflects your personal aesthetic. This project is also a great way to spend quality time with family and friends, as you can create personalized mugs together and share your creative ideas.
This project isn’t just about aesthetics; it’s about functionality too. Unlike some DIY projects that are purely decorative, a personalized Sharpie mug is a practical gift that can be used daily. Imagine the joy of sipping your morning coffee or evening tea from a mug that was created with love and personalized just for you. It’s a small but meaningful way to add a touch of personality to your everyday routine.
Step-by-Step Guide: Customizing Your Letter Mug with Sharpies
Ready to get started? Follow these simple steps to create your own stunning personalized Sharpie mug:
-
Step 1: Preparing Your Letter Design
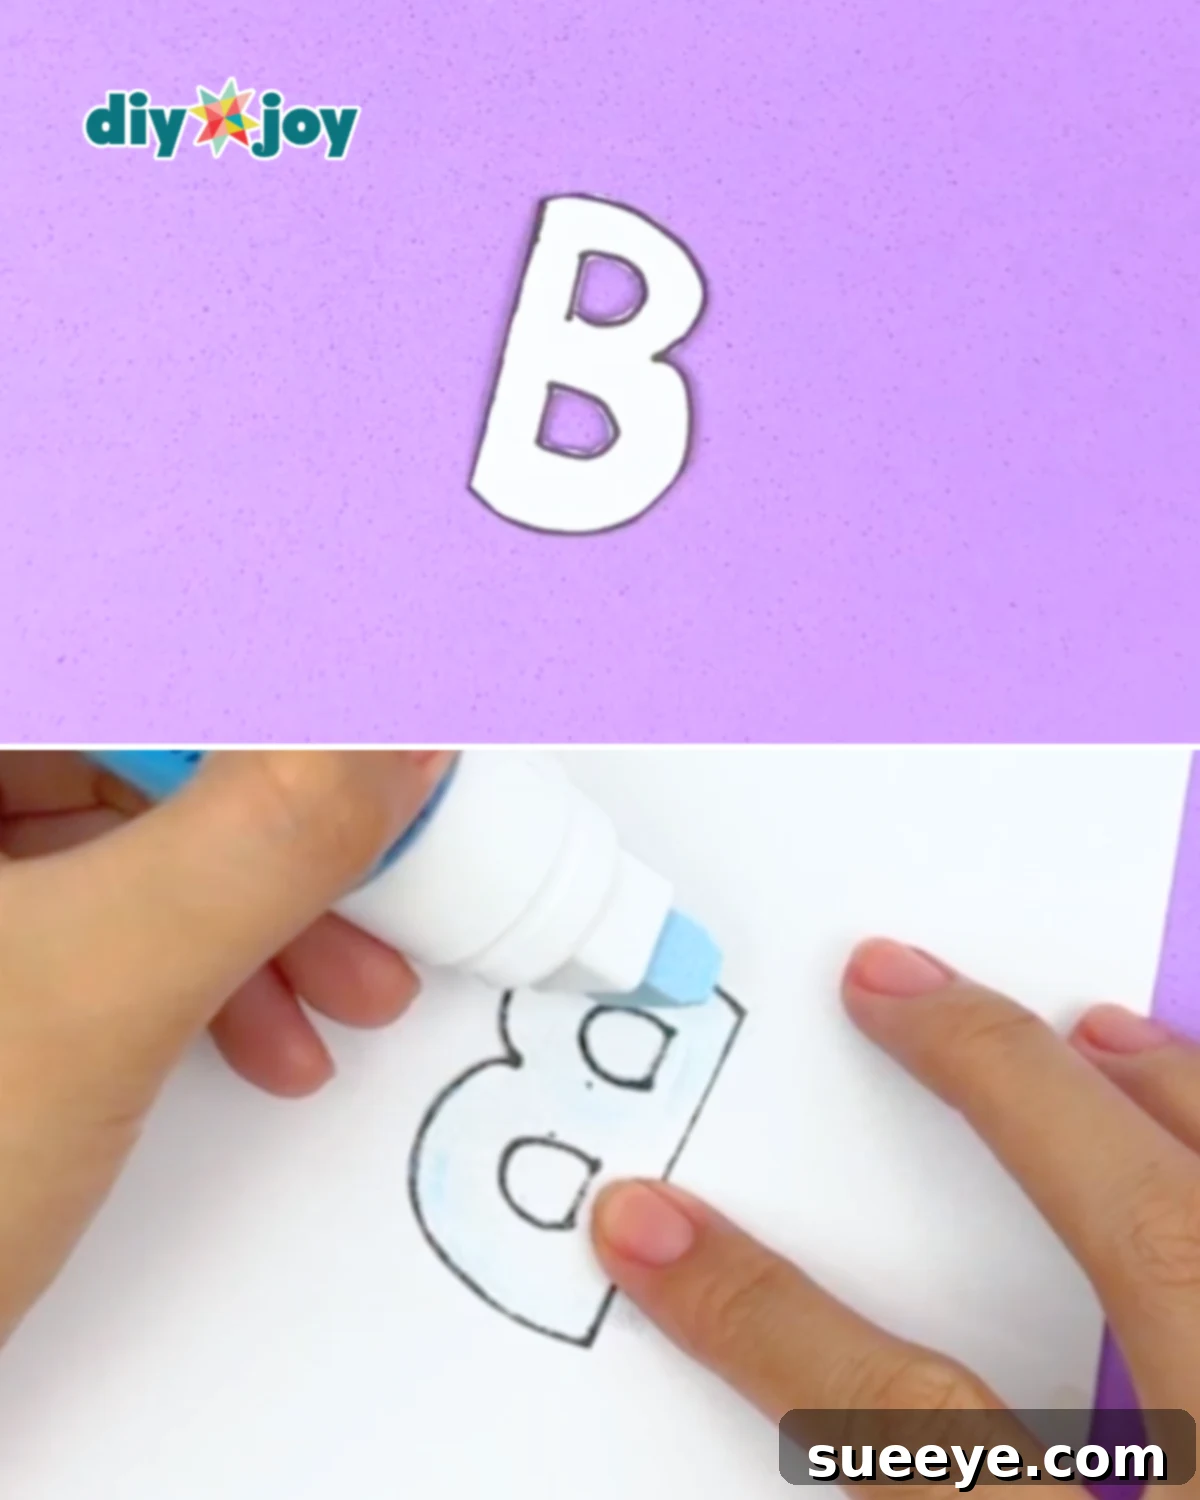
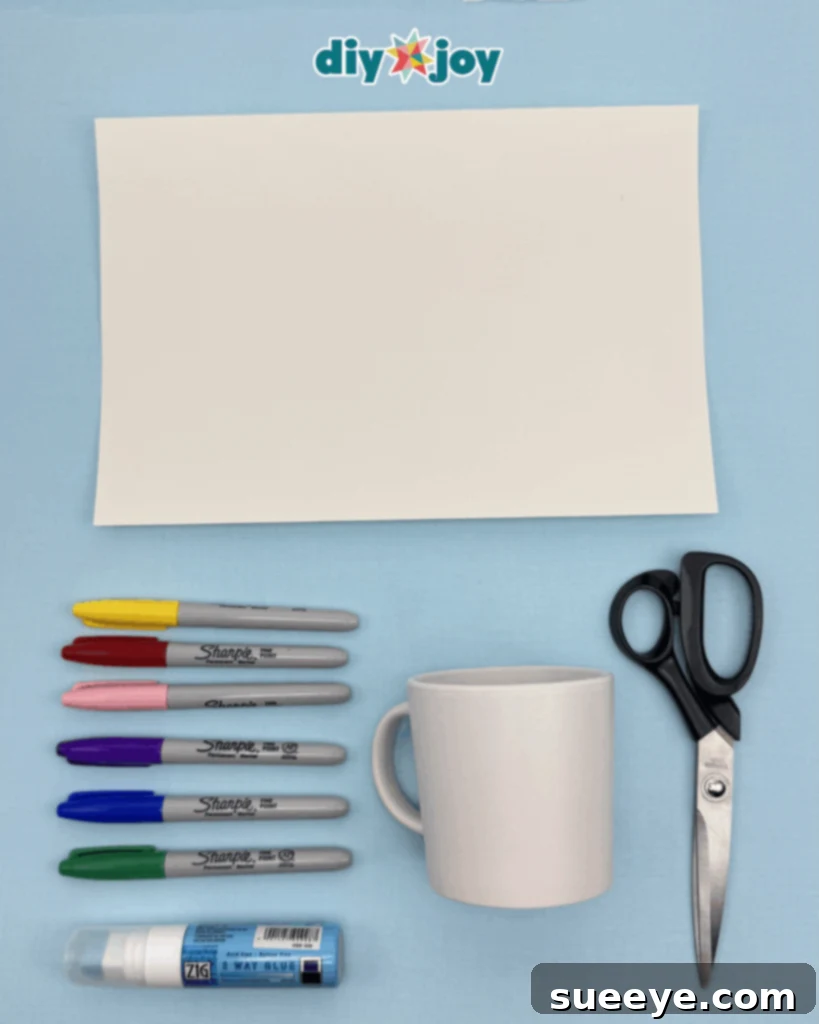
First, determine the letter or initial you want to feature on your mug. Write it down on a piece of bond paper in your desired font and size. Carefully cut out the letter using scissors or a craft knife. This will serve as your stencil.

Next, apply a thin layer of Zig glue to the back of the cut-out letter. Zig glue is ideal because it provides a temporary adhesive that allows you to reposition the letter if needed. Allow the glue to dry until it turns clear and tacky. This typically takes a few minutes.
-
Step 2: Applying the Letter and Adding Dots
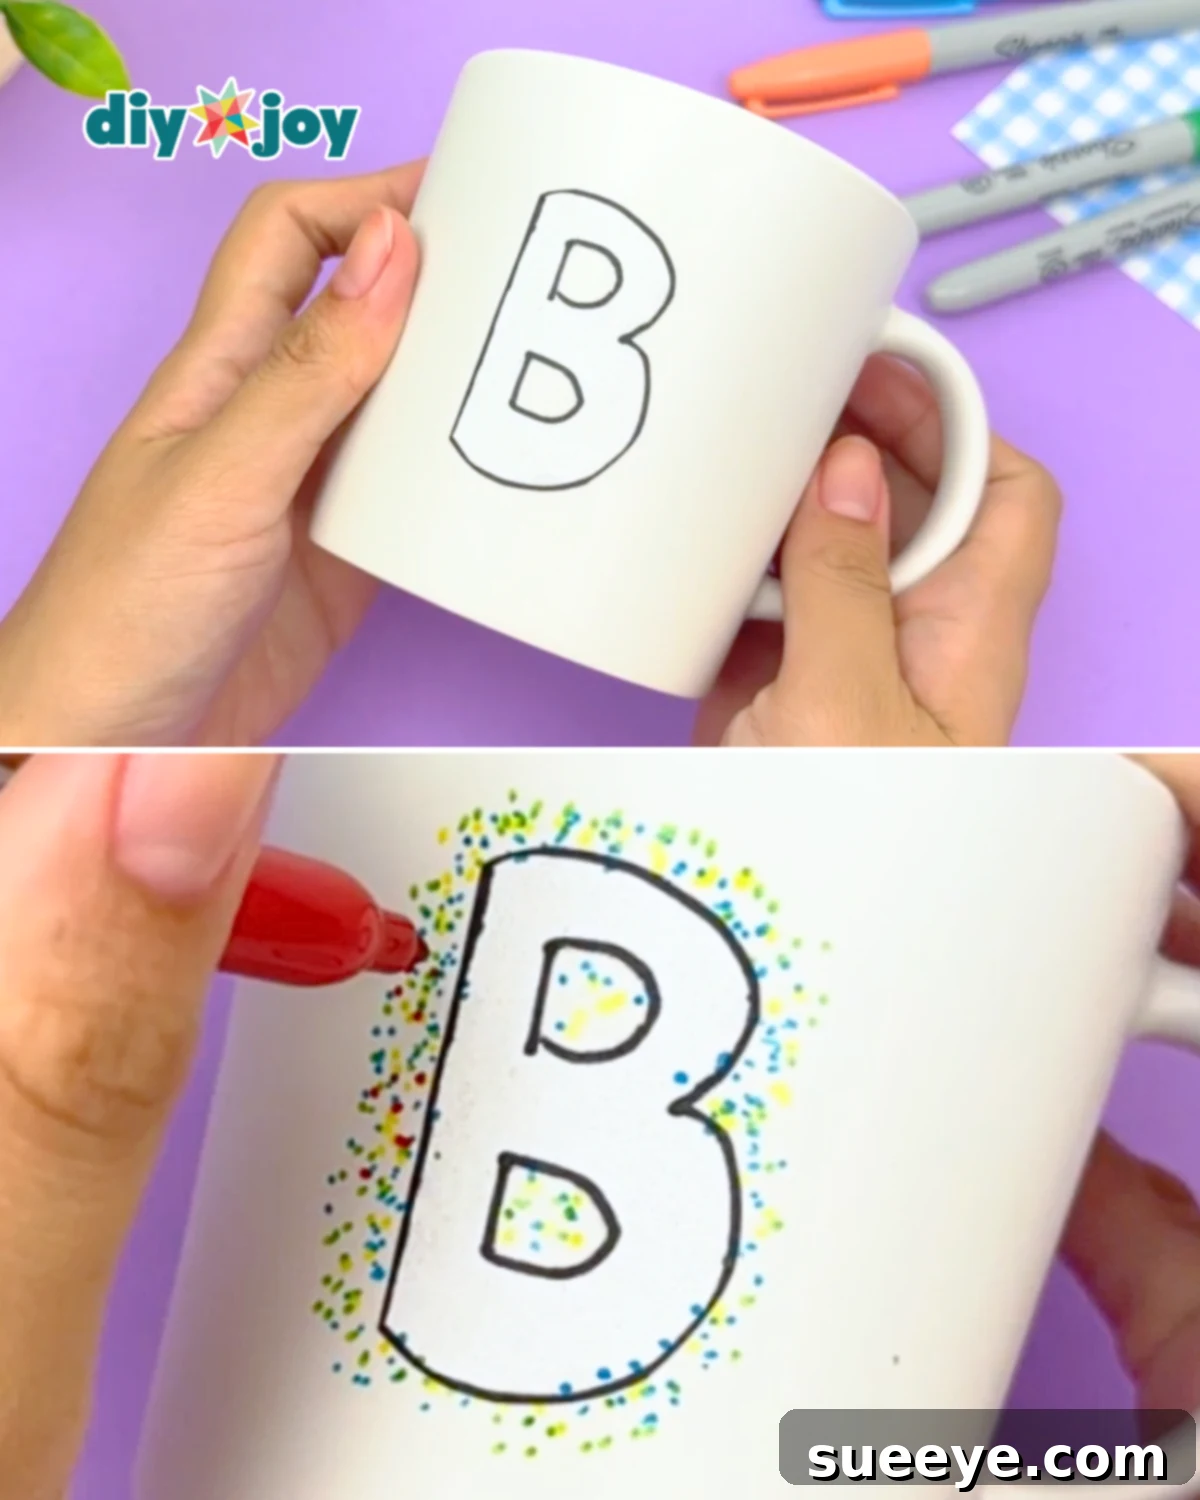
Carefully position the letter in the center of the mug, or wherever you desire the letter to be placed. Press gently to secure it in place.
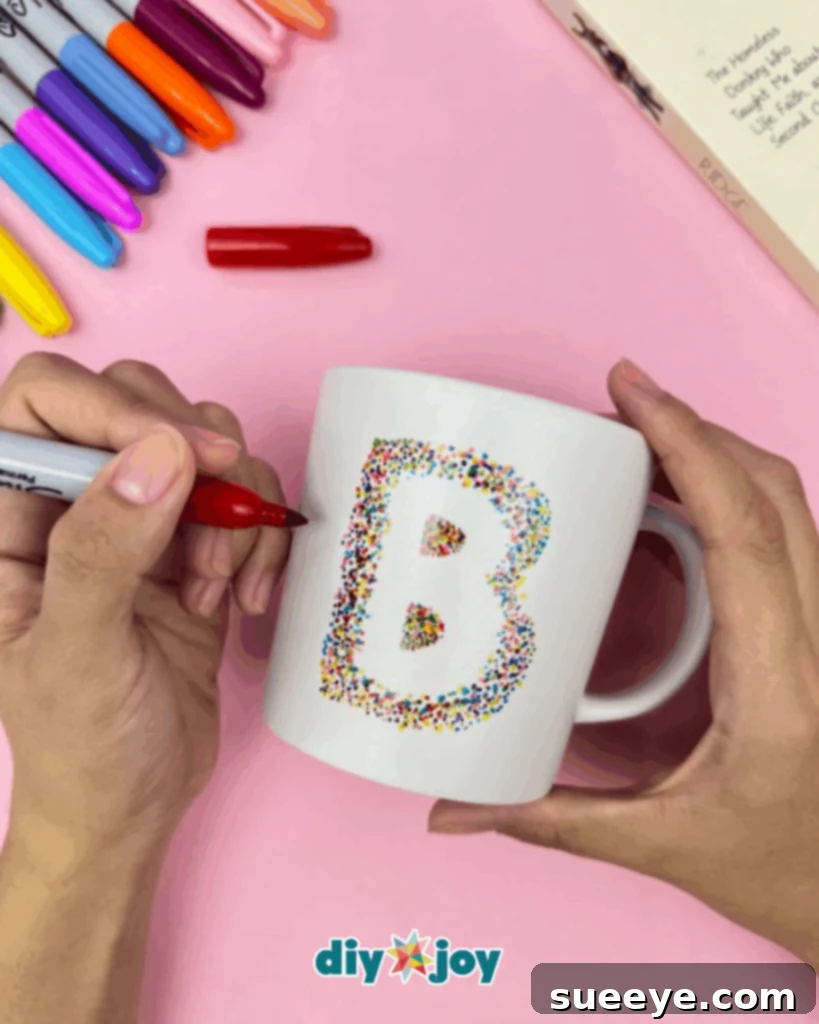
Now comes the fun part! Using an assortment of Sharpie colors, begin creating a dot pattern around the letter. Vary the size and spacing of the dots to add depth and visual interest. You can use a single color or mix and match to create a vibrant and colorful design.
-
Step 3: Removing the Stencil
Once you’re satisfied with your dot design, carefully peel off the paper letter from the mug. The glue should release easily, leaving behind a clean, crisp outline of your chosen letter surrounded by the colorful dot pattern.
If there are any glue residue, gently wipe them away with a damp cloth.
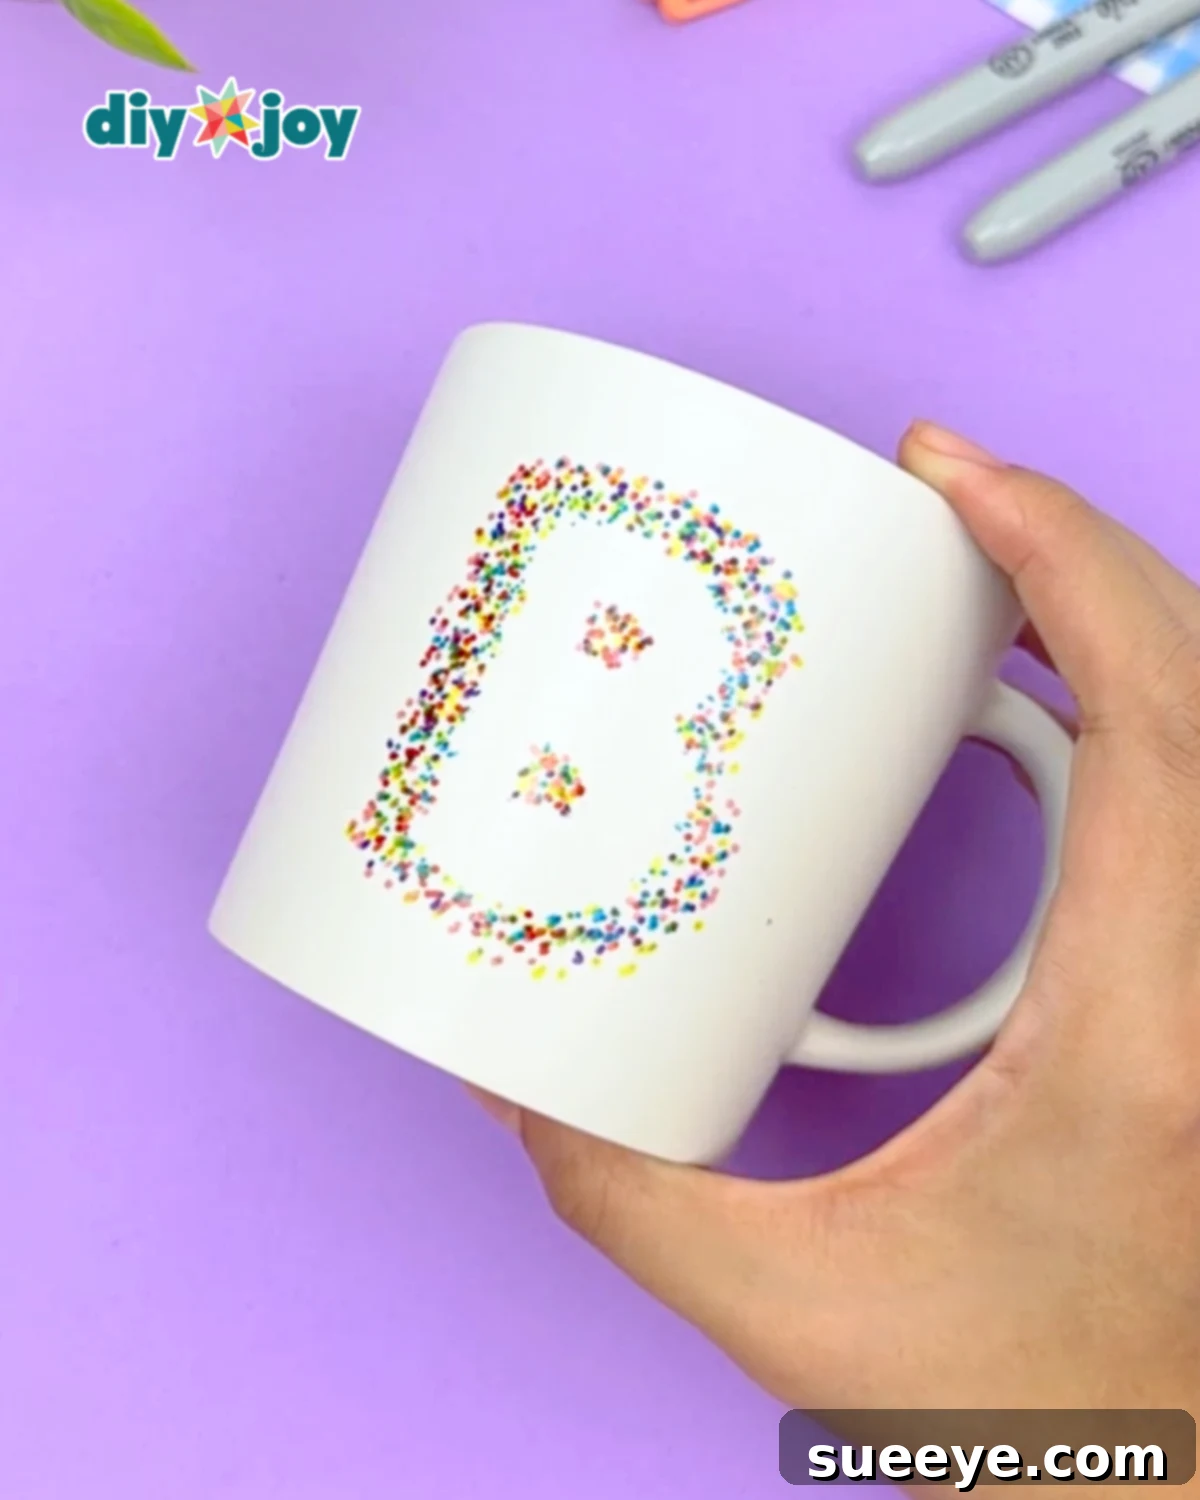
And there you have it! Your personalized Sharpie mug is nearly complete. Now, let’s move on to the final step: baking your mug to set the Sharpie ink and make your design permanent.
Materials You’ll Need
- Plain ceramic mug
- Bond paper
- Zig glue (or similar temporary adhesive)
- Sharpie markers (various colors)
- Scissors or craft knife
- Oven
Baking Instructions: Making Your Design Permanent
To ensure that your Sharpie design lasts and is dishwasher-safe, you’ll need to bake your mug. Here’s how:
- Preheat your oven to 350°F (175°C).
- Place the mug on a baking sheet. Make sure the mug is centered on the baking sheet to ensure even heating.
- Bake for 30 minutes. This will allow the Sharpie ink to properly set into the ceramic.
- Turn off the oven and let the mug cool completely inside the oven. This prevents the mug from cracking due to sudden temperature changes.
- Once cooled, your mug is ready to use! While baking helps to set the ink, hand-washing is still recommended to prolong the life of your design.

Pro Tips for Perfect Personalized Mugs
Follow these pro tips to elevate your Sharpie mug creations and achieve professional-looking results:
- Practice on paper first: Before drawing on the mug, experiment with different lettering styles and dot patterns on a piece of paper. This will help you refine your design and build confidence.
- Go slow and steady: Rushing can lead to mistakes. Take your time while drawing the dots, paying attention to spacing and uniformity.
- Personalize for the recipient: Consider the recipient’s interests and preferences when choosing the letter and colors. Adding personal touches, such as their favorite color or a meaningful initial, will make the gift even more special.
Explore More Viral Crafts on DIYJoy!
Looking for more creative inspiration? Check out these other popular DIY crafts:
Related Crafts
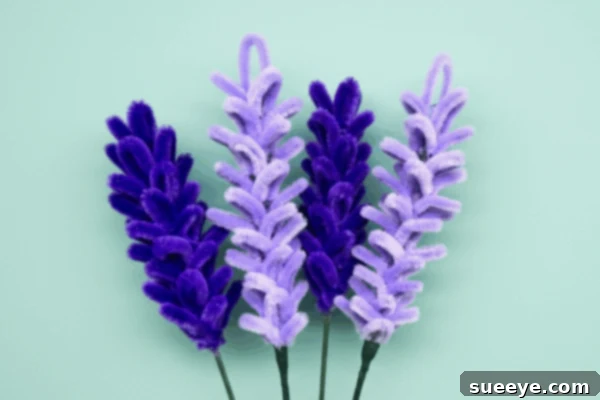
Easy Pipe Cleaner Flower | DIY Lavender
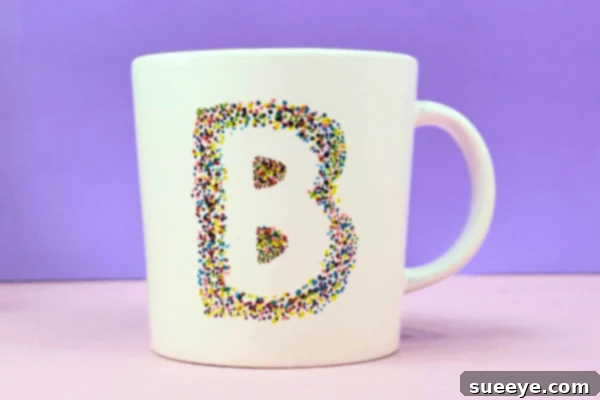
How to Customize a Mug Using Sharpie
How to Paint Flowers on Rocks
Crepe Paper Flowers Tutorial For Beginners
Creating a personalized Sharpie mug is a fun, affordable, and rewarding DIY project that’s perfect for gifting or adding a touch of personality to your own home. With a little creativity and our simple step-by-step guide, you can transform an ordinary mug into a cherished keepsake that will be treasured for years to come.
Stay Connected for More DIY Inspiration!
If you enjoyed this craft tutorial, be sure to visit our official website, follow our Facebook page, and subscribe to our YouTube channel for even more creative DIY projects and inspiration!