
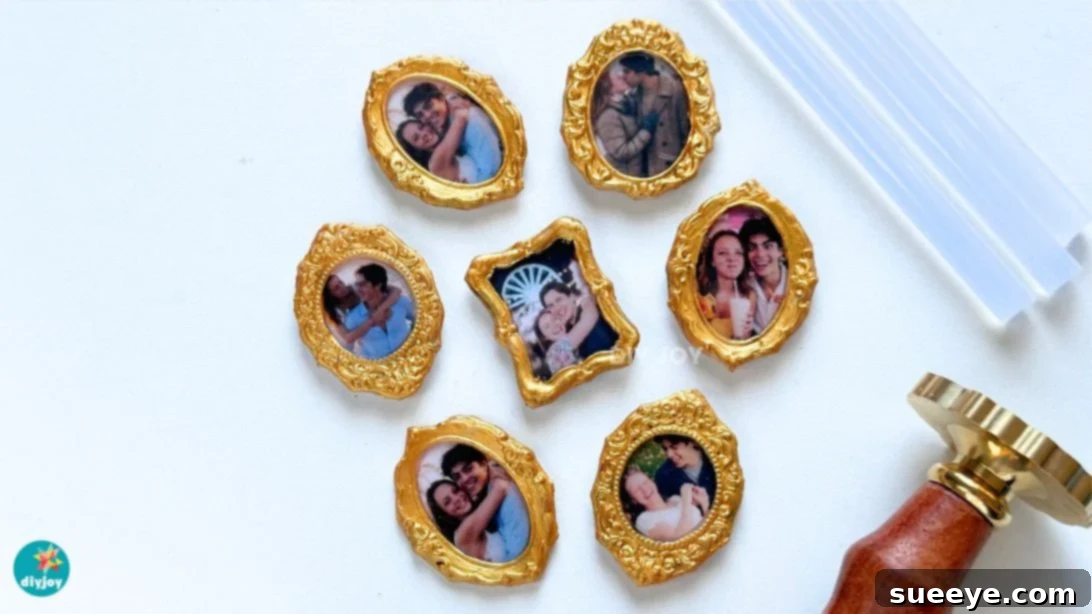
DIY Hot Glue Photo Frame Magnets: A Personalized Valentine’s Day Gift
Looking for a heartfelt and creative gift idea? These DIY mini hot glue photo frame magnets are not only adorable but also incredibly easy to make! With Valentine’s Day just around the corner, this is the perfect way to show your loved ones how much you care with a personalized touch. These magnets offer a unique way to display cherished memories and add a touch of warmth to any refrigerator or magnetic surface. Forget store-bought generic gifts; create something truly special this year!
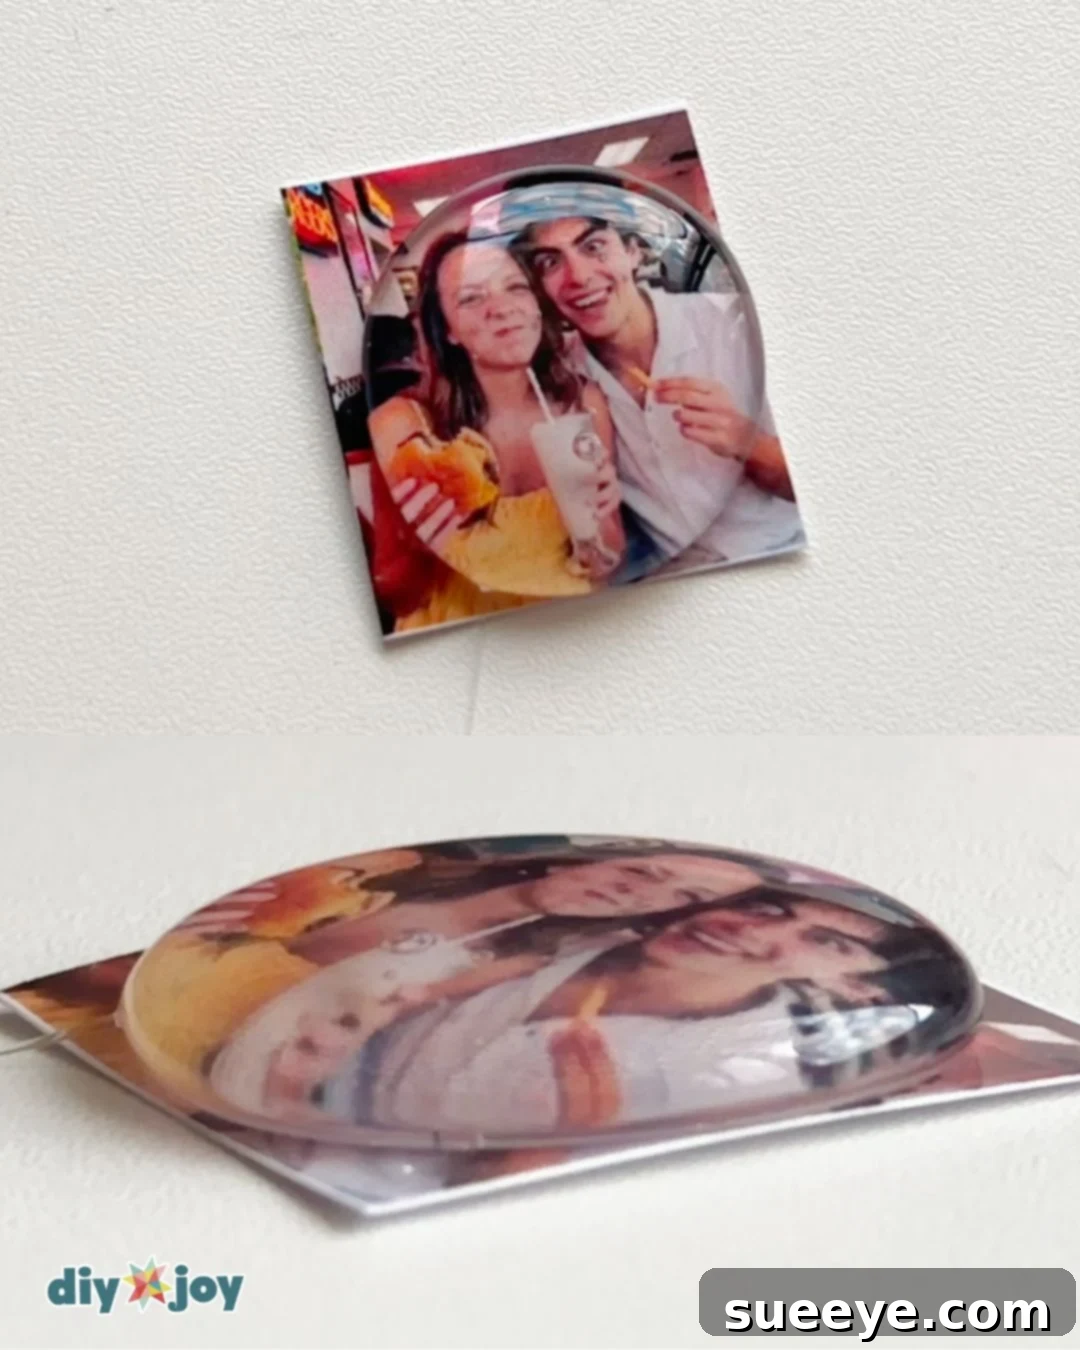
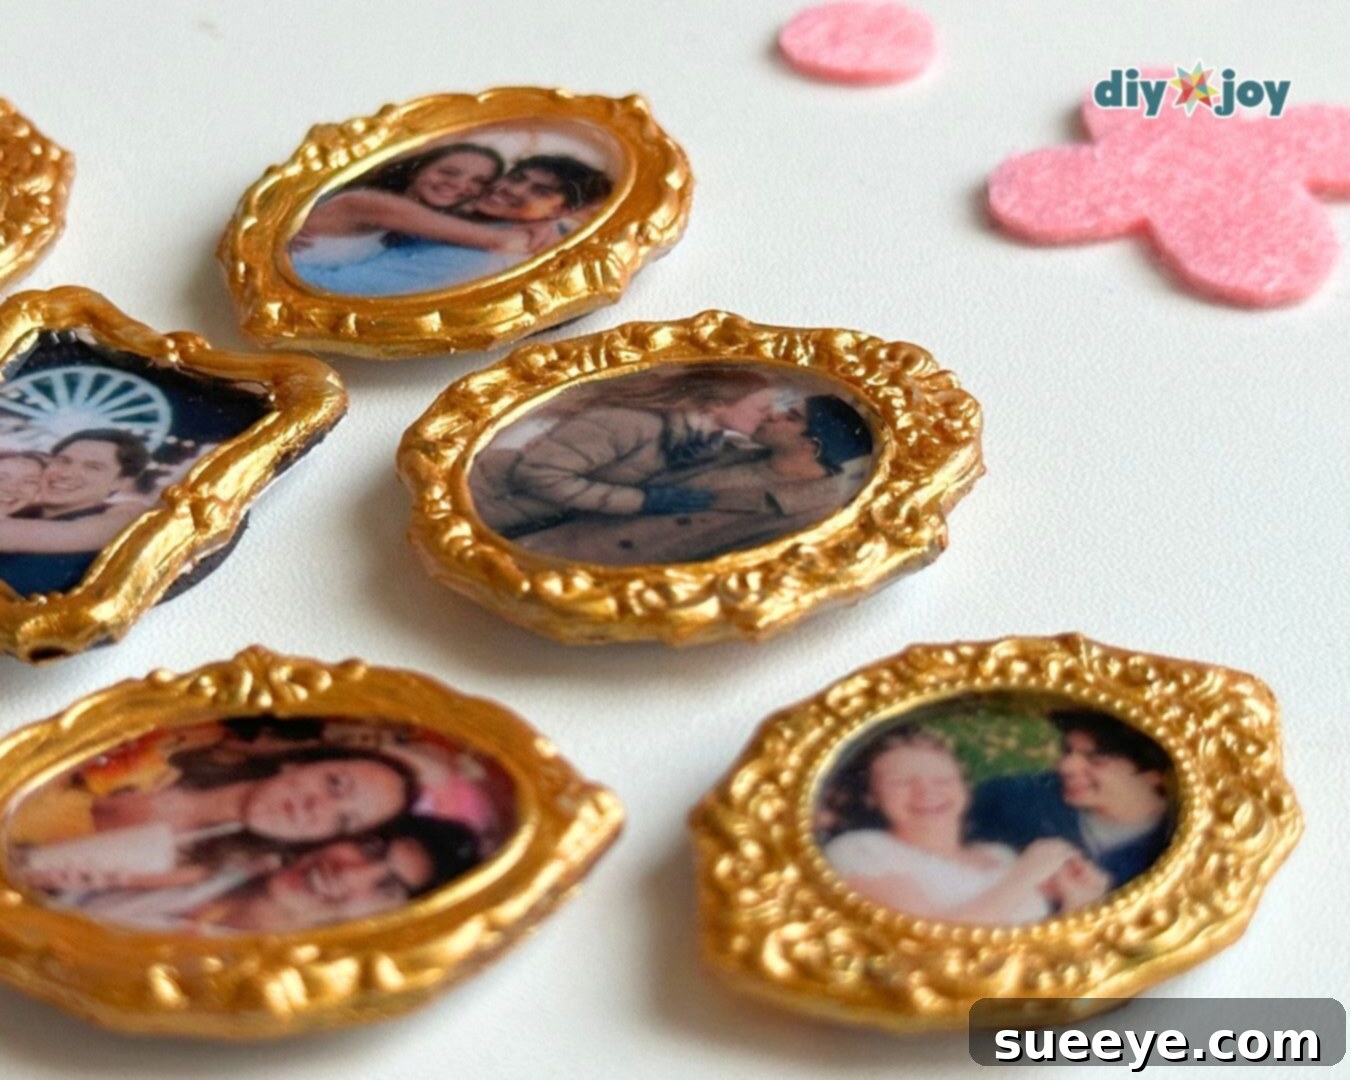
These charming frame magnets are crafted using hot glue and wax seal stamps, creating a surprisingly elegant and vintage look. You might not believe they’re made from hot glue at first glance! These mini photo frames are ideal gifts for partners, family members, or friends, not just for Valentine’s Day, but for any occasion. They’re a delightful way to preserve and showcase your favorite shared moments. Imagine a gallery wall of memories adorning your fridge, or a locker filled with personalized keepsakes. The possibilities are endless!
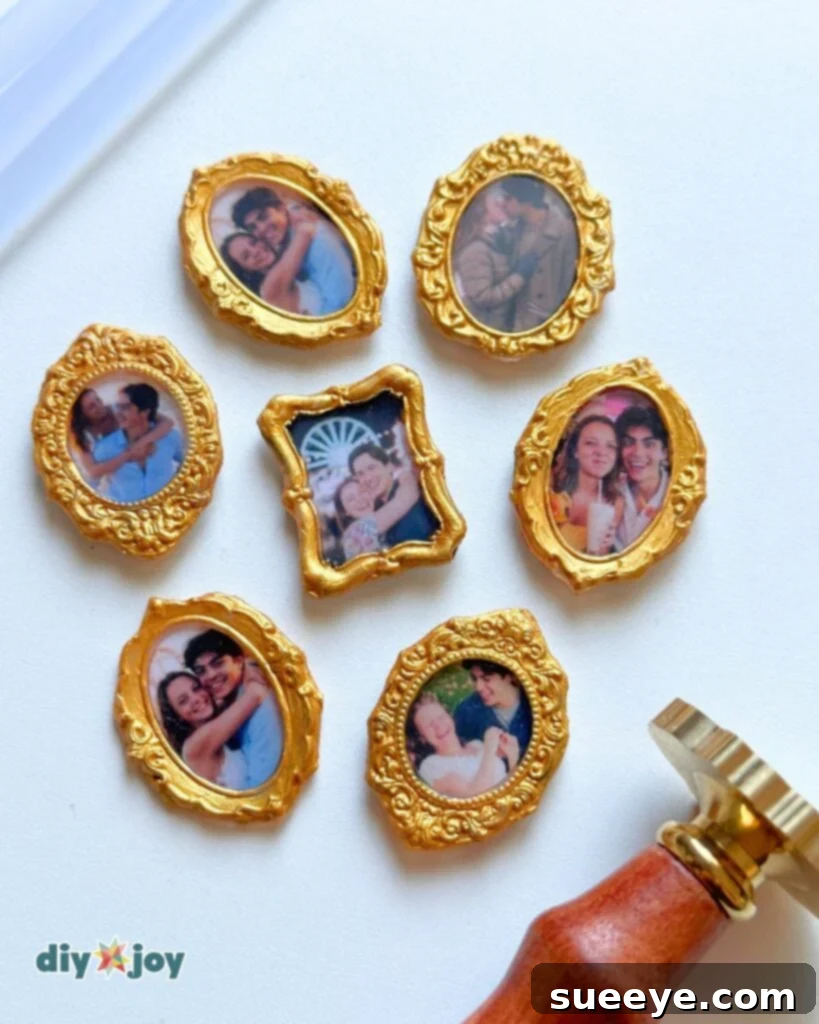
The best part? They’re incredibly easy and quick to make, and won’t break the bank! The biggest challenge might be choosing which photos to feature. If you’re searching for a simple, romantic, and thoughtful gift to give this February, these mini magnetic vintage photo frames are the perfect DIY project.
Understanding Wax Seal Stamps
Wax seal stamps are generally easy to use and have been used for centuries. Traditionally, you would melt wax beads in a spoon held over a heat source, carefully pour the melted wax onto a letter or paper to form a small, circular shape, and then press the stamp firmly into the wax. After a few seconds, you gently lift the stamp, leaving behind an elegant impression.
Now, there are modern sealing wax sticks that are designed for use in hot glue guns! These sticks make the melting process much easier and faster.
However, for this specific photo frame project, you’ll be using clear glue sticks rather than sealing wax sticks, giving the frame a unique, transparent look. This adds a modern twist to the vintage-inspired design. The clear glue allows the photo to remain the main focus, while the embossed frame provides a subtle yet elegant border.
Helpful Tips and Tricks
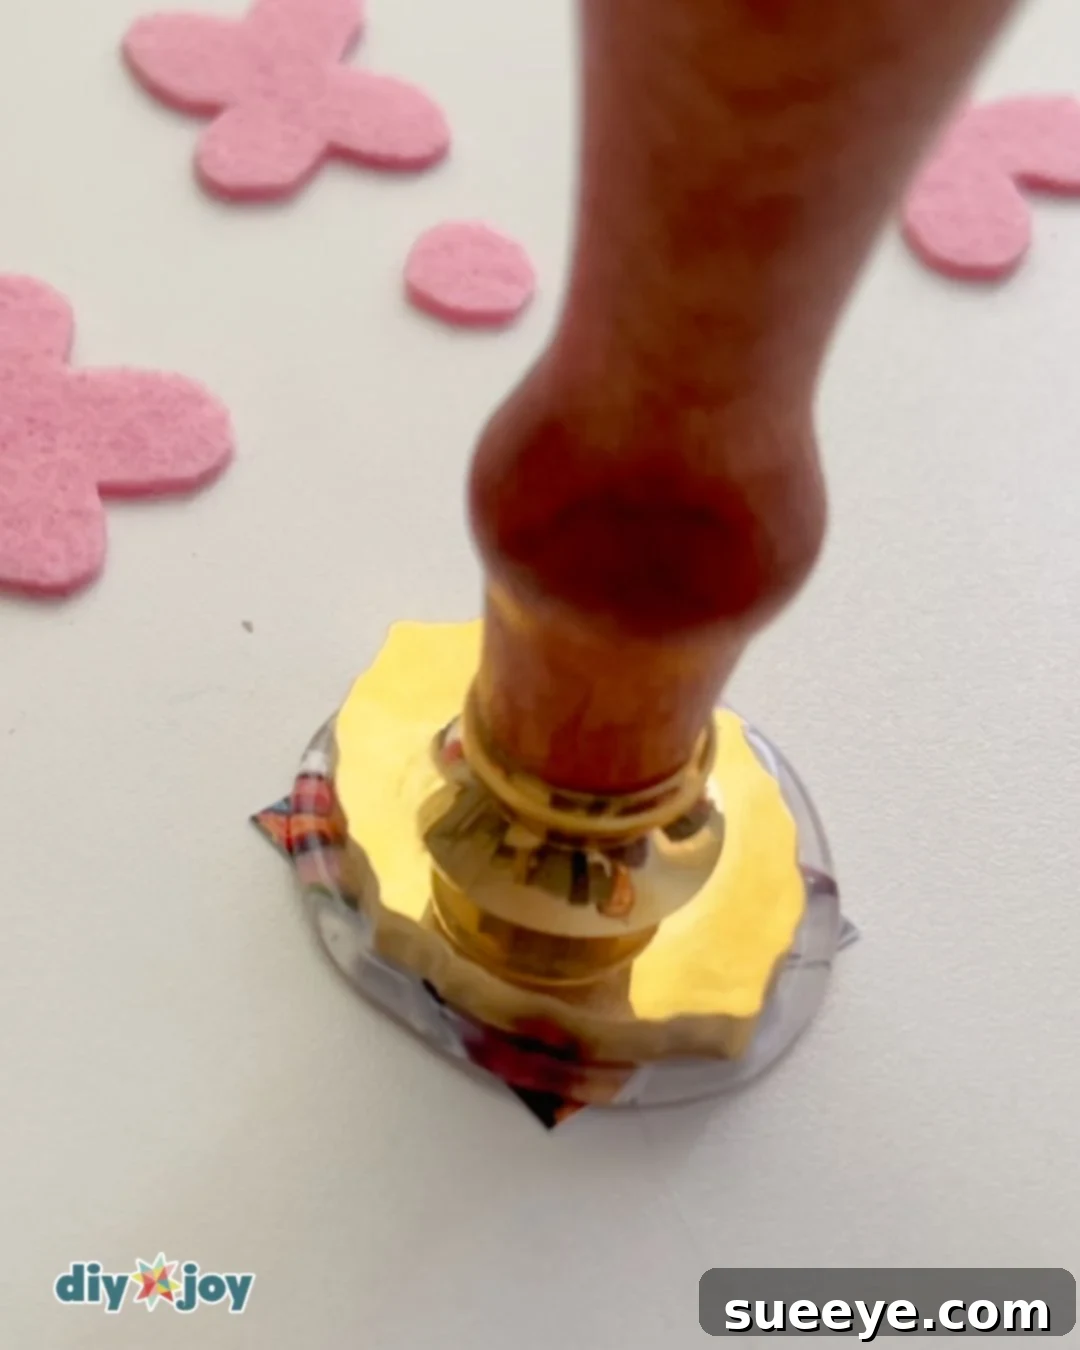
- Stamp Preparation: Keep your metal stamp chilled! Use an ice pack or a bowl of ice water and a dry cloth. Make sure to chill your metal stamp between each use and wipe it completely dry. This prevents the hot glue from sticking to the metal, resulting in a clean and crisp impression. Chilling the stamp also helps the glue cool faster, which is especially useful when making multiple photo frames.
- Melting the Glue Stick: For best results, use a low-wattage glue gun (around 15W) for this project. This will help to minimize the formation of bubbles in the glue, giving you a smoother and more professional-looking finish. Too much heat can lead to unsightly bubbles that detract from the overall aesthetic.
- Creating Removable Seals: To prevent the hot glue seals from sticking to your work surface, use a silicone mat or a sheet of parchment paper. These surfaces are non-stick and will ensure that you can easily remove the frames without damaging them or your workspace. This is a crucial step for a clean and hassle-free crafting experience.
Where to Find Your Supplies
Ready to get started? Here’s a list of the supplies you’ll need to create your own mini vintage photo frame magnets:
- Wax seal stamps – Link to Purchase
- Metallic gold paint – Link to Purchase
- Crystal clear glue sticks – Link to Purchase
- Small magnets – Link to Purchase
- Printed photos (approximately 0.85″ x 1″)
Step-by-Step Guide: Making Photo Frames With Hot Glue and Wax Seal Stamps
Here’s a detailed guide on how to create your own photo frame fridge magnets using hot glue:
-
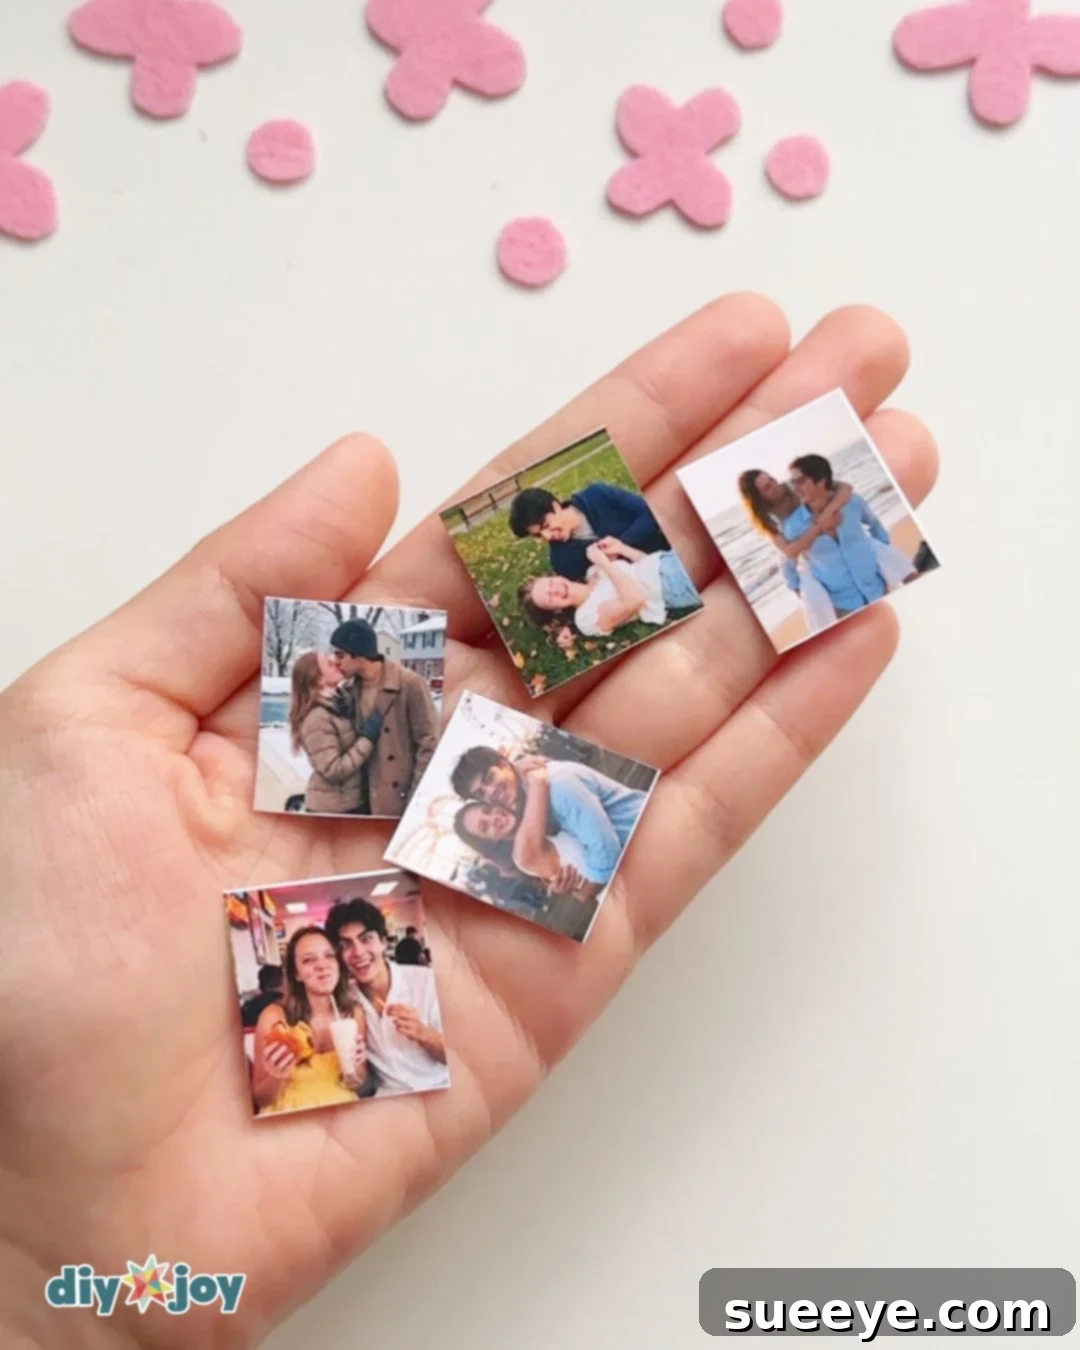
Step 1: Prepare Your Photos. Start by printing your favorite photos into mini photos (approximately 0.85″ x 1″). These small photos will fit perfectly within the hot glue frames, creating a miniature display of cherished memories. Choose photos that are vibrant and meaningful to you.

-
Step 2: Prepare the Stamp and Apply Glue. Preheat your glue gun thoroughly. While it’s heating, grab an ice pack and a dry cloth. Place your chosen wax seal stamp on the ice pack for a few seconds to chill it. Remove the stamp and wipe it dry with the cloth. This chilling process is crucial for preventing the hot glue from sticking. Once the glue gun is ready, apply a generous amount of hot glue to the surface of your prepared photo, ensuring even coverage.
-
Step 3: Create the Impression. Immediately press the cold, dry wax seal stamp firmly into the hot glue on the photo. Hold it in place for about 10 to 15 seconds, allowing the glue to cool and set. This step is what creates the decorative frame around your photo.
-
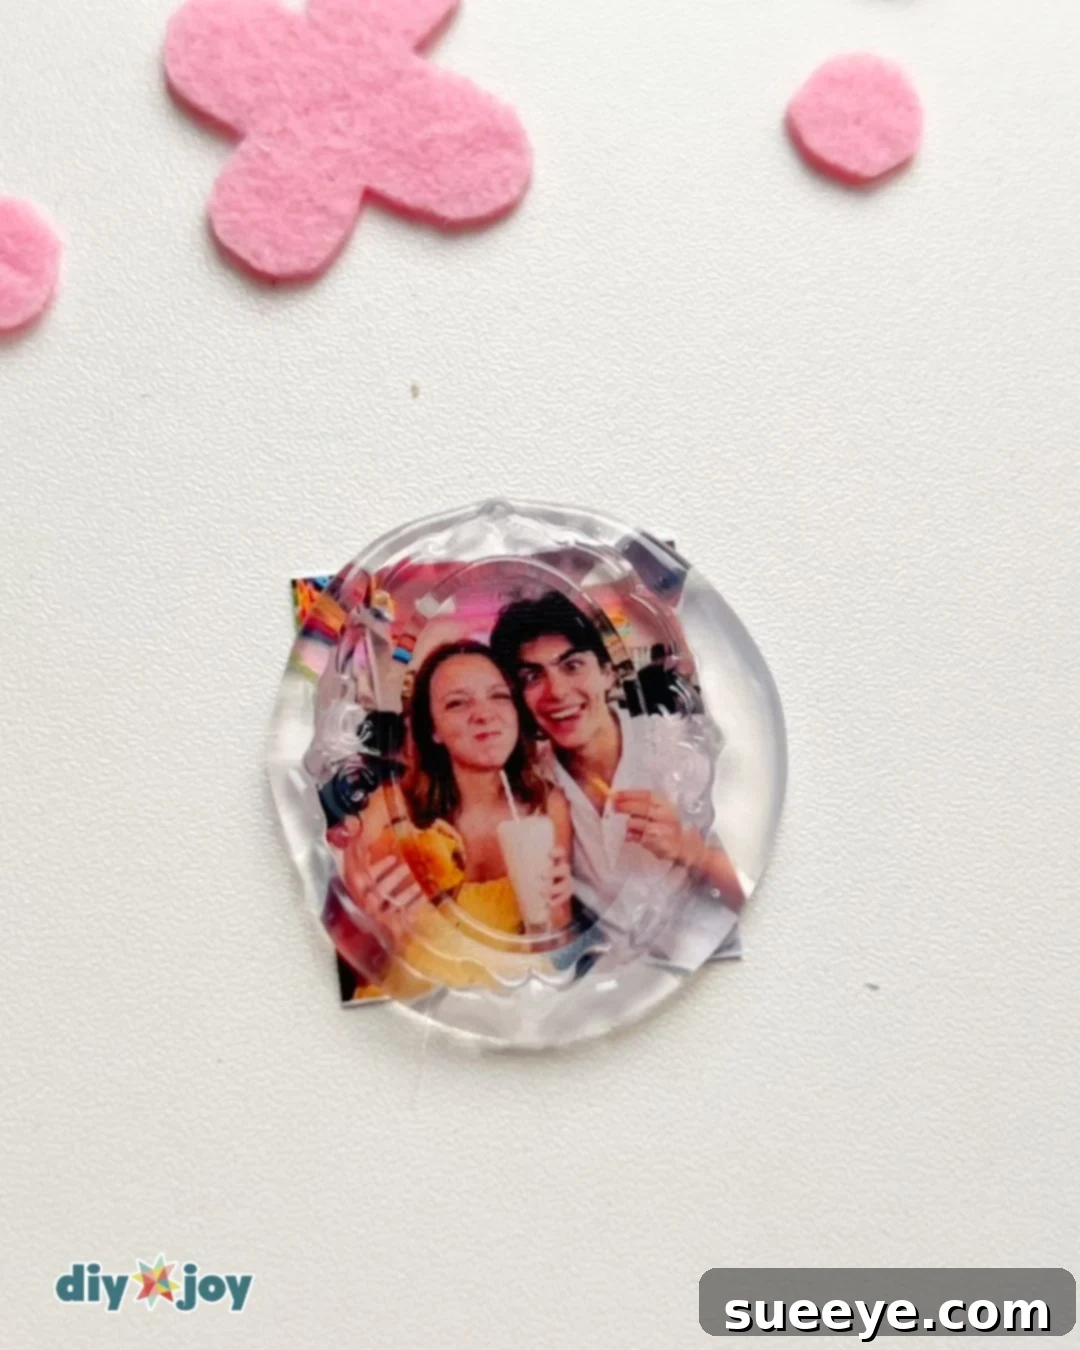
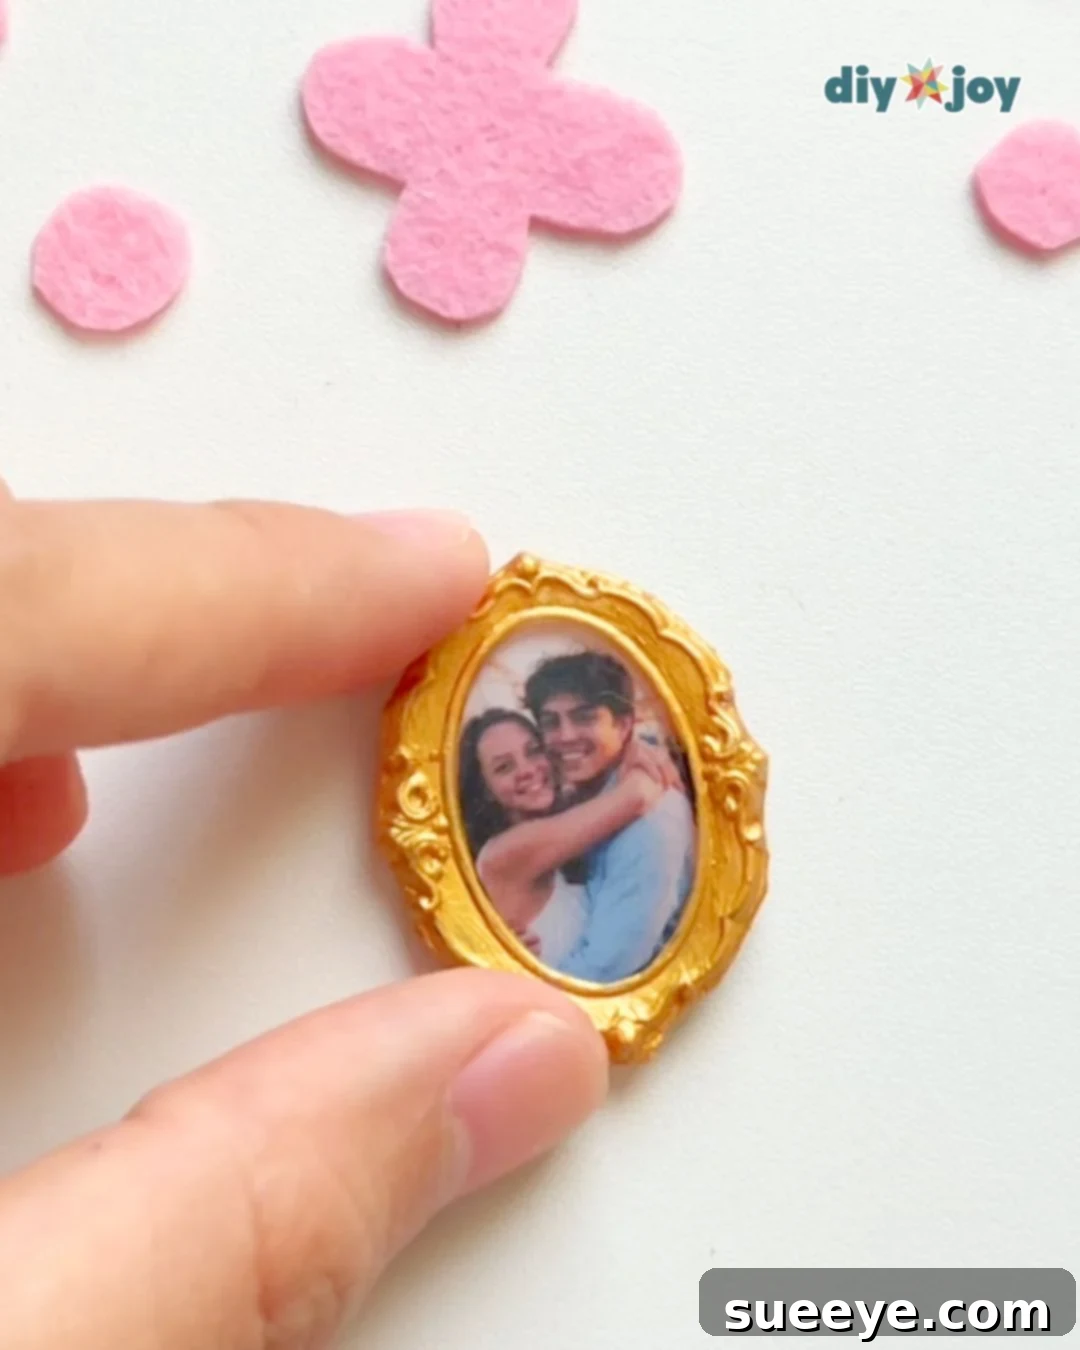
Step 4: Remove the Stamp. Once the glue is sufficiently dry (about 10-15 seconds), carefully remove the wax seal stamp. The embossed design from the stamp should now be visible around the photo, creating the frame.
-
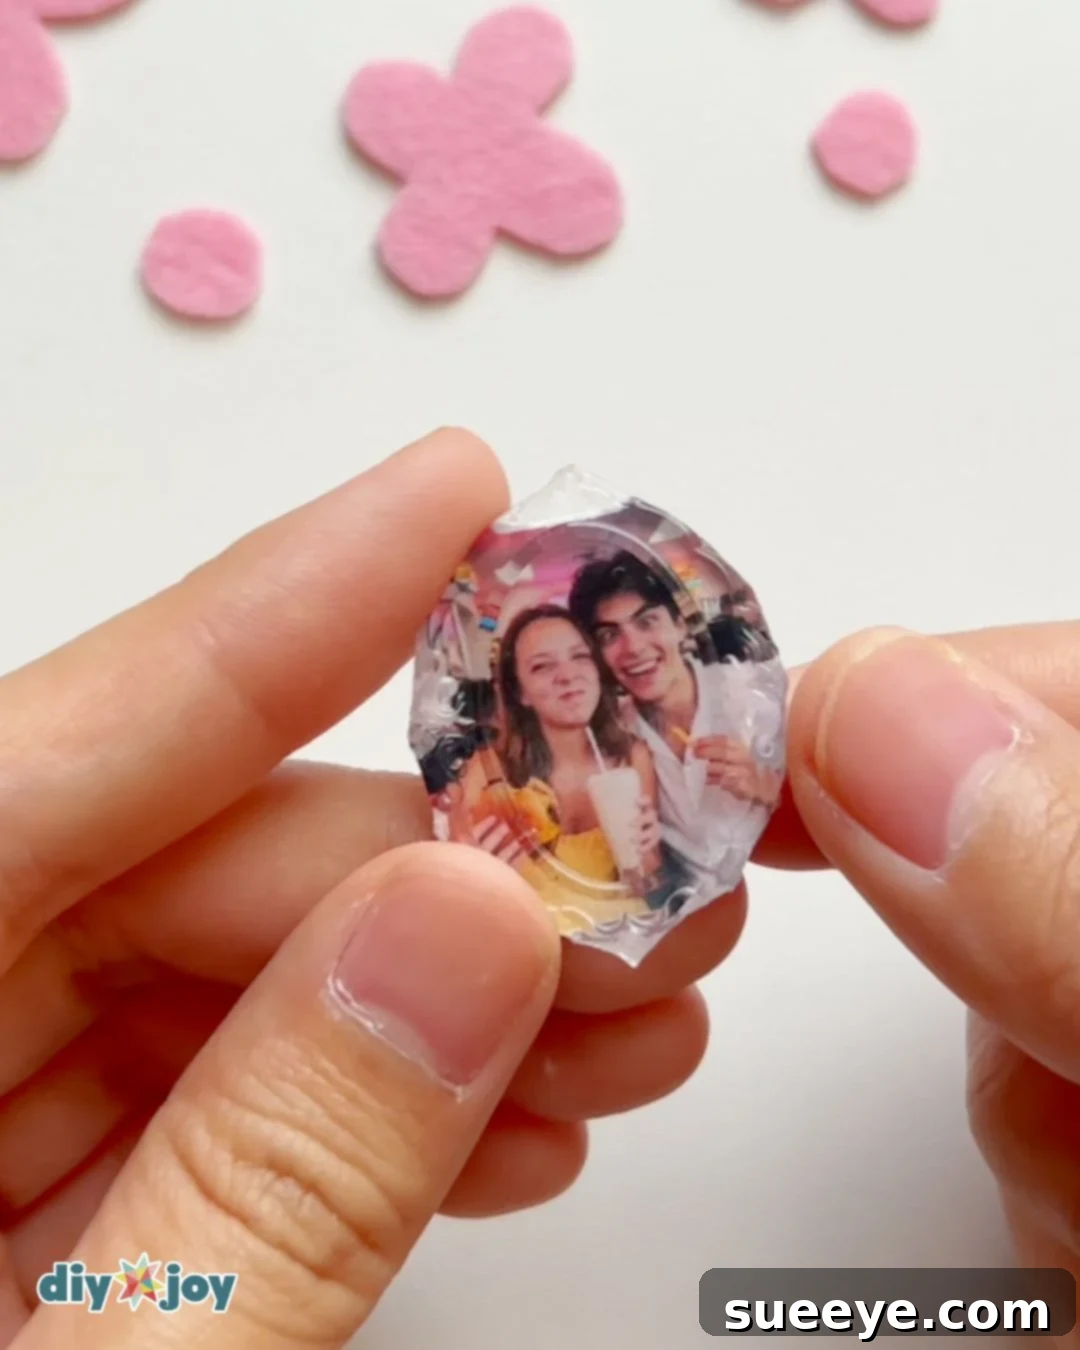
Step 5: Trim the Excess Glue. Using scissors, carefully trim away any excess hot glue around the frame, leaving only the desired frame shape. This will give your magnets a cleaner, more polished look.
-
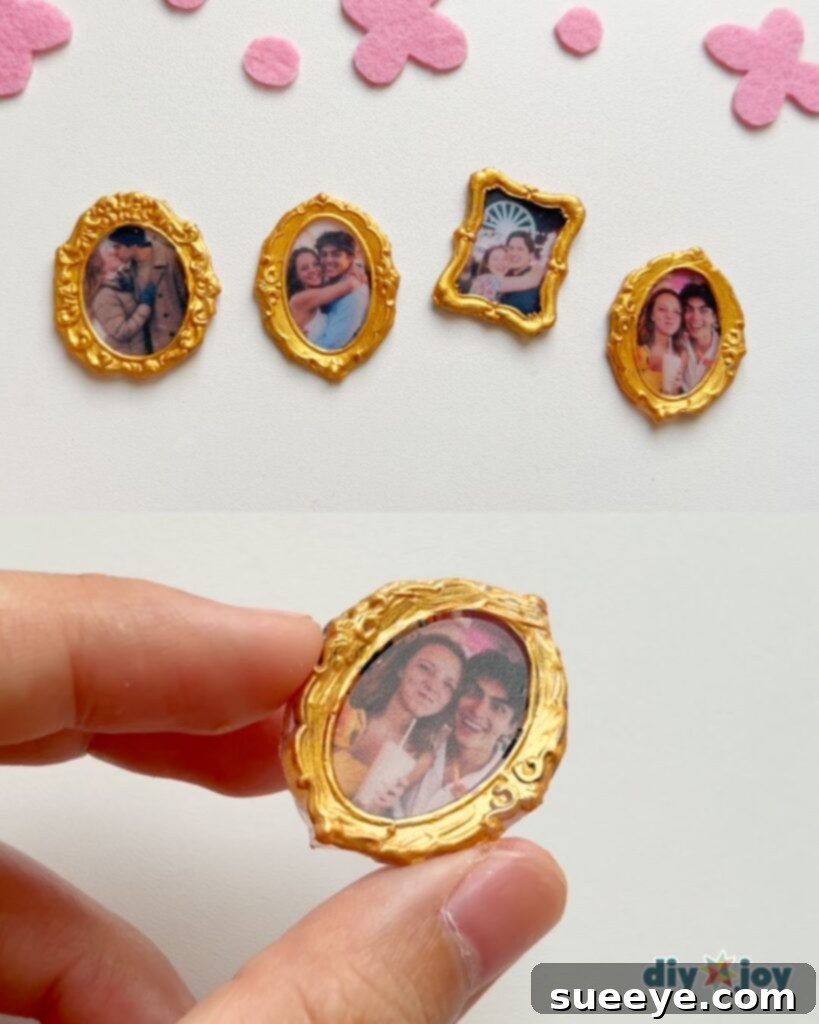
Step 6: Add a Touch of Gold. Paint the hot glue frame gold using your metallic gold acrylic paint. This adds a touch of elegance and vintage charm to your photo magnets. Allow the paint to dry completely before proceeding to the next step.
-
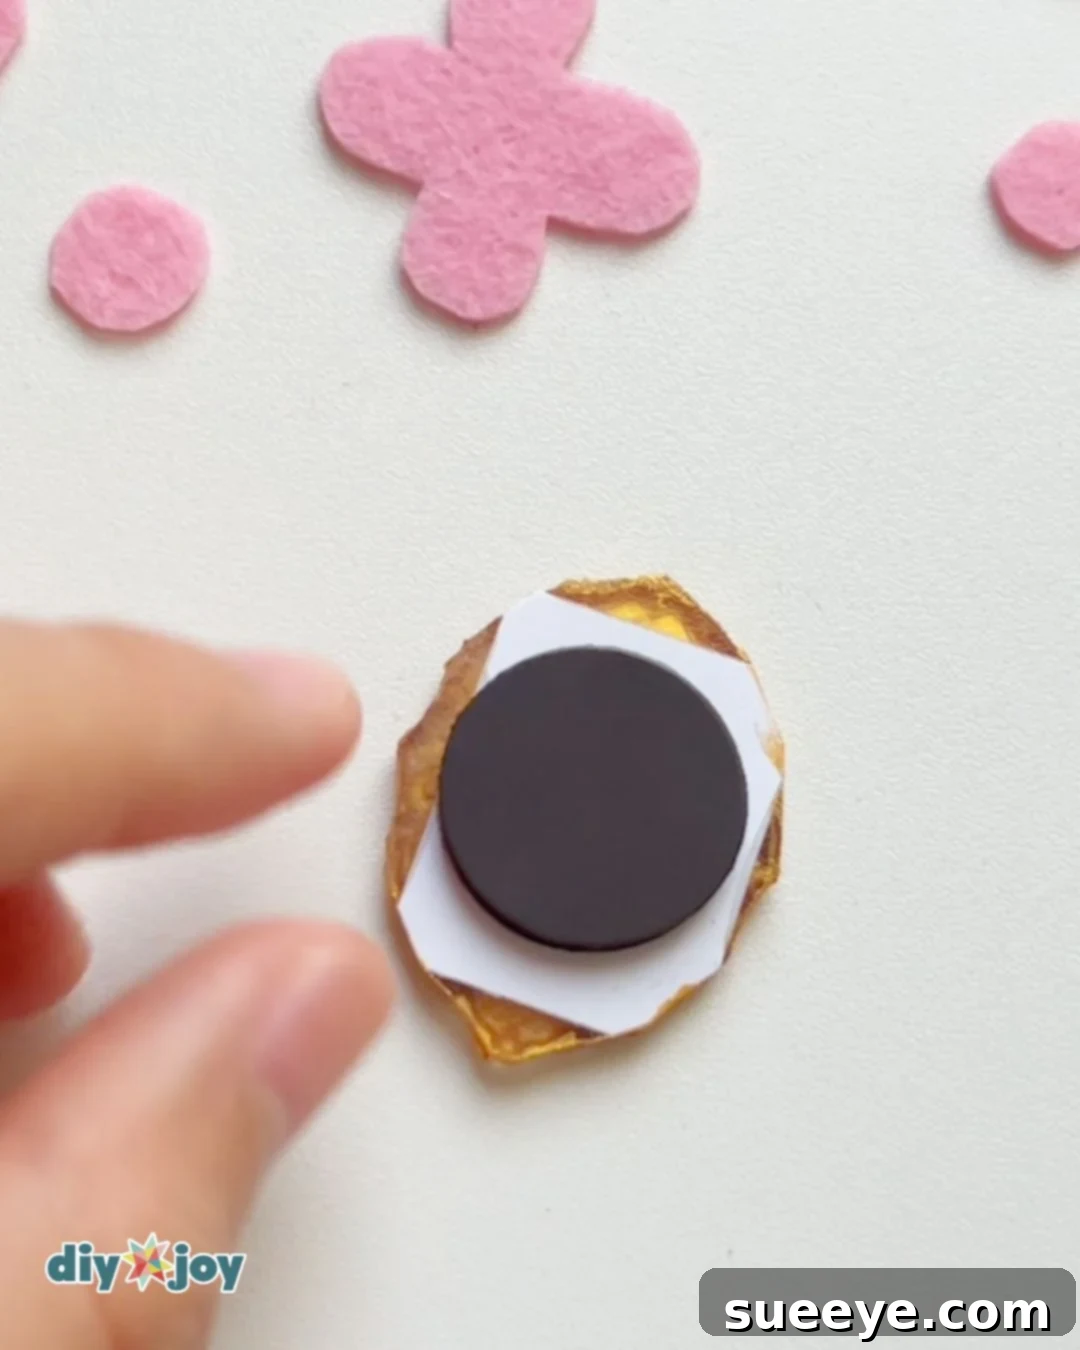
Step 7: Attach the Magnet. Flip the frame over to the back side. Peel off the backing from your small magnet and stick it securely to the back of the frame. Make sure the magnet is firmly attached to ensure it stays in place.
-
Step 8: Display and Enjoy! Place your newly created photo frame magnets on your fridge, locker, or any other magnetic surface. Admire your personalized creations and enjoy the memories they represent!
Tools Needed:
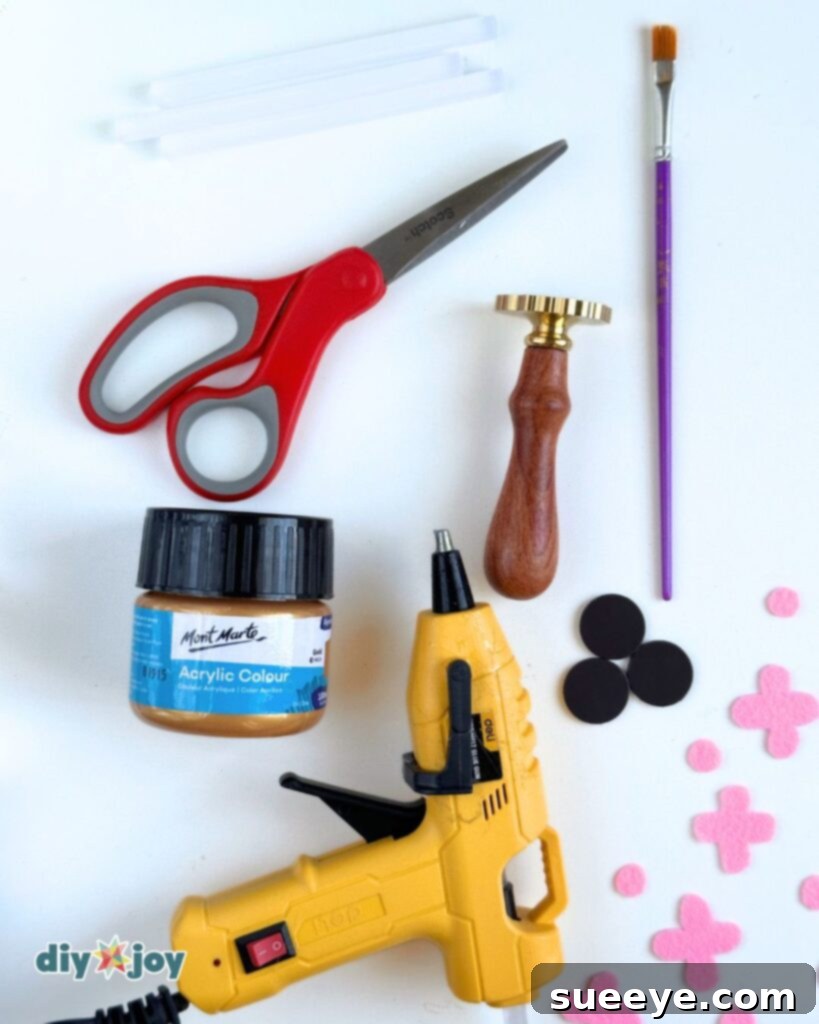
- Scissors
- Glue Gun (15W recommended)
- Paintbrush
Materials Needed:
- Wax Seal Stamps
- Gold Metallic Acrylic Paint
- Mini Photos (0.85″ x 1″)
- Magnets
- Crystal Clear Glue Sticks

Crafting Tip
For the best results, always use crystal clear glue sticks! They provide a cleaner and more transparent finish for your frames.
More Valentine’s Day Crafts
Looking for even more Valentine’s Day craft ideas? Check out these fun and creative projects:
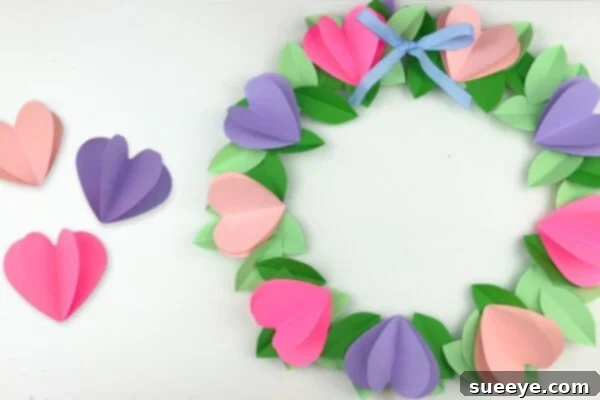
DIY Paper Heart Wreath
Create a beautiful and festive wreath using colorful paper hearts. A perfect addition to your Valentine’s Day decorations.
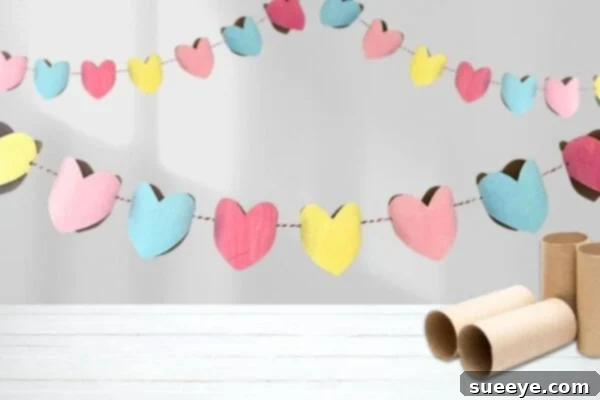
Turn Empty Rolls into a Heart Garland
Recycle empty cardboard rolls into a charming heart garland. A sustainable and adorable craft for Valentine’s Day.
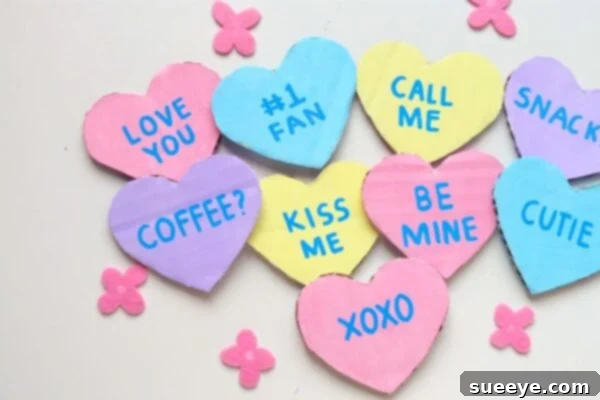
Cardboard Conversation Hearts | DIY Valentine’s Decor
Make oversized conversation hearts using cardboard for a fun and festive Valentine’s Day decoration.
Final Thoughts on Mini Hot Glue Photo Frame Fridge Magnets
These DIY mini hot glue photo frame fridge magnets are a wonderful way to personalize your gifts and create lasting memories. They are easy to make, budget-friendly, and offer a unique and thoughtful touch for Valentine’s Day or any special occasion. So gather your supplies, unleash your creativity, and start crafting today!