
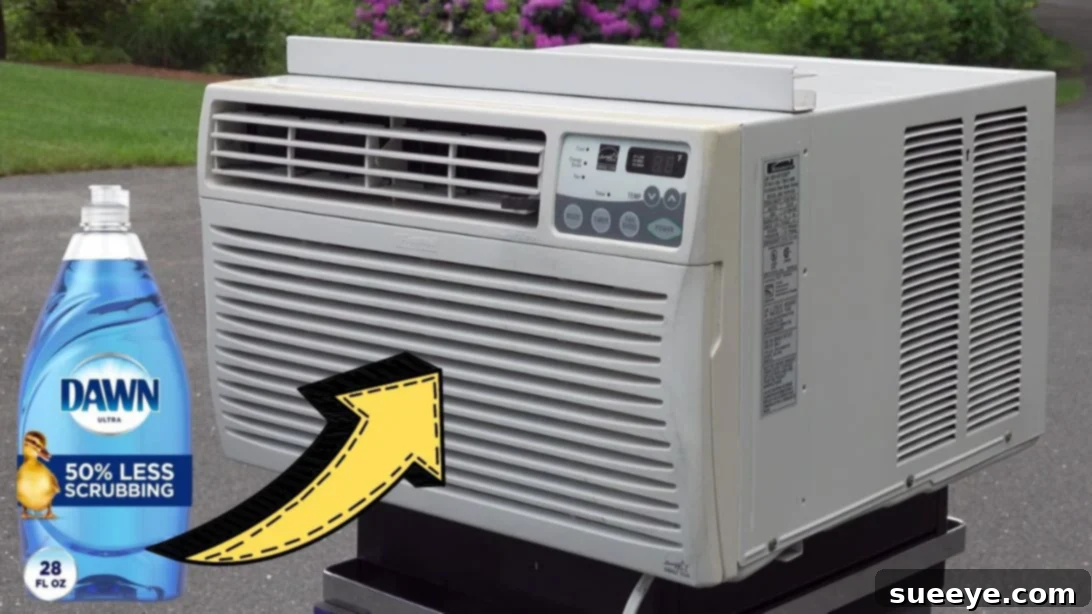
How to Fix a Window-Type Air Conditioner That Won’t Cool: A Comprehensive DIY Deep Cleaning Guide
There’s nothing quite as frustrating as a window air conditioner that’s running but simply isn’t blowing cold air. Instead of providing crisp, refreshing relief from the heat, it might just be circulating lukewarm breezes, leaving you sticky and uncomfortable. While your first instinct might be to reach for a repair technician, often the solution to a struggling AC unit is surprisingly simple and cost-effective: a thorough deep clean.
Many homeowners typically vacuum or brush their AC filters, assuming that’s enough. However, trapped dust, dirt, and grime can accumulate much deeper within the unit, specifically on the evaporator coils and fan blades, severely hindering its performance. This build-up acts as an insulating layer, preventing the AC from efficiently absorbing heat from your room and releasing it outside. The result? A unit that works harder, consumes more energy, and fails to deliver the cold air you expect.
Fortunately, you don’t always need a professional to get your unit back in top shape. Thanks to this simple yet highly effective trick shared by Silver Cymbal on YouTube, you can learn how to perform a deep clean on your window-type air conditioner yourself. This comprehensive guide will walk you through each step, ensuring you restore your AC’s cooling power, improve its energy efficiency, and extend its lifespan. Get ready to enjoy refreshingly cold air once again!
Why Deep Cleaning Your Window AC Is Essential for Optimal Performance
Understanding why deep cleaning goes beyond just filter maintenance is key to appreciating its value. Your window air conditioner works by drawing in warm air from your room, passing it over cold evaporator coils, and then blowing the now-cooled air back into the space. Simultaneously, the heat absorbed from the room is transferred to the condenser coils located on the outside part of the unit and dissipated into the outdoor environment.
Over time, dust, pet dander, pollen, and even mold can accumulate on these delicate evaporator coils and the fan blades. This layer of grime creates a barrier that prevents proper heat exchange. When the coils are insulated by dirt, they cannot efficiently absorb heat, causing the compressor to run longer and harder without achieving the desired cooling effect. This not only makes your room feel less cool but also significantly increases your electricity bill as the unit struggles to meet its set temperature.
Moreover, neglected dirt and moisture inside the unit can foster the growth of mold and mildew, leading to unpleasant odors and potentially impacting indoor air quality. A deep clean addresses these issues directly, clearing away obstructions, restoring efficient heat transfer, improving airflow, and combating potential allergens. It’s an investment in both your comfort and your wallet.
Prioritize Safety: Important Precautions Before You Start
Before you begin any maintenance or cleaning on electrical appliances, safety must be your absolute priority. Working with electricity and sharp components carries inherent risks, but by following these precautions, you can minimize them:
- Unplug the Unit: This is the most crucial step. ALWAYS disconnect your air conditioner from its power source before touching any internal components. Simply turning it off with the remote or control panel is not sufficient. Ensure the plug is completely removed from the wall outlet.
- Wear Protective Gear: Dust and grime can be irritating, and some internal components may have sharp edges. We recommend wearing work gloves to protect your hands and safety glasses to shield your eyes from debris or cleaning solutions.
- Work in a Well-Ventilated Area: While the cleaning solution is mild, working in an open space or outdoors if possible, will ensure adequate ventilation and prevent inhaling dust particles.
- Clear Your Workspace: Ensure you have enough space to safely disassemble and clean the unit. Lay down a tarp or old sheets if working indoors to catch any drips or debris. Keep children and pets away from the work area.
- Handle with Care: AC coils are delicate. Avoid bending the fins during cleaning, as this can impede airflow and reduce efficiency.
- Understand Your Unit: While this guide is general, some AC models might have slightly different disassembly methods. If you encounter significant resistance or are unsure about a step, consult your unit’s owner’s manual or seek professional assistance.
Materials You’ll Need for an Effective AC Deep Clean
Gathering all your tools and materials before you start will make the cleaning process smooth and efficient. Here’s what you’ll need, along with a brief explanation of why each item is important:
- Screwdriver Set: You’ll likely need both Phillips-head and flat-head screwdrivers to remove the various screws securing the outer casing. A good set ensures you have the right size for the job, preventing stripped screws.
- Dawn Dishwashing Soap (or similar grease-cutting detergent): Dawn is highly recommended due to its powerful grease-cutting properties. It effectively breaks down the greasy film that often binds dust and dirt to your AC coils and fan blades, making them easier to rinse away.
- Spray Bottle: An empty spray bottle allows for even and controlled application of your cleaning solution onto the internal components. This ensures thorough coverage without oversaturating electrical areas.
- Clean Cloth or Rag: Essential for wiping down the cleaned surfaces, especially the casing pieces, and for absorbing excess moisture during the drying process. Use a few if possible, one for soap, one for rinsing, and one for drying.
- Small Deep Dish or Container: Crucial for keeping all removed screws in one safe place, preventing them from getting lost during disassembly and reassembly.
- Work Gloves & Safety Glasses: (As mentioned in safety) For protecting your hands from sharp edges and eyes from debris or cleaning solution.
- Small Soft Brush (Optional but Recommended): A soft-bristled brush (like a paintbrush or an old toothbrush) can be helpful for gently dislodging stubborn dirt from the coil fins before spraying or after the soap has sat.
- Tarp or Drop Cloth (Optional but Recommended): To protect your floor or work surface from water and dirt during the cleaning and draining process.
Detailed Step-by-Step Deep Cleaning Instructions
Now that you have your materials and understand the safety precautions, let’s dive into the core process of deep cleaning your window AC unit.
Step 1: Preparation and Careful Disassembly of the Unit
This initial step involves carefully taking apart your AC unit to access the internal components that require cleaning. Precision and organization are key here.
- Unplug the AC Unit: Reiterate this for safety. Locate the wall outlet and physically remove the power cord. Do not proceed until this is done.
- Remove the Outer Screws: Identify all the screws around the perimeter and perhaps on the back or sides of the AC unit’s outer casing. Using the appropriate screwdriver, carefully remove each one. As you remove them, place all screws into your small, deep dish or container. This prevents any tiny parts from rolling away or getting misplaced. It’s often helpful to take a quick photo with your phone of the screw locations before removal, especially if you’re new to this.
- Gently Pry Open the Front Cover: Once all screws are removed, the front panel of the AC unit should be loose. Carefully pry it open. You might need to gently wiggle it or apply slight pressure to release any clips holding it in place.
- Lift the Body’s Casing: After the front cover is off, the main body’s casing usually lifts upwards or slides off. Be mindful of any wires that might be connected to the front panel, such as those for the control display. If possible, disconnect them carefully (take a picture first!) or simply set the casing pieces aside without stressing the wires. Set both the front cover and the main body casing pieces aside in a clean, safe spot for later cleaning.
- Prepare the Cleaning Solution: Grab your spray bottle. Mix approximately one tablespoon of Dawn dishwashing soap with about a cup of warm water inside the bottle. Swirl it gently until the soap is fully dissolved and well combined. You don’t want excessive suds right now, just a good, effective cleaning solution.
Step 2: The Deep Clean Application – Targeting Grime
With the internal components exposed, it’s time to apply your cleaning solution to break down years of accumulated dirt and grime.
- Spray the Entire AC Interior (Carefully): Begin spraying your soap mixture generously around the internal parts of the exposed AC unit. Focus heavily on the evaporator coils (the metal fins on the front/top part of the unit), the blower fan (usually a cylindrical component behind the coils), and the drain pan at the bottom. The goal is to saturate the dirty areas thoroughly.
- Avoid Electrical Components: EXTREME CAUTION is needed here. While spraying, make sure to completely avoid the AC control panel, any exposed wiring, capacitors, or the motor itself. These components are sensitive to moisture and can be permanently damaged if they get wet. If necessary, you can lightly cover these areas with a piece of plastic wrap or a dry cloth to shield them, but ensure they don’t get directly sprayed.
- Allow the Solution to Work: Once you’ve thoroughly covered the dirty areas, let the soap mixture sit for approximately 5 to 10 minutes. This dwell time is crucial. It gives the dish soap an opportunity to penetrate and break down the stubborn grease, dirt, and mildew that’s clinging to the coils and fan blades, making them much easier to rinse off.
Step 3: Rinsing Away the Dirt and Ensuring Proper Drainage
After the soap has done its job, it’s time to rinse away the loosened grime. This step requires a gentle approach to avoid damage and ensure all residue is removed.
- Gentle Rinsing: Using a separate spray bottle filled with clean water (or a very gentle stream from a hose if working outdoors), begin to rinse off the soap mixture from the coils, fan, and drain pan. Do not use high-pressure water, as this can bend the delicate fins of the coils. A gentle, steady flow is sufficient to wash away the suds and dissolved dirt.
- Ensure Complete Drainage: As you rinse, watch as dirty water flows into the drain pan at the bottom of the unit. To help facilitate drainage and ensure no standing water remains inside the unit, gently tip the AC unit over or slightly tilt it so that all the remaining water can drain out through the unit’s natural drain holes. This is vital to prevent future mold growth and ensure electrical components don’t accidentally get wet from residual water.
- Repeat if Necessary: If you notice particularly stubborn grime or if the rinse water is still very cloudy, you may repeat the spraying and rinsing process until the water runs clear.
Step 4: Thorough Drying and Careful Reassembly
Proper drying is critical to prevent electrical shorts and mold growth. Once dry, you’ll meticulously reassemble your AC unit.
- Air Dry Thoroughly: After rinsing and draining, allow the AC unit to air dry completely. This can take several hours, so patience is key. You can place it in a sunny, well-ventilated area to speed up the process. Ensure no visible moisture remains on any internal components, especially near electrical parts.
- Clean and Dry Casing Pieces: While the main unit is air-drying, take the opportunity to wash the front cover and body casing you set aside earlier. You can use your soap solution and a cloth to clean off any dust and grime. Rinse them well and wipe them dry with a clean cloth or rag. Ensure these pieces are also completely dry before reassembly.
- Wipe Down the AC Unit: Once the internal components have largely air-dried, use a clean, dry cloth or rag to gently wipe down any accessible surfaces of the AC unit itself, ensuring it’s completely dry.
- Reassemble the AC Unit: Carefully reverse the disassembly process. First, place the main body casing back into position, ensuring it aligns correctly. Then, reattach the front cover. Secure all the screws you diligently saved in your dish. Make sure every screw is returned to its original spot and tightened snugly, but do not overtighten, as this can strip the plastic. Ensure all panels fit together properly without gaps.
- Reconnect Any Disconnected Wires (if applicable): If you disconnected any wires from the control panel during disassembly, carefully reconnect them now, referring to your earlier photos if necessary.
Step 5: Final Testing and Observation
The moment of truth! With everything reassembled and dry, it’s time to test your newly cleaned AC unit.
- Connect to Power: Plug the AC unit back into the wall outlet.
- Turn On and Test: Power on the unit and set it to a low temperature with a high fan speed.
- Observe Performance: Pay close attention to the airflow. Does it feel stronger? More importantly, is the air coming out noticeably colder? You should feel a significant difference in cooling capacity. Listen for any unusual noises. A clean unit often runs quieter and more smoothly.
- Monitor for Several Hours: Allow the unit to run for an hour or two to confirm consistent cold air delivery and efficient operation.
If, after this thorough cleaning, your AC unit is still not cooling effectively or you notice other issues, it might indicate a more serious mechanical problem, such as a refrigerant leak or a faulty compressor. In such cases, it’s best to consult a qualified HVAC technician.
Maintaining Your Window AC Unit for Long-Lasting Comfort
Performing a deep clean is a fantastic way to restore your AC’s performance, but ongoing maintenance is key to preventing future issues and ensuring continuous efficiency. Here are some tips for keeping your window AC unit in top shape:
- Regular Filter Cleaning: This is the simplest and most frequent maintenance task. Most manufacturers recommend cleaning or replacing your air filter every 2-4 weeks during peak usage season. A clean filter ensures good airflow and prevents dust from accumulating on the coils.
- Seasonal Deep Cleaning: Aim to perform a comprehensive deep clean like the one described in this guide at least once a year, ideally at the beginning of the cooling season (spring). If your unit runs almost constantly, or if you live in a particularly dusty or pet-heavy environment, consider a deep clean twice a year.
- Check for Obstructions: Periodically inspect the front grille and the external vents for any leaves, debris, or other obstructions that might block airflow.
- Ensure Proper Drainage: Occasionally check the drain pan for standing water or blockages. A clogged drain can lead to leaks and mold growth.
- Winter Storage (if applicable): If you remove your window AC unit for winter, clean it thoroughly before storage. Store it in a dry, protected area to prevent dust accumulation and damage.
Common Questions About Window AC Cleaning Answered
Here are answers to some frequently asked questions about deep cleaning your window air conditioner:
How often should I deep clean my window AC unit?
For most households, a deep clean once a year, ideally before the summer cooling season begins, is sufficient. If your AC runs almost continuously, or if your home is particularly dusty, has pets, or is in an area with high pollen, you might benefit from a deep clean twice a year.
Can I use bleach or harsh chemicals to clean my AC?
No, it is strongly recommended to avoid bleach or harsh, abrasive chemicals. Bleach can corrode the delicate aluminum fins of the evaporator and condenser coils, potentially damaging the unit. Harsh chemicals can also emit strong fumes, which are undesirable for indoor air quality. A mild dish soap solution, like the one recommended, is effective and safe.
What if my AC is still not cooling after a deep clean?
If a thorough deep clean doesn’t restore your AC’s cooling power, it’s likely that the problem is more serious than just dirt accumulation. Common issues include low refrigerant levels (a leak), a faulty compressor, a malfunctioning thermostat, or electrical problems. In these cases, it’s best to contact a certified HVAC professional for diagnosis and repair.
Is it safe to do this DIY cleaning myself?
Yes, for most homeowners, this deep cleaning process is safe to perform as long as you strictly follow the safety precautions, especially unplugging the unit and avoiding electrical components. If you are uncomfortable with any step or are unsure, it’s always best to err on the side of caution and seek professional help.
Can I clean the outdoor coils of my window AC unit?
Yes, cleaning the condenser coils (the ones on the part of the unit that faces outdoors) is also beneficial. While not explicitly covered in the internal deep clean, you can gently spray them with your soap solution and rinse them with a gentle stream of water. Ensure the unit is unplugged and that water doesn’t ingress into the motor or electrical connections.
Reclaim Your Comfort: Enjoy a Cooler Home
A window air conditioner that isn’t cooling properly can turn a refreshing summer day into an unbearable ordeal. But as this comprehensive guide demonstrates, restoring your unit’s performance often doesn’t require expensive repairs or professional service. By dedicating a little time and effort to a thorough deep clean, you can effectively tackle the most common cause of poor cooling: accumulated dirt and grime.
This DIY approach, inspired by the practical advice from Silver Cymbal on YouTube, empowers you to take control of your home comfort. You’ll not only enjoy colder, fresher air but also benefit from increased energy efficiency, reduced utility bills, and a prolonged lifespan for your appliance. So, gather your materials, follow these steps carefully, and prepare to transform your struggling AC unit into a powerhouse of cold air once again. Enjoy the refreshing difference!
*A special thanks to Silver Cymbal via YouTube for the insightful tutorial and images used here. If you found this guide helpful, we encourage you to visit his channel and subscribe for more fantastic DIY tips!