
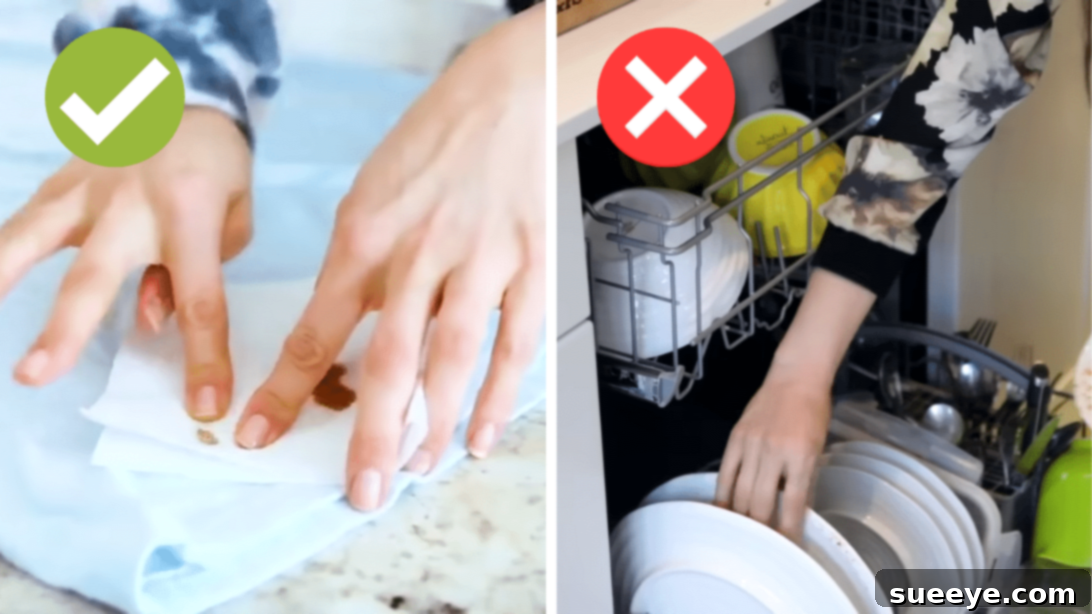
In the constant hustle and bustle of modern life, maintaining a clean and organized home often feels like a daunting task. It demands not just time and effort but also a keen understanding of effective cleaning methods and the right products. While the goal of a pristine living space is universally desired, many of us inadvertently fall prey to common cleaning mistakes that hinder our progress, waste our precious time, and sometimes even compromise our health or damage our belongings. Achieving a truly clean and harmonious home isn’t about scrubbing harder; it’s about cleaning smarter.
This comprehensive guide aims to shed light on some of the most prevalent cleaning missteps that often go unnoticed. By identifying and correcting these fundamental errors, you can transform your cleaning routine from a frustrating chore into an efficient and rewarding process. We’ll delve into the science behind effective cleaning and equip you with practical strategies to tackle dirt, grime, and stains with unparalleled success. Whether you’re a seasoned homeowner or just starting your journey in home maintenance, understanding these common pitfalls is the first step towards a consistently cleaner, healthier, and more inviting living environment.
RELATED: The Biggest Mistakes in Cleaning that You Need to Stop
For even more insightful tips and visual demonstrations, the experts at Clean My Space on YouTube offer invaluable guidance. Their detailed tutorials help illuminate the common cleaning mistakes you should diligently avoid and provide actionable advice on how to significantly improve your techniques in no time. Make sure to watch their full video tutorials for an extensive array of tips, hacks, and professional insights that can revolutionize your approach to home cleaning.
Transform Your Cleaning Routine: Avoiding These Critical Mistakes
Effective cleaning isn’t just about what you do, but also about what you *don’t* do. Many common habits, though seemingly logical, can actually undermine your efforts and lead to less effective, or even harmful, cleaning outcomes. By consciously addressing these four fundamental errors, you can elevate your cleaning game, achieve better results, and ensure a safer, healthier home.
- Rubbing Off Stains on the Surface
- Mixing Multiple Cleaning Products
- Not Letting the Cleaning Solution Sit (Dwell Time)
- Dirty Cleaning (Cross-Contamination)
Mistake #1: The Myth of Rubbing Stains – Why Blotting is Your Best Ally
One of the most ingrained yet counterproductive reactions when faced with a fresh stain is to immediately grab a cloth and rub vigorously. This instinctual action, unfortunately, is a primary culprit for spreading the stain, driving it deeper into the fabric or surface fibers, and even causing damage like fraying or discoloration. The main mistake people make when trying to eliminate a stain is to rub it across the surface instead of pre-treating it effectively.
The correct approach is to blot the stain, not rub it. Blotting works by applying gentle pressure to the stain with an absorbent material, effectively lifting the liquid or solid particles out of the surface rather than pushing them further in. To begin, use a clean, white, absorbent cloth or paper towel to gently blot the stain, starting from the outside edge and working your way inward. This technique prevents the stain from spreading. Continue blotting until you’ve absorbed as much of the liquid or loosened as many solid particles as possible. You’ll notice the stain transferring to your blotting material.
Once you’ve removed the excess, it’s time to apply a suitable stain remover. The type of remover will depend on the stain and the surface material. Follow the product’s instructions carefully. After applying the remover, gently agitate the stain. This can be done by lightly rubbing with your finger, a soft cloth, or a dedicated stain brush (like a soft-bristled toothbrush) to work the solution into the fibers. Allow the product to sit for the recommended “dwell time” (more on this later!), then either rinse the area or launder the item as you normally would. Patience and precision in this step are crucial for successful stain removal without causing further damage.
Mistake #2: The Perils of Mixing Cleaning Products – Safety First!
In an effort to create a super-potent cleaning agent, many individuals mistakenly combine various cleaning products. The logic often seems straightforward: if one product cleans well, surely two or three together will clean even better, right? This assumption is not only incorrect but can also be incredibly dangerous. Cleaning products are meticulously formulated to address specific cleaning challenges, and their chemical compositions are designed to work independently or in very specific combinations approved by manufacturers.
When you haphazardly mix different cleaning solutions, you risk several adverse outcomes. Firstly, you might inadvertently neutralize the active ingredients in one or more products, rendering them completely ineffective. This means you’ve wasted both products and achieved nothing in terms of cleanliness. Secondly, and far more critically, you could initiate a harmful chemical reaction. For instance, combining bleach (sodium hypochlorite) with ammonia (found in many glass cleaners and all-purpose cleaners) creates toxic chloramine gases, which can cause severe respiratory problems, irritation to eyes and skin, and even be fatal if inhaled in sufficient quantities.
Similarly, mixing bleach with acidic cleaners (like toilet bowl cleaners, rust removers, or vinegar) can release chlorine gas, another highly toxic substance. Always read the labels of your cleaning products thoroughly. Manufacturers include warnings about incompatible substances for your safety. Stick to using products as directed, and if a particular cleaner isn’t working, try a different, single-purpose product rather than experimenting with dangerous mixtures. Prioritize your health and safety above all else in your cleaning endeavors.
Mistake #3: Ignoring Dwell Time – Letting Your Cleaners Work Their Magic
In our fast-paced world, the temptation to quickly spray and wipe surfaces is strong. However, rushing this crucial step is a common cleaning mistake that significantly diminishes the effectiveness of your cleaning products. Most cleaning solutions, especially disinfectants and heavy-duty degreasers, require a specific amount of “dwell time” – the duration they need to remain wet on a surface to properly break down dirt, kill germs, or loosen tough grime. Think of it as allowing the product to do its job chemically before you physically intervene.
When using cleaning products, make it a habit to thoroughly douse the surface and then allow the product to sit for the recommended period. For disinfectants, this dwell time is critical for killing bacteria and viruses, which is usually specified on the product label (often 5-10 minutes). For soap scum in bathrooms or grease in kitchens, allowing a cleaner to sit for a few minutes can dissolve the buildup, making it far easier to wipe away without excessive scrubbing. Some products may even benefit from a light misting of water to keep them moist, especially if they are designed to be diluted or need a boost to penetrate stubborn messes.
However, it’s equally important to consider the surface you’re cleaning. Not all materials can tolerate prolonged exposure to liquids, especially certain woods, electronics, or delicate finishes. In such cases, avoid spraying the product directly onto the surface. Instead, apply the cleaning solution to a clean cloth until it is damp (not soaking wet), and then wipe the surface. This method still allows the cleaner to work on the surface but minimizes the risk of water damage or oversaturation. Understanding and respecting dwell time is a simple yet powerful adjustment that can drastically improve your cleaning results and reduce the physical effort required.
Mistake #4: The Trap of “Dirty Cleaning” – Preventing Cross-Contamination
Many cleaning hacks or video tutorials focus on techniques but often overlook a critical aspect of hygiene: preventing cross-contamination. “Dirty cleaning” refers to the practice of using the same cleaning tools – such as mops, sponges, or cloths – across different areas of your home without proper sanitization. While it might seem efficient to use one mop for the entire house, this habit is a primary cause of spreading germs, bacteria, and grime from one area to another, effectively making your “clean” surfaces just as dirty, if not dirtier, than before.
Consider the potential dangers: the dirt, food particles, and bacteria accumulated from cleaning your kitchen floor could easily transfer to your bathroom floor if you use the same mop head. Similarly, wiping down a toilet with a cloth and then using the same cloth on a kitchen counter is a direct route for spreading pathogens like E. coli or salmonella. To combat this, professional cleaners employ a strategy of dedicated tools: using multiple mop heads, microfiber cloths, and sponges, each specifically assigned to particular zones or tasks within your home.
A highly effective strategy is color-coding your cleaning supplies. For example, use blue cloths and mop heads for bathrooms, green for kitchens, yellow for general dusting, and red for highly contaminated areas. This simple visual cue helps prevent accidental cross-contamination. Beyond having dedicated tools, it’s equally vital to thoroughly clean and sanitize your cleaning implements after every use. Mop heads should be laundered, sponges disinfected or replaced regularly, and microfiber cloths washed. Always ensure your tools are completely dry before storing them to prevent mold and mildew growth. Investing in multiple sets of cleaning tools and establishing a strict cleaning regimen for them is fundamental to achieving a truly hygienic home.
*Watch the video tutorial for more hacks and visual guides on avoiding these common mistakes and implementing professional cleaning techniques.
*All image credit belongs to Clean My Space via YouTube. Follow and subscribe to her channel for more expert cleaning advice and tutorials!
Final Thoughts on Mastering Your Home Cleaning
Embarking on the journey to a cleaner, more organized home doesn’t have to be an overwhelming endeavor. By understanding and rectifying these four common cleaning mistakes – from the way you tackle stains to how you manage your cleaning tools and products – you can significantly elevate the effectiveness of your efforts. Moving beyond mere surface cleaning, these insights empower you to achieve a deeper, more hygienic clean that truly transforms your living space.
Remember, patience is a virtue in cleaning, especially when allowing solutions their necessary dwell time or meticulously blotting out stains. Safety is paramount, making it imperative to avoid potentially dangerous chemical mixtures. And thoughtful organization, like color-coding your cleaning supplies, ensures that you prevent the spread of germs, fostering a healthier environment for you and your family. By adopting these smarter cleaning habits, you’ll not only save time and effort in the long run but also cultivate a home that consistently feels fresh, inviting, and truly clean.
Implement these professional tips into your routine, and prepare to witness remarkable improvements in your home cleaning results. A spotless, healthy home is within reach when you clean with purpose and precision.