
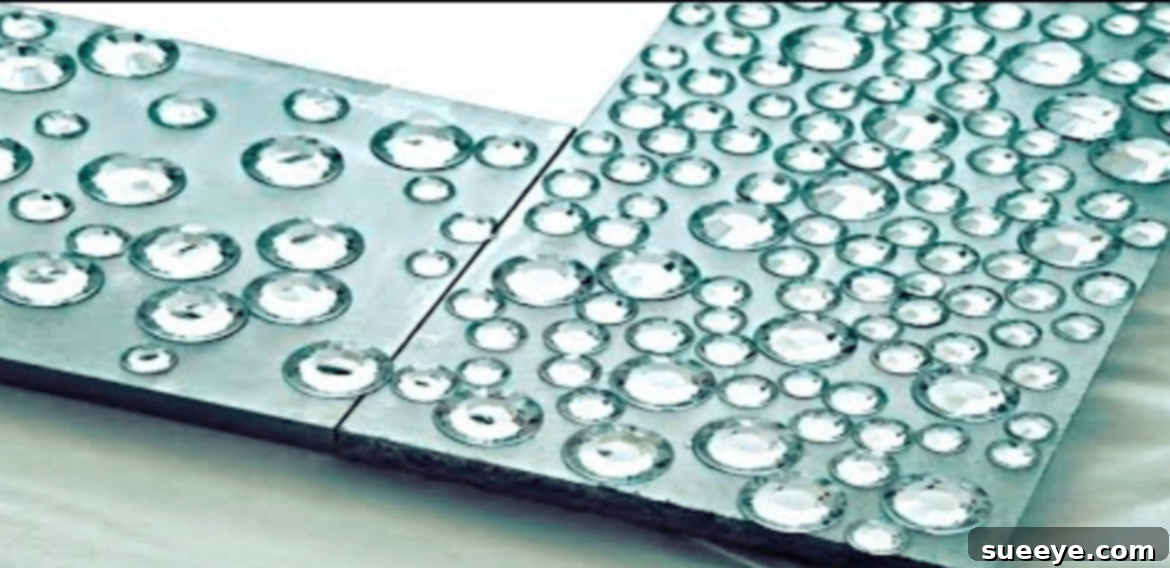
Transform Your Space: The Ultimate Guide to a Stunning DIY Mirror Makeover
Are you tired of plain, uninspiring mirrors that simply blend into the background? Do you dream of a decorative piece that reflects your unique style and becomes a dazzling focal point in your home, without breaking the bank? Look no further! This comprehensive guide will show you how to transform any old, forgotten, or thrift store mirror into an absolutely stunning, personalized work of art. Imagine having a glamorous, custom-designed mirror that sparks joy and conversation, all created by your own hands.
DIY mirror makeovers are not just a trend; they are a fantastic way to infuse personality, charm, and luxury into your living space on a budget. Whether you’ve stumbled upon a hidden gem at a local thrift store, inherited a dated piece, or simply have an old mirror gathering dust in your garage, its potential for transformation is immense. With a little creativity and effort, you can turn a mundane object into a magnificent statement piece that looks like it cost a fortune.
Why Bother with a DIY Mirror Makeover? Unleash Creativity & Save Big
The allure of a DIY mirror makeover extends far beyond mere aesthetics. There are numerous compelling reasons why embarking on such a project is incredibly rewarding:
- Cost-Effectiveness: High-end, decorative mirrors can be prohibitively expensive. By sourcing an inexpensive old mirror and adding your personal touch, you can achieve a designer look for a fraction of the cost. Think of the savings you can redirect towards other home decor aspirations!
- Unleash Your Inner Artist: This is your chance to express your unique taste and artistic vision. Forget mass-produced items; create something truly one-of-a-kind that perfectly complements your home’s aesthetic and personal style.
- Eco-Friendly & Sustainable: Upcycling is a fantastic way to contribute to a more sustainable lifestyle. Instead of letting old items end up in landfills, you’re giving them a new lease on life, reducing waste, and promoting resourcefulness.
- A Statement Piece: A beautifully embellished mirror isn’t just for checking your reflection; it’s a piece of art. It can anchor a room, create an illusion of space, and become the focal point that ties your entire decor together.
- Sense of Accomplishment: There’s immense satisfaction in stepping back and admiring something beautiful you’ve created with your own hands. It’s a tangible reminder of your creativity and patience.
The Thrill of the Find: My Mirror’s Journey from Roadside Relic to Glamorous Gem
Let me share a short, inspiring story about the mirror that spurred this very transformation. A few years ago, my resourceful dad, ever the one to see potential in discarded items, spotted a large, framed mirror on the side of the road. Most people would have driven past it, perhaps seeing only junk. But my dad, with his keen eye for opportunity and aversion to waste, scooped it up and tucked it away in his garage. This mirror was quite sizable, measuring a generous 24×36 inches, offering a substantial canvas for transformation.
When I first laid eyes on it, my immediate thought was, “What a fabulous mirror makeover waiting to happen!” While the frame itself had good bones, it was unfortunately painted an unsightly, matted orange-red color – a truly drab and uninspiring hue that did nothing to enhance its potential. It was plain, yes, but beneath that ugly coat of paint, I envisioned glitz, glamour, and a touch of feminine elegance.
I truly wish I had captured “before” photographs now that my “diamond-encrusted” mirror project is complete. The contrast would have been astonishing and incredibly satisfying to document. However, the sheer joy and love I have for the finished piece more than make up for the lack of initial photos. I absolutely adore it!
I am captivated by how glitzy, glamorous, and utterly feminine it looks. It has undeniably become a stunning focal point in my living room, drawing the eye and adding a touch of sophisticated sparkle. Thank goodness for discarded treasures on the side of the road – sometimes, the most magnificent pieces begin as overlooked discards!
Planning Your Mirror Makeover Project: Envisioning Your Masterpiece
Before you dive headfirst into paints and embellishments, a little planning goes a long way. This ensures your project runs smoothly and results in a mirror you’ll cherish.
Choosing Your Mirror and Assessing Its Condition
Your journey begins with the mirror itself. Sources include: thrift stores, garage sales, flea markets, estate sales, or even that neglected mirror hiding in your own home. Once you have your mirror, carefully assess its condition:
- Frame Material: Is it wood, metal, plastic, or composite? This will influence your choice of primer and paint.
- Existing Finish: Is the current paint chipped, glossy, or dull? This determines how much sanding or prep work is needed.
- Glass Condition: Check for cracks, deep scratches, or haziness. While the frame is getting a facelift, ensure the mirror glass itself is suitable for display.
Defining Your Style: What Look Are You After?
While my project focused on a “diamond-encrusted” look, the possibilities are endless. Consider the existing decor of the room where the mirror will reside. Do you want something:
- Glamorous & Glitzy: Like a diamond-encrusted or gilded design?
- Rustic & Distressed: A worn, antique look?
- Bohemian & Eclectic: Adorned with beads, fabric, or natural elements?
- Modern & Minimalist: A clean, sleek frame with subtle detailing?
- Mosaic: Using small pieces of glass or tiles?
Where Will Your New Mirror Go?
The mirror’s placement can influence its design. A living room focal point might be bolder than a subtle bedroom accent. Consider if it will hang above a fireplace, over a console table, in an entryway, or as part of a gallery wall.
Essential Materials for Your Dazzling Mirror Transformation
Gathering all your supplies before you start will streamline the process and prevent interruptions. Here’s a comprehensive list of what you might need for a glamorous, embellished mirror makeover:
- The Mirror: Your chosen canvas for transformation.
- Cleaning Supplies:
- Glass cleaner or rubbing alcohol
- Lint-free cloths or paper towels
- Frame Preparation Tools:
- Medium-grit sandpaper (120-180 grit)
- Fine-grit sandpaper (220-320 grit)
- Wood filler (if the frame has gouges or deep scratches)
- Painter’s tape (high quality, for crisp lines)
- Drop cloths or old newspapers to protect your workspace
- Paint & Primer:
- All-purpose spray primer (highly recommended for adhesion, especially on glossy or mixed surfaces)
- Spray paint or brush-on acrylic/latex paint in your desired base color (e.g., metallic gold, silver, black, white). Spray paint often yields a smoother, more even finish.
- Adhesives:
- Strong craft glue (e.g., E6000, Gorilla Glue clear grip) for attaching embellishments. Look for quick-drying but with enough open time for repositioning.
- Embellishments (for a “diamond-encrusted” look):
- Rhinestones: Various sizes (e.g., 3mm, 5mm, 8mm, 10mm) and shapes (round, marquise, teardrop). Choose clear crystal, iridescent, or colored gems to match your aesthetic.
- Glitter (optional): Fine or chunky glitter to add extra sparkle.
- Faux pearls, beads, small decorative cabochons (optional, for variation).
- Protective Finish:
- Clear sealant spray (e.g., clear acrylic sealer) or brush-on varnish to protect the paint and secure the embellishments. Choose a finish (matte, satin, gloss) that complements your design.
- Tools:
- Small craft brushes (for glue application, if not using a tube)
- Tweezers or a rhinestone picker tool (essential for precise placement of small gems)
- Utility knife (for trimming tape)
- Disposable gloves (to keep hands clean)
Step-by-Step Guide to Your Diamond-Encrusted Mirror Makeover
Now that you have all your materials, let’s bring your vision to life! This process is straightforward, but patience is your best friend.
Step 1: Thorough Cleaning and Preparation
Begin by thoroughly cleaning both the mirror glass and the frame. Use glass cleaner or rubbing alcohol on the glass to remove any smudges or residue. For the frame, wipe it down to remove dust and grime. If the frame has a glossy finish or is heavily varnished, gently sand it with medium-grit sandpaper (120-180 grit) to create a “tooth” for the primer and paint to adhere to. Fill any small cracks or holes with wood filler and sand smooth once dry. This meticulous preparation is crucial for a professional-looking finish.
Next, carefully tape off the mirror glass using high-quality painter’s tape. Press down firmly along the edges to ensure no paint seeps underneath. Cover your work area with drop cloths or old newspapers to protect surfaces from paint and glue.
Step 2: Prime Time (If Necessary)
If your mirror frame is made of an unknown material, has a very dark or glossy finish, or you’re drastically changing its color, applying a coat of all-purpose primer is highly recommended. Primer creates an even base, helps paint adhere better, and prevents future chipping. Apply a thin, even coat of spray primer according to the manufacturer’s instructions, and allow it to dry completely. Often, multiple light coats are better than one heavy coat.
Step 3: Painting Your Base Coat
Once the primer is dry (or if you skipped priming), apply your chosen base color paint. For the smoothest finish, spray paint is often ideal. Hold the can about 8-12 inches from the surface and apply paint in light, even, sweeping motions. Avoid oversaturating one area to prevent drips. For a brush-on paint, use smooth, consistent strokes. Allow the first coat to dry completely before applying a second or third coat if needed. Multiple thin coats will always give a better finish than one thick, heavy coat.
Step 4: The Glamorous Embellishment Phase (Diamond Encrusted Focus)
This is where the magic happens! Once your paint is fully dry, it’s time to add your “diamond” embellishments. Before you start gluing, it’s often helpful to do a dry run: lay out some of your rhinestones on a section of the frame to get a feel for the pattern and spacing. This helps visualize the final look and avoid mistakes.
Working in small sections, apply a thin bead of strong craft glue to the frame. Using tweezers or a rhinestone picker tool, carefully pick up and place each rhinestone onto the glue. For a diamond-encrusted look, you can cover the entire frame densely with rhinestones of various sizes, or create specific patterns. Be patient and precise. If adding glitter, apply glue to the desired area, generously sprinkle glitter over it, then gently tap off any excess onto your drop cloth. Allow the glue to cure completely, which might take several hours or even overnight, depending on the adhesive.
Step 5: Sealing for Durability and Shine
Once all your embellishments are securely in place and the glue is completely dry, apply a clear sealant. A clear acrylic sealant spray is excellent for this purpose, as it provides an even coating and helps secure the embellishments. It also protects the paint from dust, moisture, and general wear and tear, ensuring your mirror’s beauty lasts. Apply several light coats, allowing each coat to dry according to the product instructions. This step is crucial for longevity and preventing rhinestones from falling off.
Step 6: The Grand Reveal
After the sealant has fully cured (check the product for recommended curing times, which can be 24-48 hours), carefully remove the painter’s tape from the mirror glass. Peel it back slowly to avoid lifting any paint or damaging the edges. Give the mirror glass one final polish with glass cleaner, and then step back to admire your magnificent, newly transformed, diamond-encrusted mirror! This reveal is always the most satisfying part of the project.
Tips for a Flawless Finish and Long-Lasting Beauty
- Patience is Key: Don’t rush any step, especially drying and curing times. Impatience often leads to less-than-perfect results.
- Work in a Well-Ventilated Area: Especially when using spray paints, primers, and sealants, ensure good airflow to disperse fumes.
- Test Adhesives: If you’re unsure about a particular glue or embellishment, test it on an inconspicuous spot or a scrap piece of material first.
- Quality Over Quantity: Investing in good quality paints, primers, and especially glue will yield much better and more durable results.
- Don’t Be Afraid to Experiment: While this guide focuses on a “diamond-encrusted” look, feel free to adapt it. Mix different colors of rhinestones, add other embellishments, or combine techniques to truly make it your own.
Integrating Your New Statement Mirror into Your Home Decor
Your beautiful, newly made-over mirror is now ready to shine! Here are some ideas for how to best integrate it into your home decor:
- Living Room: Hang it above a fireplace mantel, over your sofa, or above a console table to create an instant focal point. The reflections of light from the embellishments will add sparkle and depth to the room.
- Bedroom: Place it above a dresser or vanity, or strategically opposite a window to maximize natural light and make the room feel larger and brighter. Its glamorous touch will elevate the bedroom’s ambiance.
- Entryway: A stunning mirror in your entryway provides a welcoming statement piece for guests and a convenient spot for a last-minute check before heading out. It also helps brighten often-dim entry spaces.
- Gallery Wall: If your mirror is a smaller accent piece, integrate it into a curated gallery wall to add texture and a reflective element among your art and photographs.
Consider the lighting in the room; strategically placed lamps or natural light can dramatically enhance the sparkle and allure of your embellished mirror, allowing its “diamond” facets to truly catch the eye.
Conclusion: Your Journey to a Unique Home Begins Now!
Creating a dazzling, custom mirror through a DIY makeover is one of the most satisfying and rewarding home decor projects you can undertake. It’s an inexpensive way to inject luxurious style, express your personal creativity, and transform an ordinary object into an extraordinary piece of art. The journey from a drab, discarded mirror to a glamorous, diamond-encrusted showstopper is incredibly fulfilling.
Just like I enjoyed making mine while watching my favorite TV shows, you’ll find this project both engaging and relaxing. It’s truly easy peasy once you get started!
So, what are you waiting for? Head to your local thrift store, raid your garage, or finally tackle that old mirror you’ve been meaning to refurbish. Unleash your creativity, gather your materials, and get ready to create an absolutely stunning mirror that will be admired by all. Your personalized, glitzy, and feminine focal point is just a few steps away!