
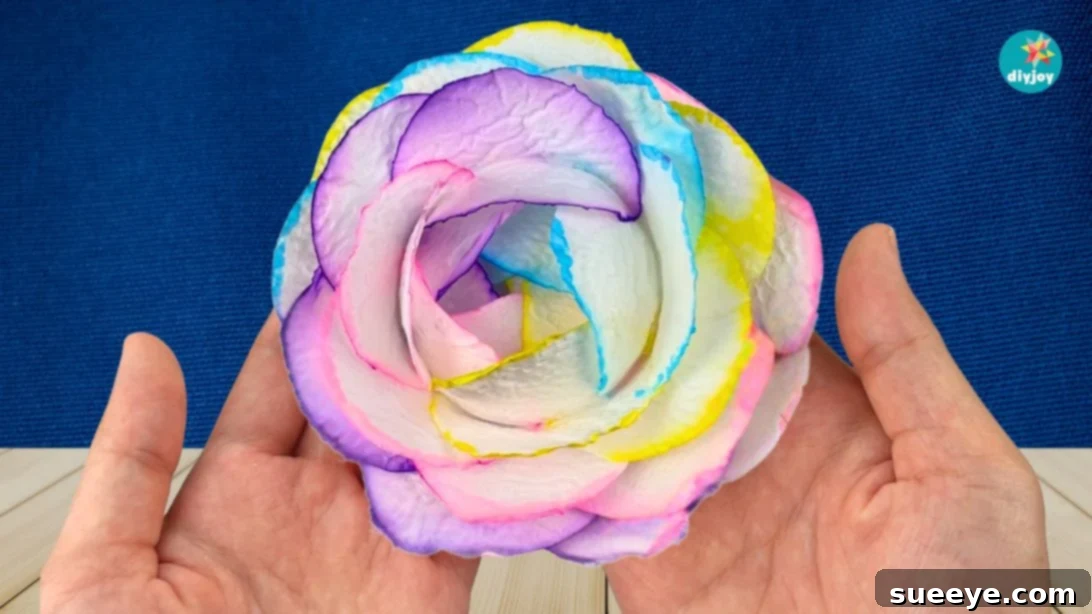
Create Stunning Toilet Paper Flowers: The Ultimate Easy DIY Craft
Toilet paper flowers have taken the internet by storm, and for excellent reasons! This delightful craft project is incredibly easy to make, remarkably cheap, and provides endless fun for all ages. You’ll likely find most, if not all, the necessary materials already in your home, making it an accessible and spontaneous activity. Whether you’re seeking a creative outlet for children, a charming classroom craft, an affordable DIY decor idea, or simply a fun new paper craft to try, these toilet paper flowers are an absolute must-do.
The process is wonderfully engaging: you get to experiment with vibrant colors, watch them gracefully spread and blend, and transform simple paper circles into breathtaking floral masterpieces. It’s a truly magical experience that culminates in a beautiful, handcrafted flower. Prepare to be amazed by the stunning results!
Our initial venture into paper flowers, featured in our popular tissue paper flowers tutorial, garnered immense love across Facebook, Instagram, TikTok, and YouTube. Enthusiastic comments flooded in, expressing surprise and delight at how beautiful the finished flowers turned out. This time, we’re taking the viral sensation a step further by crafting another exquisite flower using readily available toilet paper.
Even we were astounded by the elegance and charm of this project, and we’re confident you’ll share the same reaction once you give this craft a try. If you haven’t yet explored our first tissue paper flower tutorial, we highly recommend checking it out for even more crafting inspiration!
Related Crafting Inspiration
Looking for more innovative paper flower ideas? Don’t miss our guide on Easy Crepe Paper Flowers for another fantastic project!
Watch the Viral TP Flower Tutorial on TikTok
For those who love a quick visual guide, here’s our viral TikTok video offering a dynamic, step-by-step look at how to create these captivating toilet paper flowers. See the magic unfold in real-time and get inspired to start your own craft!
@diyjoycrafts Ok, I couldn’t believe how gorgeous these turned out 😍 This started as plain (but perhaps unusual) paper + water but it looks like a real flower! magic ✨ 🌈 Try this fun and easy craft idea to decorate a gift, brighten your room, decorate a hat, a frame, pretty much anything! 🌸 #handmade #tiktokcrafts #floralbouquet #diy #flowertutorial #cheapgiftideas #easycraft #diyflower #rainbowrose #crafttok #asmrvideo #colorfulDIY #manualidades #manualidadesfaciles Try these for a gorgeous DIY flower bouquet that never wilts! 🌹 Love easy crafts and cool DIY ideas? Follow DIY JOY for a daily dose of crafting fun.
♬ Inspirational – neozilla
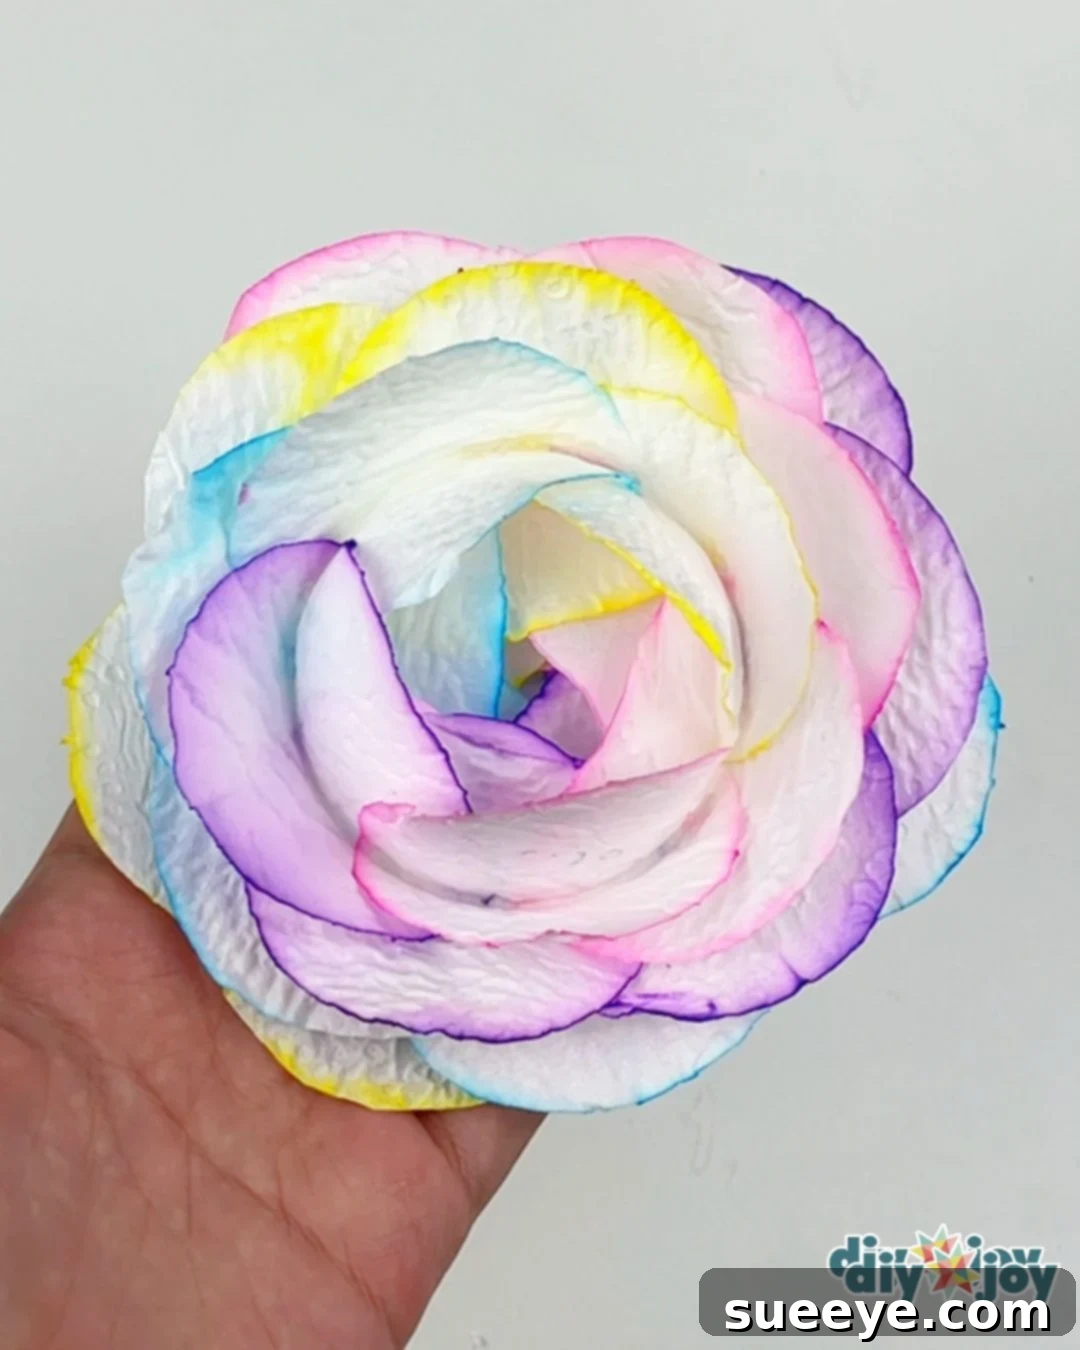
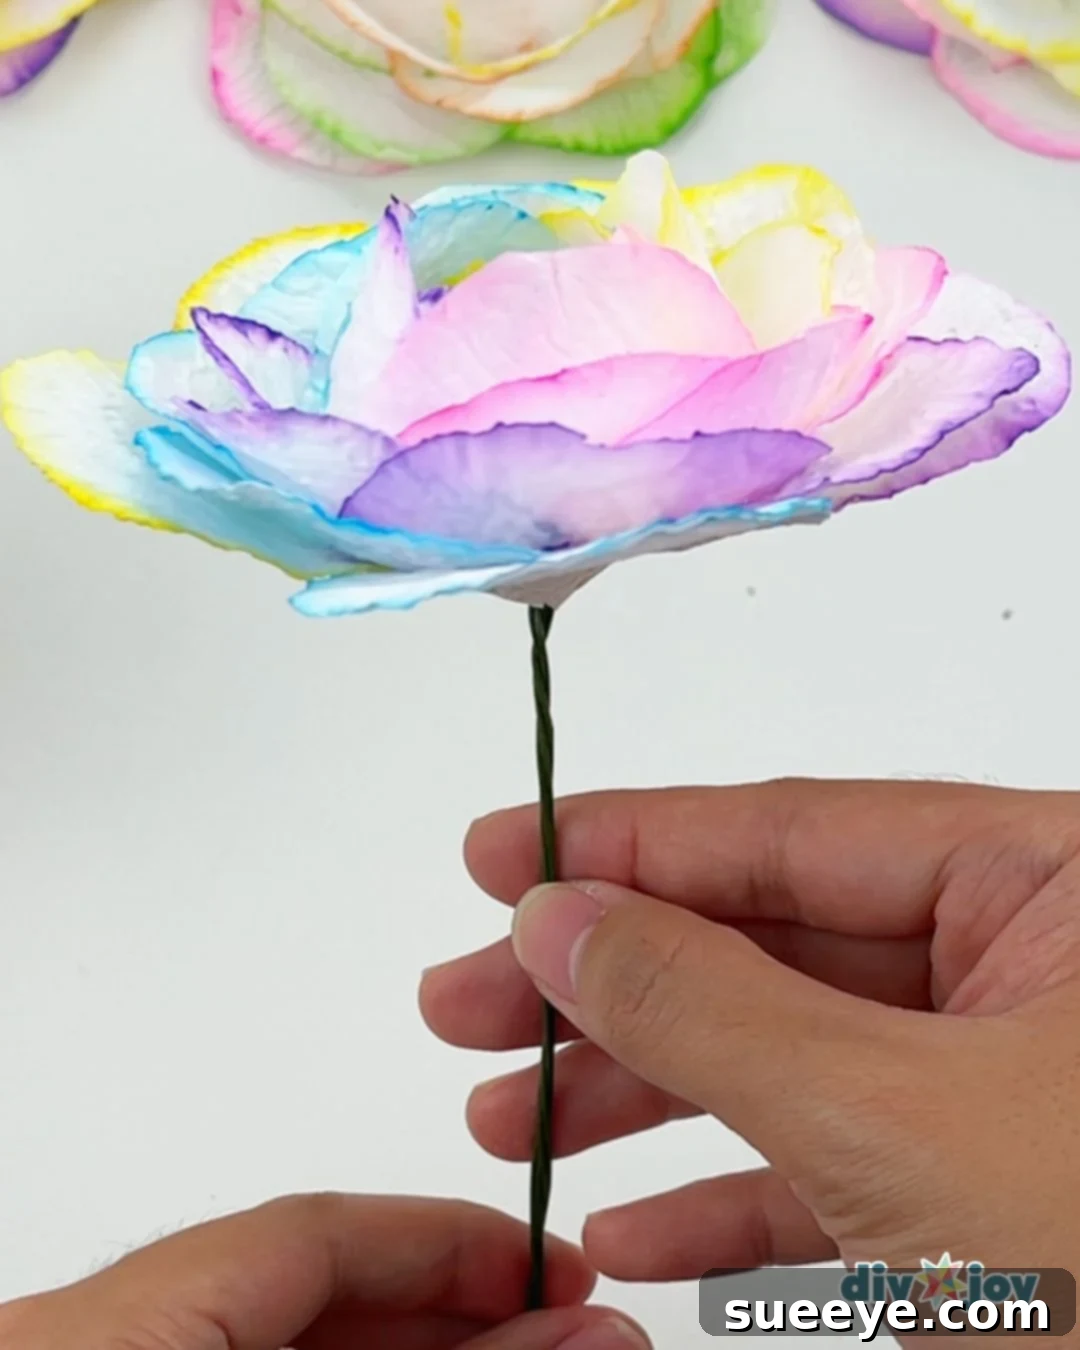
This latest design introduces a captivating twist: the paper circles are artfully colored in a spectrum of hues, blossoming into a stunning rainbow-like creation. The beauty of this paper flower tutorial lies in its utter simplicity. There are absolutely no complicated steps or advanced skills required, making it truly accessible for everyone, from beginners to seasoned crafters. If you’re searching for a heartfelt, handmade gift for a loved one, or simply a gorgeous and budget-friendly way to add a touch of color to your home, this DIY project is an impeccable choice. It’s simple, stunning, and won’t break the bank!
Toilet Paper Flower: A Detailed Step-by-Step Tutorial
In this comprehensive yet easy-to-follow tutorial, we’ll guide you through the process of making beautiful toilet paper flowers (or tissue paper flowers, if you prefer). Many crafters inquire about adding a stem to their creations. While entirely optional, including a stem allows you to display your stunning flowers in a vase, transforming them into a lasting floral arrangement. We’ve included detailed steps below for attaching a stem, ensuring your DIY bouquet is truly magnificent.
-
Prepare Your Paper Circles
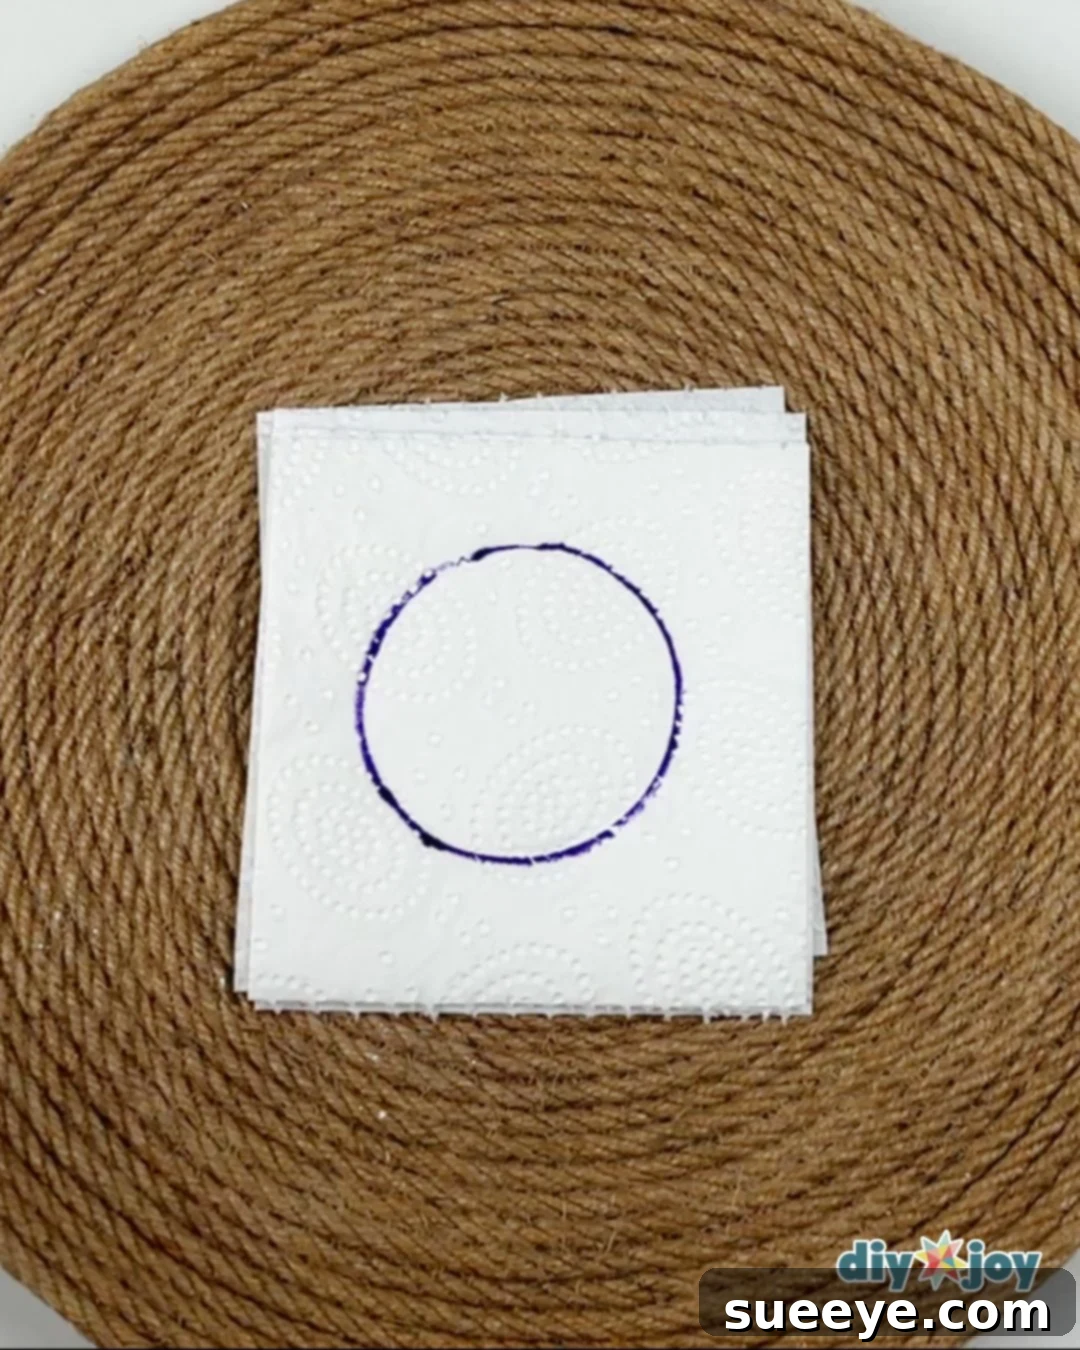
Begin by selecting four markers in distinct, vibrant colors that you wish to feature in your rainbow flower. Stack five sheets of toilet paper neatly together. Place a small paper cup upside down on the top sheet, then carefully trace its bottom to create a perfect circle. Cut out this circle through all five layers. Repeat this tracing and cutting process three more times, using each of your chosen markers to mark the circles. Finally, cut one additional plain circle for the base of your flower, bringing your total to 21 circles (five for each color, plus one extra for the bottom). If you plan to add a stem, you’ll need one more extra circle for that purpose.

-
Color the Edges for a Gradient Effect
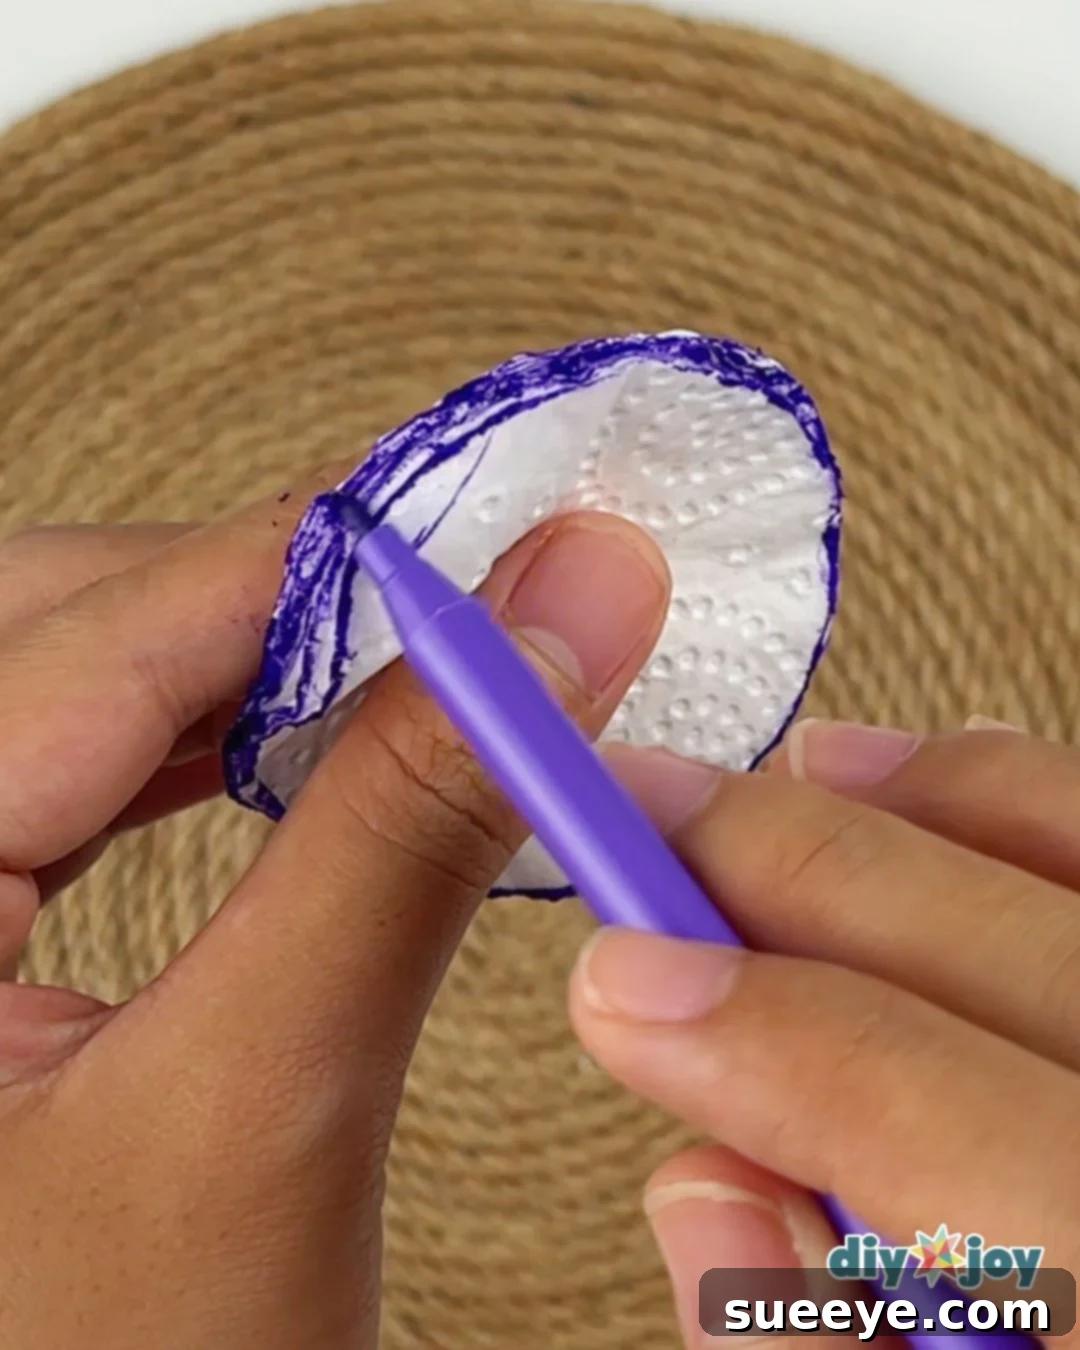
With your markers, carefully color around the edges of each stack of five circles. Don’t worry about perfection; the water will help the colors spread and blend beautifully, creating a soft, watercolor-like gradient effect that gives these flowers their unique charm. Ensure a good amount of color is applied to the rims to achieve the desired vibrancy.
-
Activate the Colors with Water
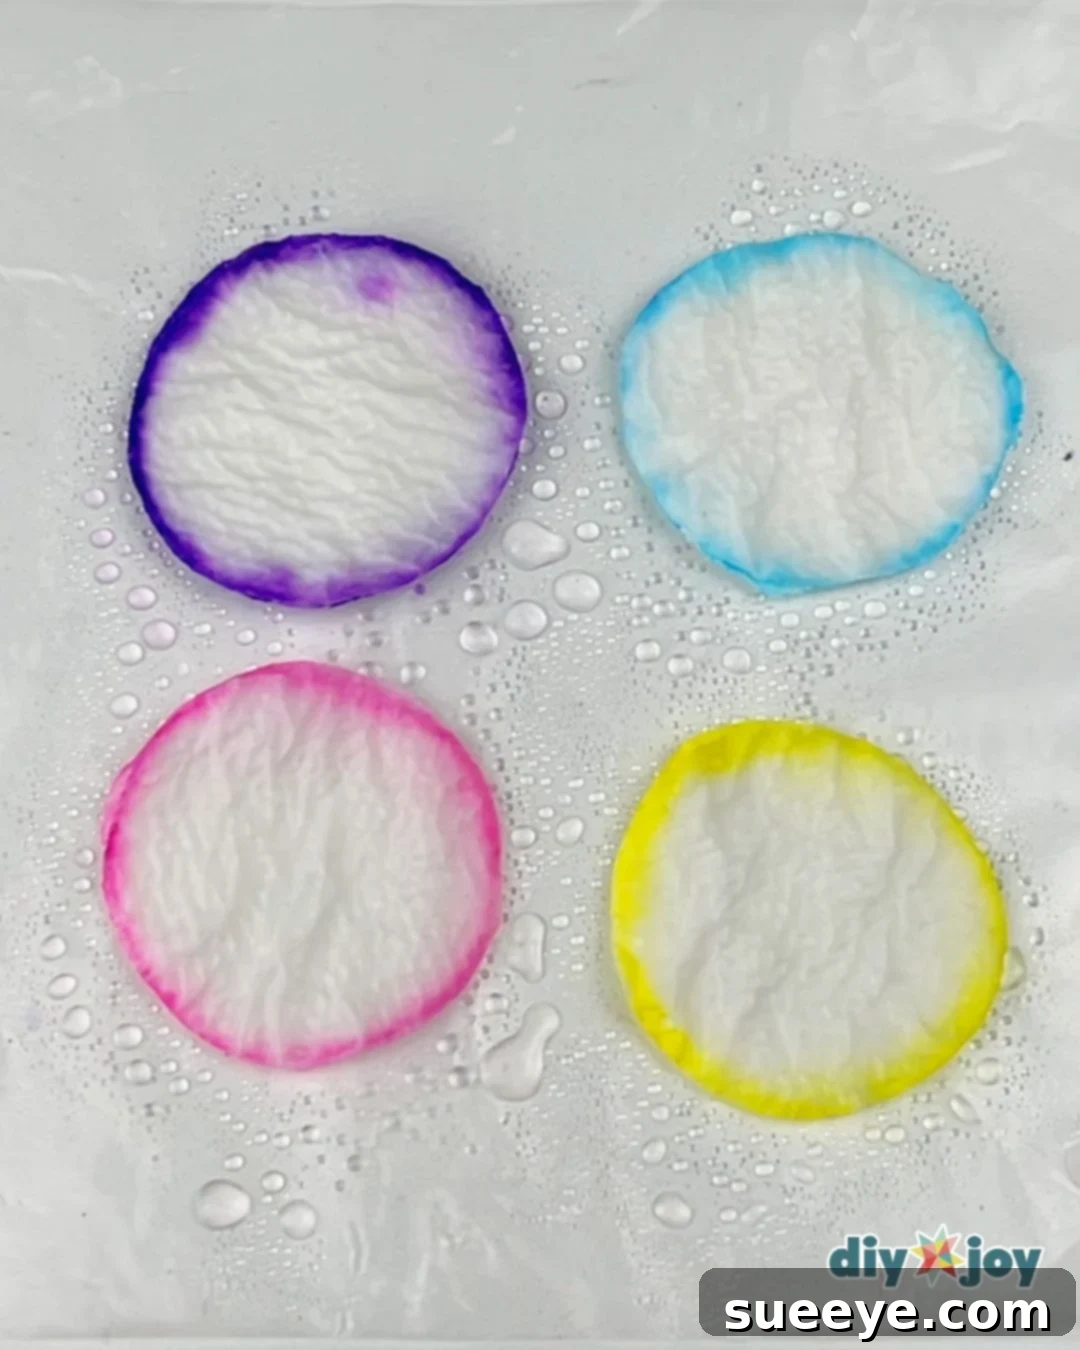
Arrange your colored paper circles on a plastic sheet or a waterproof surface. Using a spray bottle, gently mist them with water. Watch as the colors begin to bleed and spread inwards, creating captivating patterns. This is where the magic truly happens! Once sprayed, allow the circles to dry completely. Patience is key here; ensure they are thoroughly dry before proceeding, as this prevents tearing and ensures the colors set beautifully.
-
Assemble Your Paper Flower Petals
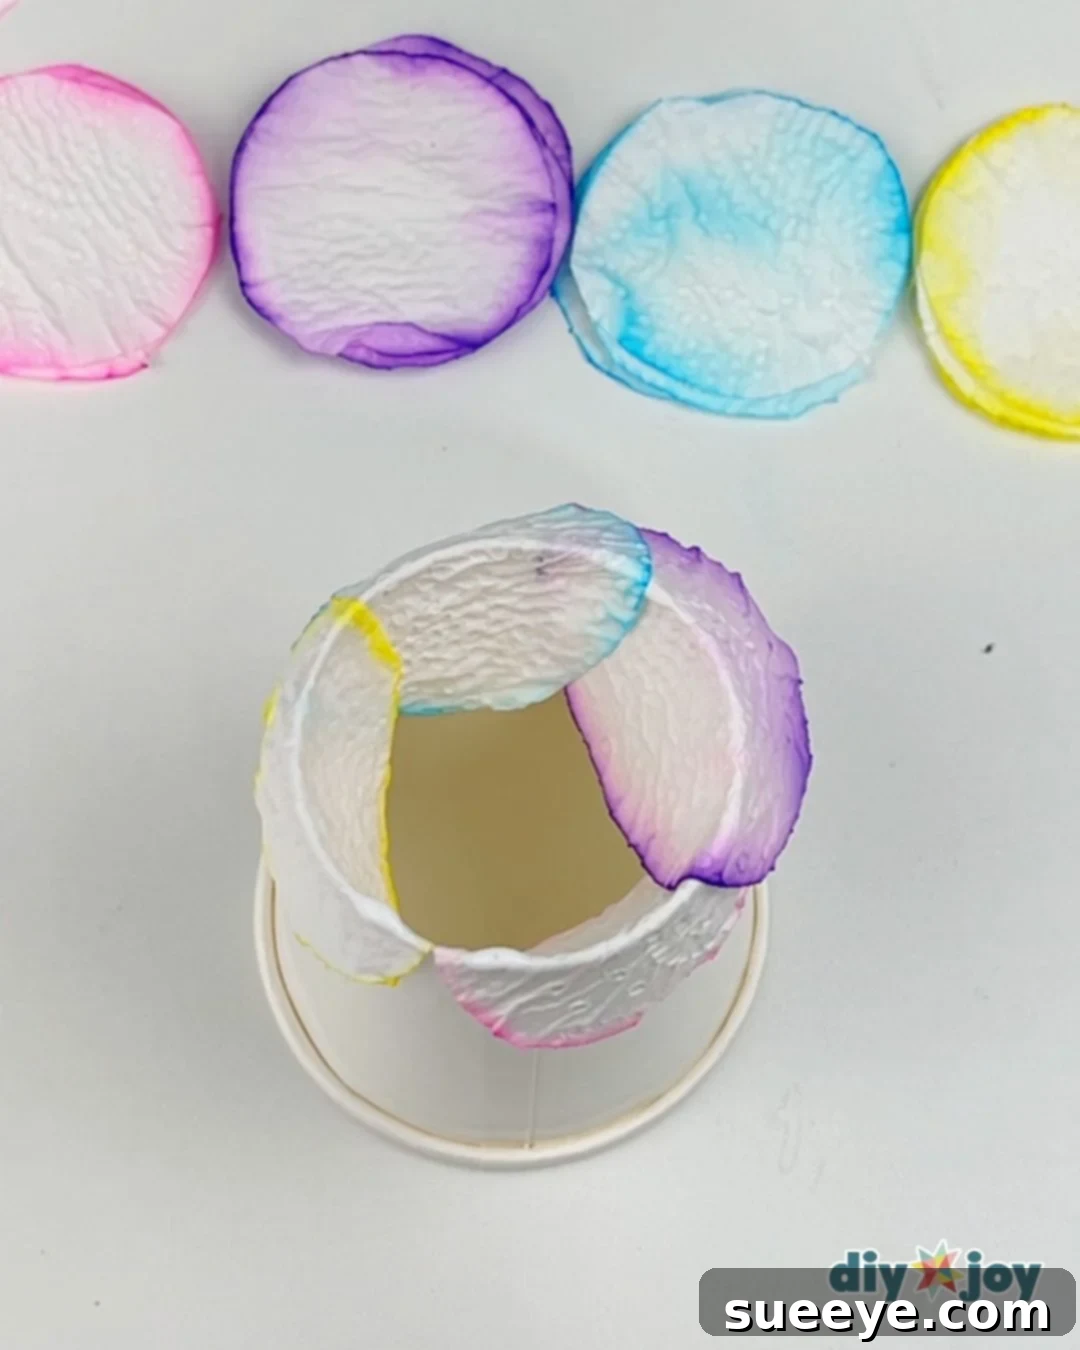
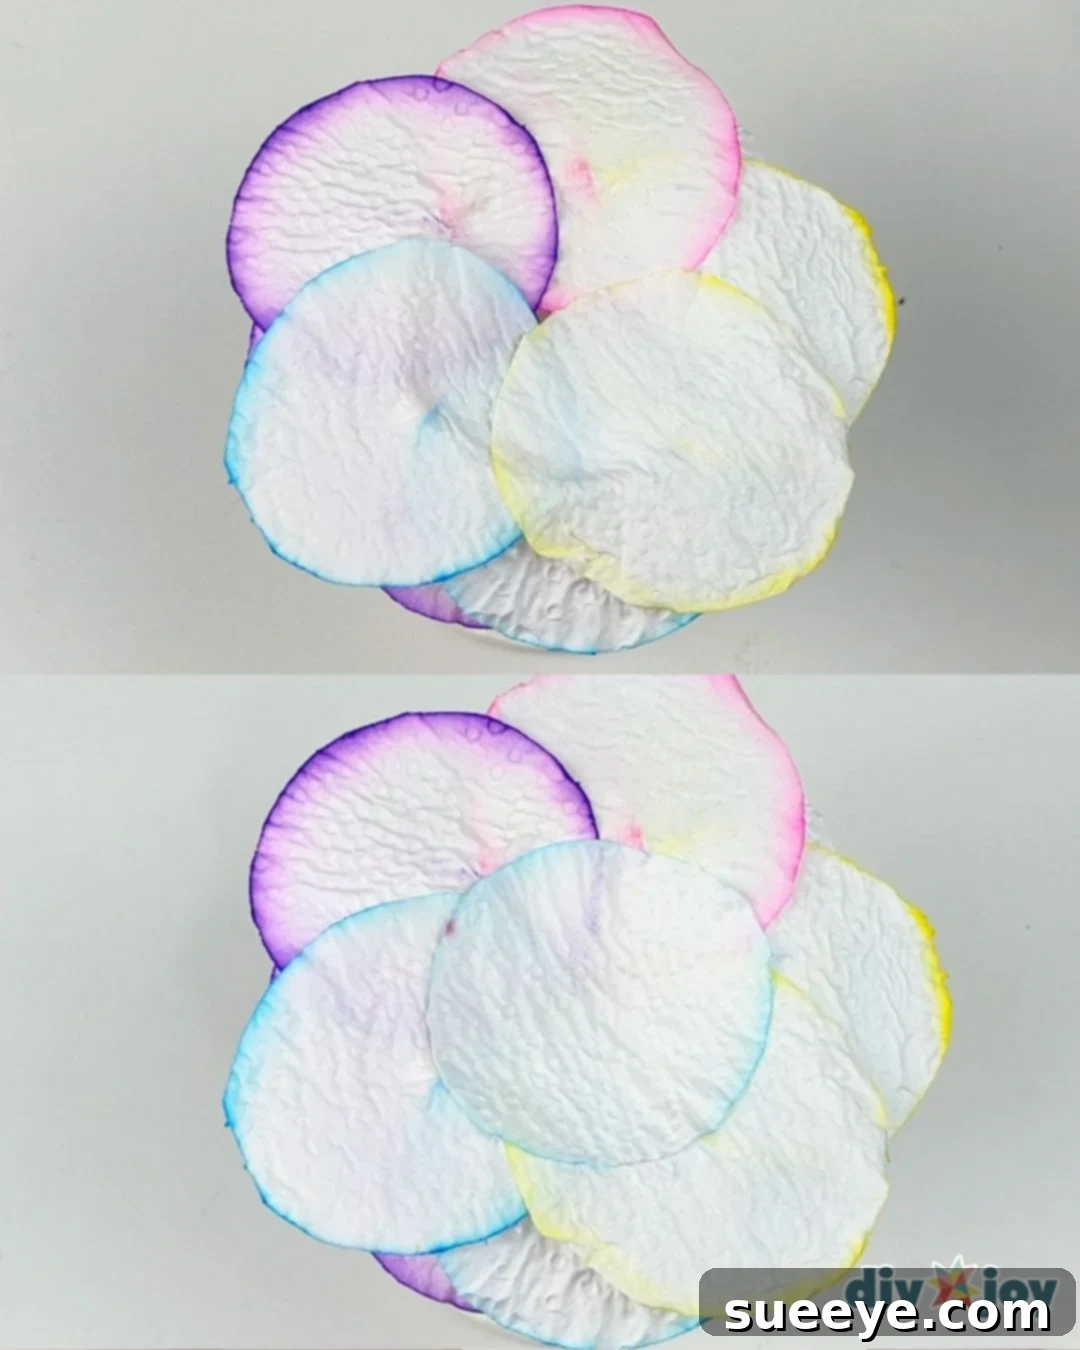
Take your paper cup and, using a pair of scissors, carefully remove its bottom. Turn the cup upside down. Now, begin folding your dried paper circles over the rim of the paper cup. Overlap each piece slightly, securing the ends together with a touch of glue. For the subsequent layers, place the circles strategically between the pieces of the previous layer. This creates a fuller, more realistic floral appearance. To achieve a consistent and striking visual pattern, we recommend starting with one color (e.g., pink) and ending with another (e.g., yellow) for each full layer, creating a harmonious rainbow effect.
-
Neatly Cover the Bottom
Once all your petal layers are complete, apply a generous amount of glue to the center of the underside of your flower structure (still on the cup). Carefully place the extra plain circle you cut earlier directly on top of the glue. This step creates a neat and finished bottom for your flower, concealing any raw edges and providing a sturdy base.
-
Gently Remove the Flower
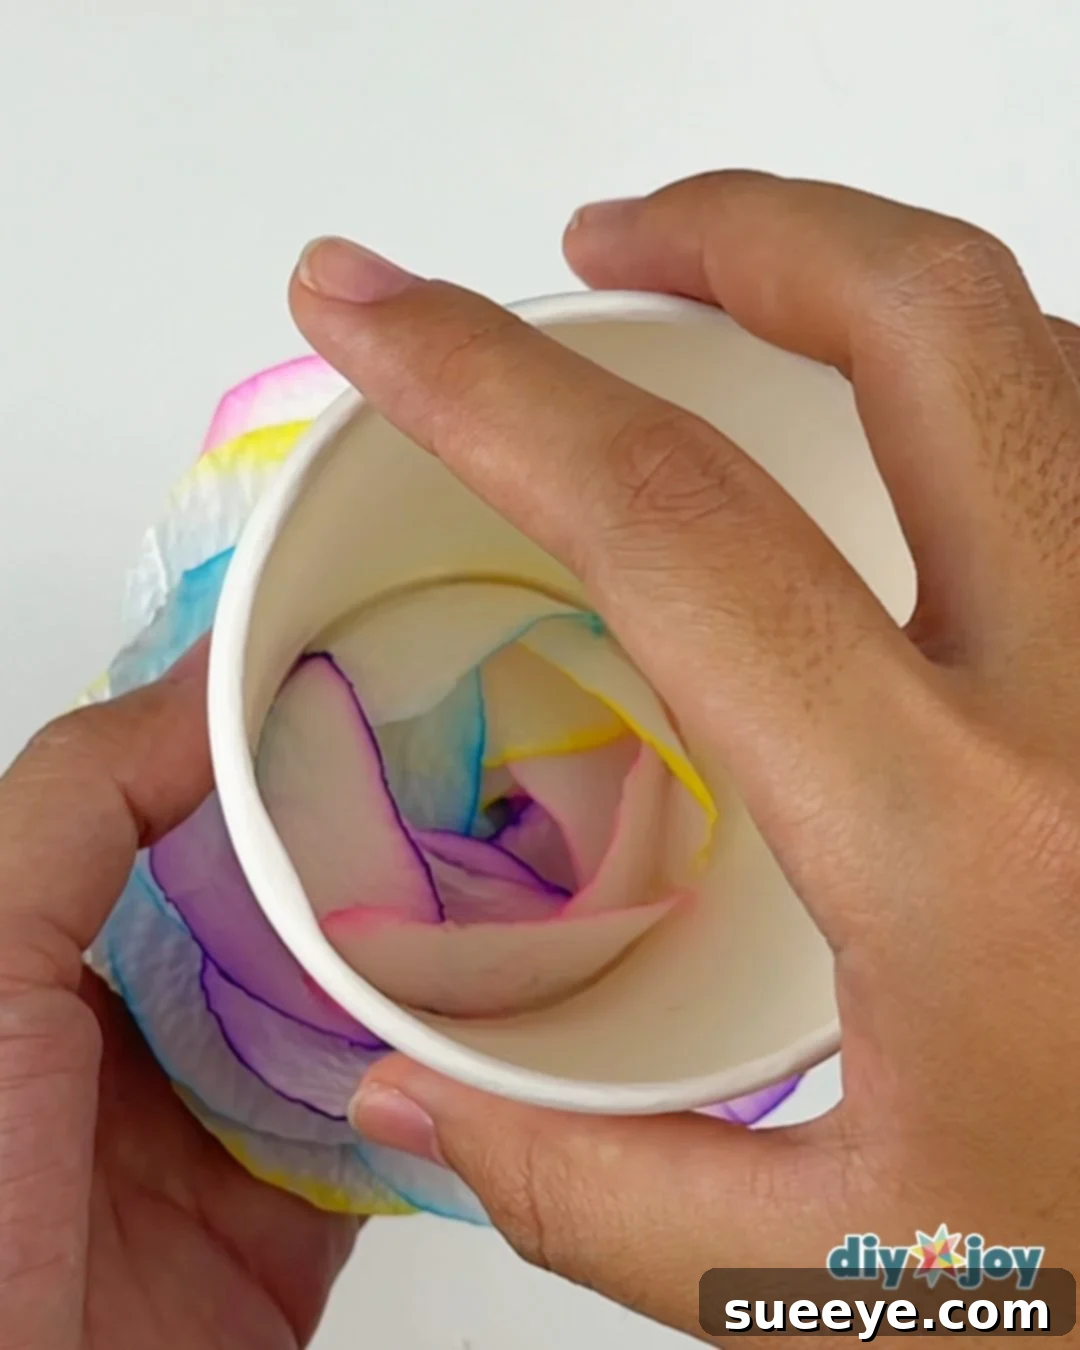
Once the bottom is secured, carefully flip the cup over. Gently and slowly remove the newly formed flower from the cup. Take your time during this step to avoid tearing any delicate petals or dislodging the glued sections. The cup serves as a mold, and a gentle touch will ensure your flower maintains its beautiful shape.
-
Allow the Glue to Cure Completely
After removing the flower, place it aside and allow all the glue to dry and cure completely. This is crucial for the structural integrity of your paper flower. Rushing this step might result in the petals coming apart. A fully dry flower will be robust and hold its shape beautifully for a long time.
-
Craft the Top of the Stem
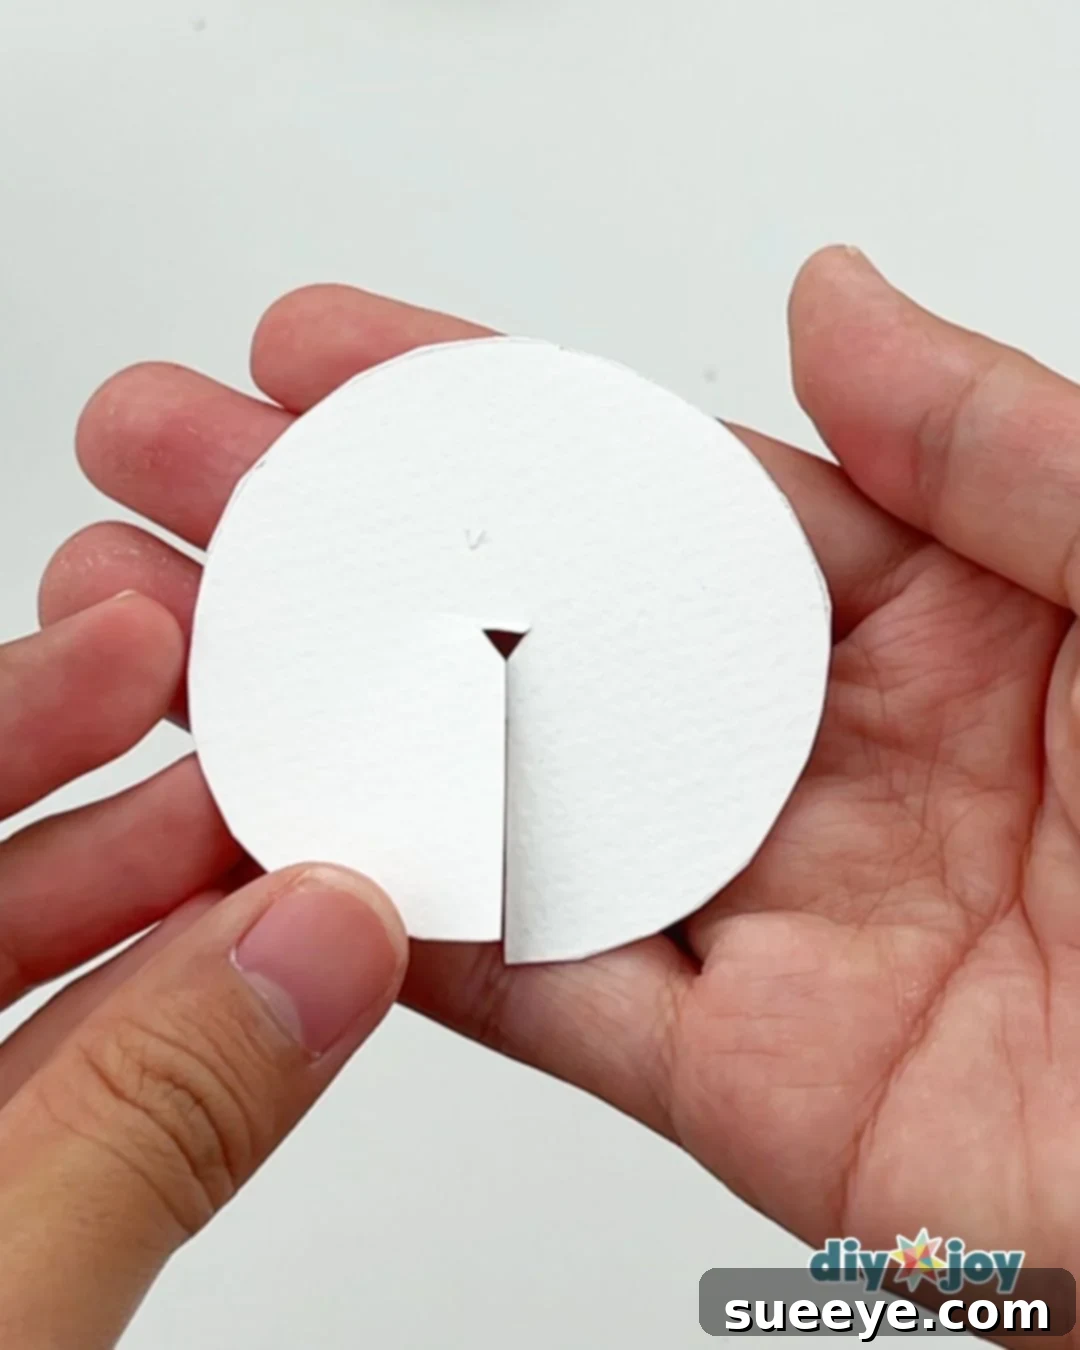
To create the top support for your stem, trace the bottom of your paper cup onto a piece of sturdy cardboard. Cut out this cardboard circle. Then, cut halfway through the middle of the circle, and remove a very small triangle from the center. This creates a small opening and allows for the conical shape that will secure the flower to its stem.
-
Construct the Wire Stem
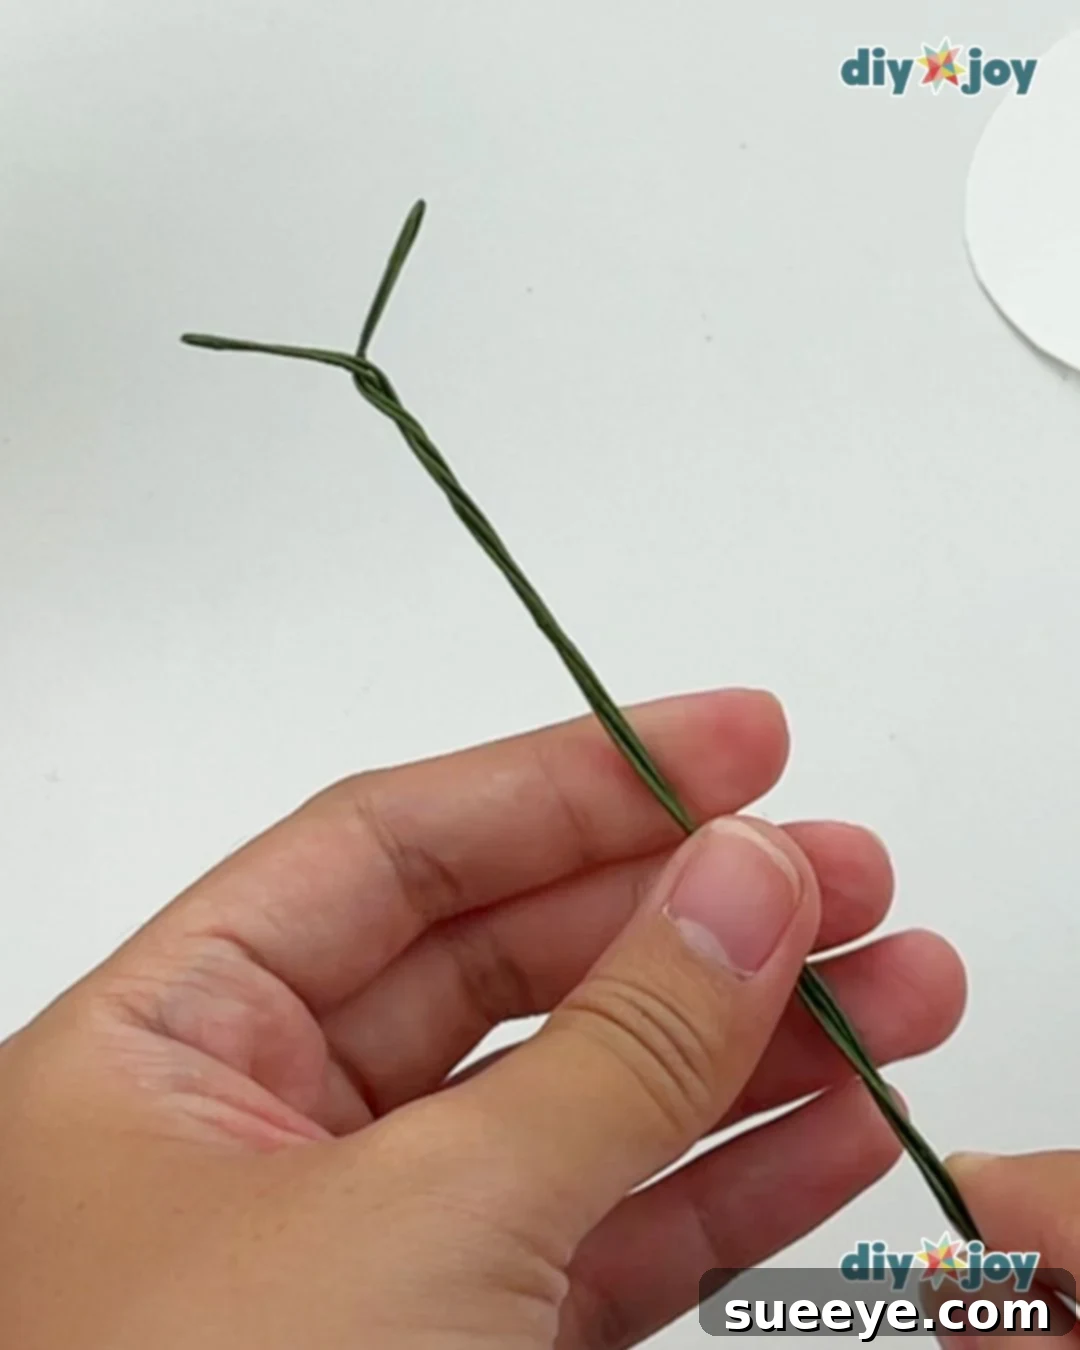
Take two pieces of floral wire and bend them precisely in half. Twist these wires tightly together from the bend down to the ends, as shown in the photo below. This twisting technique creates a robust and flexible stem that will adequately support your paper flower and allow for easy arrangement in a vase.
-
Form a Secure Cone Shape
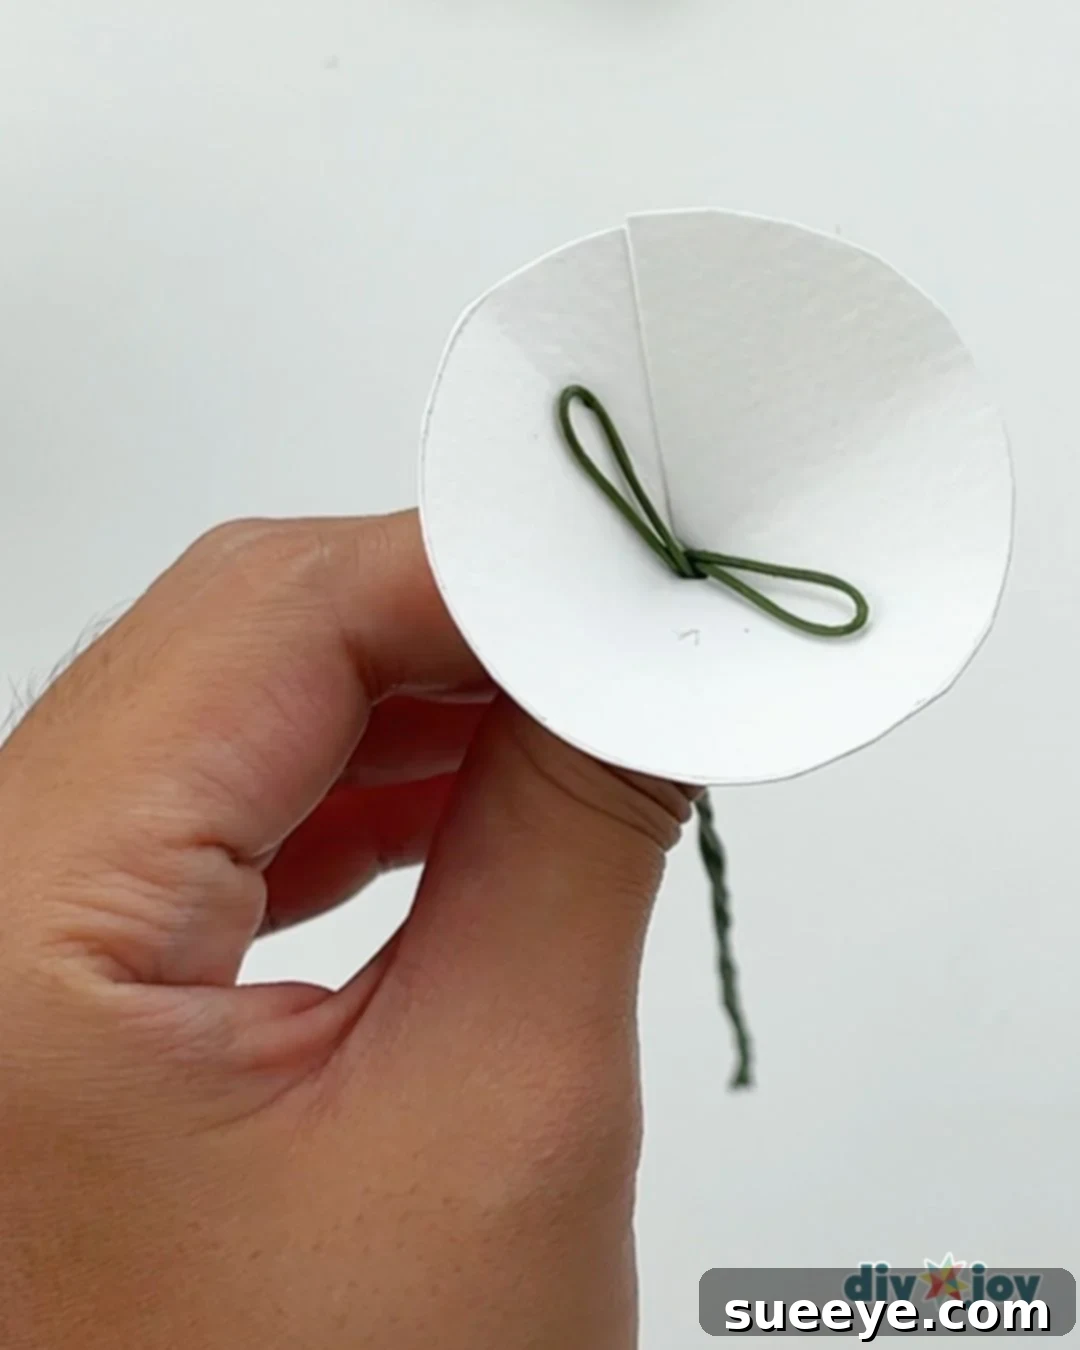
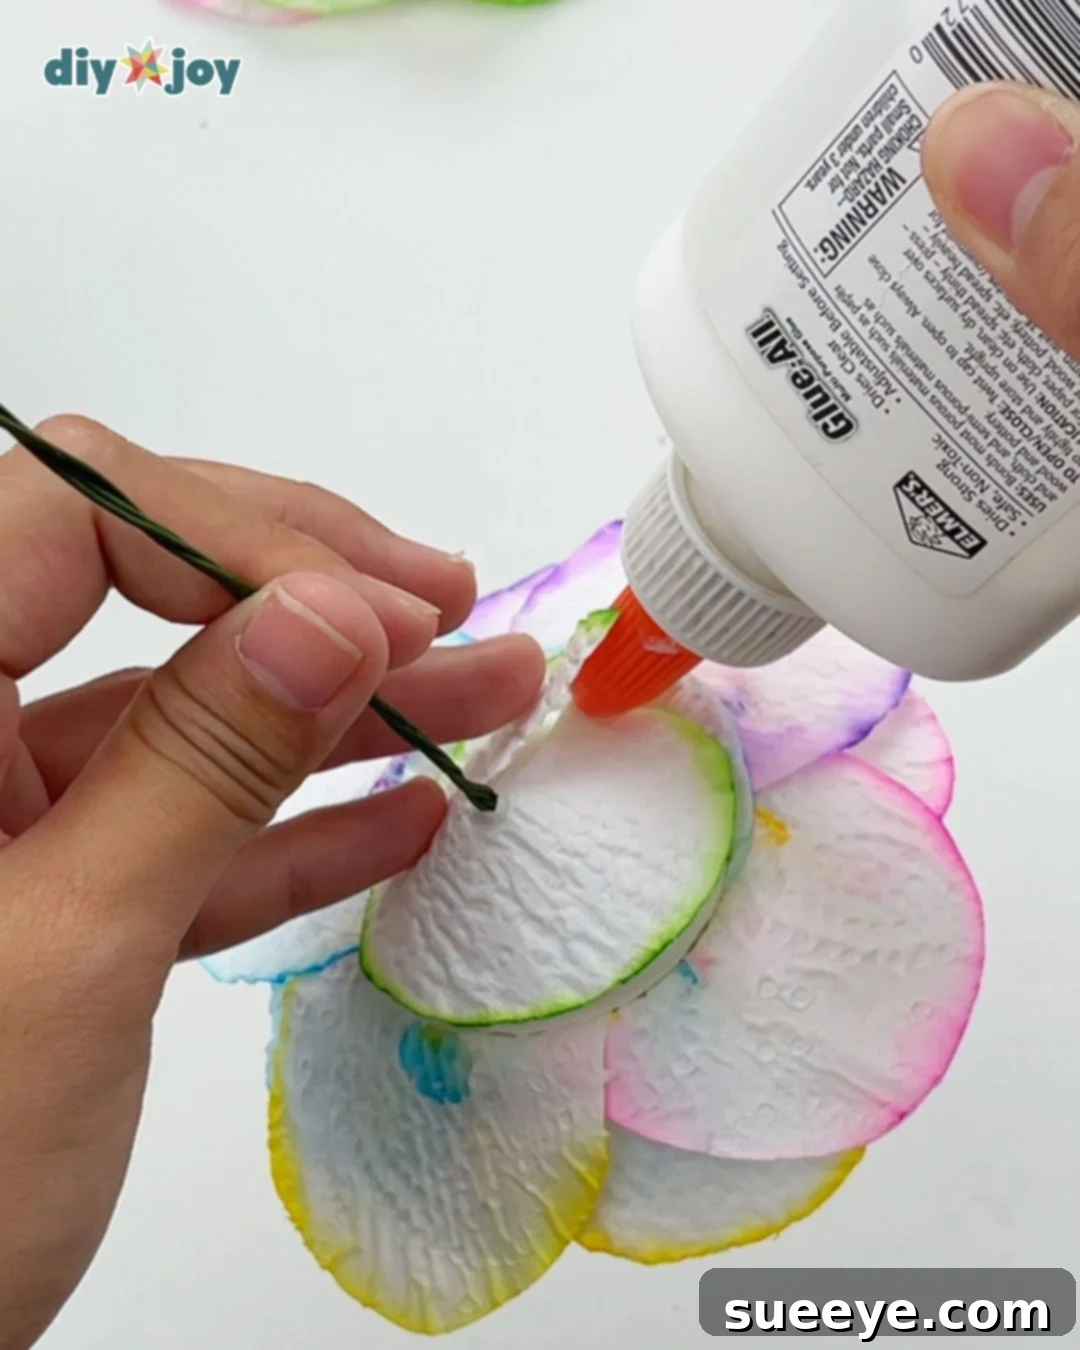
Take the extra paper circle you saved for the stem. Carefully slide the twisted floral wire through the small opening you created in the center of the cardboard circle, then thread it through the center of the paper circle. Now, bring the edges of the paper circle together and glue them securely to form a cone shape around the wire. This cone will serve as the strong connection point between the flower head and the stem.
-
Apply Glue for Attachment
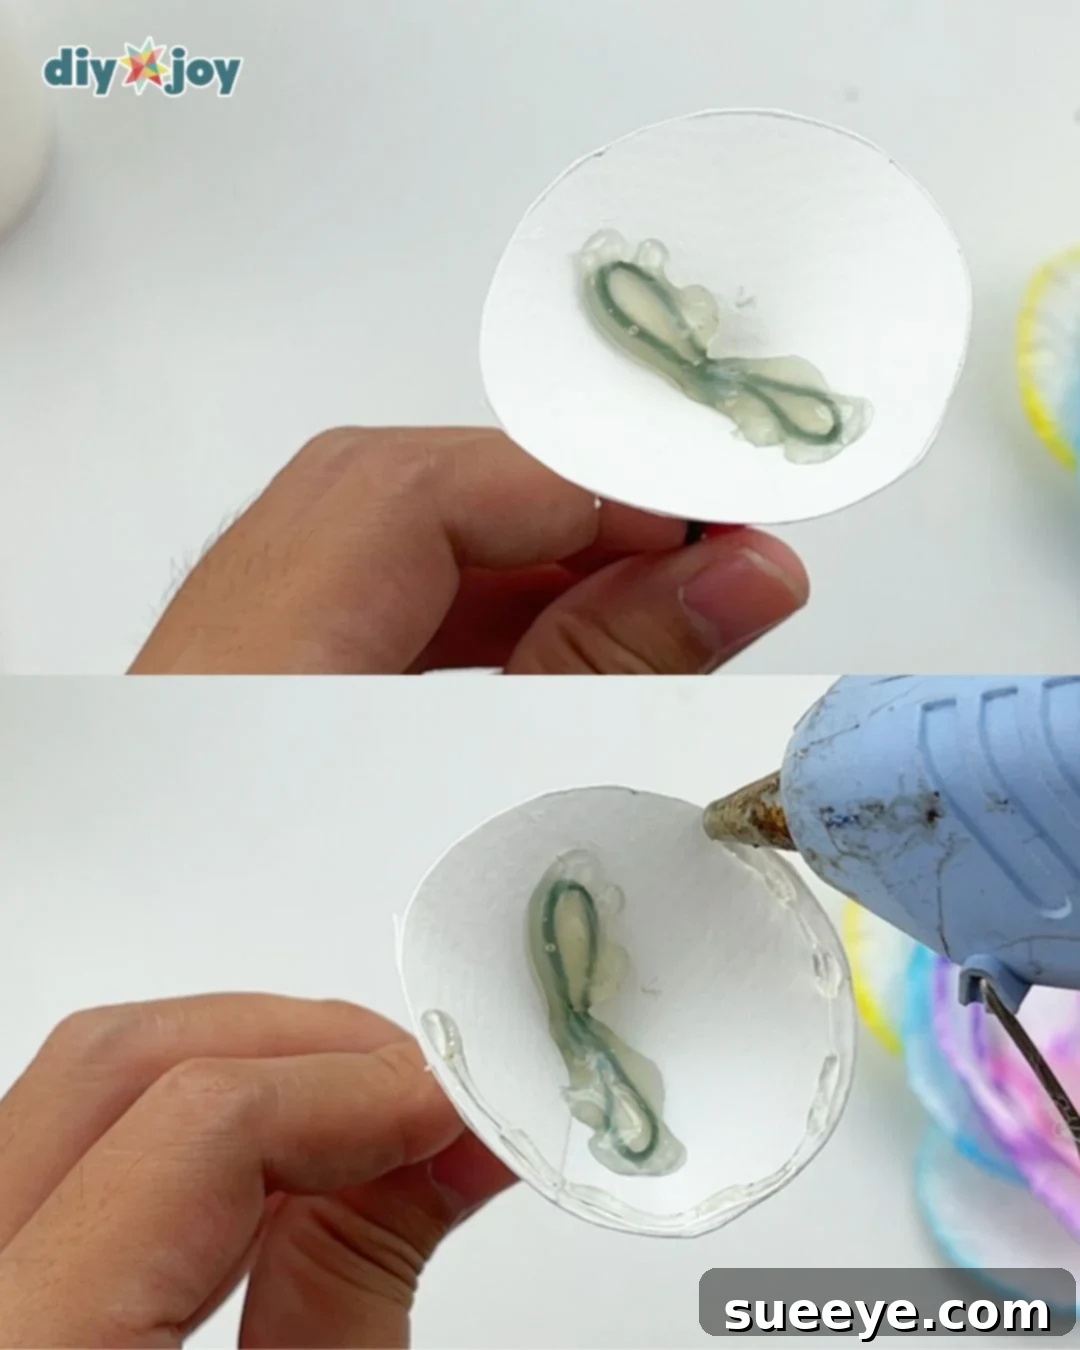
Apply a generous amount of glue to the upper portion of the twisted wire stem, ensuring good coverage. Allow this glue to dry slightly until it becomes tacky. Once it reaches the right consistency, apply another layer of glue to the outer edge of the cone shape. This dual application of glue ensures a super strong and lasting bond.
-
Attach the Flower Head
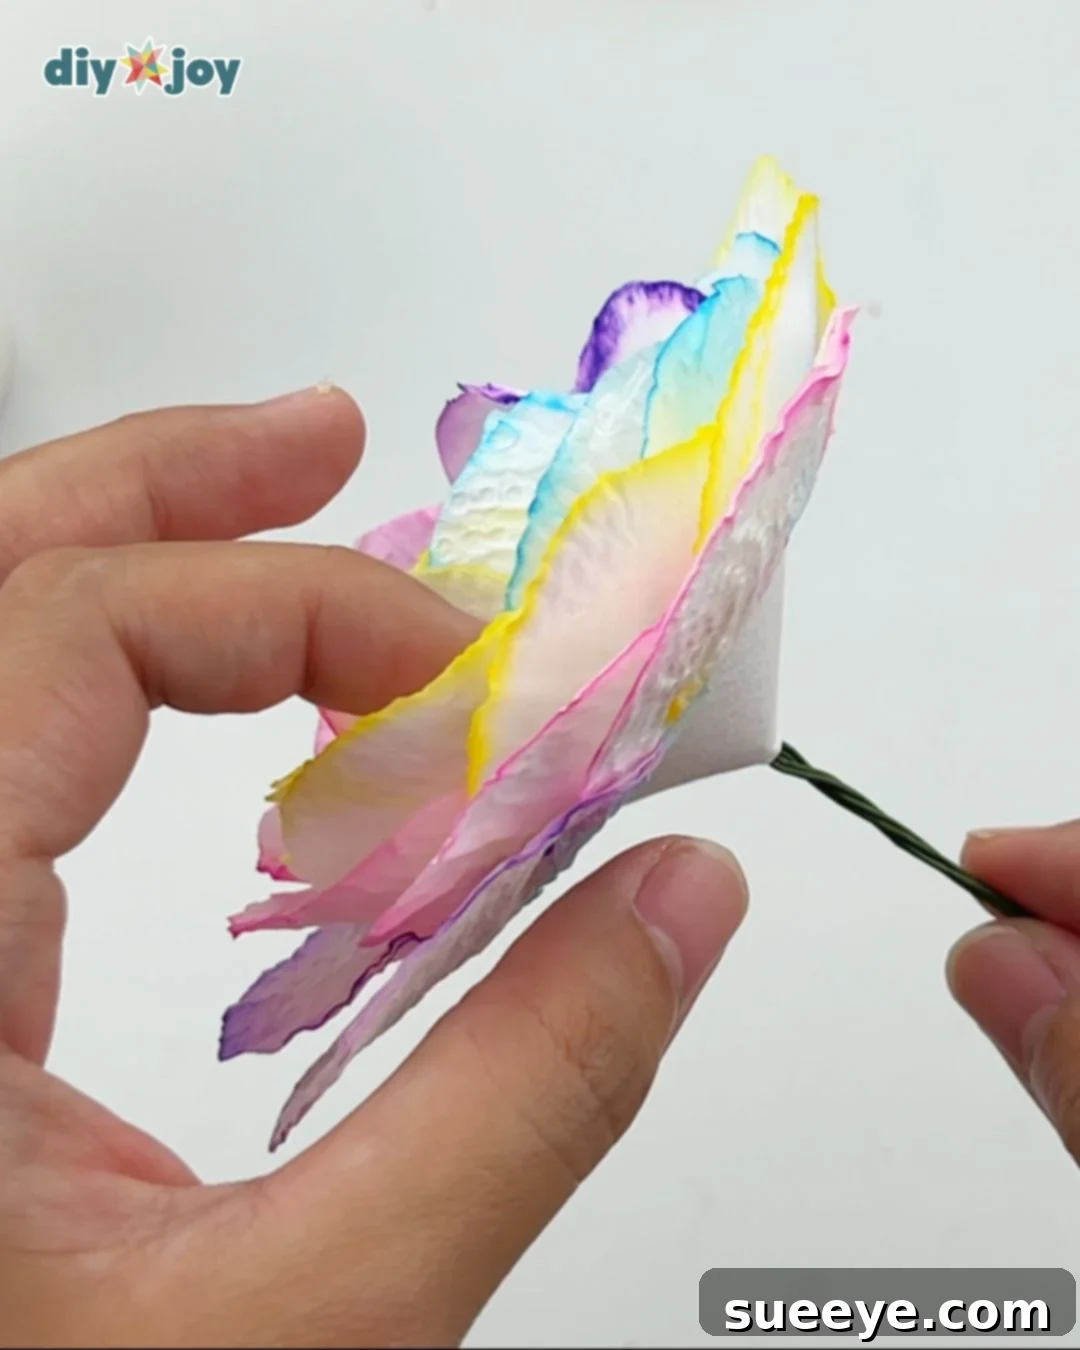
Working quickly while the glue is still tacky, immediately attach the base of your finished toilet paper flower to the top of the cone shape. Press firmly but gently to ensure a secure connection between the flower and its newly formed stem. Hold in place for a few moments to allow the glue to begin setting.
-
Conceal the Cone Base
Take the other extra paper circle you prepared earlier. Cut it in the same way you cut the cardboard circle (halfway through the middle with a small triangle removed). Carefully glue this paper circle onto the cone shape, fully covering it. This provides a clean, aesthetic finish to the junction where the flower meets the stem, enhancing the overall professional look of your handmade bloom.
-
Optional: Add Realistic Leaves
For an added touch of realism and vibrancy, consider crafting a few leaves using green crepe paper or construction paper. Cut out leaf shapes that complement the size of your flower. Apply a small amount of glue to the base of each leaf and firmly attach them along the stem. This final step brings your toilet paper flower to life, making it even more appealing and ready for display.
Essential Tools for This Craft
- Glue gun (for quick and strong bonds)
- Scissors (sharp and precise for cutting circles)
Materials You’ll Need
- Toilet paper (white, multi-ply works best)
- Liquid glue or glue stick (for paper adhesion)
- Water-based markers (for vibrant colors)
- Spray bottle (to create the watercolor effect)
- Cardboard (for stem support)
- Floral wire (for sturdy stems)
- Small paper cup (as a tracing guide and molding tool)
- Optional: Crepe paper (for leaves)

Expert Crafting Tips for Perfect Flowers
For the best results, ensure that your colored paper circles are absolutely, completely dry before you begin assembling your flower. Any lingering moisture can cause tearing or affect the glue’s adhesion. Also, try to make your circles as flat as possible after drying; this will help them fold more neatly over the cup’s rim.
Don’t be afraid to unleash your inner artist! Experiment with different color combinations, try blending two colors on one edge, or even add a touch of glitter for extra sparkle. The beauty of DIY is in personalization. Have fun, get creative, and let your imagination bloom!
Creative Display Ideas and Variations for Your Paper Flowers
Once you’ve mastered the art of making these exquisite toilet paper flowers, the possibilities for their use are endless. Here are some inspiring ideas to showcase your beautiful creations:
- Elegant Table Decor: Transform any dining table or coffee table into a charming display. Place your finished flowers in a clear decorative box, adding fairy lights or small pebbles for a magical touch. These flowers make for delightful centerpieces for parties, baby showers, or everyday elegance.
- Stunning Floral Arrangements: Create a captivating bouquet by making flowers in various sizes and a vibrant array of colors. Arrange them artfully in a favorite vase to create a long-lasting, low-maintenance floral arrangement that brightens any room without ever wilting.
- Charming Flower Wreaths: Craft several pieces of these beautiful paper blooms and securely glue them onto a wreath base. This makes for a unique and eye-catching piece of home decor, perfect for adorning your front door or any wall in your living space.
- Personalized Gift Embellishments: Attach a smaller version of these flowers to wrapped gifts for a thoughtful, handmade touch that makes any present feel extra special.
- Children’s Room Decor: These colorful flowers are perfect for decorating a child’s bedroom or play area, adding a whimsical and cheerful atmosphere.
Explore More Paper Flower Crafts
If you’ve enjoyed creating these toilet paper flowers, you’ll love diving into our other popular paper flower tutorials. Expand your crafting skills and discover new ways to bring paper to life!
Paper Flowers
Easy Crepe Paper Flowers
Paper Flowers
Toilet Paper Flowers Tutorial
Paper Flowers
How to Make Paper Flowers With Cupcake Liners
Toilet Paper Flower Tutorial | YouTube Video
For an even more in-depth visual guide, complete with all the tips and tricks, be sure to watch our full Toilet Paper Flower Tutorial on YouTube. It’s the perfect companion to this written guide, offering clear demonstrations for every step, ensuring your crafting success!
Making toilet paper flowers is a fantastic way to unleash your creativity, engage in a relaxing activity, and produce something truly beautiful from everyday items. It’s an ideal project for crafters of all skill levels, offering a low-cost, high-impact result. We hope you feel inspired to gather your materials and embark on this delightful DIY journey. Share your stunning creations with us and spread the joy of handmade art!