
How to Deep Clean Your Top-Loading Washing Machine: A Comprehensive Guide
While washing machines are designed to keep our clothes fresh and spotless, they can ironically become quite dirty themselves over time. Constant exposure to dirt, detergent residues, fabric softener buildup, grease, grime, and even mold can accumulate within the machine’s drum, dispenser, and seals. This buildup not only leads to unpleasant odors but can also transfer back onto your laundry, making your efforts to achieve truly clean clothes futile. A neglected washing machine can also become less efficient, consuming more energy and potentially shortening its lifespan. Therefore, regular deep cleaning is not just about aesthetics; it’s essential for maintaining hygiene, optimal performance, and extending the life of your appliance. Fortunately, restoring your washing machine to its sparkling best is a simple task that requires just a few common household ingredients and a little time. This guide will walk you through an effective, natural method for deep cleaning your top-loading washing machine, ensuring your laundry always comes out smelling fresh and looking clean.
Why Regular Washing Machine Cleaning Matters
Deep cleaning your washing machine offers a multitude of benefits that extend beyond just a visually cleaner appliance. Understanding these advantages can motivate you to incorporate this vital task into your regular home maintenance routine:
- Eliminates Unpleasant Odors: One of the most common complaints about dirty washing machines is a musty or mildewy smell. This odor often stems from bacteria, mold, and mildew thriving in damp, dark environments within the machine. A thorough clean eradicates these odor-causing culprits, leaving your machine (and your laundry) smelling fresh.
- Removes Detergent and Fabric Softener Buildup: Over time, residues from laundry products can accumulate in the drum, dispenser, and hoses. This sticky film can harbor bacteria and reduce the effectiveness of your machine. Cleaning removes this buildup, allowing detergents to work more efficiently.
- Prevents Mold and Mildew Growth: The warm, moist interior of a washing machine is an ideal breeding ground for mold and mildew. These can not only cause foul odors but also potentially transfer spores to your clothes and trigger allergies. Regular cleaning helps prevent their proliferation.
- Improves Cleaning Performance: When your washing machine is caked with grime, it can’t clean your clothes as effectively. Removing the buildup ensures that water and detergent can fully interact with your laundry, resulting in genuinely cleaner garments.
- Extends Machine Lifespan: Buildup and corrosion can wear down internal components over time. By keeping your machine clean, you reduce strain on its parts, potentially prolonging its operational life and saving you money on repairs or early replacement.
- Ensures Healthier Laundry: Ultimately, a clean washing machine means cleaner clothes. This is particularly important for households with sensitive skin or allergies, as a clean machine reduces the transfer of irritants and microbes to your fabrics.
Essential Materials for Cleaning Your Top-Loading Washing Machine
You don’t need an arsenal of harsh chemicals to achieve a sparkling clean washing machine. This effective method relies on two powerful, natural household staples:
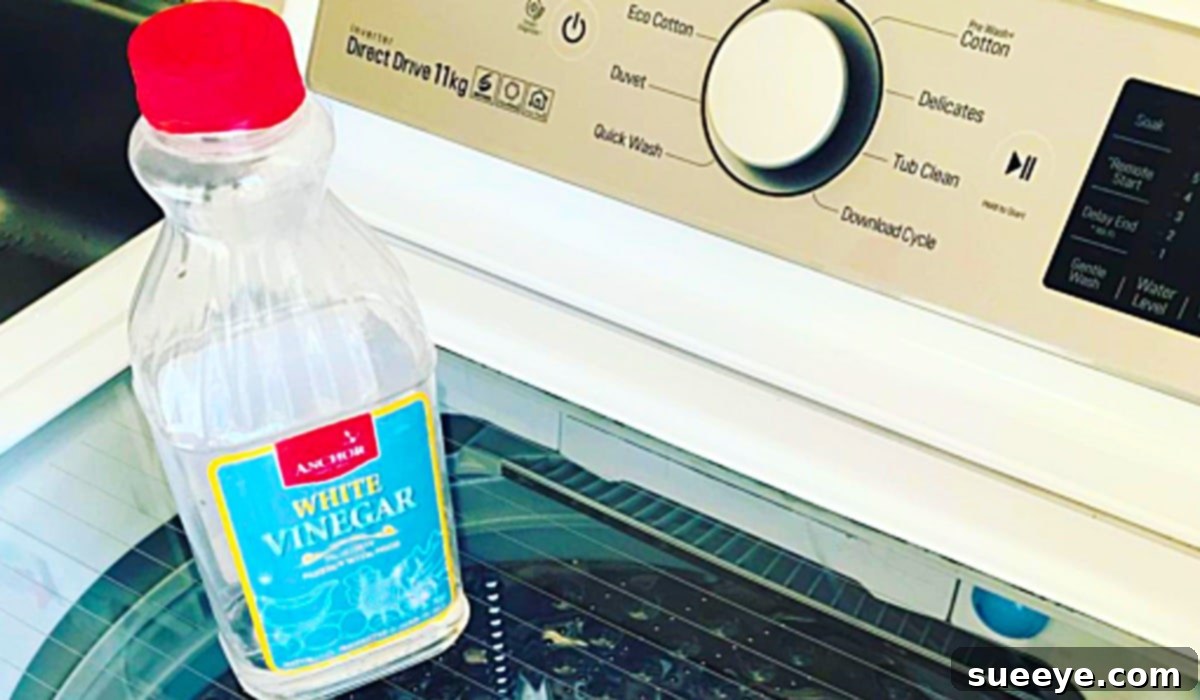
- 4 cups of Distilled White Vinegar: Vinegar is a fantastic natural cleaner due to its acetic acid content. It acts as a disinfectant, cuts through soap scum and mineral deposits (limescale), and helps to break down greasy residue. It also aids in neutralizing odors.
- 1/2 cup of Baking Soda: Baking soda (sodium bicarbonate) is a mild abrasive that helps scrub away grime and acts as a natural deodorizer. When combined with vinegar, it creates a fizzing action that further helps to loosen stubborn buildup and neutralize acidic odors.
- A Rag or Microfiber Cloth: Essential for wiping down the exterior, interior walls, dispenser, and any accessible crevices to remove loosened dirt and residue manually.
- An Old Toothbrush (Optional but Recommended): Useful for scrubbing tight spots like the detergent dispenser, fabric softener compartment, and around the agitator or rim.
Step-by-Step Directions for Deep Cleaning Your Top-Loading Washing Machine
Follow these easy steps to thoroughly clean your top-loading washing machine and eliminate dirt, grime, and odors. This method is inspired by effective tutorials, such as the one by Play Right Parent on YouTube, which simplifies the process significantly.
Step 1: Prepare Your Machine for the Cleaning Cycle
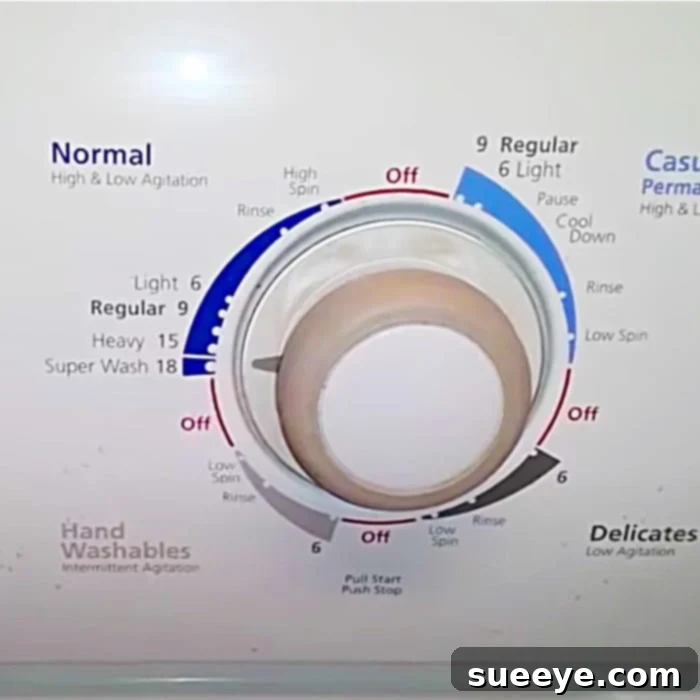
First, ensure your washing machine is completely empty of any clothes. Close the lid or door. Then, set your machine to the highest water level possible, the hottest water temperature setting available, and the longest cycle your machine offers (such as “Heavy Duty” or “Bulky Items”). The goal here is to maximize the amount of hot water that will fill the tub, as hot water is crucial for dissolving soap scum, grease, and killing bacteria more effectively than cold water. The longest cycle ensures ample time for the cleaning agents to work.
Step 2: Fill the Tub and Pause the Cycle
Start the chosen cycle and allow the machine to fill completely with hot water. Once the tub is full, pause the washing cycle. Most top-loading machines will have a “Pause” or “Start/Stop” button that you can press to halt the cycle without draining the water. If your machine doesn’t have a pause function, you might need to wait for it to reach the wash phase and then open the lid (many top-loaders will automatically pause when the lid is opened).
Step 3: Add the Cleaning Agents
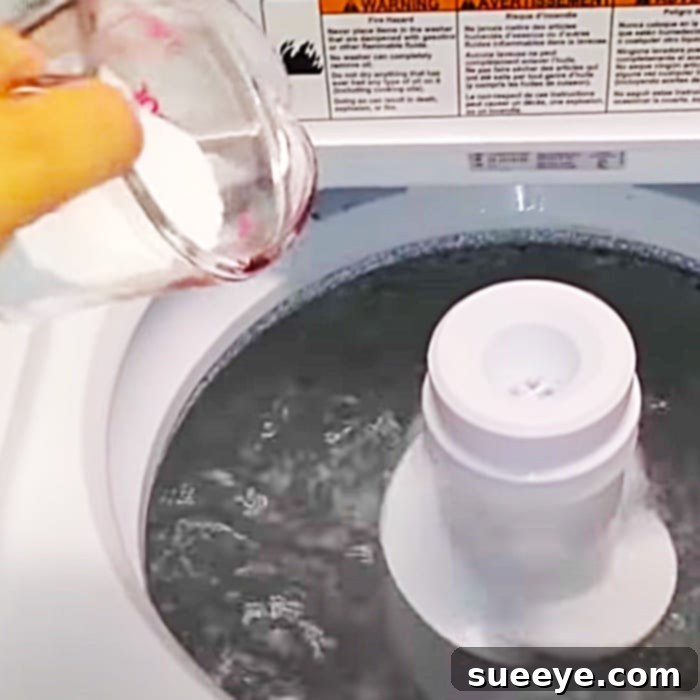
With the tub full of hot water and the machine paused, it’s time to add your powerful cleaning duo. Carefully pour the 4 cups of distilled white vinegar directly into the water in the drum. Then, add the 1/2 cup of baking soda. You’ll likely see a fizzing reaction as the baking soda and vinegar interact; this is normal and indicates they are working to break down grime. The vinegar targets mineral deposits and bacteria, while the baking soda deodorizes and gently scrubs.
Step 4: Initial Agitation and Soaking
Once the cleaning agents are added, close the lid and resume the wash cycle for a few minutes – just enough time for the machine to agitate and thoroughly mix the vinegar and baking soda solution throughout the drum. This ensures the cleaning solution reaches all surfaces. After a few minutes of agitation, pause the machine again or open the lid to stop the cycle. Now, allow the solution to soak in the machine for at least one hour. For heavily soiled or very smelly machines, you can even let it soak for several hours or overnight. This extended soaking time is crucial for the vinegar and baking soda to penetrate and dissolve stubborn soap scum, mildew, and mineral buildup.
Step 5: Complete the First Cycle
After the soaking period, close the lid and allow the machine to complete its full wash, rinse, and spin cycle as usual. This cycle will drain the dirty cleaning solution and rinse away all the loosened grime, soap scum, and bacteria. You might be surprised by how dirty the water looks as it drains!
Step 6: Run a Second Rinse Cycle
Once the first cycle is complete, it’s highly recommended to run a completely new, empty cycle using just hot water, with no additional detergent or cleaning agents. Set it to a normal or quick wash cycle with hot water. This extra rinse cycle ensures that any lingering vinegar scent or cleaning residue is thoroughly washed away, leaving your machine fresh and ready for your next load of laundry.
Step 7: Manual Wipe Down for a Pristine Finish
After the second cycle has finished and the drum is empty, it’s time for the manual clean. Use your rag or microfiber cloth (and an old toothbrush for tight spots) dipped in a small amount of the vinegar solution (or just plain water) to wipe down all accessible surfaces. Pay special attention to:
- The inside of the lid and its hinges.
- The top rim of the washer tub, both inside and out.
- The detergent and fabric softener dispenser trays – these often accumulate significant buildup. If removable, take them out and scrub them thoroughly under running water.
- The exterior of the machine, including control knobs and the front panel.
This manual step is essential for removing any grime that the water cycles couldn’t dislodge and gives your machine a truly sparkling finish.
Tips for Maintaining a Clean Washing Machine Between Deep Cleans
While a deep clean is necessary periodically, simple habits can significantly extend the freshness and cleanliness of your washing machine:
- Leave the Lid Open: After each use, leave the washer lid ajar for a few hours (or even overnight) to allow the interior to air dry. This prevents moisture buildup, which is a primary cause of mold, mildew, and musty odors.
- Wipe Down After Each Use: A quick wipe of the drum, especially around the top rim and dispenser, after you’ve finished laundry for the day can prevent buildup from hardening.
- Clean Dispenser Trays Regularly: Pull out or thoroughly rinse the detergent and fabric softener dispenser trays frequently to prevent sticky residue from accumulating.
- Use the Right Amount of Detergent: Overdosing on detergent is a common cause of residue buildup. Follow the manufacturer’s recommendations for your load size and water hardness. High-efficiency (HE) machines, in particular, require less detergent.
- Perform a Quick Monthly Clean: If you find odors returning quickly, run a quick empty cycle with just one cup of vinegar or a specialized washing machine cleaner once a month to keep things fresh.
- Check Hoses and Filters: Periodically inspect the inlet hoses for mineral buildup and clean any lint filters if your machine has them.
Troubleshooting Common Washing Machine Issues
Even with regular cleaning, you might encounter a few persistent issues:
- Lingering Odors: If odors persist after cleaning, check beneath the agitator (if removable) for hidden grime or ensure your drain hose is correctly installed and not accumulating stagnant water.
- Residue on Clothes: If you notice white streaks or residue on your laundry, it could be due to too much detergent, hard water, or a machine that needs another rinse cycle. Consider using a water softener if you have very hard water.
- Excessive Vibrations: While not directly cleaning-related, heavy vibrations can indicate an unbalanced load, an uneven machine, or worn-out suspension parts. Ensure your machine is level.
Conclusion
Cleaning your top-loading washing machine doesn’t have to be a dreaded chore. By following these simple, natural steps with distilled white vinegar and baking soda, you can effectively remove accumulated dirt, soap scum, mold, and unpleasant odors. This comprehensive deep clean not only ensures your clothes come out truly fresh and clean but also prolongs the life and improves the efficiency of your valuable appliance. Make this deep cleaning process a regular part of your home maintenance routine, ideally once every one to three months depending on usage, and you’ll enjoy a consistently fresh-smelling and high-performing washing machine for years to come. A little effort goes a long way in keeping your laundry routine hygienic and hassle-free.