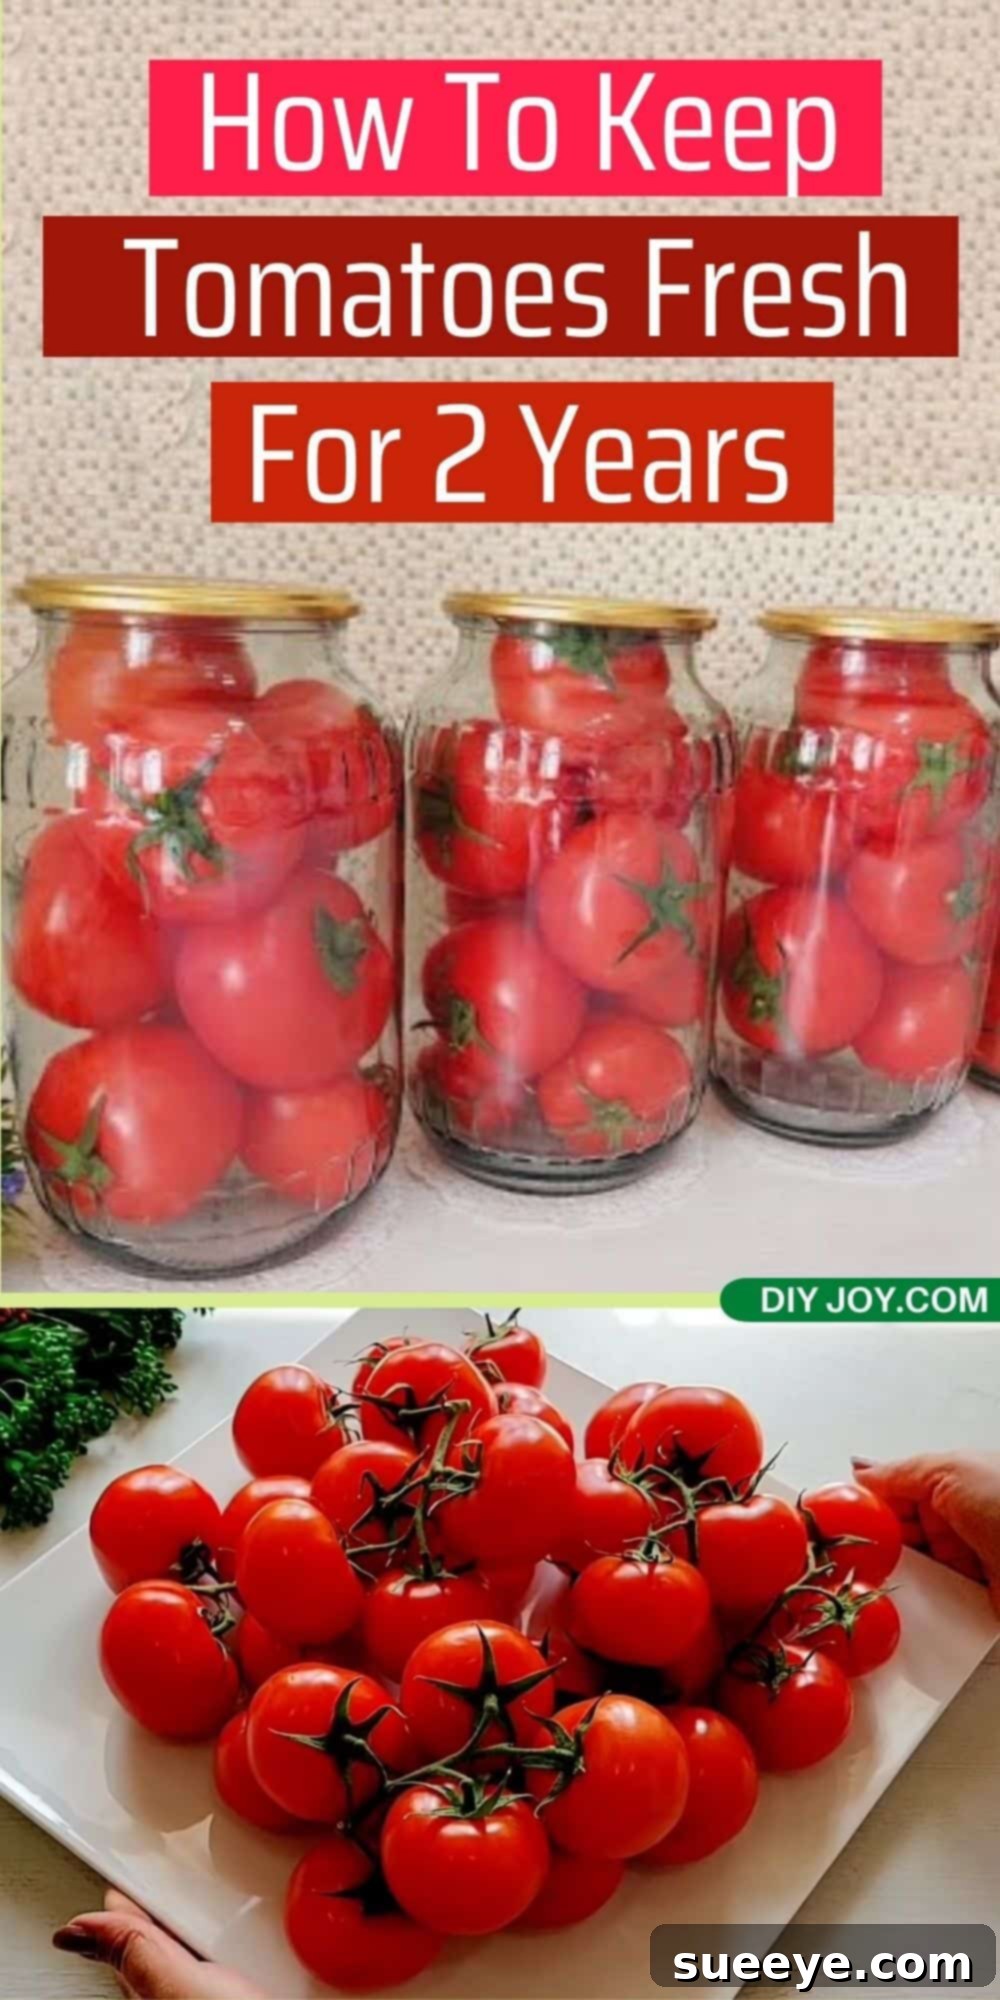
Have you ever found yourself with an abundance of ripe, delicious tomatoes, perhaps from a bountiful garden harvest or an irresistible bulk purchase, and wondered how to keep them fresh before they spoil? It’s a common dilemma for home cooks and gardeners alike. Fortunately, preserving the vibrant flavor of summer tomatoes is easier than you might think, and it can ensure you enjoy their goodness for months, or even years, to come.
Today, we’re diving into a brilliant method shared by Melissa Mir on YouTube, which teaches you how to store your tomatoes effectively, keeping them wonderfully fresh for an impressive period of up to two years. This technique is not only practical but also incredibly rewarding, allowing you to capture the taste of peak-season tomatoes to use in your favorite recipes throughout the year. Say goodbye to wasted produce and hello to a pantry stocked with wholesome, homemade goodness. Read on for our comprehensive, step-by-step instructions and discover how to transform your tomato surplus into a lasting treasure!
Why Preserve Your Tomatoes? The Benefits of Canning
Canning tomatoes is an age-old tradition that continues to be a favorite among modern homesteaders and culinary enthusiasts. Beyond the satisfaction of self-sufficiency, there are numerous compelling reasons to invest your time in this rewarding preservation method:
- Extended Shelf Life: The most obvious benefit is extending the life of your tomatoes significantly. Properly canned tomatoes can last for one to two years, far surpassing the shelf life of fresh produce.
- Taste of Summer Year-Round: Imagine the joy of tasting sun-ripened tomatoes in the dead of winter! Canning allows you to lock in the peak flavor and nutritional value of tomatoes harvested at their prime.
- Cost Savings: Buying fresh tomatoes out of season can be expensive and often yields less flavorful results. Canning your own when they are abundant and affordable saves money in the long run.
- Control Over Ingredients: When you can your own tomatoes, you have complete control over what goes into the jar. No artificial preservatives, colors, or excessive sodium – just pure, natural tomatoes.
- Convenience: Having ready-to-use canned tomatoes on hand simplifies meal preparation. They are perfect for sauces, soups, stews, chilis, and countless other dishes, cutting down on prep time.
- Reduced Food Waste: Canning is an excellent way to prevent perfectly good produce from going to waste, making the most of your garden’s bounty or a great deal at the market.
Essential Materials for Tomato Canning
Before you embark on your tomato canning journey, gathering the right tools and ingredients is crucial for a smooth and successful process. Here’s what you’ll need to follow Melissa Mir’s method:
- Tomatoes: Approximately 3 kg or about 6.5 pounds of fresh, ripe, and firm tomatoes. Choose tomatoes that are free from blemishes, soft spots, or mold. Roma tomatoes are often preferred for canning due to their meaty texture and fewer seeds, but other varieties can work too.
- Large Canning Jars with Lids and Bands: You’ll need several large, clean, sterilized, and dry canning jars. Make sure to use jars specifically designed for canning, which can withstand high temperatures and create a proper seal. The appropriate size will depend on how many tomatoes you are processing and your intended usage.
- Kitchen Tin Can Lid Sealer: This specialized tool is essential for creating a secure, airtight seal on your canning jar lids. While some lids seal automatically during the cooling process, a lid sealer ensures a tight, reliable seal, which is critical for long-term preservation and food safety.
- Large Pot for Water Bath Canning: A stockpot deep enough to fully submerge your canning jars in boiling water, with at least an inch or two of water above their tops, is necessary.
- Jar Lifter: A specialized tool to safely lift hot jars in and out of the boiling water. This prevents burns and potential breakage.
- Clean Kitchen Towels or Rags: For lining the bottom of your canning pot, drying jars, and handling hot items.
- Deep Round Pan: For briefly baking the tomatoes.
- Spatula or Bubble Remover: To remove air bubbles from packed jars.
Step-by-Step Guide: How to Can Tomatoes for Long-Term Storage
This method focuses on whole tomato canning using a water bath, which is suitable for high-acid foods like tomatoes. Follow these instructions carefully for safe and delicious results.
Phase 1: Preparation and Packing
Proper preparation is the foundation of successful canning. Take your time with these initial steps to ensure cleanliness and optimal packing.
- Wash and Prepare Tomatoes: Begin by giving your 3 kg (6.5 lbs) of tomatoes a thorough rinse under cool running water. Scrub each tomato gently with your hands to remove any dirt, debris, or lingering pesticide residues. Carefully remove the stems and any small imperfections. Drain off any excess water.
- Slightly Slice Tomato Skins: With a sharp knife, make a slight, shallow slice in the top of each tomato’s skin. This minor incision helps prevent the tomatoes from bursting during the baking process and can aid in easier heat penetration during canning.
- Pre-Bake the Tomatoes: Place the prepared tomatoes in a single layer in a deep round oven-safe pan. Preheat your oven to 200°C (392°F). Once preheated, bake the tomatoes for approximately 20 minutes. This step gently softens the tomatoes, making them easier to pack tightly into jars and helping to release some of their natural juices, which aids in the canning process.
- Sterilize Your Canning Jars: While the tomatoes are baking, prepare your canning jars. Ensure your large canning jars are not only clean but also sterilized and completely dry. Sterilization is paramount for food safety; it eliminates any bacteria, yeast, or mold spores that could lead to spoilage. You can sterilize jars by boiling them in water for at least 10 minutes, running them through a hot dishwasher cycle, or heating them in an oven (ensure jars are completely dry before oven sterilization to prevent cracking). Keep them hot until ready to fill.
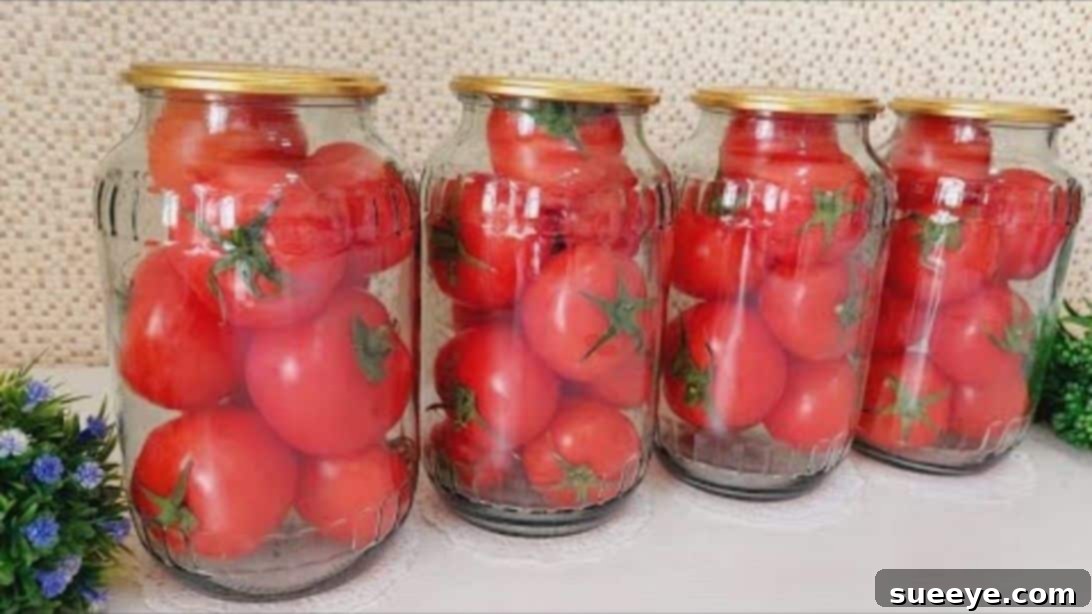
- Pack the Jars: Carefully remove the baked tomatoes from the oven. Using a jar lifter or tongs, grab your hot, sterilized jars. Begin inserting the warm tomatoes into each jar alternately. The goal is to pack them tightly but without crushing them excessively, ensuring they have enough space for heat circulation and to allow their natural juices to fill the voids. Leave about 1/2 inch of headspace (space between the top of the food and the rim of the jar). If needed, gently press down on the tomatoes to release more juice or add boiling water to cover the tomatoes, maintaining the headspace. Use a clean utensil to remove any trapped air bubbles.
Phase 2: Water Bath Processing and Sealing
This is where the magic of preservation happens, creating a vacuum seal that keeps your tomatoes fresh.
- Prepare the Water Bath: In a large pot (your canning pot), place a folded piece of cloth or a clean kitchen towel at the bottom. This essential step prevents the glass jars from direct contact with the pot’s bottom, which can prevent them from bursting due to direct heat or rattling during the boiling process. Fill the pot with hot boiling water, ensuring it’s enough to submerge at least half, and ideally completely cover, your jars.
- Process the Jars: Carefully place each filled jar inside the pot using a jar lifter, making sure they don’t touch each other. If the water level doesn’t cover the jars by at least 1 inch, add more boiling water. Bring the water to a rolling boil. Once the water is actively boiling, let the jars continue to boil for about 20 minutes. This processing time is crucial for creating a vacuum seal and ensuring food safety by eliminating potential spoilage microorganisms. Adjust processing time for altitude if necessary.
- Remove and Cool Jars: After 20 minutes of boiling, carefully remove each jar from the pot using the jar lifter. Place them gently on a clean, dry towel on your counter, leaving at least an inch of space between each jar. Avoid placing them on a cold surface, which could cause thermal shock and breakage. Do not disturb the jars while they are cooling. You should hear popping sounds as the lids seal, which indicates a successful seal.
- Wipe and Seal Lids: While the jars are still warm, and before they completely cool, wipe away any moisture from each jar and lid. Then, grab your kitchen tin can lid sealer. Use the sealer to close the jar lids tightly and securely. Even if you hear a “pop” indicating a seal, using the lid sealer provides an extra layer of security, ensuring an exceptionally tight, long-lasting seal. This step is key for achieving the 2-year shelf life.
- Check Seals and Store: Once the jars have completely cooled (allow 12-24 hours), check the seals. The center of the lid should be concave (curved downwards) and should not flex when pressed. If a lid does not seal, refrigerate that jar and use its contents within a few days, or reprocess it with a new lid within 24 hours. Store your successfully sealed jars in a cool, dark, and dry place. Avoid extreme temperature fluctuations. Properly stored, these home-canned tomatoes can be enjoyed for up to 2 years!
Crucial Canning Safety Tips
Food safety is paramount when it comes to home canning. Always adhere to these guidelines to ensure your preserved tomatoes are safe to eat:
- Use Proper Equipment: Always use jars, lids, and bands specifically designed for home canning. Inspect jars for cracks or chips before use.
- Sterilize Everything: Ensure all jars, lids, and utensils that come into contact with your food are thoroughly cleaned and sterilized.
- Follow Recipes Precisely: Do not alter canning recipes, especially processing times, as they are scientifically developed for safety.
- Maintain Headspace: Proper headspace (the space between the food and the lid) is vital for creating a strong vacuum seal and preventing siphoning (loss of liquid from the jar).
- Check Seals: After cooling, always check that your jars have sealed properly. If a lid doesn’t seal, either reprocess it immediately or refrigerate and consume quickly.
- Never Eat Questionable Food: If a jar’s lid is bulging, there’s mold, an off-odor, or if the contents appear unusual, do not taste it. When in doubt, throw it out!
- Altitude Adjustments: If you live at a high altitude, you may need to increase processing times. Consult a reliable canning guide (like those from the USDA) for specific adjustments.
Making the Most of Your Canned Tomatoes
With a pantry full of beautifully canned whole tomatoes, a world of culinary possibilities opens up. These versatile gems are perfect for:
- Homemade Sauces: Crush them for rich pasta sauces, pizza sauces, or a robust marinara.
- Soups and Stews: Add them to hearty vegetable soups, chili, or beef stew for depth of flavor.
- Casseroles: Incorporate them into various baked dishes and gratins.
- Salsa and Dips: Blend them with fresh herbs and spices for a quick salsa base.
- Chutneys and Relishes: Experiment with sweet and savory preserves.
Simply open a jar, and you have instant access to the fresh taste of summer, ready to elevate any meal!
Conclusion: Enjoy Fresh Tomatoes Year-Round
Canning your own tomatoes is an empowering and economical way to ensure your family enjoys wholesome, flavorful produce throughout the year. With Melissa Mir’s straightforward method, even beginners can achieve impressive results, preserving the peak freshness of tomatoes for up to two years. Say goodbye to store-bought cans filled with unknown ingredients and hello to your own delicious, homemade supply. Gather your materials, follow these steps, and prepare to savor the taste of summer, no matter the season. Happy canning!
*Thanks to Melissa Mir via YouTube for all images and inspiration used here. If you loved this canning tutorial and are eager for more preservation tips, then you’ll surely love her other videos too, so give her channel a visit and subscribe for more amazing kitchen hacks!