
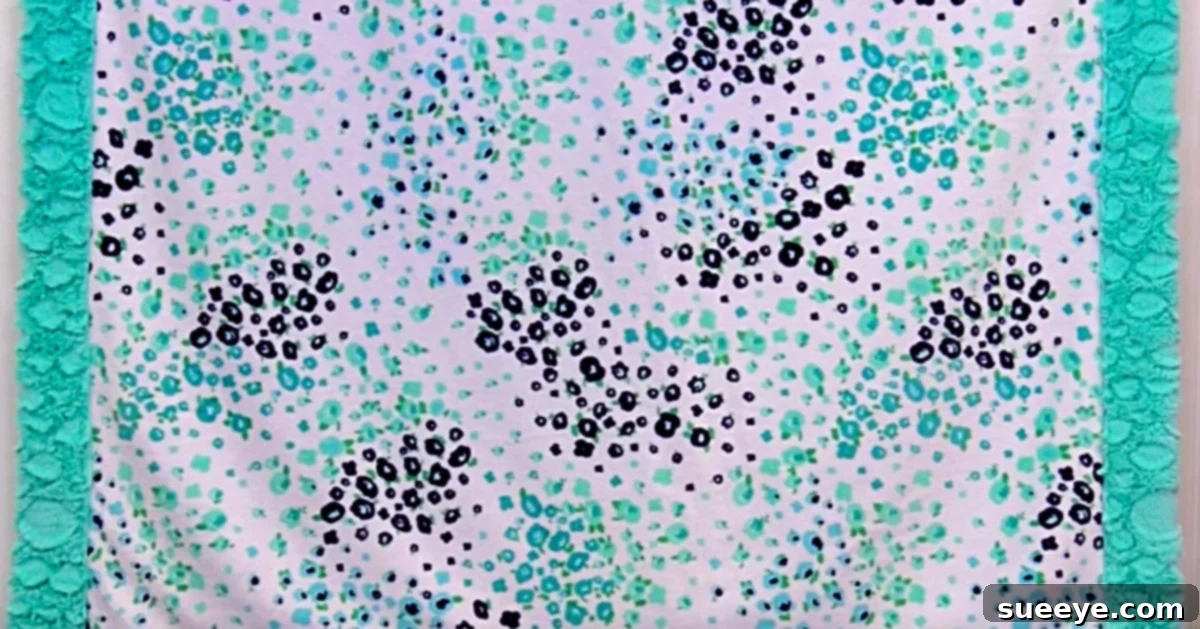
How to Make a Self-Binding Baby Blanket: A Heartfelt DIY for Grandparents and Beginners
There’s a unique, indescribable joy that comes with becoming a grandparent. Witnessing your own child bring new life into the world is a profound experience, filled with immense love and anticipation. As a first-time grandparent, I found myself eager to contribute to this new chapter, wanting to create something truly special for my grandson. While there are countless gifts young parents need for their newborn, nothing quite compares to the warmth and comfort of a handmade baby blanket, crafted with love by a grandparent’s own hands.
My quest led me to seek out a beginner-friendly baby blanket tutorial that promised both speed and simplicity. I wanted to avoid lengthy learning curves and instead, embrace the immediate gratification of creating a precious keepsake. The goal was to make a blanket that would serve as a lasting bond between grandma and grandson, a tangible memory cherished for years to come. What I discovered was a self-binding baby blanket tutorial that was not only incredibly simple but also evoked fond memories of the blankets my own mother made for my daughter, which we still treasure to this day.
This self-binding technique is perfect for anyone, especially those new to sewing, looking for a project that delivers a beautiful, professional-looking result with minimal effort. It allows you to create a soft, cuddly blanket without the complexities of adding a separate binding. All you need are a few simple materials, and thankfully, there’s a downloadable free pattern available at Shannon Fabrics, where you can easily view or print the instructions. Let’s delve into the details of this wonderful project.
Why Choose a Self-Binding Baby Blanket?
The self-binding baby blanket is a popular choice for good reason, particularly among beginner sewers and those looking for a quick yet impactful project. Its clever design eliminates the need for a separate, often tricky, binding strip, making the finishing process much simpler. This means you can achieve a clean, polished edge without advanced techniques. The resulting blanket is not only incredibly soft and comfortable for the baby but also durable enough to withstand countless washes and years of love, truly becoming a cherished heirloom.
Essential Materials for Your Handmade Masterpiece
Before you embark on this delightful sewing journey, gather your materials. The beauty of this project lies in its simplicity and the luxurious feel of the chosen fabrics.
- 1 1/2 yards of plush fabric (such as Minky): Minky is a dream for baby blankets. Its ultra-soft, velvety texture is irresistible to touch and provides exceptional warmth. Its slightly stretchy nature also makes it quite forgiving for beginners.
- 1 1/2 yards of top fabric (such as flannel): Flannel is another excellent choice for baby items, known for its softness, warmth, and vast array of adorable prints. This fabric will form the decorative top layer of your blanket, and its woven structure provides a stable base.
- A sewing machine: Any basic sewing machine capable of a straight stitch will work perfectly.
- Coordinating thread: Choose a high-quality thread that matches or complements the colors of your fabrics. Polyester thread is generally durable and suitable.
- Sharp fabric scissors or a rotary cutter and mat: Good cutting tools are essential for clean, precise cuts, especially with plush fabrics.
- Pins or fabric clips: These are crucial for holding your fabric layers together, particularly when working with slippery Minky.
- Iron and ironing board: For pressing seams and ensuring a crisp, professional finish.
- Measuring tape or ruler: For accurate measurements.
Choosing Your Fabrics: Minky and Flannel – A Perfect Pair
The combination of Minky and flannel creates a blanket that is both visually appealing and wonderfully tactile. When selecting your fabrics, consider the baby’s nursery theme or favorite colors. Minky comes in a variety of textures, including smooth, dimpled (dot Minky), or embossed patterns. Flannel offers an endless selection of prints, from whimsical animals to classic plaids, allowing you to personalize the blanket beautifully. Remember to pre-wash both fabrics according to their care instructions to prevent shrinking after the blanket is made, ensuring your finished product maintains its size and shape.
Step-by-Step Directions: Crafting Your Self-Binding Baby Blanket
Now, let’s walk through the process of bringing your handmade vision to life. This method is incredibly straightforward, designed to guide you to success.
Step 1: Preparing and Cutting Your Fabrics
Begin by laying your flannel fabric (your top fabric) right side up on a clean, flat surface. Smooth out any wrinkles. Next, place your Minky fabric directly on top of the flannel, ensuring the plush side of the Minky is facing up (this means the wrong sides of both fabrics are touching). Align the edges as best as possible. The original pattern by Shannon Fabrics provides specific dimensions, which you should follow closely. If you’re adapting to a custom size, aim for a square or rectangular shape suitable for a baby blanket, such as 36×36 inches or 30×40 inches.
Once your fabrics are perfectly stacked and smoothed, use your sharp fabric scissors or rotary cutter to trim any uneven edges, ensuring both pieces are the exact same size. This precision in cutting is key for a neat finish.
The next crucial step for the self-binding effect is to trim the corners. Take your stacked fabrics and, at each corner, cut a 45-degree angle. This cut should extend approximately 2-3 inches inward from the corner point, creating a diagonal notch. This angled cut is essential for creating the neat envelope fold that forms the self-binding later on.
Step 2: Pinning and Sewing the Main Seam
Now, flip your Minky fabric so its right side is facing the right side of the flannel. In other words, the plush side of the Minky should be touching the printed side of the flannel. Align all the edges carefully, paying special attention to the trimmed corners. Pin the two layers together all around the perimeter of the blanket, placing pins every few inches. This is particularly important with Minky, as it can shift and stretch.
Using your sewing machine, sew around the entire perimeter of the blanket with a 1/2-inch seam allowance. When you reach the corners, pivot your fabric carefully to maintain the seam allowance. Crucially, remember to leave an opening of about 6-8 inches along one side. This opening will be used to turn the blanket right side out. Backstitch at the beginning and end of your seam for added security.
Step 3: Creating the Envelope and Topstitching
Once you’ve sewn the main seam, carefully reach through the opening you left and turn the entire blanket right side out. Gently push out the corners to create crisp points. You can use a point turner or a dull pencil to help with this, being careful not to push too hard and poke through the fabric.
Now comes the magic of the self-binding! The flannel fabric should naturally create a slight border around the Minky due to the way the corners were trimmed and the blanket was turned. The Shannon Fabrics pattern often shows how to gently manipulate the flannel edge to roll over the Minky, creating a neat, self-bound border. Pin this border in place all around the blanket, ensuring it’s even.
Fold in the raw edges of the opening you left earlier, so they are neatly tucked inside and flush with the rest of the seam. Pin this section securely. Then, head back to your sewing machine. Starting a few inches from the opening, topstitch all around the entire perimeter of the blanket, about 1/4 inch from the edge. This topstitching will not only close the opening but also secure your self-binding and give the blanket a professional, finished look. The Minky fabric, with its forgiving nature, makes this topstitching project a breeze, easily concealing any minor imperfections.
Tips for Success: Working with Plush Fabrics
Minky and flannel are wonderful, but they do have their quirks:
- Use plenty of pins or clips: Minky, especially, can be slippery. More pins mean less shifting. Fabric clips are also excellent for holding thick layers.
- Go slow: Take your time, especially around corners and when topstitching. Precision yields better results.
- Walking foot (optional but recommended): If you have a walking foot for your sewing machine, it can be incredibly helpful for feeding multiple layers of fabric evenly, preventing puckering and stretching.
- Test stitches: Before sewing on your actual blanket, test your stitch length and tension on fabric scraps to ensure everything is perfect.
- Pressing is key: Even though Minky isn’t typically ironed directly, pressing your flannel and the seams carefully before turning and topstitching will make a huge difference in the final appearance.
Caring for Your Handmade Baby Blanket
To ensure your beautiful, handmade blanket remains soft and vibrant for years, proper care is essential. Always refer to the care instructions for your specific Minky and flannel fabrics, but generally, machine wash in cold water on a gentle cycle. Tumble dry on low heat or air dry. Avoid using fabric softeners, as they can reduce the plushness of Minky over time. Do not iron Minky directly, as the heat can melt its fibers and ruin its texture. With proper care, this blanket will endure as a cozy reminder of your love.
Beyond the Basics: Creative Variations
Once you’ve mastered the basic self-binding technique, don’t hesitate to explore creative variations:
- Different sizes: Adapt the pattern to create smaller “lovey” blankets for comfort, larger crib blankets, or even a generous stroller blanket.
- Appliqué or embroidery: Personalize the flannel side with a simple appliqué shape, the baby’s initial, or a sweet embroidered design before sewing the layers together.
- Contrasting stitches: Use a contrasting thread color for your topstitching to add a subtle design element.
- Mix and match Minky: Experiment with different Minky textures or colors for a unique look.
The Sentimental Value: A Gift from the Heart
In a world of mass-produced items, a handmade gift carries an unparalleled sentimental value. This self-binding baby blanket is more than just fabric and thread; it’s a testament to your love, your time, and your effort. It’s a tangible hug, a comforting presence, and a precious keepsake that will witness countless snuggles, first steps, and bedtime stories. For my new grandson, it’s a bond woven with love, just like the blankets my mother made for my daughter, holding cherished memories that transcend generations.
So, whether you’re a first-time grandparent, a proud aunt, a friend, or simply someone looking for a meaningful DIY project, this self-binding baby blanket offers a wonderful opportunity to create something truly special. Embrace the joy of crafting, follow the simple steps, and watch as a beautiful, heartfelt gift comes to life. Download the free pattern from Shannon Fabrics today and start creating your own cherished memory.