
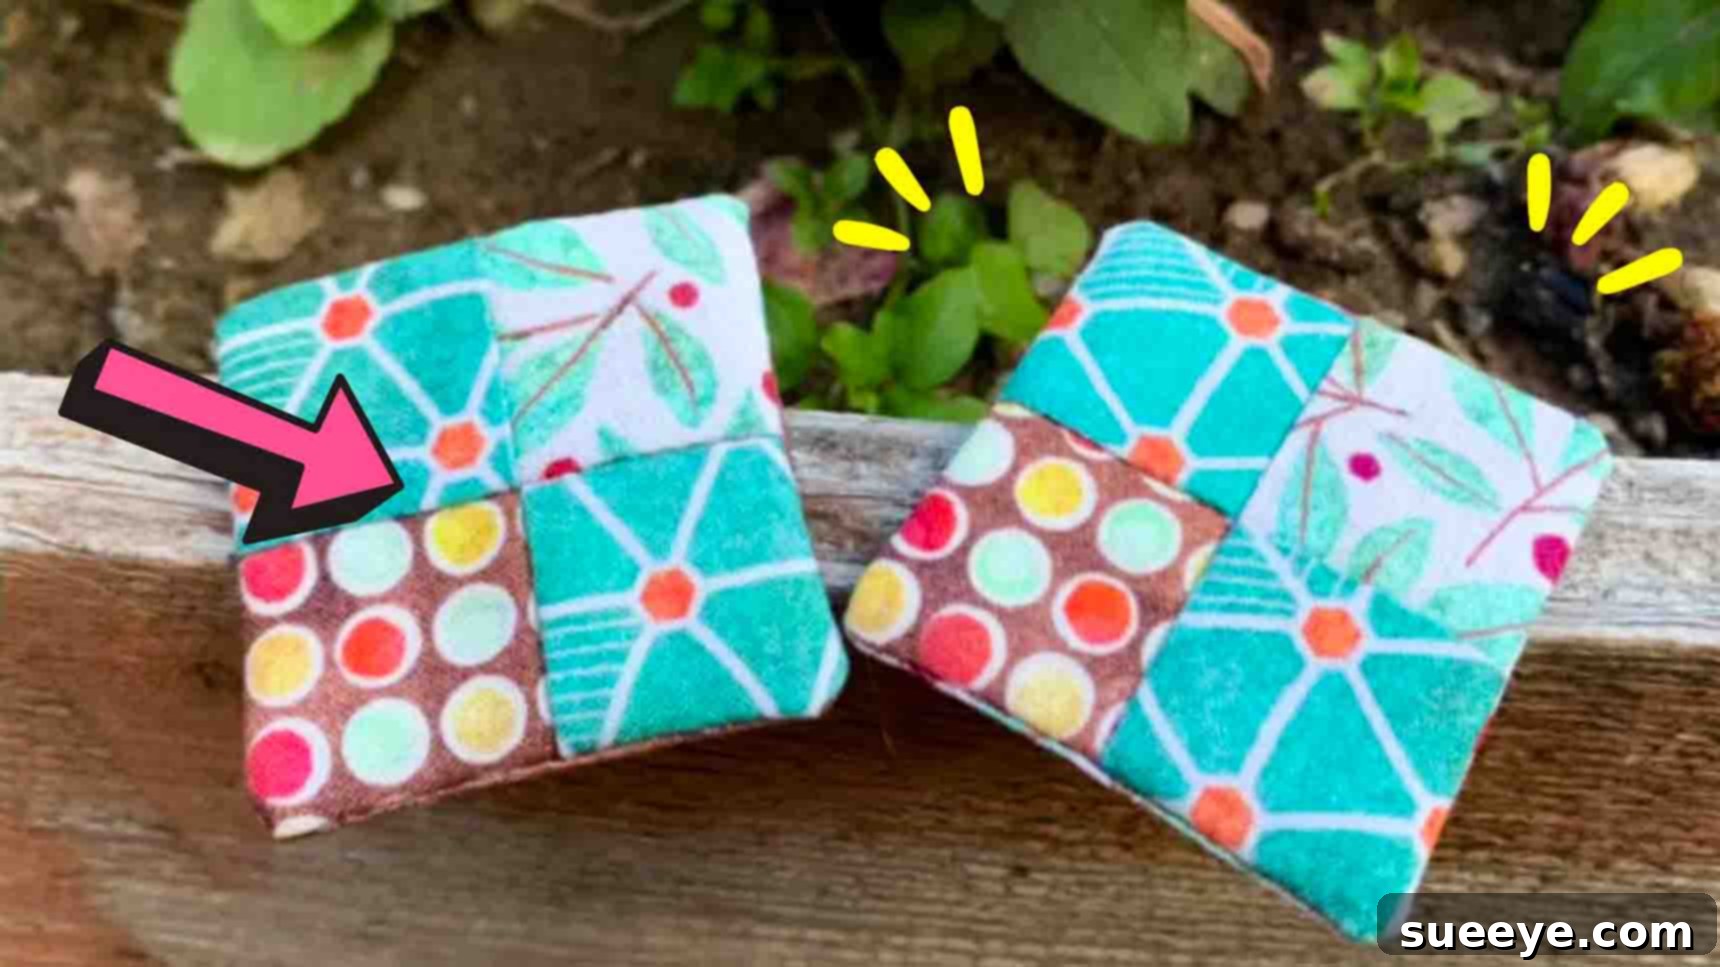
Welcome to a heartwarming journey into the world of creative crafting, where we combine the timeless art of quilting with a profound sense of comfort and connection. If you’ve been looking for a meaningful sewing project that’s both enjoyable and impactful, then you’re in for a treat. This tutorial will guide you through making charming pocket prayer quilts, but with an ingenious twist that sets them apart. Inspired by the brilliant creators at On The Trail Creations on YouTube, we’re delving into a unique prayer pocket project you might not have considered before. It’s an ideal weekend endeavor to share with friends or family, fostering bonds over the rhythmic hum of a sewing machine and the gentle warmth of creativity. Prepare to discover a fun new technique that adds a practical and personal touch to these beloved mini quilts.
Crafting Comfort: DIY Pocket Prayer Quilts with a Special Twist
Pocket prayer quilts have long served as small tokens of comfort, hope, and prayer. These miniature fabric squares, often no more than a few inches wide, are typically given to someone in need of a gentle reminder that they are loved, thought of, and prayed for. They can be slipped into a pocket, purse, or backpack, offering solace wherever one goes. Traditionally, these quilts are simple patchwork squares, sometimes tied with a ribbon or adorned with a small charm. However, the innovative design we’re exploring today introduces a clever, hidden pocket directly into the quilt itself, transforming it into an even more versatile and personal keepsake. This integrated pocket allows for the discreet inclusion of written prayers, encouraging notes, scripture verses, or tiny mementos, making each quilt a truly unique and deeply personal gift.
This project is perfect for quilters of all skill levels, including those new to sewing. It’s an excellent way to use up fabric scraps and practice fundamental quilting techniques while creating something truly special. The compact size of these quilts means they come together quickly, offering instant gratification and the joy of creating something beautiful with your own hands. So, gather your materials, clear your workspace, and let’s embark on this delightful crafting adventure to make pocket prayer quilts that carry an extra layer of meaning and functionality.
Gather Your Creative Essentials: Materials You’ll Need
Before diving into the construction of your pocket prayer quilts, ensure you have all the necessary supplies at hand. While the original list is concise, we’ll expand on it to provide a more comprehensive overview, ensuring you’re well-prepared for a smooth and enjoyable crafting experience. These materials are generally accessible and many quilters will already have them in their stash, making this an economical project as well.
- Pre-made Four-Patch Quilt Blocks: These are the foundation of your pocket prayer quilts. You can use any existing four-patch blocks you have, or easily create new ones from your favorite fabric scraps. A typical finished size for a pocket prayer quilt is around 3×3 inches, so aim for unfinished blocks slightly larger to allow for trimming and seam allowances. The beauty of this project is that it’s highly adaptable, so feel free to experiment with different block patterns if you’re an experienced quilter, though the simplicity of the four-patch is perfect for showcasing the pocket feature.
- Scissors: A sharp pair of fabric scissors is essential for precise cutting. You might also find a small pair of snips useful for trimming threads.
- Press Iron and Ironing Board: A good quality iron is crucial for pressing seams flat and activating the fusible fleece. Proper pressing throughout the quilting process ensures crisp, professional-looking results.
- Fusible Fleece (or lightweight batting): This is the secret to adding structure and a soft feel without bulk. Fusible fleece has an adhesive on one side that bonds to your fabric when pressed with an iron, eliminating the need for basting. If you don’t have fusible fleece, a thin, lightweight batting can be used, though you would need to baste it in place or rely on your stitching to secure it.
- Coordinating Fabric Strips: You’ll need a small amount of fabric for the pocket itself. Choose a fabric that complements your quilt block in color and pattern. Cotton quilting fabric is ideal due to its ease of handling and durability.
- Sewing Machine: While these small quilts *could* be hand-sewn, a sewing machine will make the process much faster and result in more consistent stitches.
- Thread: All-purpose polyester or cotton thread that matches or coordinates with your fabric choices.
- Rotary Cutter, Cutting Mat, and Quilting Ruler (Optional but Recommended): These tools make precise cutting of fabric strips and blocks much easier and quicker than scissors alone.
- Sewing Pins or Clips: To hold fabric pieces together securely before stitching.
Having these materials ready will ensure your crafting session is productive and enjoyable, leading to beautifully finished pocket prayer quilts with that special integrated pocket.
Crafting Your Unique Pocket Prayer Quilt: Step-by-Step Instructions
Now that you have all your materials prepared, let’s dive into the fascinating process of constructing these pocket prayer quilts. The key “twist” lies in the clever way the pocket is integrated, so pay close attention to the measurements and pressing techniques to achieve a professional finish. Follow these detailed steps to bring your comforting creations to life.
Step 1: Preparing Your Quilt Blocks and Pocket Pieces
The first stage involves preparing the main components of your prayer quilt: the quilt block itself and the fabric strips that will form the unique pocket. Precision in this step will ensure a smooth assembly later on.
Instead of traditional batting that requires quilting stitches to secure, we’re going to use a fusible fleece. This material offers a lovely loft and stability while making the construction process much simpler. To begin, take your fusible fleece and cut it 1/4 inch smaller than your finished quilt block on all sides. For example, if your four-patch quilt block is 3.5 x 3.5 inches, you would cut your fusible fleece to 3.25 x 3.25 inches. This slight reduction ensures that the fleece will not extend into the seam allowance when you sew the quilt together, preventing bulk and ensuring neat edges. Place the fusible fleece on the wrong side of one of your quilt blocks (the side that doesn’t show the patchwork design), with the adhesive side down. Using your press iron, carefully press it in place according to the manufacturer’s instructions, ensuring a firm bond. This secures the fleece to the fabric, providing a stable foundation for your mini quilt.
Next, we’ll create the two pieces that will form the pocket. This is where the “twist” truly comes into play. Take a strip of coordinating fabric measuring approximately 2 1/2 inches by 5 1/2 inches. Instead of cutting this strip precisely in the middle to create two equal pieces, we’re going to make an intentional off-center cut. Measure and cut the strip 1/4 inch off from the true middle. This means you will end up with two strips of unequal length: one will be approximately 2 1/2 inches by 2 3/4 inches (the larger piece), and the other will be approximately 2 1/2 inches by 2 1/2 inches (the smaller piece). This subtle difference in size is crucial for creating the overlap that forms the pocket opening.
Now, take the larger of the two pocket pieces (the one that is 2 3/4 inches long). Along one of its 2 1/2-inch edges, fold the fabric slightly over 1/4 inch towards the wrong side and press firmly. Then, fold it over another 1/4 inch and press again, creating a neat double-rolled hem. This finished edge will be the opening of your pocket, and the double-fold ensures durability and a clean appearance. Stitch this hem in place with a straight stitch close to the folded edge. This finished strip is now ready to be placed on one of your prepared quilt blocks, forming the initial part of your integrated pocket.
Step 2: Assembling the Pocket and Finishing Your Quilt
With your quilt block prepared and your pocket pieces hemmed, it’s time to bring them all together. This step will transform your flat fabric pieces into a functional and beautiful mini pocket quilt.
Take the larger, hemmed pocket piece from Step 1. Place it on top of your prepared quilt block, aligning its raw edges with one of the quilt block’s raw edges. Make sure the neatly folded and stitched hemmed edge is facing inwards, away from the raw edge of the quilt block. This is crucial so that the finished edge doesn’t get caught in the final seam when you stitch around the entire quilt. Pin this piece securely in place along its raw edges. Now, take the smaller pocket piece (the one that was 2 1/2 inches long). Place this piece on the opposite side of the quilt block, aligning its raw edges with the other raw edge of the quilt block. Since this piece is intentionally shorter, it will sit neatly on the corner, ready to form the overlap for the pocket. If desired, you can also hem this shorter piece along one of its 2 1/2-inch edges for added neatness, though it’s not strictly necessary as this edge will be secured within the quilt’s final seam.
Now, place the second (back) quilt block on top, right sides together, sandwiching the pocket pieces in between. Ensure all raw edges are aligned. Pin generously around all four sides of the quilt block. Using a 1/4-inch seam allowance (or your preferred consistent seam allowance for quilting), stitch around all four sides of the entire layered block. As you stitch, remember to leave a small opening, approximately 1.5 to 2 inches long, along one of the sides. This opening is essential for turning the quilt right side out. Be sure to backstitch at the beginning and end of your stitching, especially at the edges of the opening, to reinforce these areas.
After you’ve finished stitching, carefully trim the corners of the quilt. Cut diagonally across each corner, getting close to the stitching line but being careful not to snip through the stitches. This step reduces bulk in the corners, which will allow for crisper, sharper points when the quilt is turned right side out. Next, gently reach into the opening you left and carefully pull the entire quilt right side out. Take your time with this step, pushing out the corners with a blunt tool (like a point turner or a chopstick) to get them as sharp as possible.
Once the quilt is turned, give it a good press with your iron. This helps to flatten the seams, smooth out any wrinkles, and set everything in place, giving your mini quilt a polished and professional finish. Pay special attention to the opening you used for turning; gently fold the raw edges inwards to align with the rest of the seam and press them flat. You can then hand-stitch this opening closed with a ladder stitch for an invisible finish, or machine stitch it very close to the edge if you prefer.
Congratulations! You now have a tiny, approximately two-inch finished quilt, complete with an ingeniously integrated little pocket. This pocket is perfectly sized to hold a folded note, a small prayer, a miniature scripture, or a tiny token of affection. Your creation is not just a quilt; it’s a vessel for comfort, a tangible reminder of care, and a truly unique handmade gift.
The Enduring Appeal of Pocket Prayer Quilts
These small, unassuming creations carry a remarkable power to comfort and connect. The act of making a pocket prayer quilt is often a meditative and mindful process, imbued with intention and care. Each stitch can be a prayer, a wish, or a loving thought woven into the fabric. When gifted, these quilts serve as tangible expressions of support during difficult times, celebrations, or simply as a token of ongoing affection. The integrated pocket takes this concept a step further, allowing the giver to include a personalized message that can be changed or updated, offering fresh encouragement whenever it’s needed.
Imagine giving a tiny quilt with a handwritten note of encouragement to a friend facing a challenge, a scripture verse to a loved one, or a simple “I love you” to a child. These quilts are perfect for:
- Hospital Visits: A small, comforting item that doesn’t take up much space.
- Bereavement Gifts: A gentle reminder of solace and remembrance.
- Graduation Presents: A message of wisdom and good wishes for the future.
- Teacher Appreciation: A heartfelt thank you note tucked inside.
- Random Acts of Kindness: Leave one anonymously for someone who might need a lift.
- Travel Companions: A personal touchstone to carry on journeys.
Tips for Success and Creative Variations
To ensure your pocket prayer quilts are as beautiful and meaningful as possible, consider these additional tips and ideas for customization:
- Fabric Choice: Experiment with different fabric textures and patterns. Muted, soft tones can evoke calm, while bright, cheerful fabrics can bring joy. Consider using fabrics with symbolic meaning, like a print of doves for peace or stars for guidance.
- Personalization: Before stitching the final quilt, consider adding a small embroidered initial, a simple appliqué shape, or even a tiny fabric tag with a meaningful word.
- Embellishments: Once the quilt is finished, you can add a small button, a charm, or a tiny ribbon loop to one corner. Ensure any embellishments are securely attached and won’t snag or cause discomfort if the quilt is kept in a pocket.
- Scented Inserts: For an extra layer of sensory comfort, consider placing a small sachet of dried lavender or a drop of essential oil (on a separate piece of fabric) into the pocket.
- Batch Production: These quilts are excellent for making in batches! Once you’ve mastered the technique, you can cut multiple pieces, assemble them in a mini production line, and have a collection ready for gifting.
- Different Sizes: While a 2-inch finished quilt is adorable, you can easily scale up the dimensions to create slightly larger pocket prayer quilts, adjusting your initial block size and pocket strip measurements accordingly. Just remember to maintain that 1/4-inch off-center cut for the pocket and the 1/4-inch smaller fusible fleece.
- Group Project: This is a wonderful project for quilting guilds, church groups, or community workshops. Participants can bring their own fabric scraps and create a collection of quilts to share with others.
Share the Comfort, Share the Craft
Creating these pocket prayer quilts with a twist is more than just a crafting endeavor; it’s an opportunity to spread comfort, kindness, and connection. The thoughtfulness embedded in each stitch and the personal touch of a hidden message make these mini quilts truly special. Whether you’re making them for loved ones, for your community, or simply for the joy of creating, you’ll find immense satisfaction in this rewarding project.
We encourage you to try out this fantastic tutorial inspired by On The Trail Creations and discover the joy of this unique technique. Don’t hesitate to experiment with different fabrics and personalize your quilts to reflect your unique style. Once you’ve made your own, consider sharing your creations online with fellow crafters, inspiring others to embark on this heartwarming journey. Happy quilting, and may your stitches be filled with intention and love!