
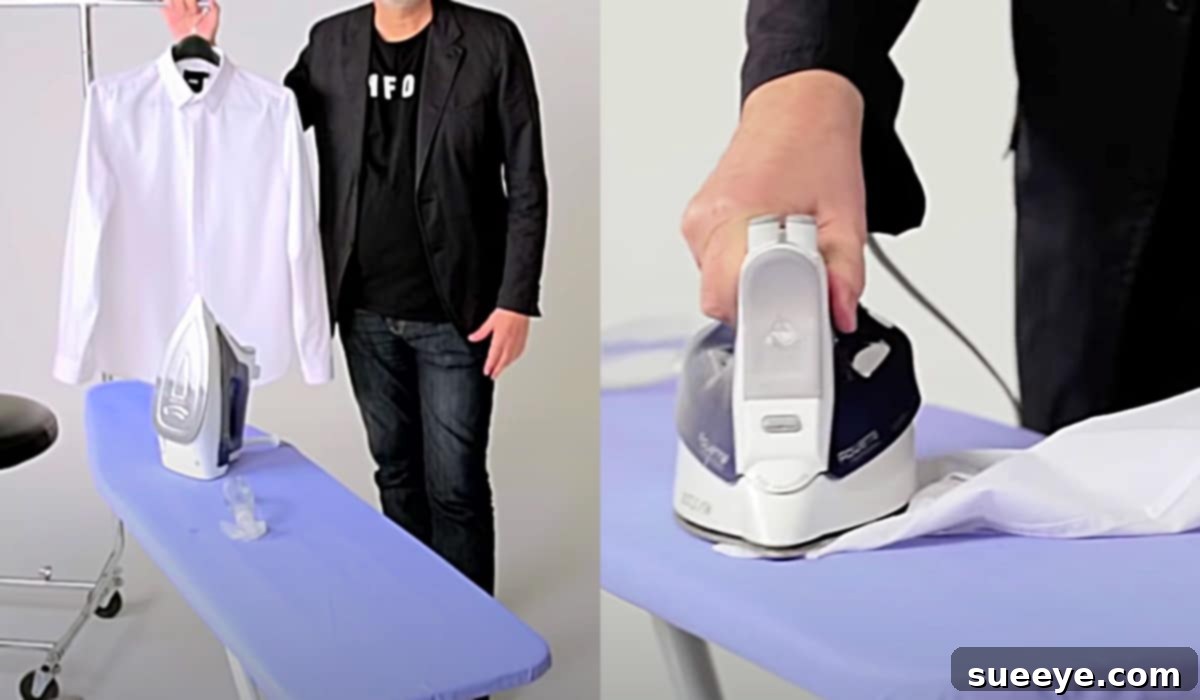
Master the Art of Ironing a Dress Shirt in Just 90 Seconds
For many, the thought of ironing a dress shirt conjures images of endless wrinkles, stubborn creases, and a never-ending battle against the fabric. It’s a task often dreaded, consuming precious time and testing patience, especially when aiming for that impeccably crisp, professional finish. However, what if there was a revolutionary method that could transform this tedious chore into a swift, effortless routine? Imagine perfectly pressed shirts in less than two minutes – a game-changer for busy mornings and last-minute preparations. This article delves into an incredible technique, inspired by a captivating video tutorial from GQ on YouTube, that promises to liberate you from your ironing woes forever. Prepare to discover the simple yet highly effective secrets to achieving a pristine dress shirt finish in an astonishing 90 seconds, turning a daunting task into a remarkably quick and satisfying accomplishment.
Why Master the 90-Second Ironing Method?
The allure of ironing a dress shirt in merely 90 seconds extends far beyond just saving time. This unique approach, championed by style experts, offers a multitude of benefits that elevate your entire grooming routine. Firstly, it provides unparalleled efficiency, a true blessing for anyone with a demanding schedule. No longer will you need to set aside significant chunks of time just to look presentable; a quick press is all it takes. Secondly, and perhaps most importantly, this method promises a superior, professional finish. Unlike traditional steam ironing which can leave shirts feeling damp or slightly limp, this technique utilizes a specific moisture application to achieve an incredibly crisp, dry, and sharp appearance that lasts throughout the day. It’s about more than just removing wrinkles; it’s about imparting a tailored, ready-to-wear quality that enhances your overall look and confidence. Furthermore, mastering this method reduces wear and tear on your garments by minimizing prolonged exposure to high heat and excessive moisture, potentially extending the life of your favorite dress shirts. It’s an investment in both time and presentation, ensuring you always step out looking your absolute best without the usual fuss and frustration.
Essential Materials for Speed Ironing Success
To successfully execute the 90-second dress shirt ironing technique, you don’t need an array of sophisticated gadgets, but rather a few key tools used in a particular way. Having these materials ready before you begin will streamline the entire process and ensure optimal results:
- A Quality Dress Shirt: Naturally, the star of the show. Ensure your shirt is clean and dry. While this method works wonders on most fabrics, cotton and cotton blends tend to respond best to the crisp finish it delivers. For heavily wrinkled shirts, a quick tumble in a dryer with a damp cloth beforehand can help relax some creases, making the ironing even faster.
- A Sturdy Ironing Board: A stable and well-padded ironing board is non-negotiable. Its firm surface provides the necessary resistance for effective pressing, allowing the iron to glide smoothly and press out wrinkles without damaging the fabric underneath. Ensure the cover is clean and free from any scorch marks or debris that could transfer to your shirt.
- A Reliable Hot Iron: This technique specifically calls for a hot iron, and crucially, one used without steam. The dry heat is paramount to achieving that coveted crispness. Ensure your iron heats up quickly and maintains a consistent temperature. If your iron has a steam function, make sure it is turned off and the water reservoir is empty for this method. A clean soleplate is also essential to prevent snags or marks on your shirt.
- A Spray Bottle (Filled with Plain Water): This is the secret weapon of the 90-second method. Unlike the continuous steam from an iron, a fine mist of plain water applied directly to the fabric allows for precise moisture control. This localized dampness, combined with the dry heat of the iron, creates a sharp, crisp finish without over-wetting the fabric. The spray bottle should produce a fine, even mist, not large droplets, to avoid water spots.
Having these simple items at your disposal, and understanding their specific roles in this innovative ironing process, sets the foundation for perfectly pressed shirts every time.
Step-by-Step Guide: Ironing a Dress Shirt in 90 Seconds
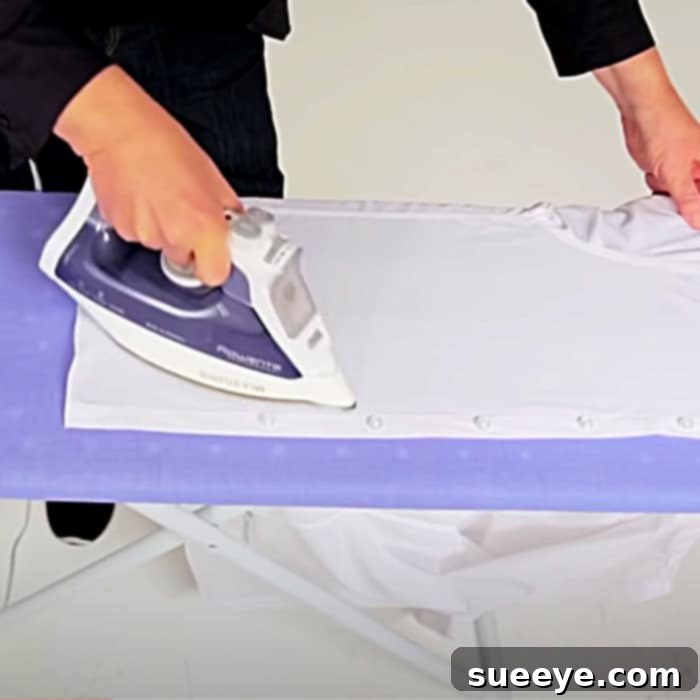
The genius of this accelerated ironing technique, as brilliantly demonstrated by GQ, lies in a precise sequence and the strategic application of dry heat combined with targeted moisture. Forget haphazard ironing; this method is about efficiency and effectiveness. Here’s a detailed breakdown of how to achieve a perfectly pressed dress shirt in record time:
1. Preparation is Key
Before you even touch the iron to the shirt, ensure your ironing board is set up firmly, and your iron is heated to the appropriate temperature for your shirt’s fabric (usually cotton setting for dress shirts). Critically, turn off the steam function and ensure the water reservoir in your iron is empty. Fill your spray bottle with plain, clean water, ensuring it produces a fine mist.
2. Begin with the Front Panels
This is where the magic starts. Lay one of the shirt’s front panels flat on the ironing board, making sure it’s smooth and free of any folds or bunches beneath. Take your spray bottle and lightly mist the fabric with water. The goal is a fine, even layer of moisture, not saturation. Immediately, with your hot, dry iron, glide it firmly and steadily over the misted area. The dry heat from the iron, combined with the fine water mist, will instantly remove wrinkles and leave the fabric feeling crisp and dry to the touch. Repeat this process for the other front panel, ensuring meticulous attention to the placket (the strip of fabric where the buttons and buttonholes are located).
3. Mastering the Collar
The collar is a crucial element for a sharp look. Pop the collar up and lay it flat on the board. Again, give it a light mist with your spray bottle. Starting from the outer edges and working inwards towards the neckband, press firmly with your hot iron. Ensure you iron both sides of the collar for an even finish. The aim is a flat, crisp collar that frames the face perfectly.
4. Perfecting the Cuffs
Often overlooked, well-pressed cuffs contribute significantly to a polished appearance. Unbutton the cuffs and lay them flat. Mist them lightly with water. Iron the inside of the cuff first, then the outside, ensuring all creases are eliminated. Pay extra attention to the corners and the button areas. Once done, button them up if you prefer, or leave them unbuttoned depending on your dressing preference.
5. Tackling the Sleeves and Back
Now that the most visible and structured parts are done, move to the sleeves and the back. Lay one sleeve flat, ensuring there are no wrinkles on the underside. Mist lightly and iron from the cuff towards the shoulder. For a sharp crease along the top of the sleeve, align the seams perfectly. Repeat for the other sleeve. Finally, lay the back of the shirt flat, mist as needed, and iron in sections, working your way down from the yoke (the fabric panel across the shoulders) to the hem. The key here is to move quickly and methodically, making sure each section is crisp before moving to the next.
6. Final Touches and Hanging
Once you’ve pressed all sections, quickly inspect the shirt for any missed spots. If you find any, a quick mist and press will sort them out. The beauty of this dry heat and water mist method is that the shirt will feel dry almost immediately, allowing you to hang it up without fear of re-wrinkling. Hang your freshly ironed shirt on a good quality hanger, smoothing out any final minor adjustments, and marvel at your perfectly pressed garment.
This sequence, applied with a hot, dry iron and a fine water mist, is the cornerstone of the 90-second method. It’s about precision, speed, and understanding how moisture and heat interact to deliver that impeccable, crisp finish.
Common Ironing Mistakes to Avoid
While the 90-second method simplifies ironing significantly, being aware of common pitfalls can further enhance your results and protect your garments:
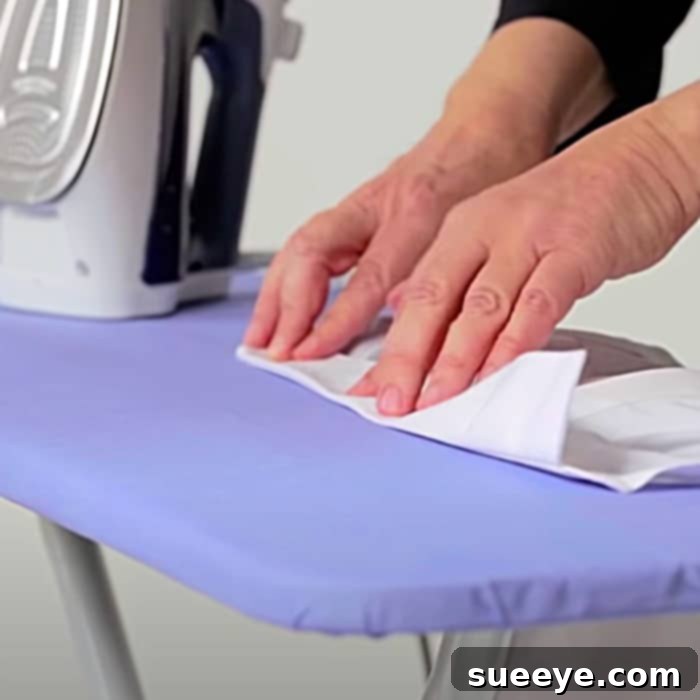
- Using Steam Incorrectly: The biggest mistake with this method is using the iron’s steam function. Steam can leave shirts feeling damp, which can lead to new wrinkles as the shirt dries or makes the fabric feel less crisp. Stick to the dry iron and external water spray for optimal results.
- Over-wetting the Fabric: While water is essential, too much water will saturate the fabric, making it harder to press dry quickly and potentially leaving water marks. A fine mist is all you need.
- Ignoring Fabric Type: Always check the care label of your shirt. While this method is excellent for cotton, delicate fabrics like silk or rayon require lower heat settings and sometimes a pressing cloth.
- Ironing Over Zippers or Buttons: This can damage both the garment and the iron’s soleplate. Always iron around these embellishments.
- Not Cleaning Your Iron: A dirty soleplate can leave marks or scorch residue on your clean shirt. Regularly wipe your iron clean, especially if you notice any stickiness or discoloration.
- Improper Storage: Immediately after ironing, hang your shirt on a proper hanger to prevent new wrinkles from forming. Don’t throw it on a bed or in a pile.
Advanced Tips for a Flawless Finish
For those looking to truly master the art of ironing and ensure every shirt is nothing short of perfect, consider these advanced tips:
- Starch for Extra Crispness: If you desire an extra-crisp finish reminiscent of professional laundry services, incorporate a light spray starch. Apply it subtly with your water mist, or use a dedicated spray starch product after the initial water mist and before ironing. This adds body and resilience to the fabric.
- Utilize a Pressing Cloth for Delicates: For shirts made from blends or more delicate fabrics that might scorch easily, use a thin, clean cotton cloth between the iron and the shirt. This acts as a protective barrier, diffusing the heat and preventing direct contact while still allowing the wrinkles to be pressed out.
- Mind the Fabric Grain: Always iron with the grain of the fabric. Ironing against it can stretch or distort the material, especially on bias-cut sections.
- Ironing Dark Fabrics: For dark-colored shirts, turning them inside out before ironing can help prevent shiny spots or marks that sometimes occur from direct heat application on dark dyes.
- Pre-Treat Stubborn Creases: For shirts that have been heavily wrinkled for an extended period, a quick tumble in the dryer with a damp towel for 5-10 minutes can significantly reduce the deep-set creases, making the 90-second method even more effective.
Maintaining Your Ironing Equipment
The longevity and efficiency of your ironing tools play a significant role in your overall ironing experience. Regularly clean the soleplate of your iron to remove any residue that might accumulate from fabrics or starch. A simple wipe with a damp cloth after the iron has cooled down is usually sufficient. For stubborn build-up, commercial iron cleaner sticks or a paste of baking soda and water can work wonders. Ensure your spray bottle nozzle is clean and produces a fine mist, replacing it if it starts to clog or squirt unevenly. A well-maintained set of tools ensures that your 90-second ironing routine remains seamless and effective every time.
This fabulous video tutorial, originally shared by GQ, genuinely transformed my perspective on ironing. The simplicity and efficiency of the 90-second method are truly liberating, making the task of preparing a dress shirt an entirely new and stress-free experience. By adopting these straightforward techniques – focusing on a hot, dry iron, targeted water misting, and a logical ironing sequence – you too can achieve impeccably crisp, wrinkle-free dress shirts in mere moments. Say goodbye to the ironing dilemma and embrace a faster, smarter way to look sharp and polished every single day.